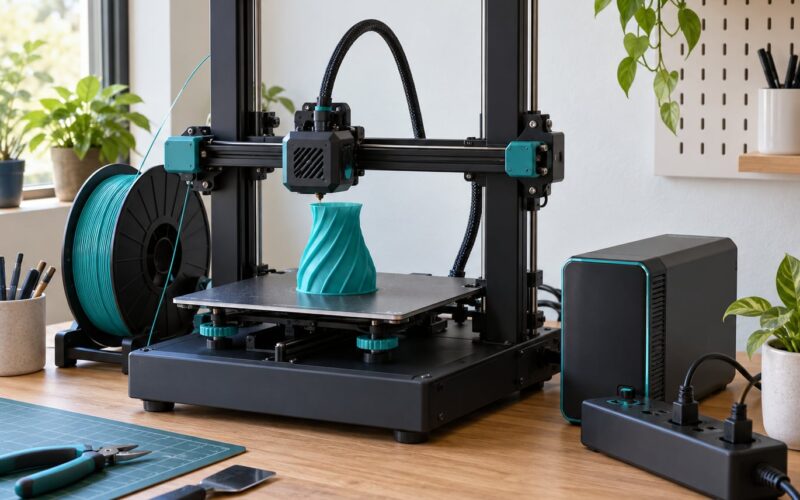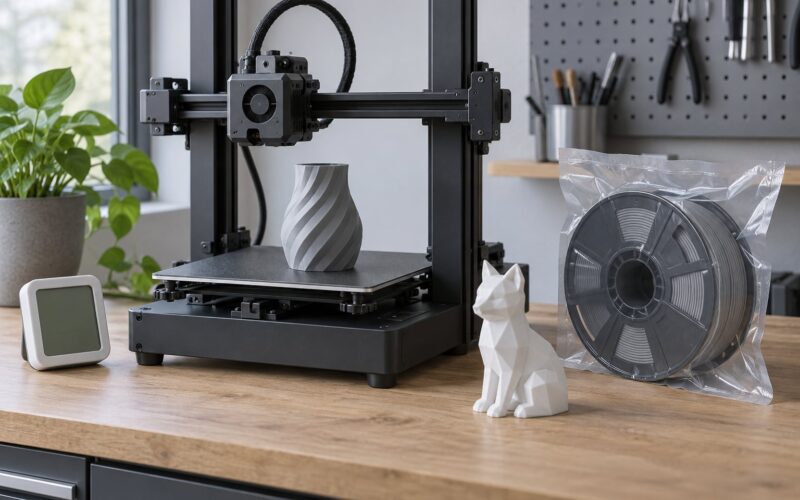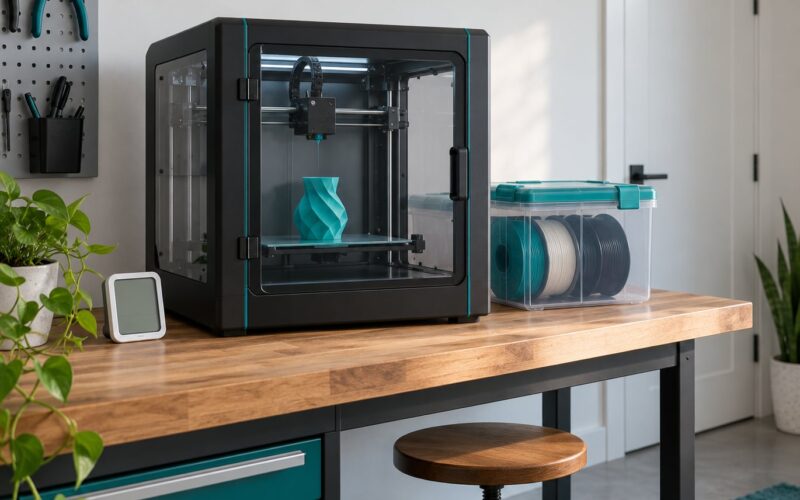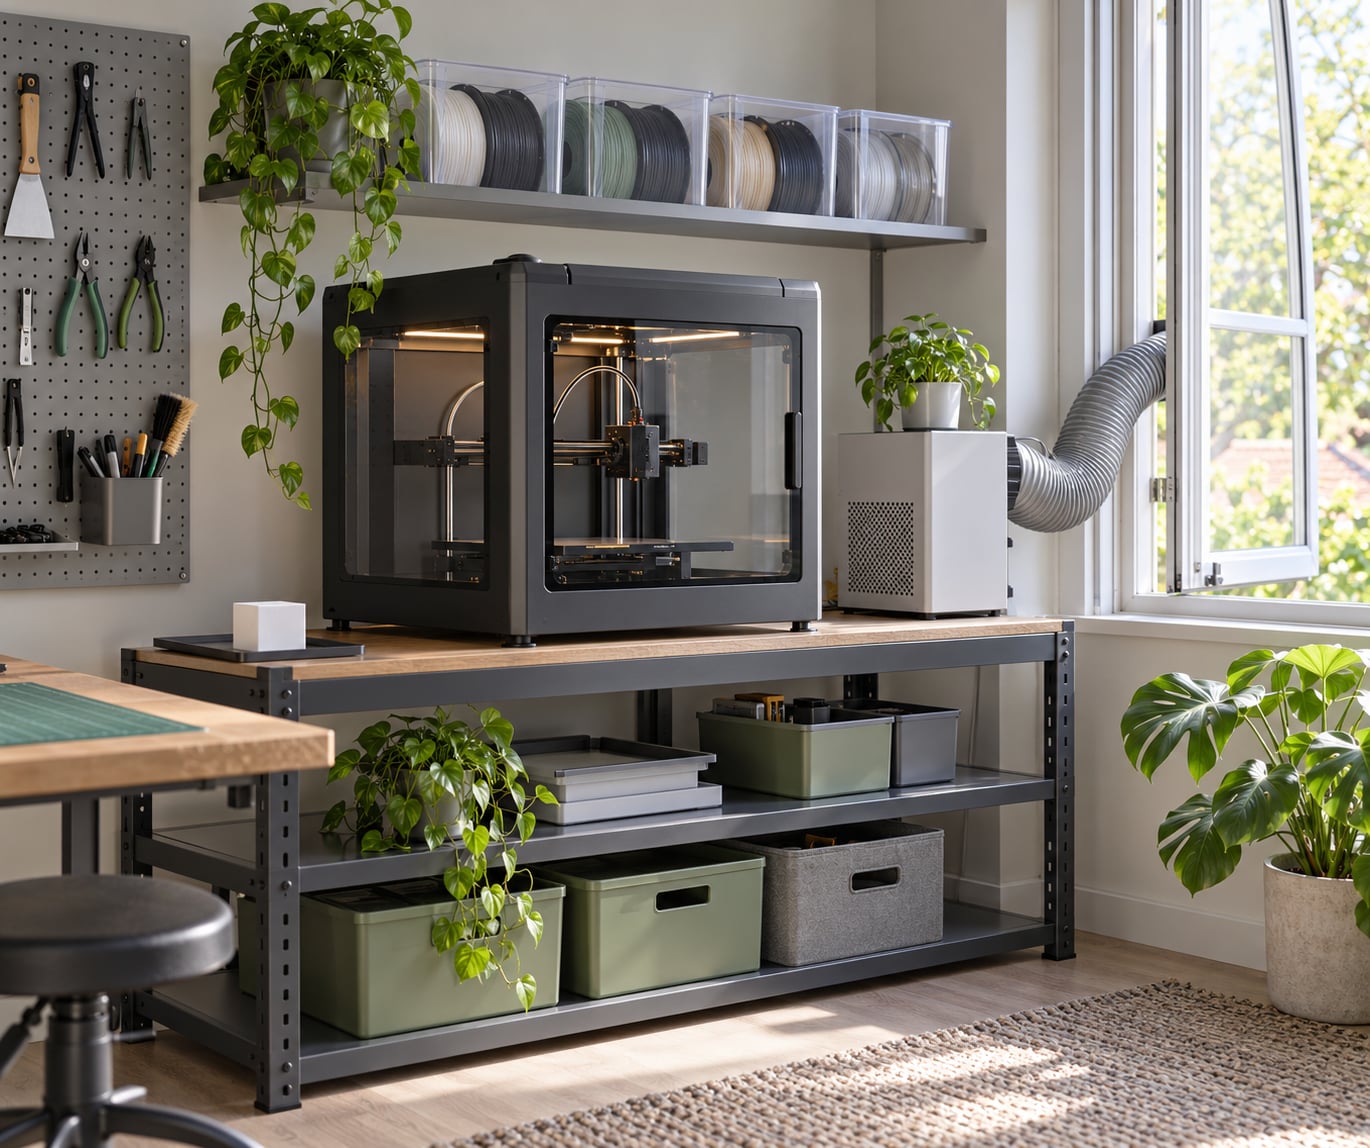
Setting up a 3D printing workspace at home comes down to five things: a rigid surface, a safe power connection, airflow that carries fumes out, dry filament storage, and a repeatable print routine. None of it requires a spare room, and most of it can be done in an afternoon plus a first weekend of trial prints. A printer parked on a wobbly desk in a humid, draughty corner will fight you on every job, while the same printer on a steady stand with a lid and a labeled bin will mostly run itself while you sleep.
The order matters more than the shopping list. Pick the spot before you buy furniture, because printer size and clearance decide which stands and shelves even fit. This guide walks through that order, starting with how to set up a 3D printing workspace at home the way most people wish someone had explained it: location first, then surface and power, then ventilation, then storage, then the first test print.
Table of Contents
- What You Need Before You Start
- The surface
- Power
- Ventilation
- Safety and handling
- Storage and prep supplies
- Step-by-Step: How to Set Up a 3D Printing Workspace at Home
- 1. Choose a Stable Location
- 2. Protect the Surface and Prepare Power
- 3. Set Up Ventilation Without Creating Drafts
- 4. Organize Tools, Filament, and Spare Parts
- 5. Perform a Safe First Test Print
- 6. Establish a Repeatable Print Routine
- Common Mistakes That Ruin a Home 3D Printing Workspace
- Frequently Asked Questions
- How much space does a home 3D printing setup need?
- Can I 3D print in an apartment or bedroom?
- How loud is a 3D printer, and can I run prints overnight?
- What ventilation does ABS, ASA, and nylon need compared with PLA?
- How do I keep filament dry at home?
- Does a 3D printer need a dedicated circuit?
- Conclusion
What You Need Before You Start
A working home 3D printing setup needs the printer itself, a surface that can carry it, somewhere for filament to stay dry, a way to exhaust fumes, and a few hand tools you will reach for constantly. Here is the honest shortlist — everything here has a job, and nothing here is optional except the parts marked as optional.
The surface
Your main surface needs three qualities in this order: rigidity, then heat resistance, then footprint. Rigidity matters most because desk flex shows up directly in the print as ringing on vertical walls and occasionally as shifted layers. Heat resistance matters because the heated bed and hot end release warmth into the surface for hours at a time. A silicone heat mat, a ceramic tile, or a thin stone slab laid under the build area handles that and costs very little.
Check the weight rating too. Most hobby FDM machines land somewhere around 15 to 50 pounds with spools and accessories attached, so any surface rated well above 100 pounds is comfortable. Particleboard and hollow-core desks flex in the middle, which is exactly where you do not want flex. A solid top or a steel-framed stand with cross-bracing is the fix most people discover one bad print too late.
Power
A properly rated outlet or a surge-protected power strip, mounted where you can reach it without extension leads strung across a walkway. Heated beds, heated chambers, and motors all switching at once can trip a breaker mid-print, and a print lost at hour nine is the most common avoidable loss in a home setup.
Ventilation
An openable window with airflow for PLA and PETG, plus a filtered extraction unit with activated carbon and a HEPA stage for ABS, ASA, nylon, and any resin work. Carbon handles the organic fumes, HEPA handles the fine particles, and neither replaces the other. See step 3 for how to position it without disturbing the printer.
Safety and handling
Nitrile gloves and a fresh-cartridge respirator if you will ever handle resin, a wash and cure station on a secondary containment tray, and a small lidded bin for failed prints and support scraps. Keep the safety kit together in one labeled container so a spill is a one-hand grab instead of a search.
Storage and prep supplies
Airtight filament bins with fresh desiccant, a label maker or masking tape for spools, a pegboard or wall rail for tools, a spare nozzle or two, an assortment of hex keys, a brush for the nozzle, a scraper, a caliper, a small spirit level, and microfiber cloths. That is the whole kit.
Match your filament storage to the material, not to the shelf space. PLA is forgiving. PETG, TPU, and nylon are hygroscopic, meaning they pull moisture out of the air and turn gummy, stringy, and weak on the spool, so those need sealed bins or a heated dry box. A cardboard box in a humid closet is fine for PLA and a bad idea for everything else.
Step-by-Step: How to Set Up a 3D Printing Workspace at Home
Six steps, in this order, roughly an hour each. Do not skip ahead — most rework in home printing setups comes from moving a printer twice.
1. Choose a Stable Location
Choose the spot before you choose the furniture. You want a level floor contact point, low vibration, no direct sunlight, no drafts, minimal dust, and no foot traffic or pets brushing past during overnight jobs. In practice that means a corner of a home office, a basement shelf, or a garage corner on an insulated wall — but garages with big temperature swings are the worst option, because PLA and PETG absorb moisture and warp more as the room swings.
Test stability before anything else. Put both hands on the printer frame and the bed edge and push down hard, then push side to side; any movement or visible flex in the surface means it is wrong. A second test is the print test: a small part with a tall flat wall makes ringing and ghosting obvious, and if the wobble shows up in the part instead of the slicer preview, the desk is the culprit.
Leave clearance for real work. You want roughly 6 to 12 inches in front for opening a door and unloading a finished part, access at the back for the spool feed and cables, and room at the side for a filament runout. Test it by loading a spool and reaching every control without moving the machine. How it worked out in practice for others: IKEA Alex drawer units are the most common affordable base in the community threads, and each unit fits two gasket bins that hold about five 1 kg spools apiece.
2. Protect the Surface and Prepare Power
Put a heat-resistant, nonflammable layer under the build area — a silicone mat, a ceramic tile, or a stone paver. It catches molten plastic drips and warm tools, and it costs nothing to replace. Then set the printer on something with legs, not on a hollow desktop: a purpose-built stand, a heavy workbench, or a sturdy shelving unit rated well above your printer’s weight.
Route every cable, and mean it. Use clips, a cable tray under the desk, or a sleeve so nothing drapes near the hot end, where insulation melts and then holds plastic against a heater. Leave the printer’s feet resting flat on the surface so a raised lip doesn’t rock the bed.
On the electrical side, plug directly into a wall outlet or a single properly rated surge-protected strip. Skip extension leads and daisy-chained strips; both add heat and both invite trips when the bed and motors load up together. If a second printer joins later, give each machine its own outlet on the circuit rather than sharing a splitter, and learn which breaker serves that wall before a 14-hour job dies at hour twelve.
3. Set Up Ventilation Without Creating Drafts
There are two different jobs, and mixing them up is the most common ventilation mistake. Room ventilation dilutes fumes across a space: an open window plus a fan pulling air out of the room. Local exhaust captures fumes at the source: a filtered unit or duct positioned near the printer’s chamber, taking air away before it spreads.
Source capture wins for anything styrenic or resin-based. ABS, ASA, and nylon give off styrene, and undrained resin gives off volatile organic compounds — both are things you do not want in a shared room at all. Room ventilation handles PLA and PETG, which emit very little, though a steady airflow also keeps layers cooling evenly and reduces warping on tall thin parts.
Position it so the air moves out of the enclosure, never across the front of it. A fan blowing into an open chamber door can cool the part mid-layer and cause layer splitting on ABS and ASA, and a strong fan aimed at an open frame will wobble belts and doors. Aim the extraction duct away from the enclosure intake, keep it a few inches away rather than flush against the printer, and give it a path to a window instead of recirculating into the room. If you run resin, keep the whole print and curing cycle inside a sealed containment box that vents outdoors or through a filtered unit.
4. Organize Tools, Filament, and Spare Parts
Label everything on the day you set it up, because unlabeled bins are the reason spools migrate around the room and get lost behind furniture. Two labels do most of the work: material and open date. Fresh filament in a labeled bin, old filament in a “use first” bin, and you will never again print with 18-month-old PETG wondering why layers delaminate.
Store hygroscopic materials in airtight bins with fresh desiccant, or in a heated dry box if you print nylon or keep large stock on hand. Refresh the desiccant when it stops feeling crisp, and never leave a spool open next to a dehumidifier-free wall in a humid season. Wall-mounted spool racks free up floor space and keep feed lines short and untangled.
Give spare parts a home too: nozzles in a small labeled cup, hex keys and a nozzle change tool on a pegboard, spare belts and screws in a divided box. Many people print their own caddies and spool holders as one of their first organizer projects, which is a good sign the layout is settled. Keep a restocking checklist on the wall with desiccant, nozzles, gloves, wipes, and filament on it, and check it whenever the first layer starts looking fussy.
5. Perform a Safe First Test Print
Start with the bed. Run the printer’s leveling routine, then confirm it with a straightedge or a sheet of paper on a couple of corners if your machine has manual adjustment — factory leveling drifts with heat. A dirty or greasy plate causes the first problem most beginners meet, so wipe it with isopropyl alcohol before anything else.
Confirm the filament type matches the slicer profile before slicing, then load and purge with the nozzle close to the bed so stray ooze does not land on the build surface. Choose a small test model — a 20 to 40 mm cube, or a bed adhesion strip with wide squares at the corners and a thin tower in the middle.
Watch the first two layers closely. Good adhesion looks like a consistent extrusion width with no gaps between lines and square, unpeeled corners. A lifted corner means the plate needs cleaning or the first-layer height is wrong. Movement or a scratchy sound on the second layer means belt tension or a bump in the floor, not a filament problem. Once the cube comes off clean, run a temperature tower for the specific material before you start a real part — it tells you the real adhesion limit of your setup in about an hour.
6. Establish a Repeatable Print Routine
The setup is finished when it becomes boring. Wipe the nozzle and clean the plate at the start of every job, run a quick pre-print check on belt tension and axis movement, and give it two minutes. Label slicer profiles and keep G-code in one folder structure so the file you used for a working part is still findable six months later.
Record settings that worked — layer height, temperature, speed, and what filament was in the spool — in a running note. Printers are not consistent across seasons, and the settings that produced a clean part last winter may need 5 to 10 degrees more heat in summer.
Let parts cool before removal, especially on ABS, ASA, and resin; pulling a warm part flexes it, and flexed parts rarely survive a second print. Then keep post-processing in its own corner away from the printer: remove supports, sand, prime, paint, cure. A small bin for scrap and a pair of snips at that station keeps the print area clear.
A short closing checklist: plate clean, nozzle wiped, filament dry, exhaust running, spools within reach. If all five are true, you are ready for longer jobs.
Common Mistakes That Ruin a Home 3D Printing Workspace
Nearly every bad home setup traces back to one of these seven. Each has a direct fix.
Setting the printer on a flexible desk. The desk flexes, the gantry moves the surface, and the part shows ringing or a shifted layer. Fix it by moving to a rigid stand or adding cross-bracing, and add a mass-loading slab or rubber anti-vibration feet if you keep a heavy top.
Room ventilation instead of source capture. A fan in the corner of a bedroom dilutes fumes; it does not remove them. Fix it by moving the extraction unit close to the chamber and giving it a real exhaust path.
A fan blowing into the enclosure door. Parts cool too fast mid-layer and delaminate. Fix it by re-aiming airflow so it leaves the chamber instead of entering it.
An unprotected surface. Drips and a warm bed stain a desktop permanently. Fix it with a heat-resistant mat you can swap out in seconds.
Tangled cables. Cables snag, get pulled into the gantry path, and melt near the hot end. Fix it with clips or a tray, and re-route anything crossing a moving axis.
Wrong filament settings. Printing a spool of PETG on a PLA profile wastes the filament and confuses the diagnosis. Fix it by labeling each spool with material and the profile that works for it.
Too little clearance. Not enough room in front means unloading a part onto a chair, and not enough room behind means fighting the spool feed every change. Fix it during step 1, while you can still move things.
Habits that keep it working: check the five-item closing checklist before every print, wipe the plate weekly even if the last print was fine, swap desiccant on a schedule rather than on failure, and re-level the bed every few months.
Frequently Asked Questions
How much space does a home 3D printing setup need?
A single FDM printer needs about 3 by 3 feet of clear surface, plus 6 to 12 inches of working room in front for opening the door and unloading parts. Add roughly 2 feet of wall or shelving for filament storage and tools. A resin setup needs more, because washing and curing take a separate bench with containment and drainage. Most people fit a full setup into one corner of a home office or a basement shelf.
Can I 3D print in an apartment or bedroom?
Yes, for PLA and PETG, with conditions. Keep the printer away from bedding and textiles, print when the room is ventilated, and open a window or run filtered extraction so fumes disperse. Avoid ABS, ASA, nylon, and resin in a small apartment unless you have source-capture extraction and, for resin, gloves and a respirator. Apartments work; unmanaged ventilation is the actual problem.
How loud is a 3D printer, and can I run prints overnight?
Most FDM machines run between 40 and 60 decibels at a metre, roughly a fridge or a quiet conversation. Overnight printing is normal and quiet enough for most homes, with two caveats: the fan noise carries through shared walls more than you expect, and the printer needs stable temperature and power. Put it somewhere out of the traffic path, keep the door closed, and check on it in the morning.
What ventilation does ABS, ASA, and nylon need compared with PLA?
PLA and PETG emit very little and need ordinary airflow, such as an open window and a room fan. ABS, ASA, and nylon emit styrene and need an enclosure plus a filtered extraction unit with activated carbon, ideally ducted out of the room or to a window. An enclosure alone is not enough, because it contains fumes without removing them. Source capture at the chamber is what actually clears the air.
How do I keep filament dry at home?
Sealed storage is the answer. Keep PLA in an airtight bin with desiccant and you are mostly fine. Store PETG, TPU, and nylon in airtight containers or a heated dry box, since these materials absorb moisture from the air and turn stringy and weak. Refresh desiccant regularly, avoid leaving spools open in a humid room, and dry any spool that has been sitting out for more than a day or two before printing with it.
Does a 3D printer need a dedicated circuit?
One printer usually does not, but it does need a wall outlet or a single properly rated surge-protected strip, with no extension leads and no daisy-chained strips. Heated beds and motors switching at once can trip a lighter circuit and kill a long print. If you add a second or third machine, give each its own outlet and know which breaker feeds that wall before you start a multi-day job.
Conclusion
A reliable home 3D printing setup is unglamorous: a rigid surface in a calm corner, a heat-resistant mat, one clean outlet, extraction aimed away from the chamber, and labeled bins for dry filament. Start there, and every later upgrade — enclosures, dry boxes, a second printer — slots into a layout that already works instead of forcing a rebuild.
Do these four things first: pick the location and test it for wobble, prepare the surface and power, organize filament and tools with labels, then run a cube and watch the first two layers. Everything after that is refinement, and refinement is a lot cheaper to change than furniture.