To finish metal filled filament prints, sand the part flat with 220 to 400 grit to erase the layer lines, then burnish it with steel wool or a wool wheel loaded with brass polish until the exposed metal particles merge into a continuous shine. Clean the residue off, then either leave the surface bare so it patinas, or seal it with a clear coat. Budget roughly two to three hours of hands-on work per medium-sized part.
That is the whole method, and it is not complicated. What makes it slower than finishing plain PLA is the abrasive load in the filament. Every layer line is a ridge of binder sitting on top of metal powder that never quite sinks flush, so a normal light sanding pass barely touches it. You need a firmer, flatter cut to get the ridges down to the level of the metal underneath, and that is where the time goes.
Metal filled filament is a normal thermoplastic binder, usually PLA or PETG, loaded with anywhere from 30 to 80 percent fine metal powder by weight. Bronze, copper, brass and stainless steel fills are the common ones. Straight off the printer the part reads as dull plastic with a metallic tint, and no amount of nozzle tuning changes that, because the powder is buried in the binder rather than exposed on the surface.
Finishing works by removing that binder skin so the metal particles show through, then burnishing them until they read as a continuous metal skin rather than speckles. Once that happens the part looks cast, weighs like it has heft, and takes a patina the way real bronze does.
Two honest caveats before you start. First, this is a visual finish, not a structural one. A finished metal filled part is still a plastic composite underneath, it will not conduct like metal for a functional circuit, and it will not resist corrosion the way solid bronze does. For cosplay props, jewellery replicas, miniatures, display models and decorative hardware, that does not matter at all. Second, it is labour. The single biggest complaint in forum threads about these filaments is not the printing, it is how long the finishing takes. Plan for it.
Table of Contents
- What You Need
- Step-by-Step: How to Finish Metal Filled Filament Prints
- 1. Prepare the Part and Work Area
- 2. Smooth the Printed Surface
- 3. Fill Gaps and Layer Imperfections
- 4. Polish the Metal-Looking Surface
- 5. Apply an Optional Protective Finish
- 6. Inspect, Clean, and Store the Finished Part
- Common Mistakes
- Frequently Asked Questions
- Do metal filled 3D prints need sanding?
- Can you polish metal filled filament?
- Can you paint or clear coat a metal filled print?
- How do you avoid metal dust when sanding?
- Why does my bronze print turn black while polishing?
- How long does it take to finish a metal filled part?
- Key Takeaways
What You Need
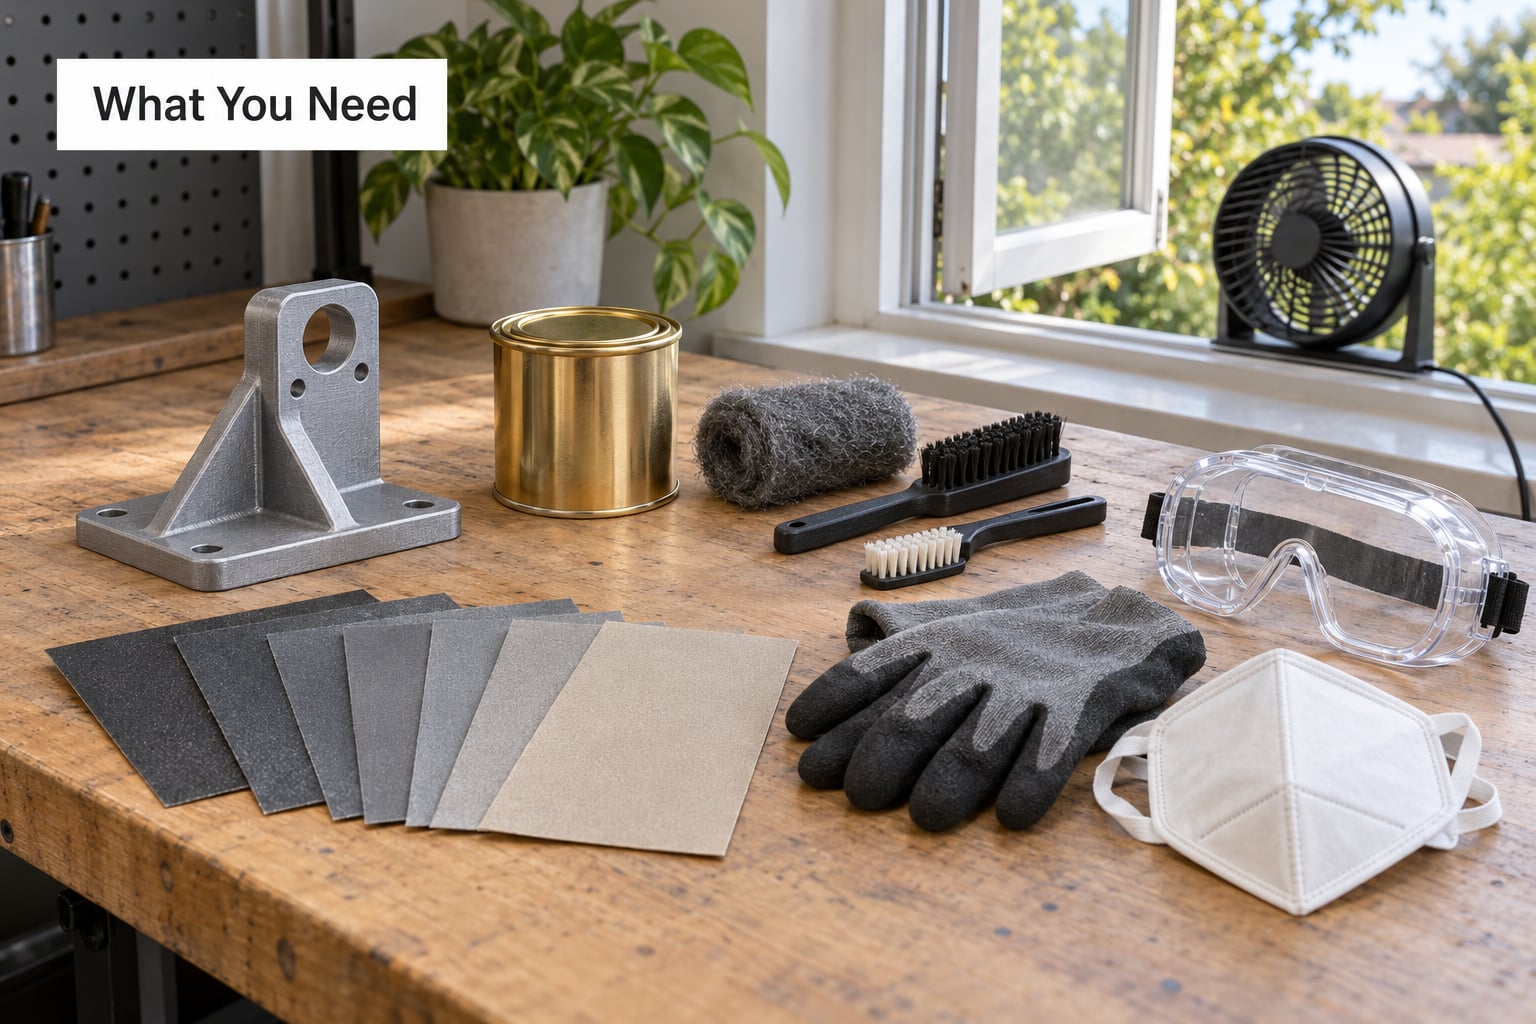
Gather everything before the part comes off the bed, because you will want to work through the grits in order and stopping halfway wastes an evening.
Preparation means a nylon or brass bristle brush, warm water with a drop of dish soap, a clean microfiber cloth and somewhere to dry the part. You also want flush cutters or a hobby knife for supports, and 80 to 220 grit paper or a sanding sponge to knock the worst of the support scars down first.
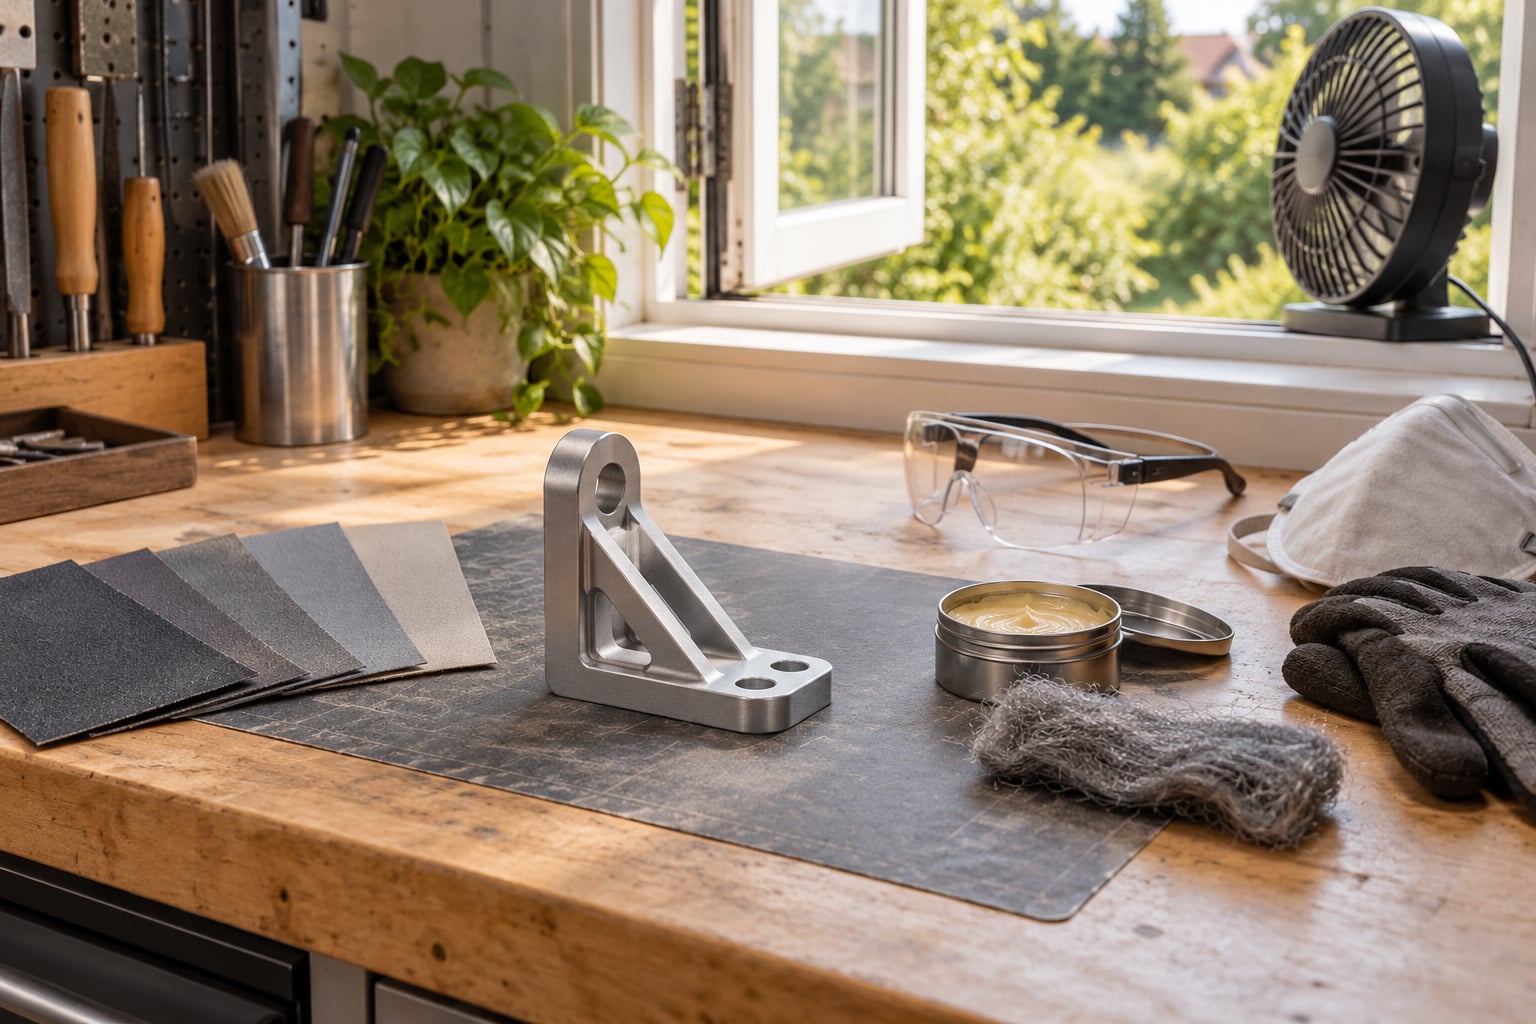
Smoothing needs 220, 400 and 600 grit sheets, plus 1000 to 2000 grit if you plan to go for a gloss finish. A sanding block with a firm flat backing matters more than expensive paper, because you need even pressure across the whole face. Many people prefer a wet sanding sponge at 400 grit and above, since it keeps dust down and stops the paper from loading with metal.
Filling is optional but useful when the print has small pits or visible gaps between layers. A light-bodied epoxy, a thin automotive spot putty or a filament-compatible filling compound all work. Keep it thin and sand it back the same day, because filler left overnight can be harder than the print itself.
Polishing is where the metal look comes from. You need coarse steel wool, around grade 0000 or 0, from any hardware store, plus a brass or copper polish compound. If you want to go faster, add a rotary tool with a wool polishing wheel, and always wear eye protection when you use one. A vibratory tumbler with steel or ceramic media handles batches of small parts well.
Protection is whatever you decide the part needs. A clear coat for a sealed high-shine surface, a matte clear coat if you want to keep the cast texture, wax for a display piece, or nothing at all if you want a patina.
Safety gear is not optional here. Metal filled prints shed fine particulate when you sand them, and you do not want that in your lungs or your eyes. You need safety goggles, a P2 or P3 respirator or a good folding dust mask, gloves, and either a dust extraction unit or a window and fan arrangement that pulls air away from your face. Work outdoors or in a garage if you possibly can.
Step-by-Step: How to Finish Metal Filled Filament Prints
1. Prepare the Part and Work Area
Take the supports off while the part is still slightly cool and rigid, and do it with flush cutters cutting away from the surface. Peel any remaining support material and clean off the glue residue with warm water and dish soap. Let the part dry completely before you touch it with an abrasive, because trapped moisture under a sanding block will leave you with a permanently wavy face.
While it dries, set up your ventilation. If you have a dust extraction unit with a flexible hose, clip it near the work. Otherwise open a window, point a small fan out of it and close the room door. You want air moving away from your breathing zone, not across the bench into it.
How do you know the preparation worked? The surface is completely dry, there is no raised support scar left proud of the surrounding surface, and your dust control is running before any abrasion starts.
2. Smooth the Printed Surface
Start coarse and move up without skipping a grit. Sanding straight from rough to 600 leaves micro-scratches that show up badly the moment you hit it with polish under a bright light, and that is exactly when you cannot fix them without going back down the whole progression.
| Grit | What it does on metal fill | Wet or dry | Notes |
|---|---|---|---|
| 80 to 180 | Removes support scars and elephant-foot edges | Dry | Use sparingly, it cuts fast |
| 220 | Takes the layer ridges down to the metal line | Dry | The step that makes or breaks the finish |
| 400 | Knocks back the 220 scratches | Wet or sanding sponge | Where the metal starts to show through |
| 600 | Evens out the surface | Wet | Watch for the grey metal sheen |
| 1000 to 2000 | Builds a smooth base for polish or gloss coat | Wet | Only needed for high-gloss work |
Wet sanding above 400 grit keeps dust down, stops the paper clogging and, more importantly, carries heat away so the part does not soften under your hand. The glass transition temperature of PLA based filaments sits in the 55 to 60 degree C range, and friction heat from dry sanding will get you close to it faster than most people expect.
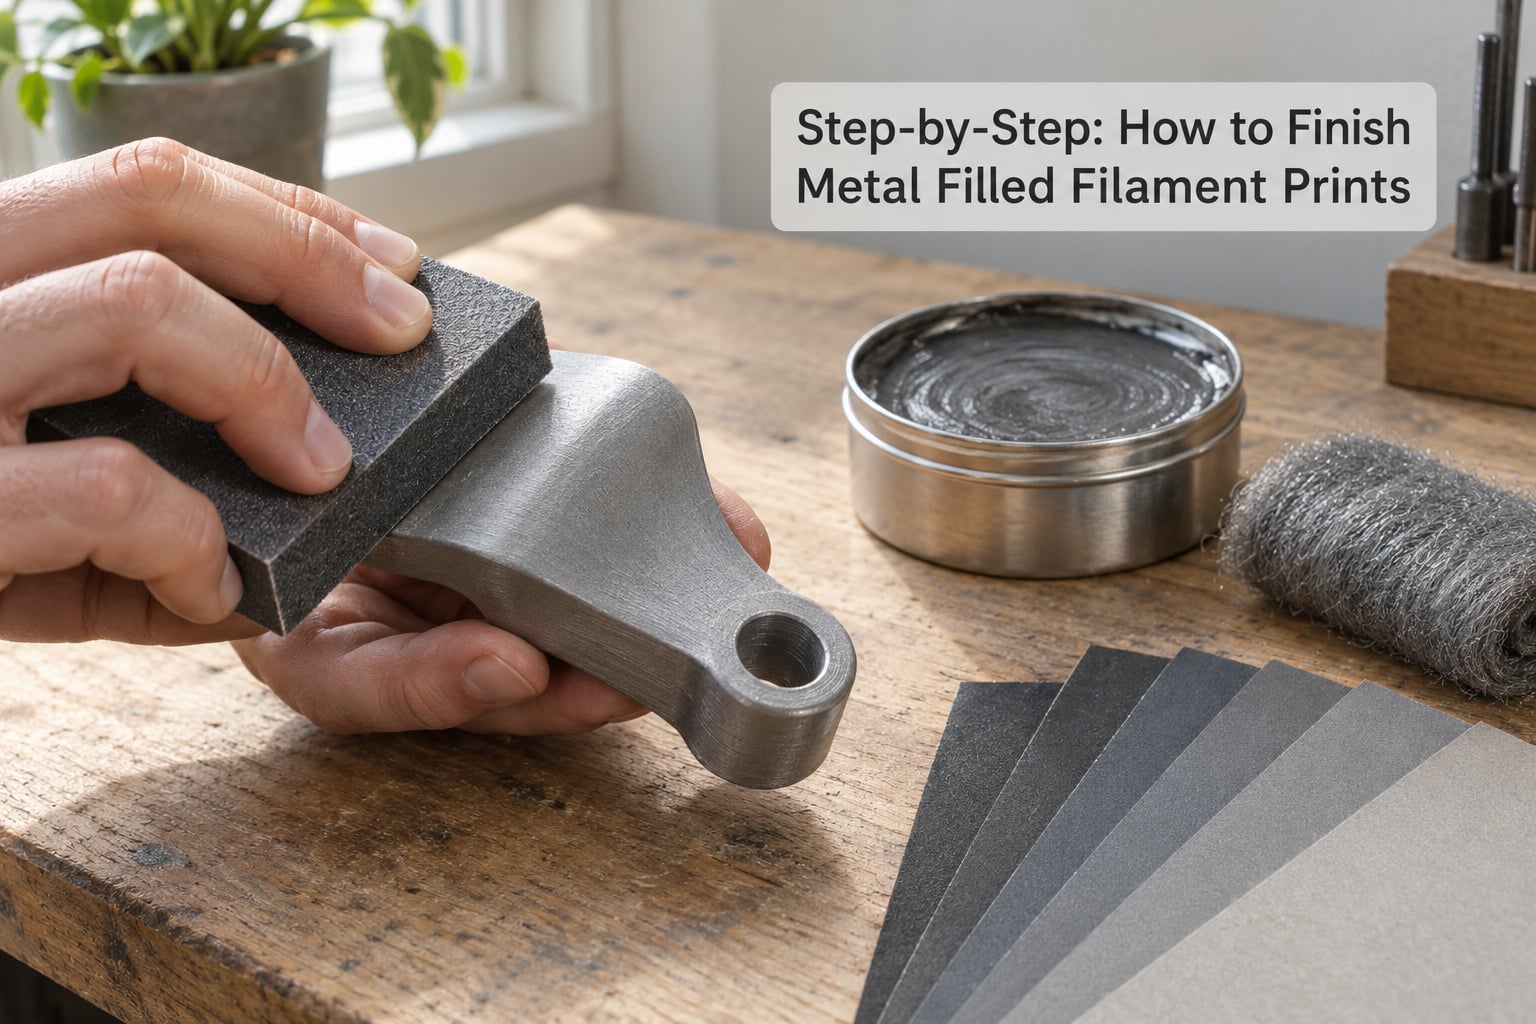
Work in circular motions with light, even pressure and change the paper far more often than feels necessary, because a loaded sheet stops cutting and starts burnishing. Rotate the part as you go so you do not sand one face flat and round. Use a sanding sponge instead of paper around embossed text, holes and threads, since it follows a contour that paper cannot.
You will know a grit has done its job when the scratches from the previous pass are gone and no new pattern of deeper scratches has replaced them. On bronze and copper fills, look for the point where the dull plastic grey turns to a warmer, slightly brighter metal tone. That is the metal exposed and it is the signal to change grit.
3. Fill Gaps and Layer Imperfections
Filling is for small defects, not for rebuilding a bad print. If the layer lines on a curved surface will not disappear at 400 grit, a coat of filler primer is better than another hour of sanding, because you are fighting the geometry rather than the surface.
Mix a thin epoxy or spot putty to a peanut butter consistency, push it into the pits and low spots with a spreader or a stiff card, and scrape the excess off level with the surface. Keep it away from holes, threads and embossed lettering, since filler sitting proud of a detail is far harder to remove than the defect was worth fixing.
Let it cure per the instructions, then sand it back with 220 and 400 grit. The cured filler will often need more sanding than the surrounding plastic because it is harder. How do you know it worked? Run a fingernail across the repair. Any catch means it is not level yet, and any part of the repair that catches light differently than the surrounding surface wants another pass with 400 and a wet sponge.
Thin coats beat thick ones every time. Four thin applications that are sanded flat between each will look far better than one heavy coat that rounds off every edge on the part.
4. Polish the Metal-Looking Surface
Polishing is the step that turns a sanded plastic-looking part into something that reads as cast metal, and it is not really about removing material. It is about burnishing the exposed metal particles flat so they join up into a continuous surface instead of reading as speckles under the binder.
Work a small amount of brass polish onto the part with a soft cloth, then scrub it hard with coarse steel wool. Two or three passes is usually enough. The combination of the cutting action of the wool and the compound does the work, and you should see the shine come up as you go. Follow the manufacturer instructions on the polish itself and keep the pressure moderate, because heat from friction is what turns bronze prints black.
For larger or flatter surfaces a rotary tool with a wool wheel is dramatically faster. Two warnings, both learned the hard way by a lot of people. Do not dwell the wheel in one spot, because the friction heat will blacken that area. And do not use a high-powered tool on a small part, because the torque will chew the layer lines back open. A rotary tumbler with steel or ceramic media is the gentlest option for batches of small items and needs no hand work at all, though it also produces a softer satin shine rather than a bright polish.
You will know the polish has worked when reflections stop breaking up across the surface, when you can see a room light in it as a single soft shape, and when your fingers no longer catch on any part. If the reflection still looks grainy, the wool has not laid the particles down yet. Add more polish and keep going rather than switching compounds too early.
5. Apply an Optional Protective Finish
What you do next depends entirely on what the part is for, and there is no single correct answer. Bare polished metal filled parts will tarnish, they will show fingerprints, and copper fills can go green over time. A coating fixes all of that at the cost of some of the hand-made metal feel.
For a decorative display piece, wax is the gentlest option. It gives a thin protective layer, it buffs back easily when fingerprints show, and it does not build much thickness in fine detail. Reapply every few months.
For a prop that gets handled, a two-pack clear coat in high gloss gives the most convincing polished look and the best wear resistance. A satin or matte clear coat preserves the cast texture and is more forgiving of any remaining surface unevenness. Follow the cure time on the can rather than your impatience, and spray outside or in a well-ventilated space with a respirator, since two-pack clear coats contain isocyanates.
For outdoor or garden pieces, a UV-resistant clear coat plus several coats of wax is a sensible combination, and you should expect to redo it annually. For heat-exposed parts, check the coating’s temperature rating before you commit, because some plastics and clear coats go soft long before the part is at temperature.
For the aged look rather than the shiny one, skip the coating. A vinegar and salt solution applied warm, then left in a sealed bag for several hours to a day, drives oxidation on the exposed copper or bronze particles. Users report it going anywhere from a warm honey tone to a deep brown. For more control there are commercial patina solutions, and they are far more predictable than the kitchen method.
You will know the coating has worked when the part stops taking fingerprints and water beads on it instead of soaking in, and when the gloss level is even across every face with no orange peel texture.
6. Inspect, Clean, and Store the Finished Part
Hold the part under a bright, angled light and look for what sanding and polishing both tend to hide. Check the reflections for scratches that run across the shine, look at every edge and hole for exposed bright plastic where the wool caught an edge, and check any filled areas for a dull patch that has not been polished back level.
Clean with a barely damp cloth and a drop of dish soap, dry immediately, and remove any lingering polish residue. Fingerprints on an unsealed part come off with a cloth and a little polish, not with water alone.
Store the part away from direct sun and moisture, especially if it is unsealed or copper filled. For the first few days after finishing, treat it gently: minor scuffs on a fresh polish are much easier to fix with more wool and polish than they are after the surface has scuffed over unevenly.
Common Mistakes
| Problem | Cause | Fix |
|---|---|---|
| Bronze print turns black while buffing | Friction heat from the wool wheel or too much pressure | Back off the speed, keep the wheel moving, add more polish as a lubricant, polish by hand if the discolouration persists |
| Sandpaper clogs almost immediately | Metal particles and binder dust packing into the pores | Switch to wet sanding above 400 grit, change paper often, use a sanding sponge for contours |
| Layer lines still visible after an hour of sanding | Coarse grit skipped, or pressure too light to cut | Go back to 220 with a firm block, then rebuild the progression properly |
| Polish scratches into the surface instead of shining it | Surface not fine enough before polishing, or steel wool too coarse | Sand to 600 or finer first, then drop to 0000 steel wool |
| Part deformed or gummed by machine sanding | Heat build-up from a belt or disc sander with no fixture | Stop, let the part cool fully, sand by hand with a block instead |
| Clear coat kills the metal look | Gloss coat too thick, or part not polished enough underneath | Use thin coats and a satin finish, or leave the part bare |
| Fine detail and threads filled in | Filler or primer applied too broadly | Mask or skip filler on critical features, fill only the pits you can see |
| Acetone vapour smoothing did nothing | It only works on ABS and ASA; PLA and PETG barely respond | Skip chemical smoothing entirely and sand instead |
One more thing worth knowing: bronze, copper, brass and stainless steel fills all behave differently at the polishing stage. Bronze and copper are soft and take a shine fastest, then tarnish. Brass sits between them. Stainless steel particles are harder and much more scratch resistant, so expect a longer, gentler progression and a brushed rather than mirror finish.
If polishing is simply not worth the labour for a large part, the fast alternative is a conductive graphite spray followed by electroplating, which gives you a genuine metal layer. That is a shop job rather than a kitchen table one. For most people the printable route is primer plus a metallic spray paint, which looks painted rather than cast but costs a fraction of the time.
Frequently Asked Questions
Do metal filled 3D prints need sanding?
Yes, almost always. The metal powder is buried inside the binder, so a fresh print has a thin plastic skin covering it and looks dull and plasticky. Sanding to 220 and 400 grit cuts that skin away and exposes enough metal particle to catch light. Skipping straight to polish just smears the binder around and gives you a grey haze instead of a shine.
Can you polish metal filled filament?
Yes, and that is the intended finish. The standard method is coarse steel wool worked with a brass or copper polish until the exposed particles burnish flat and reflections stop breaking up. Rotary tools with a wool wheel speed this up considerably, but keep the wheel moving because friction heat blackens bronze in seconds. A vibratory tumbler is the gentlest option for batches of small parts.
Can you paint or clear coat a metal filled print?
Yes, both work well. Spray a filler primer first to fill micro-pits, sand it back, then apply your colour or a two-pack clear coat. Gloss clear gives the most convincing polished result, satin clear keeps the cast texture visible. A clear coat also protects against fingerprints and tarnish, at the cost of some of the bare metal feel. Seal decorative pieces, skip it when you want a natural patina.
How do you avoid metal dust when sanding?
Wet sand above 400 grit, use a dust extraction unit or a window with a fan pulling air away from you, and wear goggles plus a P2 or P3 respirator. A folding dust mask is better than nothing but far worse than a proper respirator for fine particulate. Gloves keep the dust off your hands, and cleaning with a damp cloth rather than a dry brush stops settled dust from going back into the air.
Why does my bronze print turn black while polishing?
It is heat, not dirt. Friction between the wool wheel and the surface generates enough heat to oxidise or scorch the exposed bronze particles, and holding the wheel in one spot makes it worse. Move the wheel constantly, ease off the speed, and use more polish as a lubricant and coolant. A blackened area can usually be polished back, but going too slow with heat is what causes it in the first place.
How long does it take to finish a metal filled part?
Budget two to three hours of active work for a medium-sized part, and allow more for anything with tight detail or large flat surfaces. Sanding takes about half of that, polishing another half, and filling, sealing and cleaning the rest. These filaments are labour-intensive on purpose, which is why printing thin layers and orienting the part well is the real time saver in the whole process.
Key Takeaways
Finish metal filled filament in three moves: sand the layer lines flat at 220 grit, refine to 400 and 600, then burnish with steel wool and brass polish until the shine holds a reflection. Seal it or leave it bare depending on whether you want a display shine or an aged patina.
The quickest thing to do on your next print is upstream of the bench. Print thin layers, orient the part so the sanding faces are flat and accessible, and leave a little material around detail you care about. Two hours of careful sanding saved there beats an afternoon of filling mistakes afterwards.