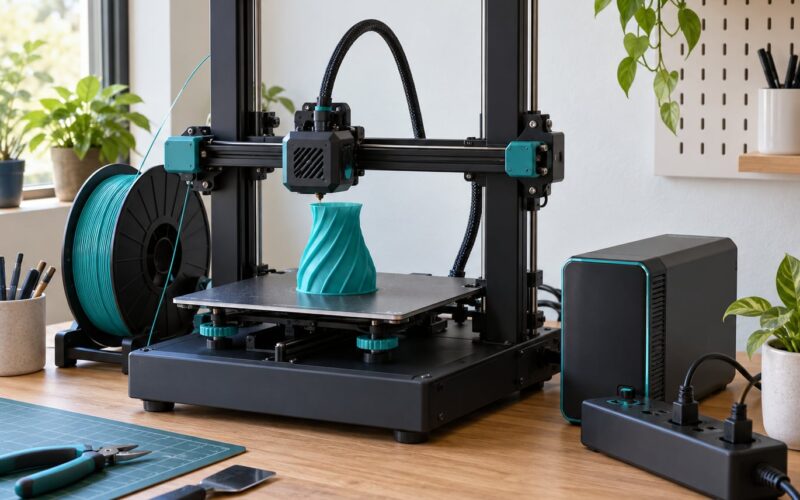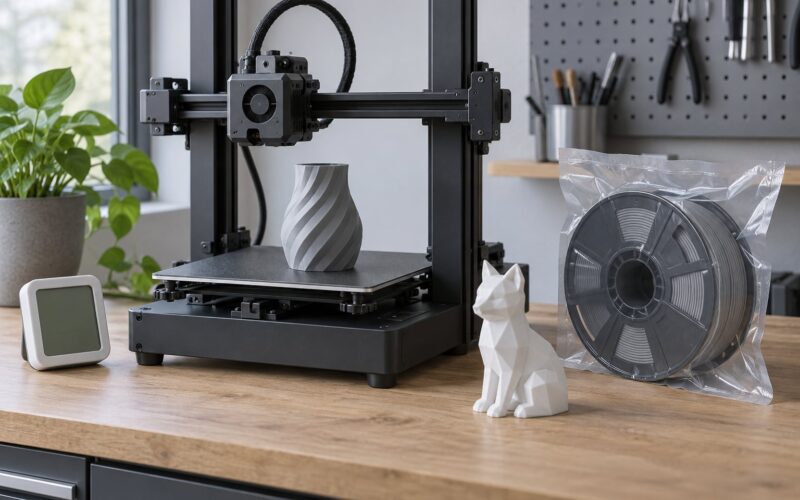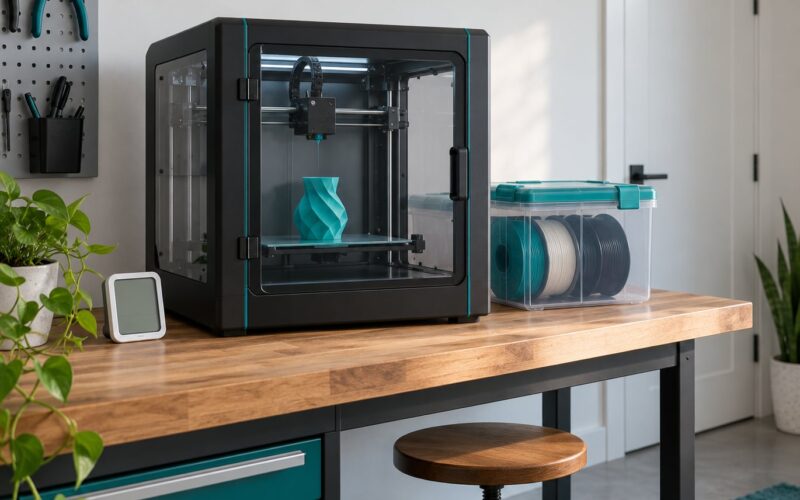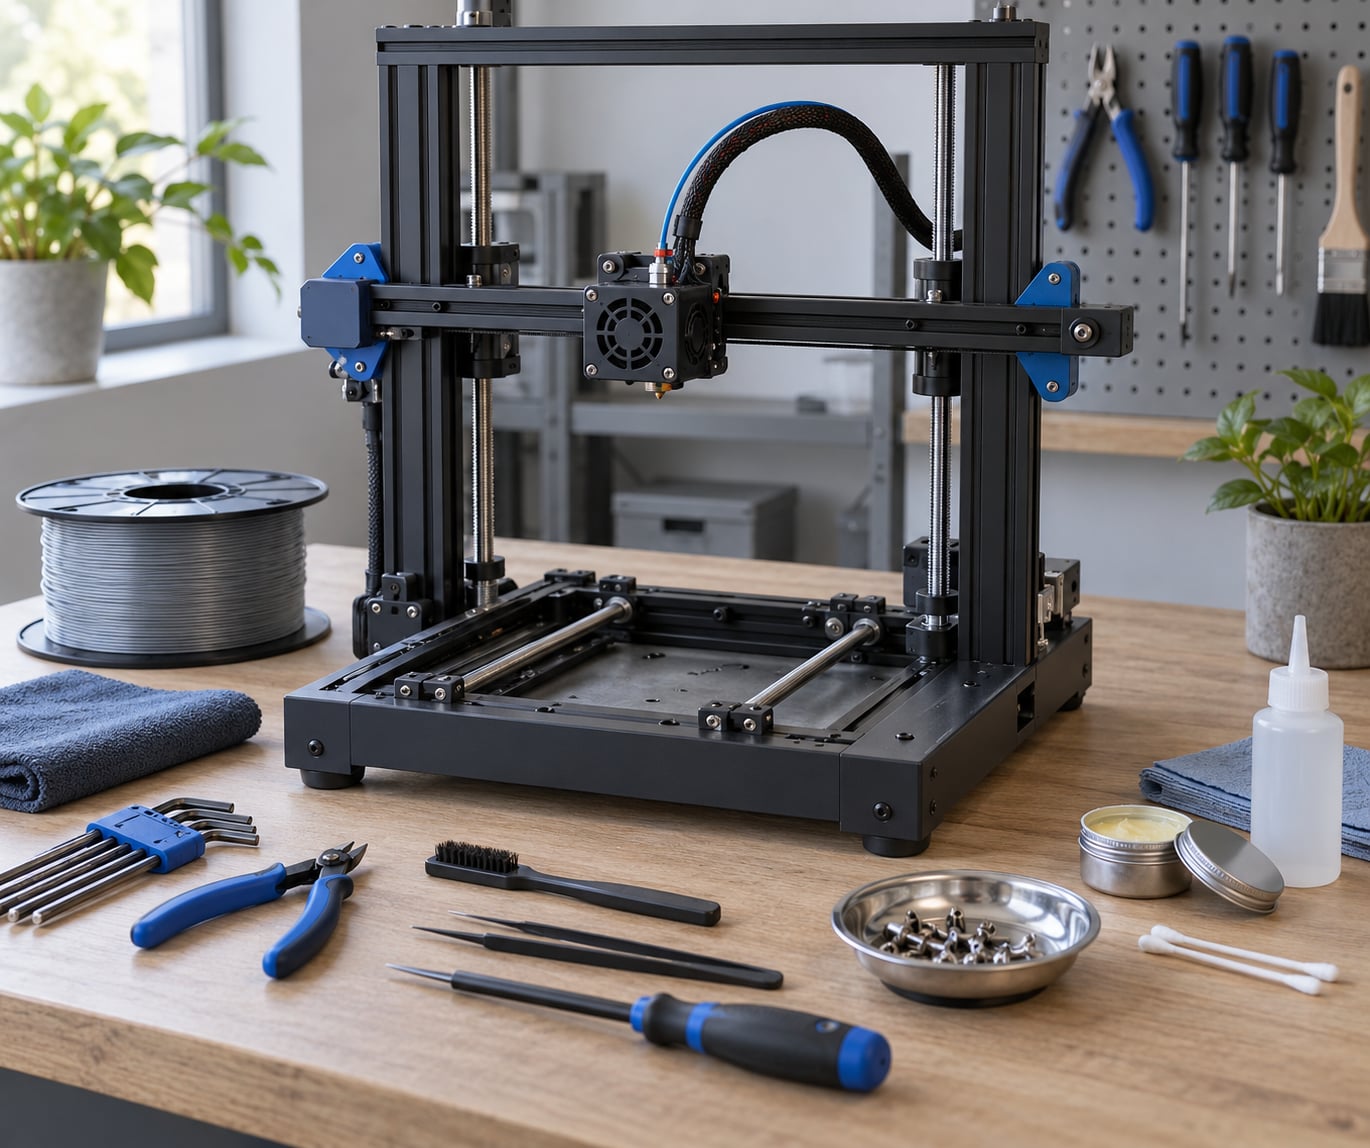
To maintain a 3D printer monthly, block out 30 to 45 minutes, power the machine off and let it cool, then clean the build plate and nozzle, dust the rails and fans, check belt tension, tighten the frame bolts, lubricate the motion hardware, and finish with a calibration print. It is a beginner-level job with basic tools, and doing it on a fixed day keeps print quality from drifting.
I keep a monthly reminder because the failures are slow and quiet. A bearing runs dry for weeks before it starts grinding, a belt loosens by a fraction before layers start shifting, and a hotend clogs long after the last print left residue behind. None of it announces itself until a part is ruined.
The routine below is printer-agnostic and works for enclosed and open FDM machines. Step eight matters more than people think: without a test print, you have no way of knowing whether the service helped. I last updated this guide for 2026, and the cadence still holds.
Table of Contents
- What You Need
- Step-by-Step Monthly Maintenance
- 1. Turn Off and Cool the Printer
- 2. Clean the Build Plate and Nozzle
- 3. Clean the Printer Frame and Rails
- 4. Inspect Belts and Tighten Them
- 5. Check the Extruder and Filament Path
- 6. Clean and Inspect the Fan
- 7. Lubricate Moving Parts as Needed
- 8. Run a Calibration or Test Print
- Common Mistakes
- Greasing parts that should stay dry
- Over-tightening the frame bolts
- Using too much lubricant
- Cleaning with liquid near electronics
- Skipping the calibration step
- Replacing parts before diagnosing
- Waiting for the calendar when you print by the hour
- Frequently Asked Questions
- What should I clean my 3D printer bed with?
- How often should I lubricate my 3D printer?
- How do I lubricate the linear rails on my 3D printer?
- What are the symptoms of a clogged extruder or nozzle?
- Can you leave your 3D printer on all the time?
- Do I need monthly maintenance if I only print a few hours a month?
- Conclusion
What You Need
Put the kit together once and store it in a drawer next to the printer. Most of it costs very little and lasts years, and a missing tool is the reason a maintenance session gets skipped.
- The printer manual. Torque figures, lubricant type, and which parts are user-serviceable differ by model, and the manual is the only authority that matches your machine.
- Metric hex keys in the sizes your frame uses, usually 2 mm, 2.5 mm, 3 mm, and 4 mm. A folding hex driver with a ball end saves an evening of hunting for dropped keys.
- Isopropyl alcohol at 90% or higher. Anything weaker leaves a water film on glass and PEI, which is itself a first-layer adhesion problem.
- Lint-free cloths or wipes plus a soft nylon or brass brush for the bed surface and a stiff toothbrush for nozzle buildup.
- Compressed air or a rubber bulb blower for rails, fans, and the inside of the frame. Never blow dust off the printer while the hotend heater is powered.
- Manufacturer-approved lubricant. PTFE-based grease for smooth rods, lead screws, and linear rails; a light machine oil only where the manual calls for it.
- A calibration or test model already saved in your slicer, plus the extrusion test cube you trust for flow checks.
- Replacement spares if you are past 500 print hours: a spare nozzle in your diameter, a spare fan, and one spare belt per axis.
Timing matters as much as the toolkit. A calendar schedule is fine for casual printers, but print hours are the honest measure because they track how much wear a machine actually accumulated.
| Interval | Trigger | Tasks | Time |
|---|---|---|---|
| Every print | Each job | Bed wipe, nozzle check, first-layer watch | 1-2 min |
| Weekly | Or every 15-20 print hours | Build plate clean, dust rails, visual belt and bolt check | 5-10 min |
| Monthly | Or every 100-150 print hours | The full routine in this guide | 30-45 min |
| Every 3-6 months | Or every 500 hours | Lead screw and rail re-lube, deep frame clean, extruder gear inspection, firmware update | 1-2 hrs |
| Yearly | Or 1,000+ print hours | Belt and PTFE liner replacement, hotend service, electrical and cable inspection | Half a day |
If you only run the printer a few hours a month, halve the routine rather than dropping it. Skip steps six and seven, keep the bed clean, the nozzle clear, and the bolts checked, and come back to the full session after roughly 50 hours of use.
Step-by-Step Monthly Maintenance
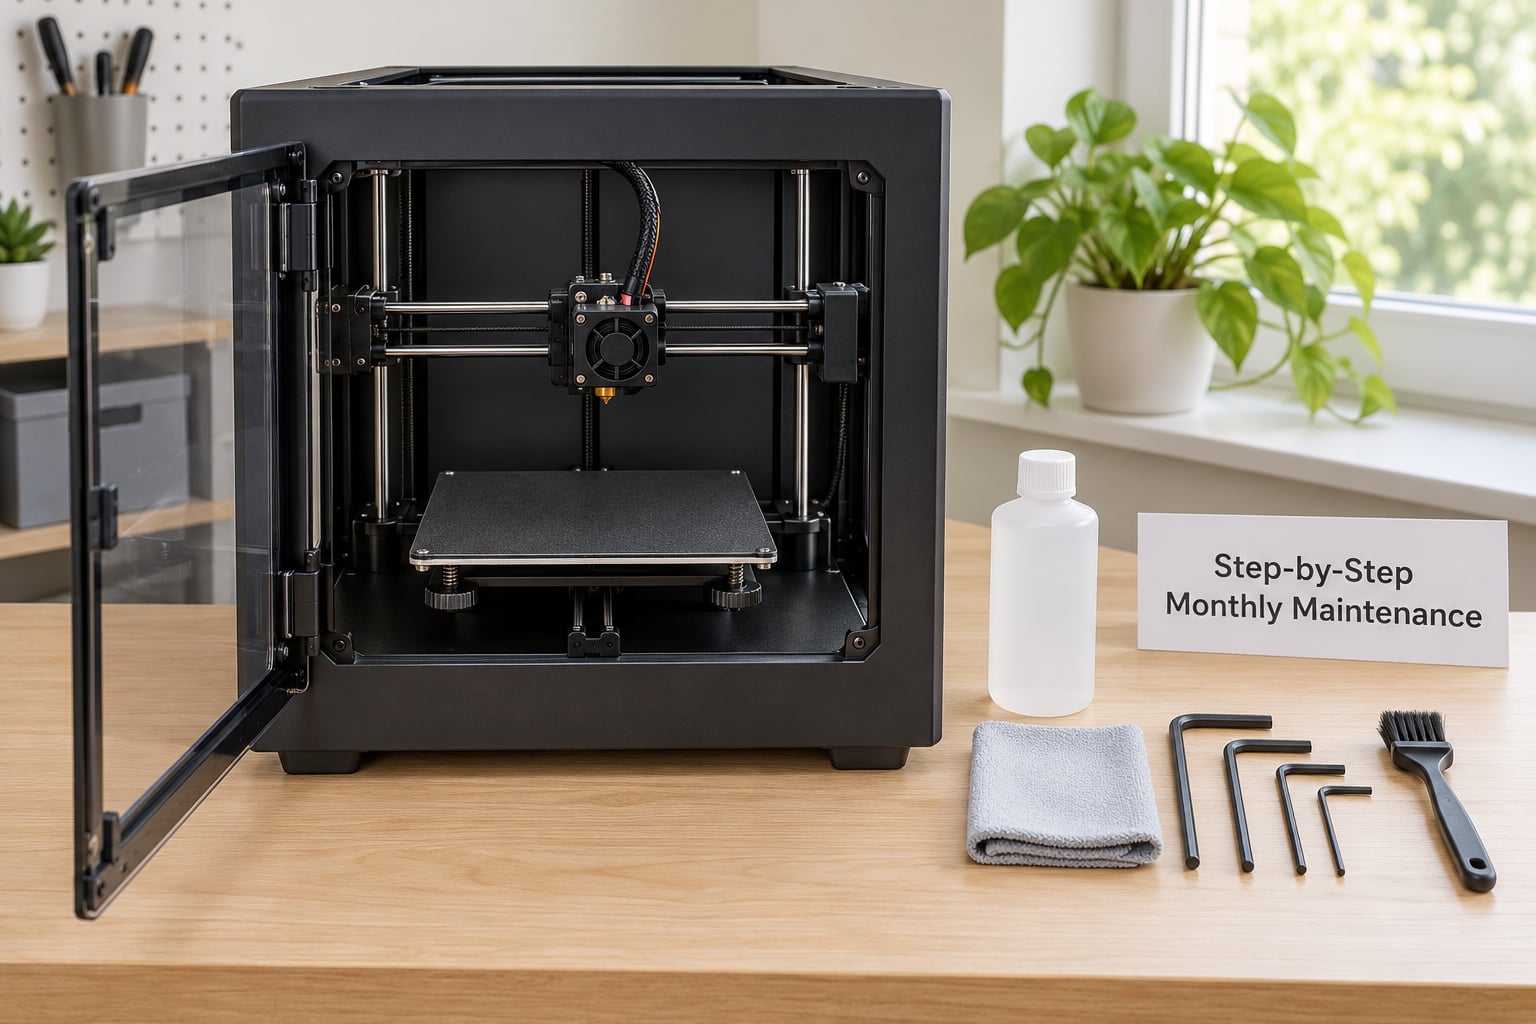
Work through these in order. Cooling first is not optional, and doing the dry tasks before you apply lubricant keeps grease away from surfaces that should stay clean.
1. Turn Off and Cool the Printer
Finish or cancel the print, switch the machine off at the wall rather than only at the front panel, and give the hotend and heated bed time to cool to room temperature. Touch-testing the bed is the practical check; anything warm enough to feel through a fingertip is too warm to lean over.
Powering down at the wall matters more than it looks. It removes standby draw, disconnects the heated bed, and stops any chance of the hotend firing while your hands are inside the frame. Once it is cold, open the enclosure and clear the build area of any leftover print or purge bucket.
2. Clean the Build Plate and Nozzle
Take the plate off if the manual allows it and wash warm water with a drop of dish soap, then wipe the surface with 90% isopropyl alcohol and a lint-free cloth. Dry it fully before sliding it back. For textured and textured-PEI plates, skip the alcohol and use warm soapy water only, because solvent can damage the coating.
The nozzle needs a different treatment. Heat it to the temperature printed on the filament spool, push filament through by hand until it runs clean, let it cool, and wipe the tip with a cloth. For hardened residue, hold the nozzle over a cloth and use a brass brush, working gently so you do not widen the opening. A clogged nozzle shows up as under-extrusion or a stalled print, and this step prevents most of them.
3. Clean the Printer Frame and Rails
Unplug first, then take the printer off the shelf or move it where you can reach the back. Use compressed air on the linear rails, smooth rods, pulleys, and inside the frame, and wipe the exterior with a slightly damp cloth, keeping moisture away from the mainboard, stepper drivers, and connectors.
Follow each rail the full travel of the axis by hand while you wipe. You will feel the roughness that tells you a bearing has started to wear, and you will see exactly where dust has packed into the wiper seals. That is the moment to plan a rail replacement rather than keep cleaning.
4. Inspect Belts and Tighten Them
Belt tension is the single most common cause of layer shifting and ringing on otherwise healthy printers. Look for a loose, shiny, or frayed section, and check tension with a straight edge or a purpose-made tension gauge rather than by pinching the belt with your fingers.
Tension the two ends of each belt so the marked side faces the pulley, then tighten the motor mount a quarter turn at a time. Recheck after every adjustment; tensioning one axis can shift another on a CoreXY-style machine. When in doubt, loosen both belts fully, set them by the manual’s method, then re-verify with a test print.
5. Check the Extruder and Filament Path
Run the extruder manually in the printer’s control menu with no filament loaded, watching for hesitation, clicking, or a slow return on the drive gear. Those three symptoms in sequence usually mean the extruder gear has debris packed into its teeth or is worn flat.
Remove the gear and clean the teeth with a brass brush, then check the PTFE-lined Bowden tube where it meets the hotend. A tube that has been compressed or kinked will restrict flow and produce the same under-extrusion people blame on their slicer. Look at the filament spool too, and confirm the spool holder tensioner still moves freely.
6. Clean and Inspect the Fan
Most FDM printers run two or three fans: a hotend fan that cools the heat break and a part-cooling fan pointed at the nozzle. Both pull dust, and a packed blade quietly costs you cooling, which shows up later as stringing, blobs, or heat creep in long prints.
Access depends on your model, so check the manual rather than pulling until something releases. Support the shroud if wires are attached, remove the fan, and clean the blades with a soft brush or a lint-free cloth, never a liquid. Spin it by hand on power; a fan that stutters, rattles, or does not spin freely needs replacing, and a fan that only works on full voltage has a failing bearing or a failing driver.
7. Lubricate Moving Parts as Needed
Apply a thin film of PTFE-based grease along smooth rods, lead screws, and linear rails. Clean each surface first, use the smallest amount that will spread, and wipe off every drip so nothing sits in a channel or drips onto the frame. Move the axis by hand afterwards to work the grease in, then clean the surface a second time.
There is a short list of parts that should stay dry, and it is the part most guides get wrong. Do not grease belts or belt teeth, do not put grease on the extruder drive gear or on PTFE tubing, and check your manual before touching the Z-axis smooth rods, because on many machines the Z carriage rides on smooth rods that are meant to be cleaned, not lubricated.
Matching grease to the component also matters. PTFE-based grease suits lead screws and rods, and it tolerates the heat near the motion system. Thick lithium grease is too stiff for small linear bearings such as LM8K, and users on maker forums report it forming dry patches inside the bearing rather than lubricating it.
8. Run a Calibration or Test Print
With a dust cover on if your model uses one, heat the bed to your normal temperature, let it soak for several minutes, and run your bed-leveling routine. Auto-leveling probes the bed surface rather than the frame, so a loose gantry or a sagging bed can still leave the first layer uneven, which is why this step is a verification and not a formality.
Then print a calibration cube or first-layer test. Look for uniform lines and consistent corners, measure wall thickness with calipers to check your extrusion multiplier, and listen to the move. After a service session, the machine should sound different: the grinding should be gone and the ringing quieter.
If something still looks wrong, match the symptom to the task rather than swapping parts at random.
| What you notice | Likely cause | Where to look first |
|---|---|---|
| Grinding or clicking noise | Dry linear bearing or lead screw | Steps 3 and 7 |
| Layers shift sideways | Loose belt or frame bolt | Steps 4 and the frame bolts |
| Ringing or ghosting on walls | Belt tension off across an axis | Step 4 |
| Under-extrusion, gaps in top surfaces | Blocked nozzle or worn PTFE liner | Steps 2 and 5 |
| Filament grinding at the feeder | Debris in the extruder gear | Step 5 |
| First layer lifts at the corners | Dirty bed surface or loose frame | Steps 2 and 3 |
| Heat creep, blobs mid-print | Blocked hotend fan | Step 6 |
| Z banding, wobble in tall prints | Dirty or binding Z hardware | Steps 3 and 7 |
Common Mistakes
Almost every maintenance problem I get asked about traces back to one of these.
Greasing parts that should stay dry
Grease on a belt reduces grip, and grease near an extruder gear attracts the plastic dust that clogs it. Grease on Z smooth rods can make filament stick to the rod and smear along the print. Wipe every surface you lube a second time, and keep grease to rods, screws, and rails only unless your manual says otherwise.
Over-tightening the frame bolts
Bolts should be snug, not torqued. Printed brackets and mounts on open-frame machines crack when you tighten them hard, and a cracked mount shifts the gantry out of square. Tighten in small increments, alternating between bolts so the load spreads evenly, and stop as soon as the joint stops moving.
Using too much lubricant
A thick bead of grease on a rod collects dust and grit and becomes an abrasive paste that wears the bore faster than no lubricant at all. A thin, even film is the goal, and the surface should still look clean when you finish.
Cleaning with liquid near electronics
A damp cloth is fine on plastic panels. Spraying anything into the frame is not, and alcohol should never touch the mainboard, display, or stepper drivers. Compressed air and a brush handle the inside of the machine properly, with the machine unplugged.
Skipping the calibration step
Doing the clean and lubrication but skipping the test print leaves you guessing. Without the calibration print you have no way to tell whether the service worked, and loose bolts stay loose because nothing tested them.
Replacing parts before diagnosing
Under-extrusion is usually a dirty nozzle or a worn PTFE liner, not a bad extruder. Starting from a replacement order costs money and leaves the real cause in place. Work the symptom table first, and change the cheapest, easiest part that explains the behavior.
Waiting for the calendar when you print by the hour
Someone running a long job every weekend wears a printer through 150 hours in six weeks, while someone printing a few trinkets a month is nowhere near due. Use the print-hour thresholds in the cadence table rather than assuming every machine needs the same month.
Frequently Asked Questions
What should I clean my 3D printer bed with?
For glass and smooth PEI sheets, wash with warm water and a drop of dish soap, dry, then wipe with 90% isopropyl alcohol and a lint-free cloth. Textured and textured-PEI plates should use warm soapy water only, since solvent can strip the coating. Avoid anything abrasive, and do not touch the surface with bare fingers, because skin oil causes the same adhesion failures as a dirty bed.
How often should I lubricate my 3D printer?
For a typical hobby machine, once a month or every 100 to 150 print hours is reasonable. Use PTFE-based grease on smooth rods, lead screws, and linear rails, and wipe off the excess so the surface still looks clean. Heavy users running a print farm should shorten the interval, while light users can go longer without noticing a difference.
How do I lubricate the linear rails on my 3D printer?
Wipe the rails clean first, then apply a thin line of PTFE-based grease along the length of each rail. Move the carriage by hand the full travel of the axis so the grease spreads into the bearings, then wipe the rail a second time to remove every drip. Leave belts, pulleys, and the extruder gear dry, and check your manual before greasing Z-axis smooth rods.
What are the symptoms of a clogged extruder or nozzle?
The usual signs are under-extrusion on top surfaces, gaps in thin walls, inconsistent flow between layers, and clicking or grinding from the feeder as the motor strains against a blockage. A cold pull at the hotend end usually removes the problem immediately. If the blockage returns within days, suspect a worn PTFE liner or a dirty extruder gear instead of the nozzle itself.
Can you leave your 3D printer on all the time?
Leaving it on standby is harmless but useless, and it keeps the electronics powered in an environment full of heat and dust. Turn it off when it will sit idle for more than a day, and never leave it heating with no filament and no one nearby. A dust cover does more good than an idle machine left powered, because it keeps debris off the rails and fans.
Do I need monthly maintenance if I only print a few hours a month?
Halve the routine rather than skipping it. Keep the per-print habits of wiping the bed and watching the first layer, do the weekly dust and bolt checks, and run the full session once you pass roughly 50 print hours. Wear tracks use rather than the calendar, so the month that matters is the month you actually printed.
Conclusion
Start where the damage starts. Let the printer cool fully, clean the build plate and nozzle with 90% isopropyl alcohol, dust the rails and fans, check belt tension and frame bolts, grease only the rods, rails, and lead screws, and close the session with a calibration print so you know the work helped.
Give it a fixed 30 to 45 minutes each month or every 100 to 150 print hours, and the problems that normally show up as failed prints simply stop appearing.