Printing a spring that actually works comes down to three decisions: orient the part so the bending load runs along the filament strands instead of across them, use an elastic material like TPU 95A or PETG, and slice it thin and solid. Get those right and you can print functional springs that hold a real load for thousands of cycles; get them wrong and the part snaps at the first layer boundary.
The whole job takes about an hour for a small spring, plus another 20 minutes of load testing. Beginners usually need one failed print to see the difference orientation makes, so plan on printing twice.
Table of Contents
- What You Need
- Pick the spring type before you model anything
- Geometry rules that decide whether it can flex
- Step-by-Step: How to Print Functional Springs
- 1. Model the spring around the load, not the picture
- 2. Choose print orientation so the bend loads filament strands
- 3. Configure the slicer for a flexing part
- 4. Remove, finish and check dimensions
- 5. Validate performance under load
- Common Mistakes
- The spring snapped at a layer line
- The spring is too soft
- The spring is too stiff
- The coils printed as a solid block
- Print-in-place parts came off the bed as one lump
- The print warped or the first layer lifted
- The test itself failed dangerously
- When a printed spring is the wrong answer
- Frequently Asked Questions
- Can a 3D printer print a working spring?
- What material is best for 3D printed springs?
- Can PLA act as a spring?
- What layer height should I use for a printed spring?
- How do I print springs that do not snap?
- Can 3D printed springs replace metal springs?
What You Need
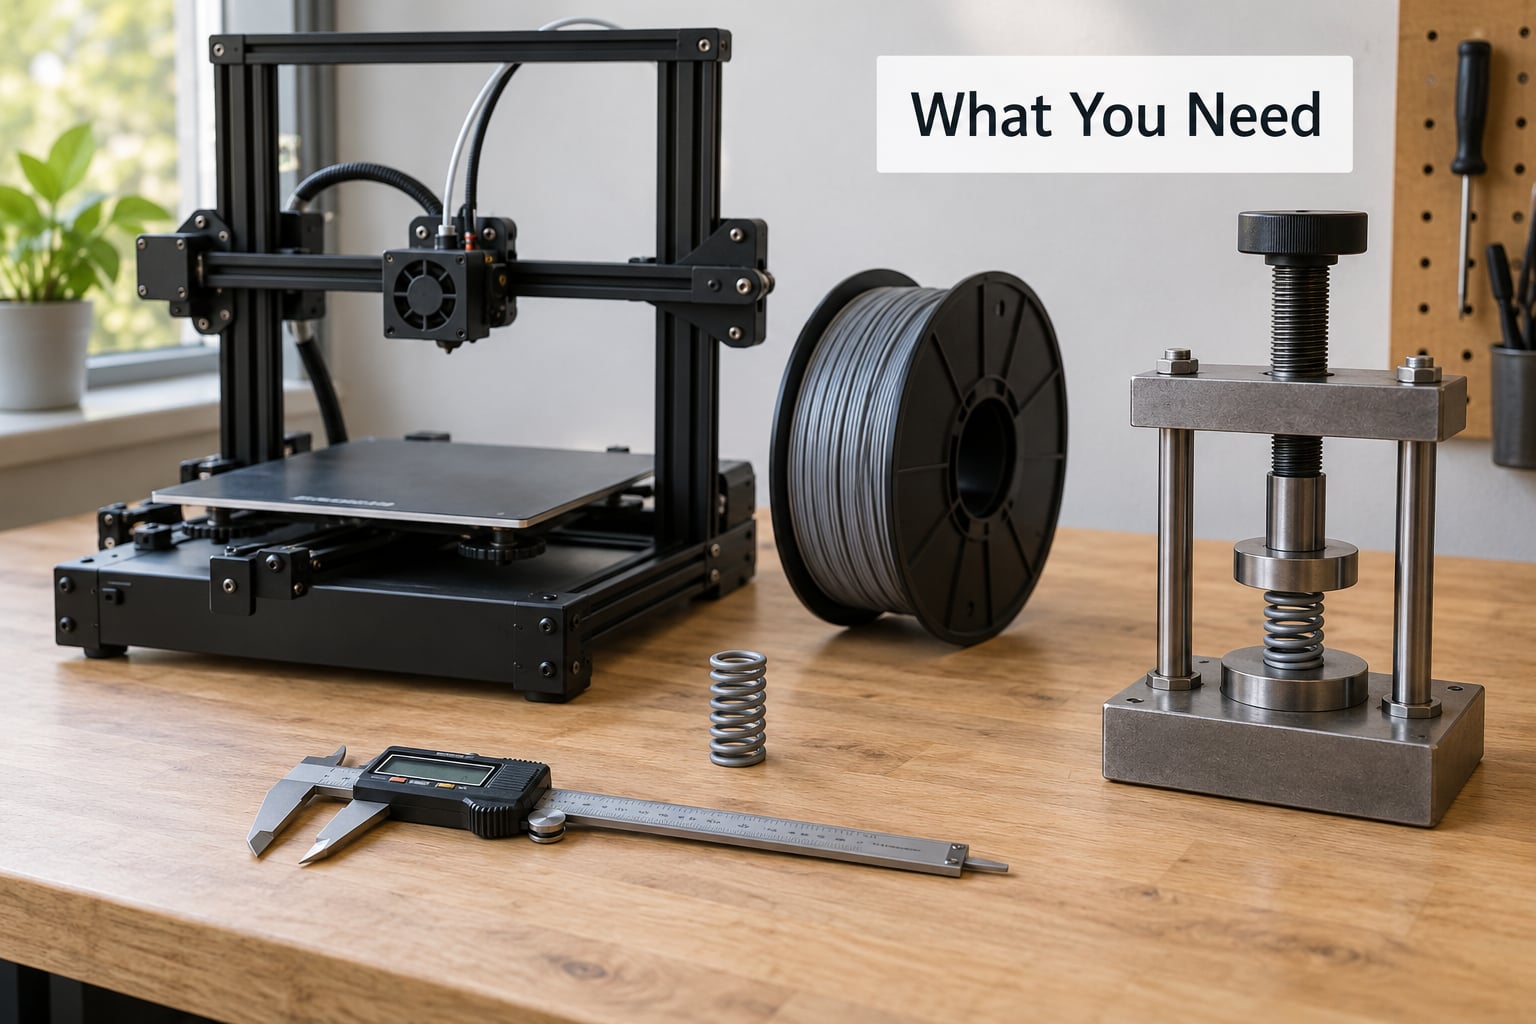
You need four things: a printer with repeatable layer consistency, modeling software, an elastic filament, and a way to measure and load the finished part. That last one matters more than most guides admit, because a spring with no test fixture is just a shape.
- Printer: any FDM machine that holds Z height and extrusion consistently. A direct drive extruder is strongly preferred if you plan to print TPU, since the softest grades do not have enough stiffness to push through Bowden tube friction and will jam instead.
- Modeling software: Fusion 360, SolidWorks, Onshape or OpenSCAD. OpenSCAD is the easiest way to make a parametric spring, where you change coil count or pitch and regenerate.
- Filament: TPU 95A for coil springs, PETG for flat springs and snap-fits, nylon PA for high-force torsion springs. PLA is a prototype material only.
- Measurement and testing: digital calipers, a threaded rod or a printed test rig, a bench vise, and eye protection. A slow squeeze with a bolt and washer tells you the spring rate within about 20 percent, which is close enough to iterate on.
Pick the spring type before you model anything
Compression springs push back when squashed and are the easiest to print because they are self-supporting. Extension springs pull two ends together and need hooks or arms modeled on. Torsion springs twist and return, and their arms need to be noticeably thicker than the coil. Conical springs compress progressively and are fiddly to print because the coil diameter changes along the height.
Match the type to the job, then match the spring to the load and travel you actually need. A battery contact spring needs about 2 mm of travel and very little force. A latch return needs several millimetres and a firm push-back. A bed-leveling spacer needs a defined force you can reproduce, which is harder.
Geometry rules that decide whether it can flex
Round wire is the wrong shape for FDM. It has no flat face to bond to the layer below, so you get a weak spot at every turn. Use a rectangular cross-section at least 1.5 mm by 1.5 mm so the slicer prints it as solid perimeters with no internal gaps.
Keep the wire-to-coil-diameter ratio between 1:4 and 1:6. Thicker wire in a small coil looks strong but acts like a plastic rod that snaps instead of flexing, and thinner wire than 1.5 mm will not print as a solid wall. The pitch, the gap between one coil and the next, must exceed the wire height, or the spring comes off the bed as a solid block.
The spring rate, meaning force per millimetre of compression, scales roughly as (G × b × h³) / (5.6 × n × D³), where b is wire width, h is wire height, n is active coils, D is mean coil diameter and G is the shear modulus. G is roughly 0.35 times Young’s modulus for polymers. Typical modulus values: PLA about 2500 MPa, ABS about 2100 MPa, PETG about 2000 MPa, nylon about 1200 MPa, TPU about 50 MPa.
Two numbers from that formula save most bad prints. Raising wire height to the power of three makes thickness by far the strongest lever on stiffness. And adding coils divides stiffness directly, so six coils are half as stiff as three with the same wire.
Solid height is the length of the spring when the coils are fully closed, and it caps usable deflection. As a working rule, never compress a printed spring past about 75 percent of its free stroke. Past that, you start unloading the wrong part of the coil and cycle life drops off fast.
Step-by-Step: How to Print Functional Springs
1. Model the spring around the load, not the picture
Set your spring rate and travel first, then solve for the wire cross-section and coil count. Model a helical spring as a swept rectangle along a helix, a leaf spring as a thin cantilever, and a torsion spring as a coil with two radial arms. Add a fillet radius wherever the wire meets a hook or an arm, because a sharp corner there is a stress concentration and that is where springs break.
For a flat or leaf spring, the rate of a cantilever under end load is k = 3EI / L³. Doubling the length makes it eight times softer, which is a useful knob when you only want to change stiffness. Export as STL or 3MF, and slice a single coil first if the model is parametric.
2. Choose print orientation so the bend loads filament strands
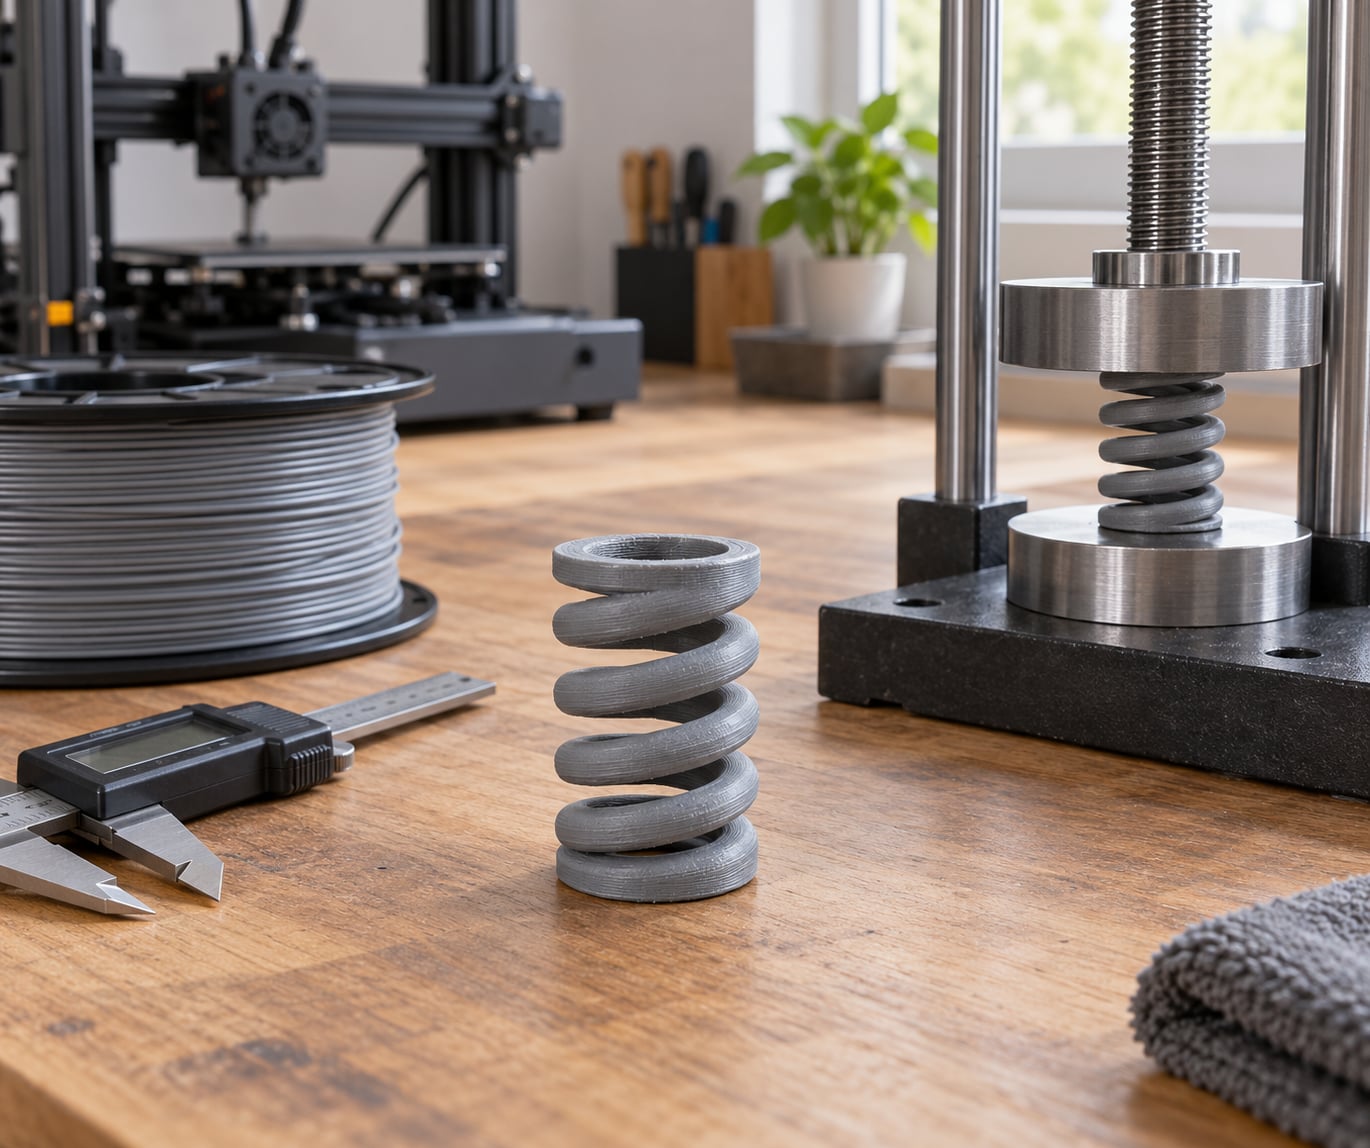
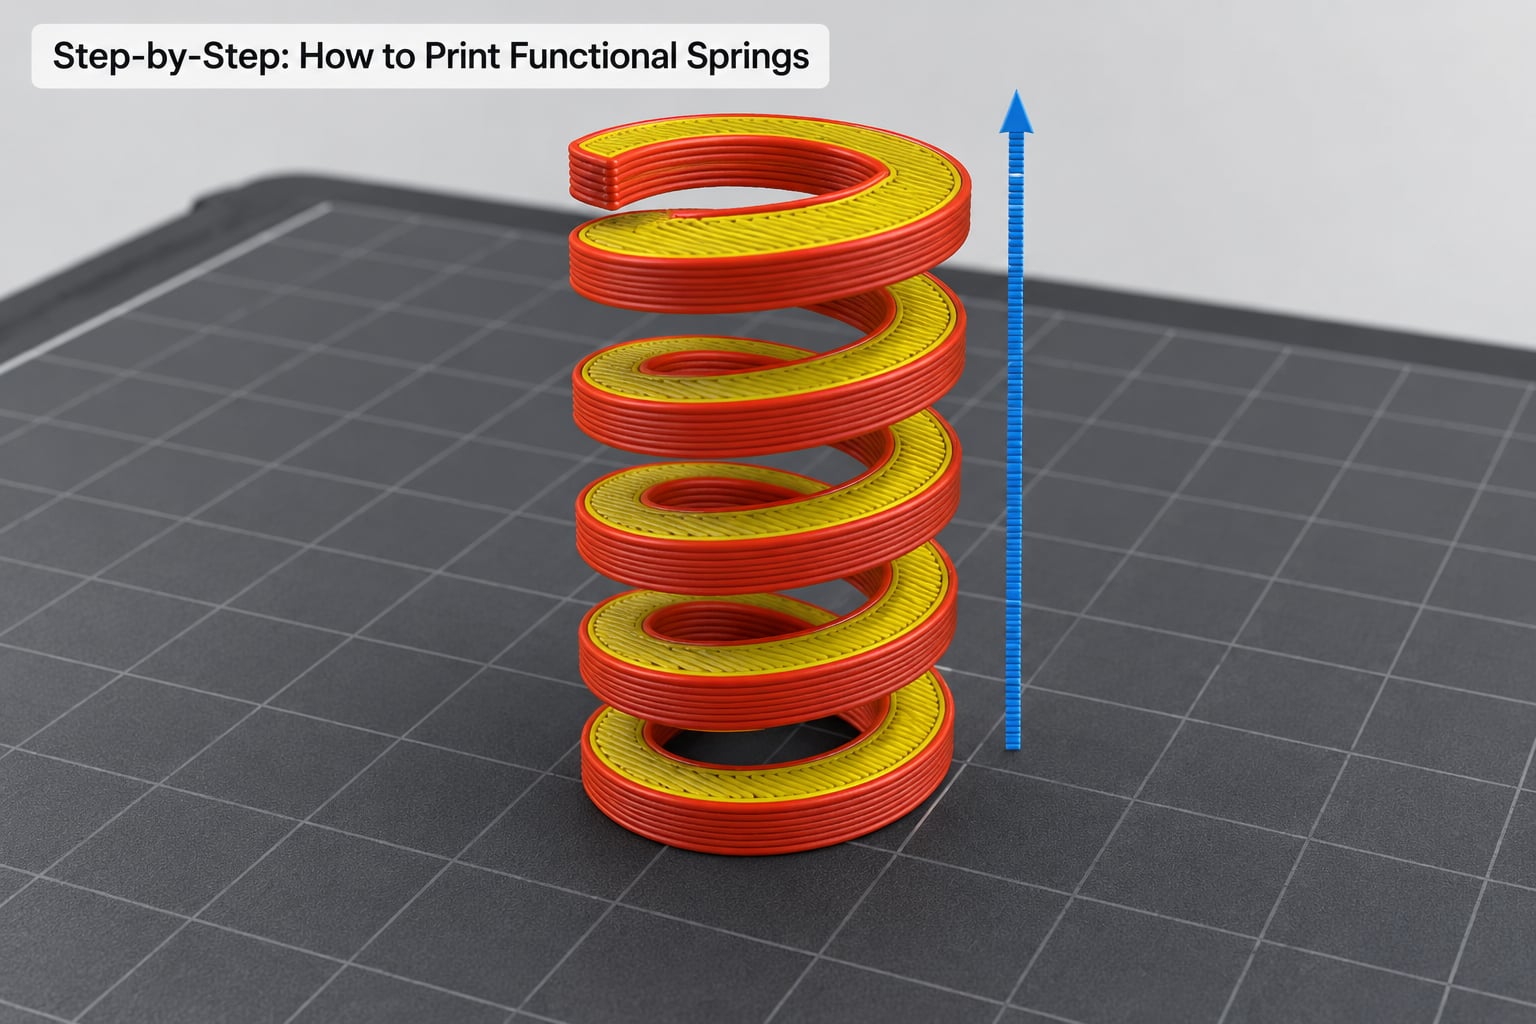
This is the single decision that most affects how long the spring lasts. FDM parts are strongest within a layer and weakest between layers, so the direction the bend loads should follow the direction of extrusion. A vertical coil takes its bending load along continuous strands, which is why a vertical coil typically outlasts a horizontal one by roughly five to ten times.
The rules by type:
- Compression and extension coils: stand the coil axis up, so the helix rises along Z. The flat faces of each turn sit in one layer plane.
- Flat and leaf springs: lay the spring flat on the bed with the bend direction running parallel to the layer lines.
- Torsion springs: print the coil vertical and keep the arms in the layer plane rather than standing them on edge.
- Print-in-place springs: the moving spring sits inside its housing and flexes sideways, so keep the flex axis parallel to the bed and give it at least 0.3 mm clearance, 0.4 mm to be safe.
Self-overlapping helical coils need no supports at all, because each coil rests on the one below. That is a good sanity check: if your spring needs tree supports, the pitch is wrong.
3. Configure the slicer for a flexing part
A spring is a solid part wearing infill settings. Set infill to 100 percent, walls to at least 4, and top and bottom layers to at least 4. Use a layer height of 0.12 to 0.16 mm, which is finer than normal for the material and is the cheapest way to raise fatigue life.
For TPU specifically: print at 15 to 25 mm/s, keep retraction near 1 mm or lower, set cooling to low or off, and dry the filament first because wet TPU prints with voids and stringing. A 0.4 mm nozzle works, but a wider nozzle at a proportionally thicker layer is friendlier to soft material since it needs less pressure. Raising the nozzle temperature by 5 to 10 C often doubles or triples fatigue life on a spring, because better layer adhesion means fewer crack paths.
4. Remove, finish and check dimensions
Pop the spring off the bed and run a finger along each coil. Any rough seam or lifted edge of filament is a crack waiting to grow. Trim burrs with a flush cutter and check the free length plus the gap between coils with calipers; the gap should match your design pitch minus the wire height.
Flex it by hand now. It should spring back completely and feel the same on every turn. If one coil is noticeably softer or you hear a tick, reprint it rather than chasing the problem later.
5. Validate performance under load
Put the spring on a threaded rod between two plates, tighten the bolt until it stops, and measure the height in three steps. Divide the applied force by the compression distance and you have the spring rate in newtons per millimetre, close enough to tune against your calculator value.
Then run two tests. For cycle life, compress and release a few hundred times by hand at the working deflection and watch for a coil that stays out of position or a whitening crack at a bend. For creep, leave the spring clamped at working deflection on a bench for a week and re-measure. If it has not returned to its free length after that, the geometry or material is wrong for a sustained load.
Common Mistakes
The spring snapped at a layer line
The crack ran between two layers, which is the most reported failure of printed springs. The bend was loading across the layer boundary rather than along it. Fix it in this order: rotate the part so the coil axis is vertical, drop the layer height to 0.12 mm, add 5 to 10 C to the nozzle temperature, slow the outer wall speed down, and if you are still on PLA, switch to PETG or TPU. Four or more walls give the bend somewhere to spread the load.
The spring is too soft
It deforms far more than you expected and may not return fully. Increase the wire thickness first, since stiffness goes with thickness cubed. Then add coils, since each one divides stiffness. Move from PLA to PETG or TPU if the material is stiff or brittle, and check that the coil gap did not print closed, which silently turns a spring into a spacer.
The spring is too stiff
You cannot compress it enough to do the job. Reduce the wire cross-section, but stay at or above 1.5 mm so walls still print solid. Reduce the active coil count, increase the coil diameter, or move to a softer material such as TPU 95A instead of PETG. Remember to keep the wire-to-coil ratio inside 1:4 to 1:6 or you will get a rod that breaks rather than a spring that flexes.
The coils printed as a solid block
No gap between turns means the pitch is not greater than the wire height in the model. This is a design error, not a print setting. Increase the pitch or reduce the wire height, then re-export. Printed-in-place parts fuse for the same reason at the moving gaps: less than 0.3 mm of clearance lets the surfaces bridge together.
Print-in-place parts came off the bed as one lump
The spring fused to its housing during the print. Bump the clearance to 0.4 mm, check the gap through the whole travel rather than at the tightest point only, and lower the bridging fan speed so the molten filament does not stretch across the gap. Slice the spring section alone first to confirm it prints cleanly before you commit a long print.
The print warped or the first layer lifted
An enclosure helps more than anything else, followed by a clean bed and a correct first layer. Soft materials need a different fix: TPU bonds to some bed surfaces too aggressively at high nozzle temperatures and can damage them, so a cool bed and a light glue stick layer usually solves a first-layer problem that would need more heat for PLA.
The test itself failed dangerously
Pinching a stiff printed spring between your fingers can break a tooth. Use the threaded-rod rig, wear eye protection, and keep your face out of the compression line. Put a mechanical stop or a torque-limiting wrench on the bolt so the spring is loaded gradually instead of released suddenly.
When a printed spring is the wrong answer
Printed springs are a poor substitute for metal once the job needs high force, high cycle counts, high temperature or anything safety-critical. A reasonable dividing line is roughly 5 to 10 newtons of force and around 10,000 cycles; beyond that, buy a steel spring. For scale, press springs in industrial equipment see hundreds of thousands of compressions, and heat-exposed automotive springs may only manage about 10,000.
Heat is the quiet one. Printed TPU that has been through repeated hot-end or heated-bed cycles can take a permanent set and stop pushing back as hard, where a steel wave spring would spring back. Keep printed springs away from hot ends, ovens and sunlit enclosures, and re-measure after any heat exposure.
Frequently Asked Questions
Can a 3D printer print a working spring?
Yes, for light to moderate loads. A printed spring works when the part is oriented so the bending load runs along the filament strands rather than across them, the filament is elastic such as TPU 95A or PETG, and it is sliced solid at 0.12 to 0.16 mm layers. Printed springs are not a substitute for steel in high-force, high-cycle, high-temperature or safety-critical work.
What material is best for 3D printed springs?
TPU 95A is the best all-round choice because it is genuinely elastic, tolerates repeated cycling and prints without supports on a self-overlapping coil. PETG is the easier option for flat springs, leaf springs and snap-fits, and takes more load before yielding. Nylon PA handles higher torsion and shear loads if your printer can dry and extrude it. PLA is for prototypes only.
Can PLA act as a spring?
Technically yes, practically no. PLA is stiff and brittle, so it cannot absorb much bending energy, and FDM prints are weakest between layers, which is exactly where a spring bends. It also creeps, so a held-compressed PLA spring slowly loses force. The legitimate use is prototyping the geometry in PLA, flex-testing it by hand, then reprinting the final part in PETG or TPU.
What layer height should I use for a printed spring?
Use 0.12 to 0.16 mm, which is finer than you would normally print that material. A flexing part fails at the weakest link, and thinner layers put more bonding surface between each course of filament, so fatigue life rises noticeably. A 0.4 mm nozzle can print 0.1 mm layers at 25 percent of its diameter, but expect a long print and a less tidy top surface.
How do I print springs that do not snap?
Fix it in this order. Stand the coil vertical so the bend loads along the strands, slice at 0.12 to 0.16 mm, add 5 to 10 C to the nozzle temperature, use at least four walls with 100 percent infill, drop PLA for PETG or TPU, and keep compression under about 75 percent of free stroke. Print two spares, since spring failure is rarely gradual and there is no visible warning.
Can 3D printed springs replace metal springs?
For latches, clips, battery contacts, prototypes and one-off mechanisms, yes. For anything safety-critical, high force above roughly 5 to 10 newtons, high cycle counts above 10,000, or anything exposed to significant heat, no. Heat can cause a printed spring to take a permanent set, and a metal spring costs very little when a catalogue part fits.
Start by printing one coil vertically in TPU 95A at 0.14 mm layers with four walls, flex it by hand, and see what it tells you. Model and prototype the geometry in PLA if you need to iterate quickly, then print the real part in PETG or TPU, keep it under three quarters of its free stroke, and print a spare while you are at it.