Making filament from plastic waste means turning discarded plastic into 1.75mm or 2.85mm 3D printing filament you can actually print with. You either shred the plastic and push it through a heated screw extruder, or slice PET bottles into strips and pull-trusion them through a modified hotend. Both routes work at small batch sizes, and both demand more care than a factory line. Here is the honest version, updated for October 2026.
Two things decide whether you end up with usable filament or a pile of wobbly string: knowing exactly which polymer you are holding, and keeping it dry. Everything else in this guide hangs off those two.
Table of Contents
- What You Need
- Step-by-Step: How to Make Filament from Plastic Waste
- 1. Sort and Test the Plastic Waste
- 2. Clean, Dry, and Shred the Plastic
- 3. Set Up the Extrusion and Cooling System
- 4. Melt and Extrude the Plastic
- 5. Control the Filament Diameter
- 6. Wind the Filament onto a Spool
- 7. Dry, Test, and Store the Finished Filament
- Common Mistakes and How to Fix Them
- Mixed polymers in the feed
- Wet plastic
- Inconsistent shred size
- Fumes and overheating
- Bubbles in the strand
- Poor layer adhesion
- Diameter variation and ovality
- Tangled spool
- Brittle or discolored strand
- Nozzle clogs
- Joining short segments
- Frequently Asked Questions
- Can I make 3D printing filament from plastic bottles at home?
- What is the easiest plastic to turn into 3D printing filament?
- How do I keep homemade filament at the correct diameter?
- Why is my recycled filament rough, brittle, or discolored?
- Is homemade filament from plastic waste safe to print with?
- Can a normal FDM 3D printer be used to make filament?
- How much plastic waste is needed to make one spool of filament?
- Conclusion
What You Need
A safe entry-level setup is a small benchtop rig, not a factory extruder. You need to identify the plastic, get it clean and dry, melt it at a controlled temperature, and pull it to a steady diameter. That is the whole difference between how to make filament from plastic waste in a home workshop and how a recycler does it.
- Polymer identification: a resin code stamp on the item, or a small handheld analyzer. Guessing is the single most common way people ruin a batch.
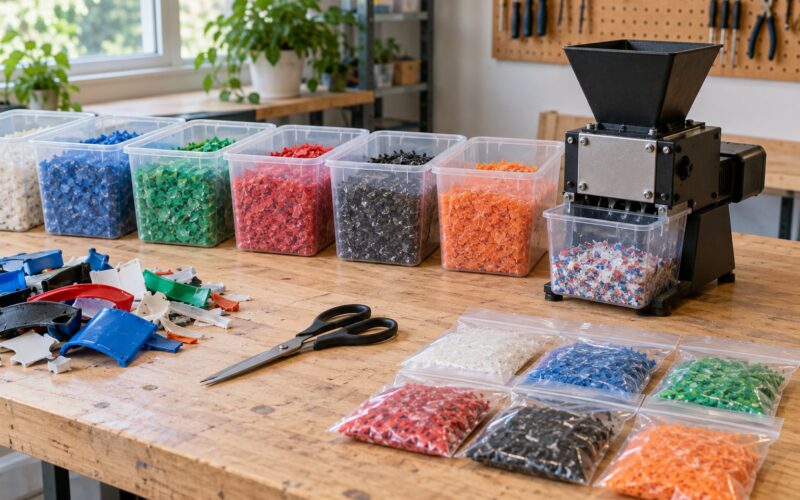
- Shredder or granulator: a small shredder turns bottles and failed prints into 3-6mm flakes. A blade-style unit with a fixed screen gives more consistent particle size, and consistency feeds directly into steady diameter.
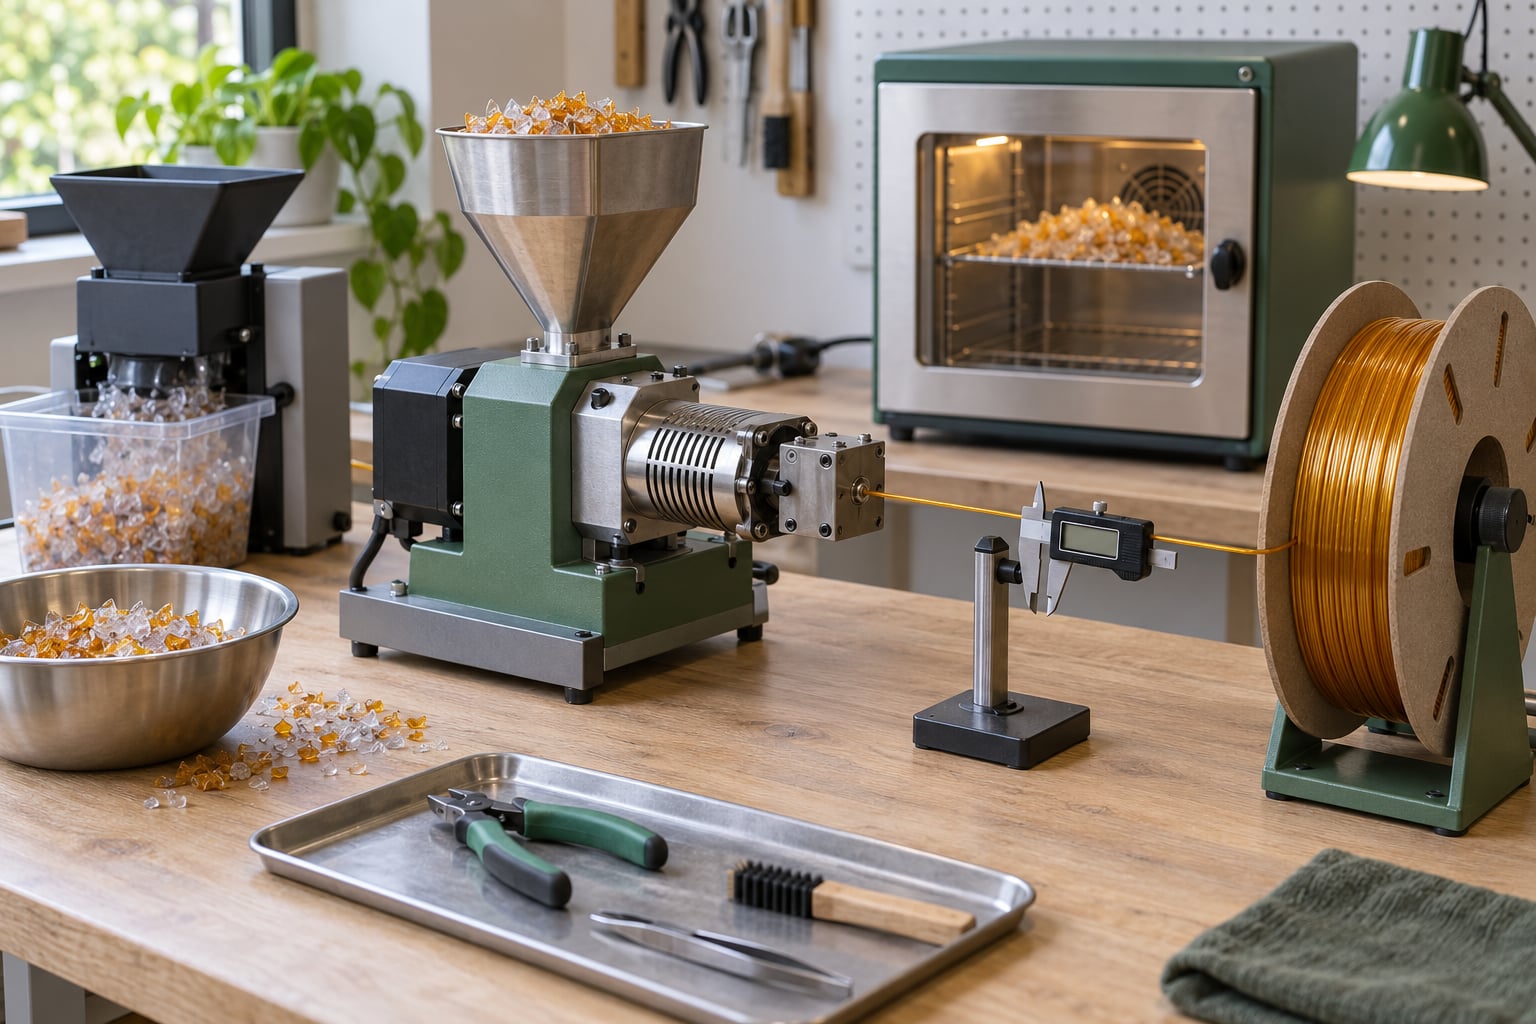
- Extruder: a single-screw extruder with a heated barrel, hopper and drive screw, or a hand-cranked desktop filament extruder for learning the process. Pultrusion needs neither a shredder nor a screw: a bottle slicer and a drilled hotend nozzle will do.
- Heated build chamber or insulated nozzle area: keeps the melt from cooling mid-strand, which is what causes thick-then-thin sections.
- Puller and spooler: a driven wheel or a weighted take-up arm that pulls the strand at steady speed and winds it onto a spool under light tension.
- Diameter measurement: digital calipers at minimum. An inline laser or micrometer sensor is what takes you from guesswork to consistent output.
- Drying equipment: a drying oven or food dehydrator with temperature control, plus sealed containers and desiccant for storage.
- Safety gear: a fume extraction fan with ducting to a window or outside, a face shield and heat gloves, a fire extinguisher, and a temperature-controlled setup with a reachable emergency shutoff.
Leave out anything with a mains motor, a heated barrel or no local extraction. Recycled plastic carries unpredictable additives and unknown contamination, and that combination does not belong in a closed room.
Step-by-Step: How to Make Filament from Plastic Waste
Seven steps, in order. The variables you control are resin type, cleanliness, particle size, melt temperature, pull speed, final diameter and moisture. Change one at a time and you will learn more than changing all five at once.
1. Sort and Test the Plastic Waste
Start with a single known resin. Clean ABS and PETG are far more forgiving than mixed waste, and one contamination event ruins a whole hopper if you batch carelessly.
Identify by the SPI resin code stamped on the base or label, or by characteristic feel and appearance: PETG is typically near-clear with a slight blue-green tint and stays flexible, PET bottles are stiffer and often tinted, ABS is opaque and rigid. Wash the item, then do a small melt test: press a clean scrap into a hot plate in a well-ventilated spot and watch whether it softens, smears or blackens.
Do not process plastic with unknown additives, PVC, fluoropolymers, electronics, batteries or anything that held a chemical. PVC in particular releases corrosive hydrogen chloride fumes when heated, and it destroys extruder barrels as well as lungs.
2. Clean, Dry, and Shred the Plastic
Wash in warm water with dish soap, then strip every label, adhesive and cap ring. Adhesive residue is the most common contaminant, and it carbonizes into black specks that then clog your die.
Dry thoroughly. PET and PETG are hygroscopic, which means they pull water out of the air, and water at melt temperature causes hydrolysis: the polymer chains snap shorter and the filament comes out brittle. Typical drying for PET runs 60-80C for four to eight hours; check the resin supplier’s guidance rather than trusting a generic number. Dry in a single layer where you can, in a vented dryer, not a sealed warm box.
Shred to a consistent 3-6mm flake. Large chunks bridge in the hopper and starve the screw, while dust and fines pack into gaps and starve it too. Screen the output over a kitchen sieve and hand-pick anything that looks like a different plastic. This is the step where most how-to guides on making filament from plastic waste go quiet, and it is the one that decides your batch quality.
3. Set Up the Extrusion and Cooling System
Mount the extruder level, load the hopper so flakes cannot bridge, and connect the heated barrel to a controller with a real thermocouple rather than an unverified setpoint.
Run the nozzle path and the cooling fan before you heat anything. Wire the take-up spool in line with the path, set the puller so it grips without crushing, and confirm you can pull the strand by hand without dragging the whole rig.
Start extraction and open a window first. Set a timer or keep a hand on the emergency shutoff. Then heat the barrel slowly, following the resin supplier’s ramp, and log the actual temperatures at each zone. Write the numbers down. When something goes wrong at 2am you will want them.
4. Melt and Extrude the Plastic
Bring the barrel to the resin’s processing range in stages, not one jump. PET typically extrudes around 240-260C depending on the machine, and hotter is not better: over the decomposition point you get fumes, black specks and a burnt-plastic smell that tells you to stop immediately.
Establish a steady melt first with no feed, then introduce shredded plastic slowly. Watch the pressure on the screw. If it climbs and stalls, flakes are bridging or the feed throat is too cold. If the output surges and thins, the melt is not degassed or the material is still wet.
Stop the moment you see heavy smoke, a sharp chemical smell or unstable flow. That is not a tuning problem, it is a signal that the material or the temperature is wrong.
5. Control the Filament Diameter
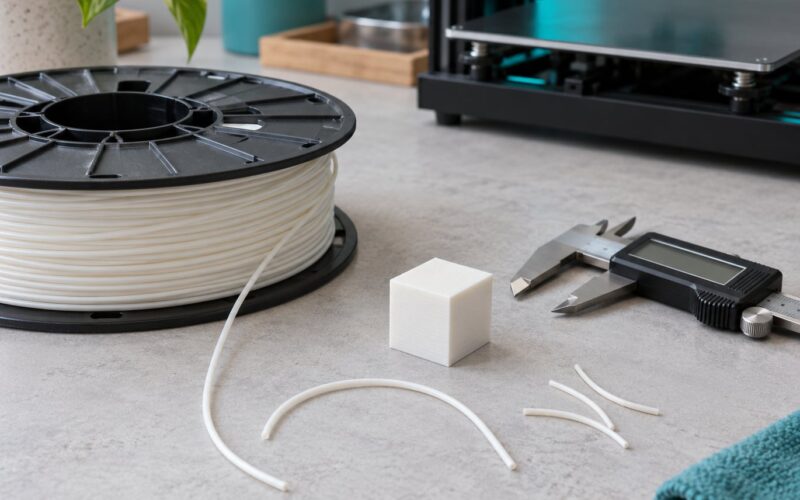
Measure the cooled strand, not the melt. With the calipers, check at least five points along a 300mm section: near the die, in the middle, and near the take-up. 1.75mm filament wants roughly 1.72-1.78mm; 2.85mm wants about 2.80-2.90mm.
Thin spots usually mean the puller is outrunning the melt or cooling is too aggressive. Thick spots mean the puller is losing grip, or the melt pressure is pulsing. A die larger than the target diameter is normal: final size comes mostly from draw-down, the gap between die exit and cooling.
Watch for ovality and gaps in the cross-section. Both are cooling problems, not pressure problems, and both are more common in pultruded strand from a hand-pulled bottle strip. A wider nozzle, slower pull and a longer cooling path help. Forum testing on bottle-pultrusion setups found strand ranging from 1.6 to 1.9mm with voids in the section, so budget for feed-rate compensation at the printer when the strand is irregular.
6. Wind the Filament onto a Spool
Use a clean spool with a straight hub and set tension so the strand lays flat without stretching or indenting. Constant speed matters more than high speed, and a wide, even wind beats a narrow, tight one every time.
Do not let the strand touch the bench or cross itself. Those are the tangles that end a print at hour six. Guide it by hand for the first few turns, then let the spooler take over while you watch.
Label the spool as soon as it comes off the rig: polymer type, measured diameter range, production date, source of the plastic, and an honest note about what you do not know. An unlabeled mystery spool gets used by someone eventually, probably with the wrong temperature profile.
7. Dry, Test, and Store the Finished Filament
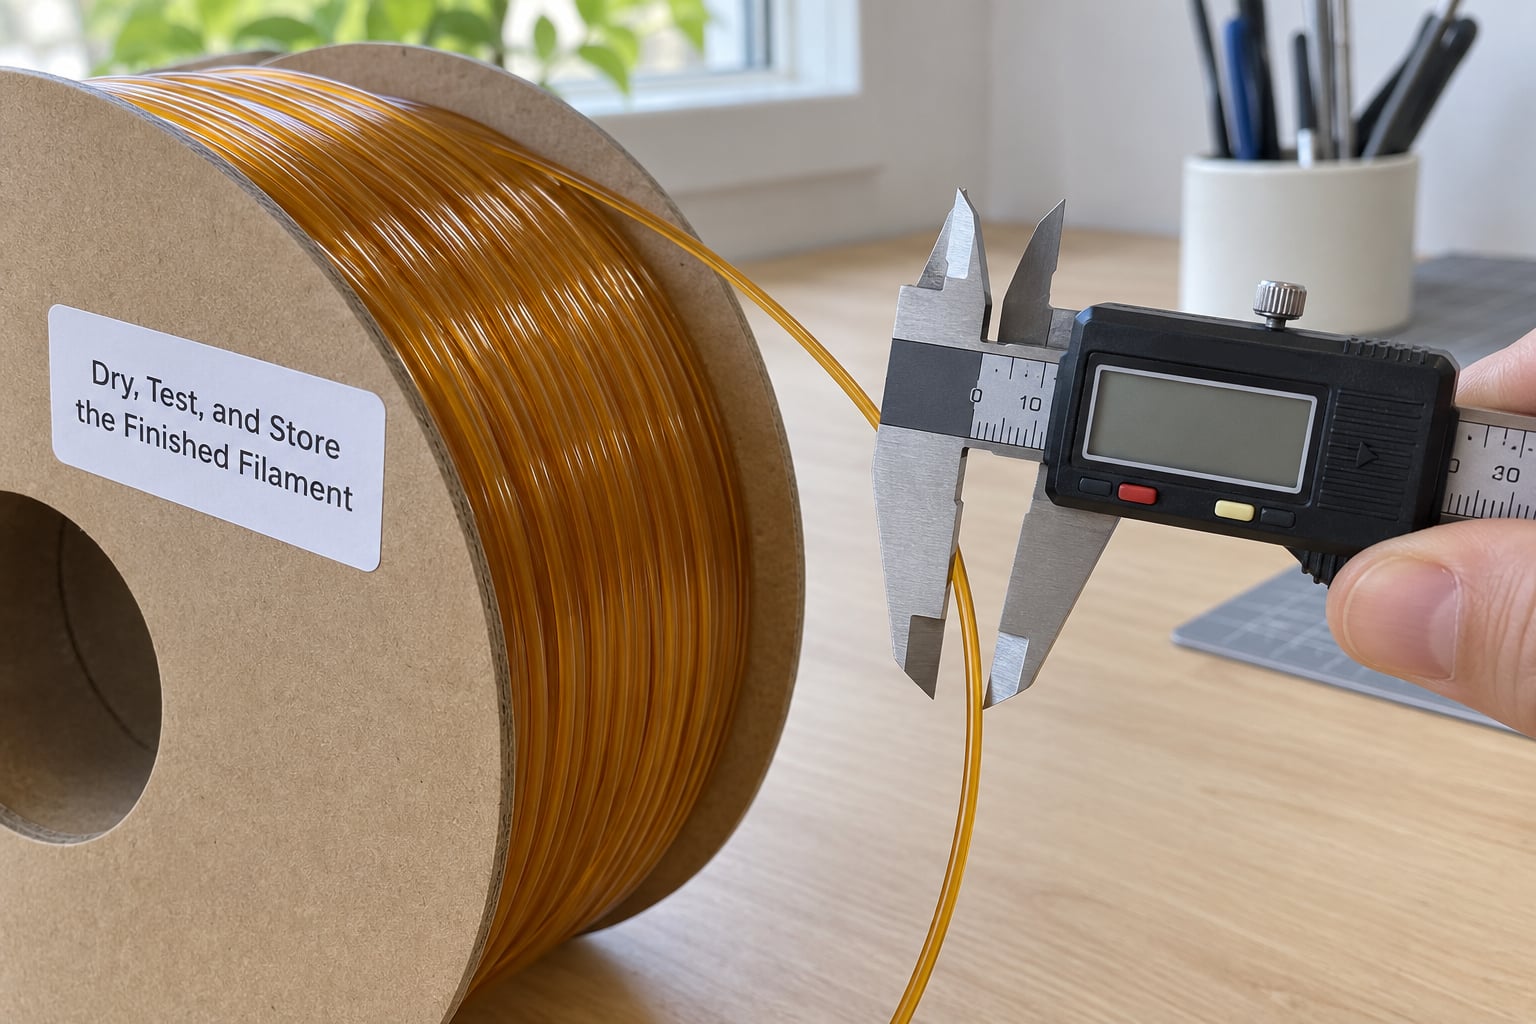
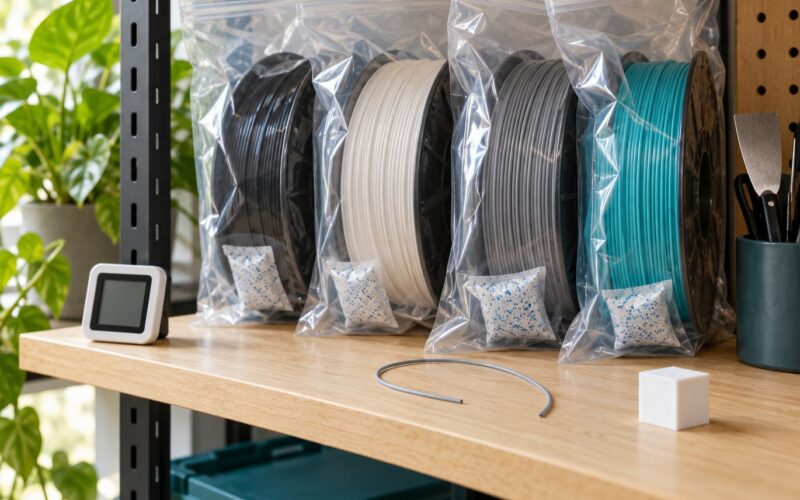
Give the finished spool one more dry cycle at the polymer’s own drying temperature, then store it sealed with fresh desiccant. Most recycled filament problems that people blame on the extruder are storage problems.
Run a short test: a small calibration cube, then a thin wall, then a layer adhesion test. Look at the surface for bubbles and gaps, and break one part to check whether it snaps in layers or through the section. Bubbles point to moisture; clean layer separation points to poor interlayer bonding from contamination or a degraded batch.
Treat recycled filament as a prototyping material, not a certified one. Do not assume it is food-safe, medical-grade, or safe for repeated use in sensitive applications, and never print anything intended to hold food or drink from unverified waste plastic. UV exposure, cleaning chemicals and heat all raise the bar, and a homemade spool cannot document any of that.
Common Mistakes and How to Fix Them
Nearly every failure has the same small set of causes. Work down this list before changing the machine.
Mixed polymers in the feed
Signal: wild diameter swings, black specks, a burnt smell. Cause: a dropped cap ring, a label, or mixed bottles. Fix: sort at the bottle, not the hopper, and shred one resin per session.
Wet plastic
Signal: bubbles popping at the nozzle, a sizzling sound, steamy smell, brittle strand. Cause: hygroscopic resin that absorbed water. Fix: longer drying, thinner flake layer, dry storage with desiccant.
Inconsistent shred size
Signal: the screw surges and stalls, output pulsing. Cause: mixed flake and dust, bridging in the feed throat. Fix: screen the shred, keep a consistent screen size, and keep the hopper full.
Fumes and overheating
Signal: acrid odor, yellowing, smoke. Cause: barrel above the decomposition point, PVC or unknown resin present, extraction off. Fix: shut down, ventilate, verify resin identity, and re-run below the supplier’s ceiling temperature.
Bubbles in the strand
Signal: visible voids and crackling during extrusion. Cause: moisture, or trapped air from a feed that is too fast. Fix: dry properly, then slow the feed and improve the vent path in the barrel.
Poor layer adhesion
Signal: parts separate at layer lines, corner strength is low. Cause: contamination, wrong bed temperature, or a printer fan set too high for semi-crystalline material. Fix: clean feedstock, raise bed heat, cut cooling. On recycled PET, low fan and a hot bed matter more than any other single setting.
Diameter variation and ovality
Signal: calipers disagree by more than 0.05mm along the strand. Cause: fluctuating melt pressure, slip in the puller, or premature cooling. Fix: steady screw speed, check the puller wheel for debris, extend the cooling path, and measure again with an inline sensor.
Tangled spool
Signal: a bird’s nest under the spool. Cause: the strand fell off the path and crossed itself. Fix: guide the first turns, add a filament path guide, and never leave a partial spool unwound on the bench.
Brittle or discolored strand
Signal: the filament snaps when bent, and the surface is yellow or grey. Cause: hydrolytic degradation from repeated heating of damp resin, or excessive heat residence time. Fix: dry to spec, shorten dwell time, lower the barrel a few degrees, and if it fails again, discard the batch. You cannot reverse chain scission.
Nozzle clogs
Signal: pressure spikes, then zero output. Cause: semi-crystalline PET crystallizing in the hotend, or a carbonized speck stuck to the die. Fix: keep the nozzle above the crystallization point, insulate the feed path, and use a purge compound between polymers instead of cold pulls.
Joining short segments
Signal: a long strand breaks before it reaches a usable length. Cause: a run short enough that pultrusion never stabilized. Fix: butt two ends in a jig and heat only the joint with a controlled iron or heat block, then re-measure. A welded joint always bulges slightly, so feed it through the printer’s filament sensor slowly and expect to trim it. Several forum users describe their existing splicing attempts as unpleasant enough to avoid, which tells you this step needs a jig rather than a prayer.
On safety, keep the same three habits every session: extraction running before the heat comes on, polymer identified before it goes in the barrel, and no unverified food-contact claims on the spool label. Hot surfaces, moving gears and fume exposure are the actual risks here, not the printing.
Frequently Asked Questions
Can I make 3D printing filament from plastic bottles at home?
Yes, for PET bottles, using either pultrusion or a shredder and extruder. Slice a bottle into a wide strip and pull it through a heated nozzle for pultrusion, which needs the least equipment. For extrusion, shred bottles to 3-6mm flakes, dry them for four to eight hours, then melt and shape them. Expect to spend a weekend on your first batch and plan for imperfect diameter.
What is the easiest plastic to turn into 3D printing filament?
Clean, single-polymer ABS or PETG are the most forgiving because they do not crystallize as they cool. PET bottles are the easiest waste source to identify and abundant, but PET is semi-crystalline and needs a hotter, better-insulated path to avoid crystallizing inside a hotend. Start with a known, clean resin rather than a mixed stream.
How do I keep homemade filament at the correct diameter?
Control pull speed, melt pressure and cooling together, then measure rather than assume. Check the cooled strand with calipers at five points at minimum, targeting 1.72-1.78mm for 1.75mm filament. Thin spots mean the puller outran the melt, thick spots mean it lost grip, and ovality means it cooled before it finished setting. An inline sensor beats calipers once you are past the first batch.
Why is my recycled filament rough, brittle, or discolored?
Rough and yellow usually means thermal degradation: too much time at temperature, or a barrel set above the polymer’s ceiling. Brittle snapping is the signature of moisture-driven chain scission, so dry the feedstock properly and shorten the heating time next run. A dirty shred, with label adhesive still in it, accounts for a surprising share of specky grey filament. If a batch is already brittle, discard it.
Is homemade filament from plastic waste safe to print with?
Printing it is fine if you identify the resin, exclude PVC and unknown blends, dry the material, and run extraction while you extrude. What you cannot claim is certification. Recycled filament from unsorted waste is not food-safe, medical-grade or UV-stable by default, so do not use it for anything touching food, drink or skin, and treat it as a prototyping material.
Can a normal FDM 3D printer be used to make filament?
Not reliably. A printer hotend has no melt chamber, no controlled melt pressure and no diameter feedback, so material tends to pool and ooze rather than form a strand. A modified hotend can pultrude thin strips, but a dedicated single-screw extruder gives you far more consistent output. Use the printer to test the filament, not to make it.
How much plastic waste is needed to make one spool of filament?
A one-kilogram spool at 1.75mm is about 330 meters of strand. Recovering roughly 20g of usable plastic from a single PET bottle, that is on the order of 50 bottles per kilogram before any losses from washing, shredding and purging. Realistically expect a lower yield, so a few hundred bottles is a fair estimate for one spool of usable filament.
Conclusion
Start with one action: pick a single clean, known polymer and run a small test batch before touching a full hopper of waste. Controlled temperature, genuinely dry feedstock, proper extraction and honest spool labeling matter far more than the machine you built. Making filament from plastic waste is entirely doable at small scale, and the first few spools will teach you more than any amount of reading about it.