Curbside recycling will not take your failed 3D prints. PLA, PETG and ABS all end up in the trash unless you process them yourself or hand them to a specialist, so how to recycle failed 3D prints really starts at the printer rather than at the bin. Most makers spend twenty minutes sorting scrap before anything reaches a shredder.
That sorting step is the part everyone skips, and it is the part that decides whether the material is usable. Mixed scrap, glue-scarred brims and wet filament all have to come out of the batch before you melt or extrude anything.
There are four honest routes. Repurpose the print into something else, melt and mold it into a new shape, shred and re-extrude it into filament, or hand it to a maker space, manufacturer or specialist recycler. Which one makes sense depends almost entirely on how much scrap you generate and whether you know what it is made of.
The scale of the problem is worth understanding first. Depending on geometry and slicing settings, supports, brims and purge waste can account for anywhere from 30 to 80 percent of the filament a single print consumes, and industry estimates put overall FDM waste near 30 percent. Multi-material setups make it worse, because every colour change on an AMS or MMU flushes a purge tower that often outweighs the part being printed.
Before you reach for a shredder, ask whether the print is salvageable. A part that failed because of a small support collision or a short layer can often be re-sliced so only the missing volume prints, which is the cheapest recycling method of all because it never leaves the printer.
Table of Contents
- What You Need
- Step-by-Step: How to Recycle Failed 3D Prints
- Step 1: Identify the filament or resin type
- Step 2: Separate recyclable material from non-recyclable parts
- Step 3: Clean and dry the failed prints
- Step 4: Shred or granulate clean thermoplastic scrap before you recycle failed 3D prints
- Step 5: Reuse the material or send failed 3D prints to a specialist
- Step 6: Dispose of resin prints and mixed plastics correctly
- Common Mistakes
- Frequently Asked Questions
- Can you recycle 3D prints in curbside recycling?
- How can I tell what material a failed print is made of?
- Can I melt down failed 3D prints at home?
- Do I have to mix recycled filament with virgin PLA?
- What should I do with 3D print supports and brims?
- How do I dispose of failed SLA resin prints safely?
- Conclusion
What You Need
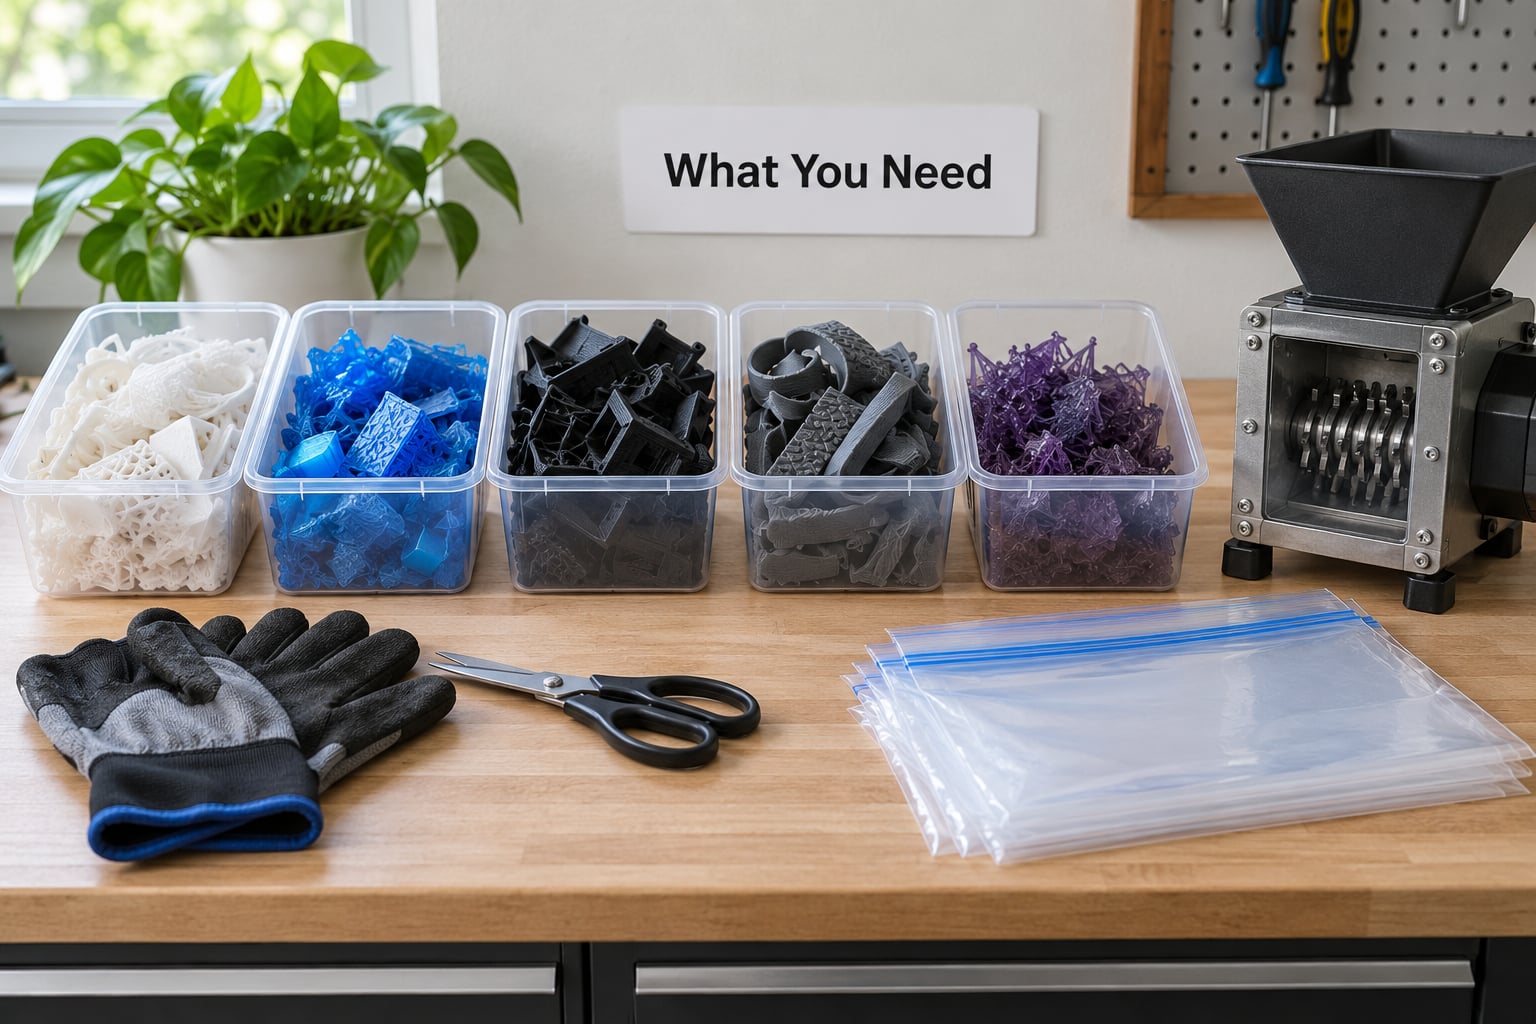
You need less equipment than most guides suggest, but the sorting containers matter more than the machines. Set these up before the first failed print of the week lands in the corner.
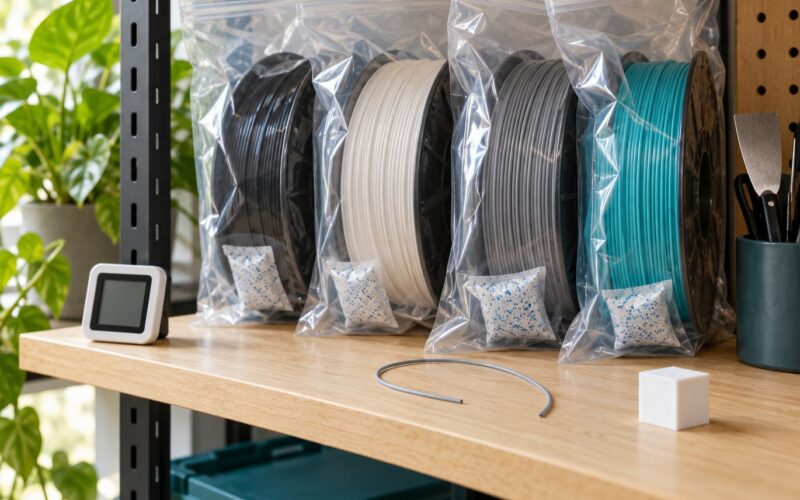
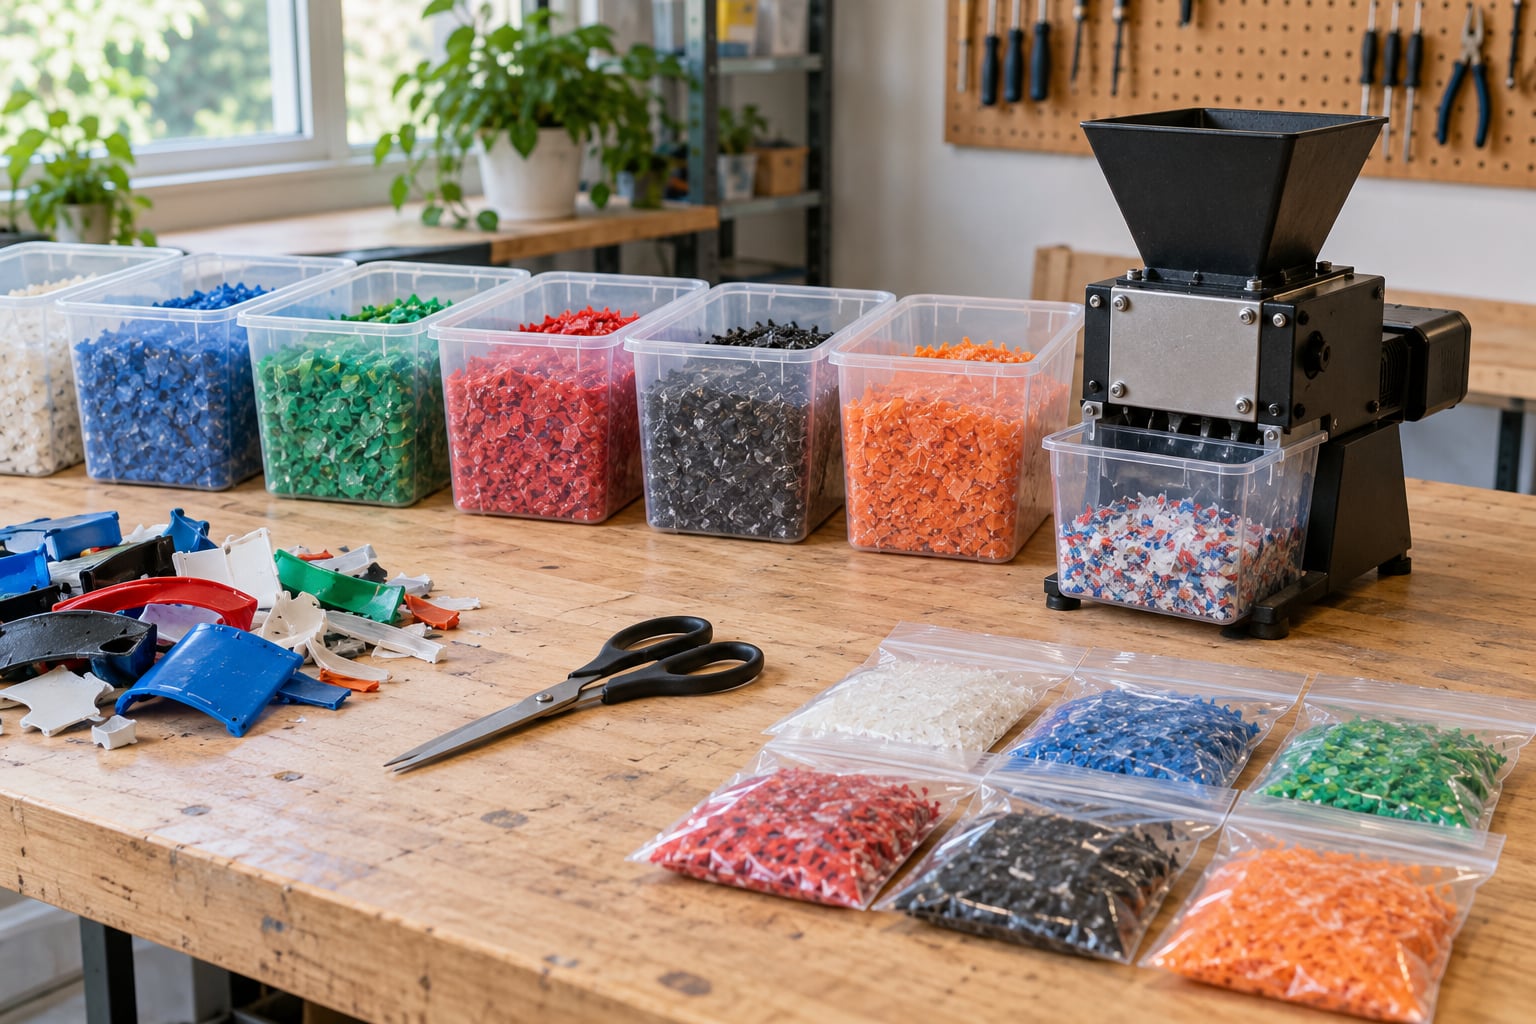
- Separate, labeled storage. Clear bins or sturdy bags, one per polymer and ideally one per colour. Airtight if the material is PETG, nylon or TPU, all of which pull moisture from the air.
- Cutting tools. Heavy scissors, snips, a file or a claw hammer for knocking the shape down. Many people crush brittle supports flat before they go anywhere near a blade.
- A blender or dedicated shredder. A cheap blender handles dry support scrap surprisingly well once the parts are small enough to fit. A filament shredder or grinder is the upgrade, and open-source designs from Precious Plastics are the usual starting point.
- A drying setup. A food dehydrator, a filament dryer or a warm, dry cupboard. Moisture is the number one cause of failed re-extruded filament.
- Ventilation and protection. A fume extraction fan or a well-ventilated space, nitrile gloves, and a respirator if you plan to work with heated plastic regularly or handle resin.
- Silicone molds or a metal tin. Only if you plan the melt-and-mold route. Metal cookie cutters work as shapes for coasters and keychains.
Label the bins before you fill them, not after. A bin marked PLA that quietly collects ABS scraps is worse than no bin at all, because it produces a batch that looks sorted and behaves like a brick.
Step-by-Step: How to Recycle Failed 3D Prints
Step 1: Identify the filament or resin type
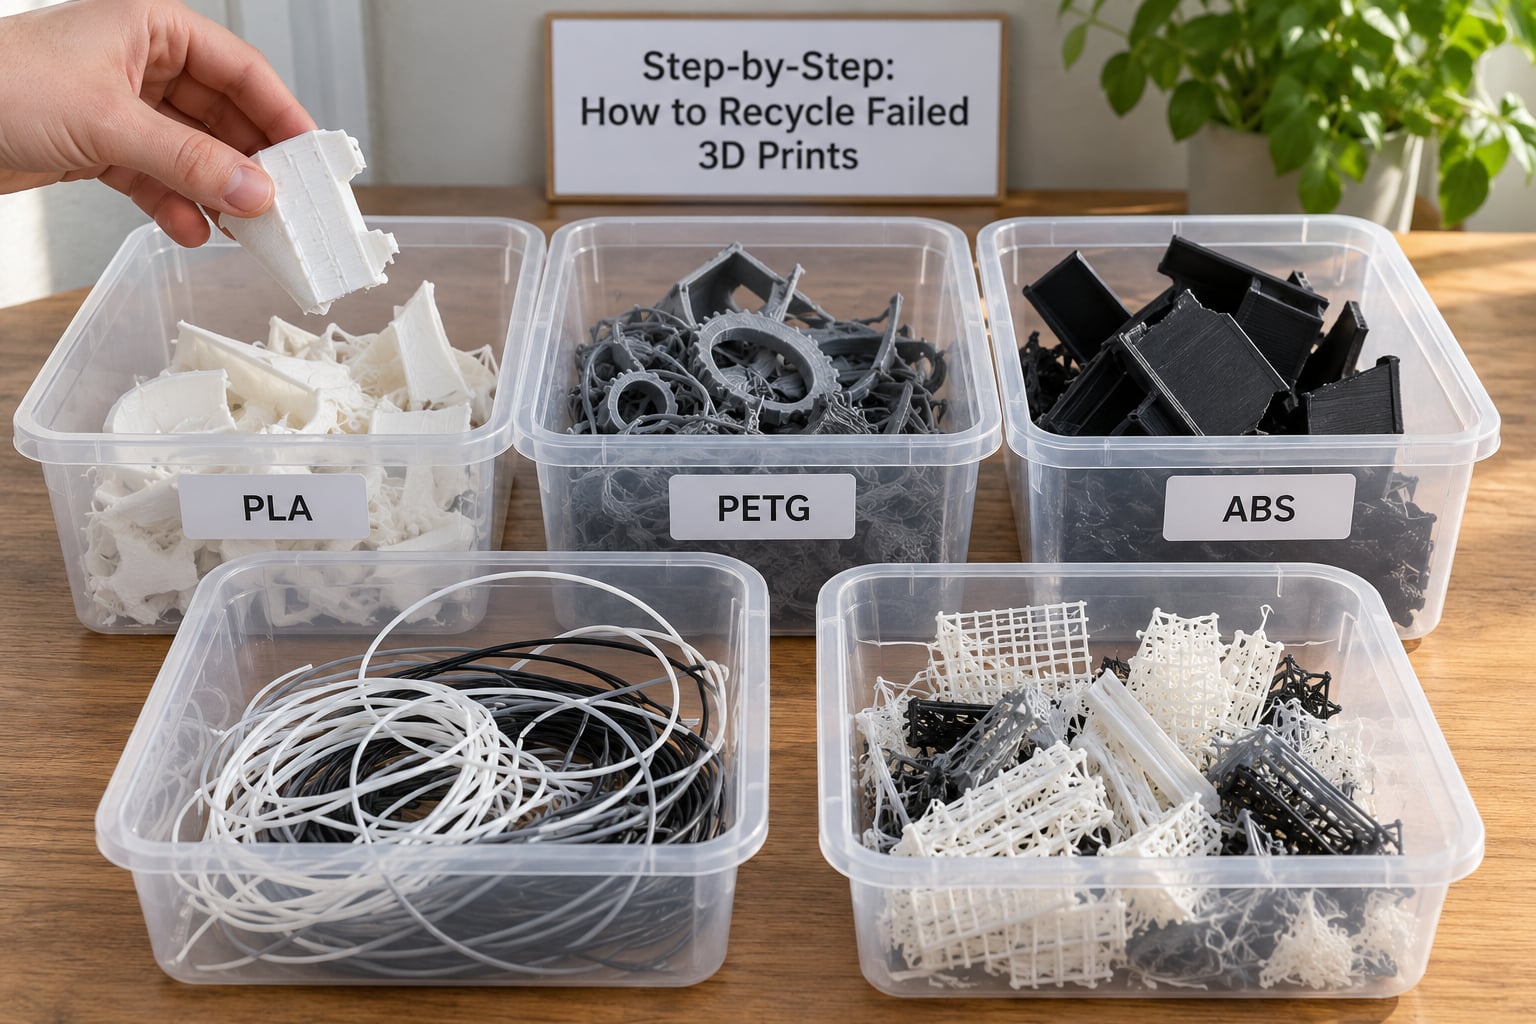
Start from the spool, not the part. The label or the supplier’s documentation tells you the polymer, and your slicer profile confirms it, because each material carries its own nozzle and bed temperatures. If the spool is long gone, the print itself still gives clues.
- PLA prints rigid and matte, with a slightly chalky surface, and is the easiest to identify. It usually came off a consumer printer at a relatively low temperature.
- PETG is usually clear, tinted or grey, slightly glossy, and noticeably tougher than PLA. It dents rather than snaps.
- ABS and ASA are recognisable by the layer seams, the faint chemical smell and the fact that they were almost always printed inside an enclosure.
- TPU is flexible, rubbery and typically black or clear. It survives being bent and will not snap cleanly.
- Nylon and other engineering filaments are typically white, beige or grey, come from industrial spools, and absorb water quickly.
Photopolymer resin prints look nothing like FDM output. They are smooth, hard and often glossy, and they belong in a completely separate stream because the handling rules differ.
Step 2: Separate recyclable material from non-recyclable parts
Pull off everything that is not the polymer you intend to reprocess. Supports, brims, skirts and rafts are usually the same material as the part and can go into the clean stream, but only after you knock them off. Anything glued on, weighed down or printed on a sacrificial plate needs extra attention.
- Break off supports and remove brims, rafts and skirts, then wash glue residue off with warm water and a stiff brush.
- Purge towers from multi-material printing are clean plastic, but they contain colour transition waste. Keep them in a separate container so they do not tint a whole batch.
- Discard magnetised steel bases, brass nozzles, hardened steel nozzles, screws and any insert or threaded hardware. These contaminate the melt.
- Throw out prints with visible contamination: grease, paint, solder, metal dust, or filament that has sat in a dusty corner.
- Quarantine anything you cannot identify rather than guessing. One mislabelled spool ruins the batch it lands in.
Step 3: Clean and dry the failed prints
Clean plastic melts. Contaminated plastic does something worse, because the contaminant chars, colours the batch and leaves the extruder full of grit. Keep the clean stream and the dirty stream physically separate from the moment the print comes off the bed.
Drying matters more for some polymers than others. PLA is largely insensitive, but PETG, nylon, TPU and ASA all absorb enough moisture to bubble, pop and lose layer adhesion when printed wet. Dry the shredded flake at 60 to 65 degrees in a dehydrator for four to six hours, and let it cool sealed before you open the container.
Skip the dishwasher. Washing softened or thin parts can warp them, and running every scrap through a machine cycle to remove a little glue creates more waste than the glue did. A brush and warm water handles glue; a wipe handles fingerprints.
Step 4: Shred or granulate clean thermoplastic scrap before you recycle failed 3D prints
Shredding is what turns a print into regrind, the feedstock an extruder can actually grip. The target is flake under about 5 mm, small enough to feed consistently and large enough not to jam.
Start cheap. Snips get you through supports and thin walls. A hammer and a sturdy bag handle the bulk of a solid failed part. A blender on the pulse setting turns brittle, thin scrap into flake in about a minute, and it is the tool most often recommended by makers recycling support material at home.
Move up to a dedicated filament shredder or grinder once you are producing more than a bucket a month. They are quieter, safer and produce far more consistent flake, which matters more downstream than people expect.
Step 5: Reuse the material or send failed 3D prints to a specialist
Repurposing is the route that requires no machines at all. Failed parts become plant stakes, aquascaping structures, jar fillers, cable tidies, sanding blocks, drawer dividers or paint-stirring sticks. Tree supports are particularly good as stakes because they already taper.
Melt and mold is the most common real practice in the community. Crush the clean scrap, place it in a silicone mold or a metal tin lined with aluminium foil, and heat it according to the material. Around 200 to 230 degrees, roughly 400 to 450 Fahrenheit, turns PLA, PETG and ABS into a usable sheet or cast shape. Expect uneven softening and thin spots, and expect some attempts to leak.
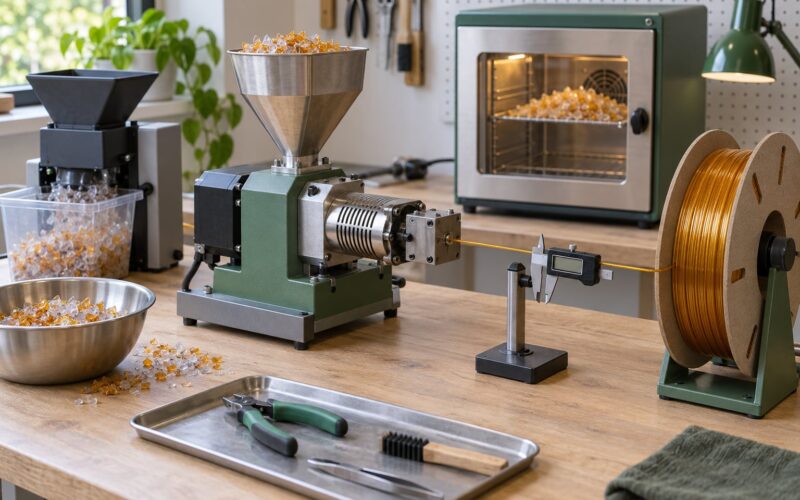
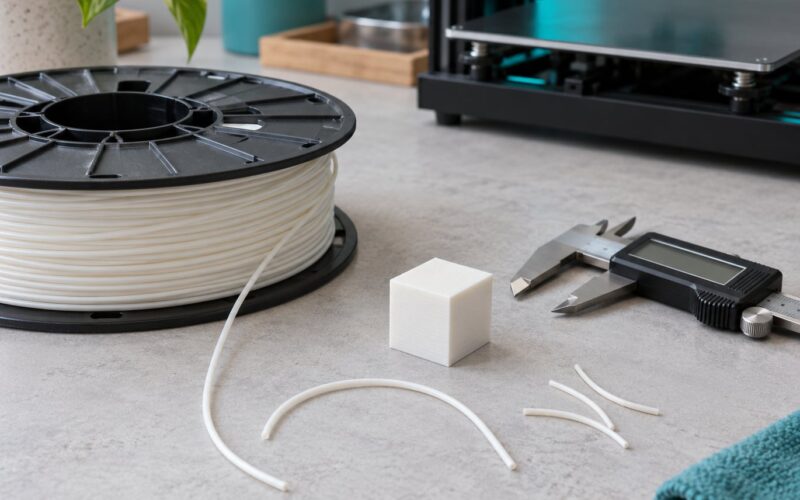
Re-extrusion is the route that gets you back to filament. Shred, dry, melt through a single-screw extruder, filter, and wind onto a spool. Desktop machines from Filabot and 3devo do this in one pass; DIY builds usually start from the open-source Precious Plastics extruder designs. Whatever route you use, blend in 20 to 50 percent virgin material. Every heat cycle breaks down the polymer, and the blend is what keeps layer adhesion from falling off a cliff after the first reprint.
Specialist options exist for people who generate more scrap than they can process. Precious Plastics hubs accept material and often have equipment on site, maker spaces and university labs may run collection bins, and services such as Recyclingfabrik, Printerior and TerraCycle take mail-in material. Manufacturer take-back schemes on multi-material printers also exist and are worth checking first if you own the hardware.
For most hobbyists, be honest about the economics. Light users generate a few hundred grams a month, and the shipping, handling and machine time can cost more than the filament is worth. If that is you, the reuse route or simply reducing waste at the source is the sane answer, not an extruder purchase.
Step 6: Dispose of resin prints and mixed plastics correctly
Resin follows its own rules, and those rules are about your safety first. Uncured resin is a sensitiser that can trigger skin reactions and asthma, and it must never reach a drain, a storm grate, soil or a compost pile.
- Work in a ventilated space with nitrile gloves and eye protection, and keep uncured resin in its original container until it is fully cured.
- Cure prints in a UV or sunlight cure station before handling them, following the resin manufacturer’s instructions.
- Wash parts in isopropyl alcohol in a separate container, not a kitchen sink, and let the waste settle before disposing of it as your local hazardous or chemical waste rules require.
- Cured resin is a thermoset and cannot be melted or re-extruded, so it goes to specialist chemical waste or an approved resin recycling service.
- Support resin, silicone mats and anything saturated with uncured liquid resin are contaminated waste too. Treat them the same way.
Mixed and unidentifiable plastic has one destination: the general waste stream, unless your local authority runs a hard-to-recycle plastics drop-off that explicitly accepts 3D printing filament. Never put a 3D print into a curbside bin marked for bottles and tubs. It will not be sorted out, and it contaminates the load.
Common Mistakes
Almost every recycling failure comes down to the same handful of mistakes, and all of them are avoidable at the moment the print comes off the bed.
- Mixing polymers in the fail bin. PLA and PETG melt at different temperatures and degrade differently. Once they are mixed, the batch is scrap in a second sense. Use separate containers, always.
- Recycling dirty prints. Glue, grease and dust char during melting and end up in the melt filter. Wash off glue and skip anything grimy rather than trying to clean it.
- Assuming every plastic is accepted. No curbside program takes 3D printer filament. Check your local authority’s rules for rigid plastics drop-offs, and check any specialist service’s accepted list before you ship a box.
- Shredding without a destination. Flake is bulky and awkward to store. Confirm where the material is going before you produce it.
- Pouring resin waste down the drain. It cures inside the plumbing and puts a technician’s problem in your home. Never, under any circumstances.
- Ignoring local rules on fumes and disposal. Heated thermoplastics release decomposition products when they degrade. Ventilate, and follow the rules your council or waste authority publishes rather than assumptions from a forum post.
- Printing recycled material in anything structural. Reheated filament loses tensile strength and layer adhesion. Use regrind for prototypes, decorative parts and jigs, not for load-bearing or safety-critical components.
- Making food-contact items from regrind. Neither the melt-and-mold route nor re-extruded filament produces anything you should eat or drink from, even when the starting plastic was food-grade. Keep recycled material out of cups, jars and anything that touches food.
Frequently Asked Questions
Can you recycle 3D prints in curbside recycling?
No. Curbside programs collect bottles, tubs and bags, and 3D printing thermoplastics like PLA, PETG, ABS and TPU fall outside that list. They go straight to landfill if you bin them. Some local authorities run rigid-plastics drop-off sites that accept filament, so check your council’s accepted materials list before assuming. Failing that, a maker space collection bin or a specialist mail-in service is the next best route.
How can I tell what material a failed print is made of?
Check the spool label or the supplier’s documentation first, then confirm with the slicer profile you used. If the spool is gone, the print itself still gives clues. PLA is rigid and matte, PETG is glossy and tough, ABS and ASA smell faintly of chemicals and show layer seams, TPU bends like rubber, and nylon is typically beige or white and slightly rough. Resin prints are smooth, hard and glossy.
Can I melt down failed 3D prints at home?
Yes, and melt-and-mold is the most common home method. Crush the clean scrap, place it in a silicone mold or a foil-lined metal tin, and heat it to roughly 200 to 230 degrees. Work in a well-ventilated space or under extraction, never in a kitchen you also cook in, and expect uneven results. Once plastic has been reheated, do not use the result for food or drink.
Do I have to mix recycled filament with virgin PLA?
Blending 20 to 50 percent virgin material into regrind is the widely recommended practice. Each heat cycle breaks the polymer chains down, which shows up as poor layer adhesion and brittleness. The virgin fraction restores enough strength for prototypes and non-structural parts. Printing at 100 percent regrind is possible, but expect weaker layers and a rougher surface than a fresh spool.
What should I do with 3D print supports and brims?
Supports, brims, skirts and rafts are usually the same polymer as the part, so they are recyclable. Knock or cut them off the failed print, brush off any glue, and add them to the clean bin for that material. Purge towers from multi-material printing are clean as well, but keep them in their own container so colour transition waste does not tint the whole batch.
How do I dispose of failed SLA resin prints safely?
Uncured resin is a sensitiser, so wear nitrile gloves, work with ventilation, and keep it away from drains, soil and compost. Cure prints fully in a UV or sunlight cure station before handling them, and wash parts in isopropyl alcohol in a container reserved for that use. Cured resin is a thermoset and cannot be remelted, so it goes to an approved chemical waste or resin recycling route.
Conclusion
Start with the simplest action that fixes the most problems: identify the material and separate the failed print into clean and contaminated streams. Everything downstream depends on that, and it takes less time than re-extruding a bad batch.
From there, pick the cleanest route available to you. Repurpose what you can, shred and mold what is clean and plentiful, re-extrude only if you generate enough scrap to justify the equipment, and take resin and mixed plastics to the disposal route your local rules specify. Recycling failed 3D prints is mostly a sorting problem, and sorting is free.