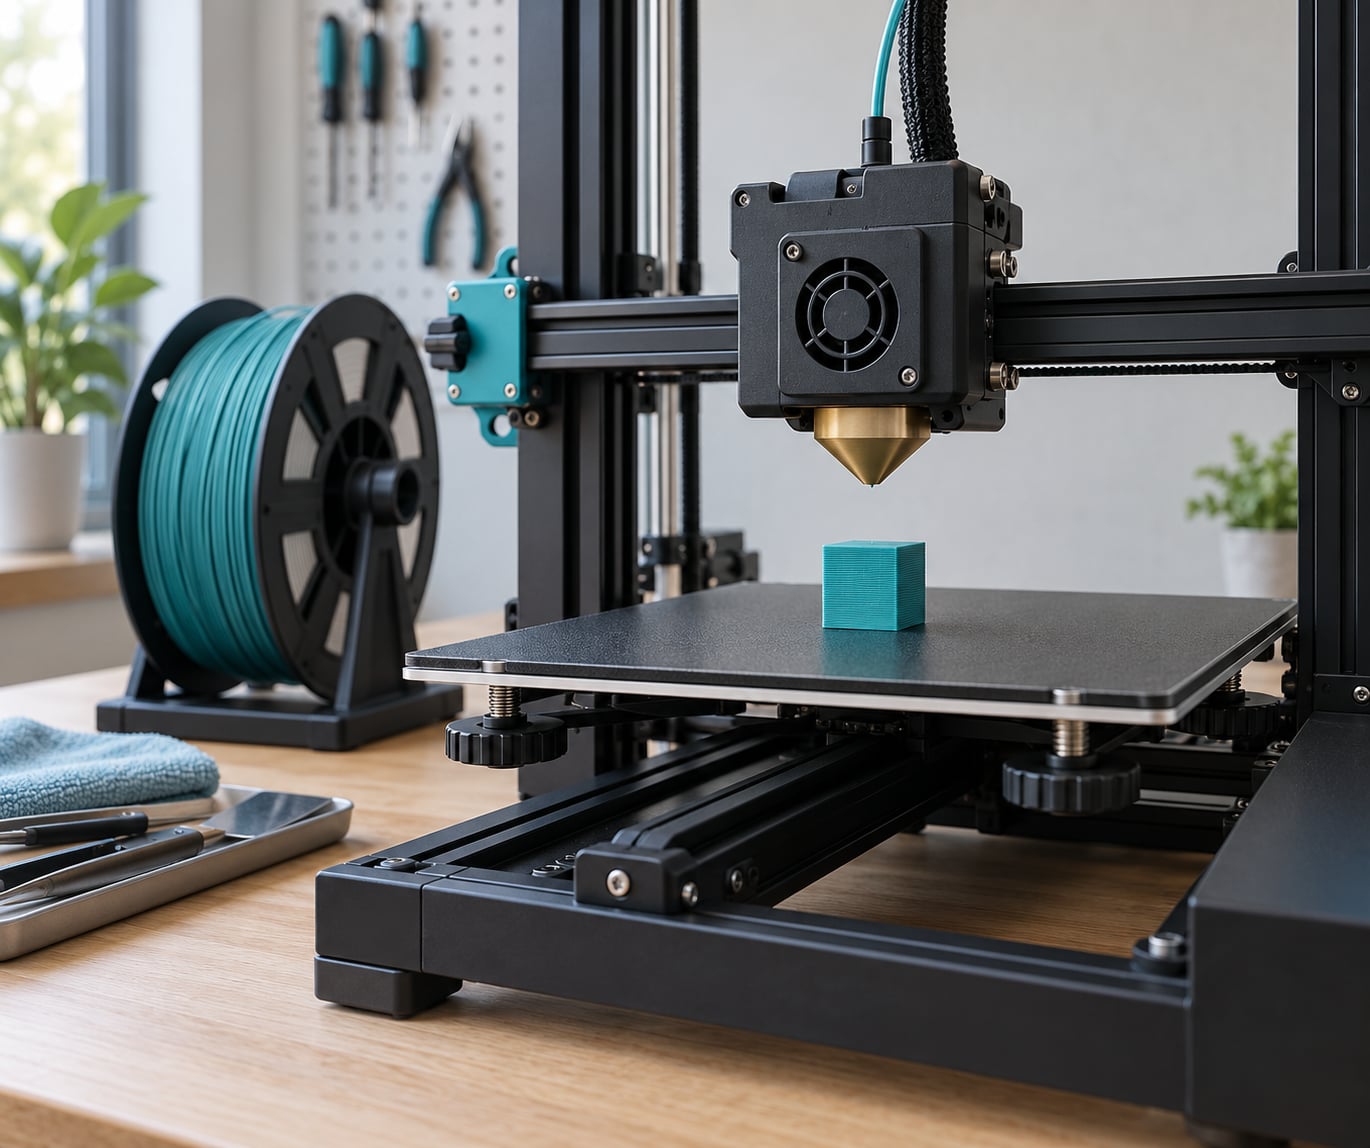
How to print with a 0.6 mm nozzle comes down to five numbers: layer height around 0.30 mm, line width near 0.65 mm, nozzle temperature 5-10 °C higher than you ran with a 0.4 mm, and a max volumetric speed your hotend can actually melt. Set those, redo the first layer, and the rest is checking a test print before you start a real job.
The catch is that swapping the nozzle alone does nothing useful. Leave the rest of your profile alone and you get thin walls, gaps after travel moves, and worse layer bonding than you had before, which is the complaint that comes up most on r/3Dprinting.
This guide covers the whole workflow, from the hardware check through to the finished part, roughly an hour of setup work plus a test print. It also covers the honest part: on a lot of machines the speed gain is close to zero, and there is a way to find out before you buy anything.
Table of Contents
- What You Need
- Nozzle material: brass, stainless steel or hardened steel
- Verify the nozzle is really 0.6 mm
- What a 0.6 mm nozzle actually changes
- Step-by-Step: How to Print with a 0.6 mm Nozzle
- 1. Confirm Printer and Extruder Compatibility
- 2. Install the 0.6 mm Nozzle Safely
- 3. Set the Nozzle Diameter in the Slicer
- 4. Choose a Reliable Starting Layer Height for a 0.6 mm Bead
- 5. Tune Line Width, Wall Thickness, and Infill
- 6. Set Temperature, Speed, and Retraction
- 7. Generate a Test Print and Check the Result
- Common Mistakes and Fixes
- Why your 0.6 mm print is barely faster
- Overhangs and bridges sag with a wide bead
- Keep 0.4 mm for the fine work
- Frequently Asked Questions
- What layer height should I use with a 0.6 mm nozzle?
- Can I use a 0.6 mm nozzle with PLA, PETG, and ABS?
- Is a 0.6 mm nozzle faster than a 0.4 mm nozzle?
- What temperature should I use for a 0.6 mm nozzle?
- How do I fix under-extrusion with a 0.6 mm nozzle?
- When should I use a 0.6 mm nozzle instead of a 0.4 mm nozzle?
- Conclusion: What to Do First
What You Need
You need four things: a 0.6 mm nozzle that suits your hotend, a way to verify it is actually 0.6 mm, your usual filament plus a calibration model, and a slicer where you can change the nozzle diameter rather than letting the profile override it.
Nozzle material: brass, stainless steel or hardened steel
Brass is fine for PLA, PETG and ABS. Any filament with chopped carbon fiber, glass fiber, wood or glow-in-the-dark particles will wear brass quickly, so those need a hardened steel, ruby or tungsten carbide nozzle. Because the bore is wider, a 0.6 mm also survives abrasive filaments longer than a 0.4 mm does before particles jam it, but a brass 0.6 mm will still dull down if you run CF-PLA on it daily.
Verify the nozzle is really 0.6 mm
Measure the outside diameter with digital calipers, not the bore. Nozzle bodies are commonly stamped or laser-marked with the size, and the marking is more reliable than a caliper reading once the part has been handled. A worn nozzle measures slightly under nominal, and a bore that measures wide can still print a narrower bead once you account for die swell.
What a 0.6 mm nozzle actually changes
A 0.6 mm nozzle lays down a bead roughly 1.5 times wider than a 0.4 mm, so a 1.2 mm wall takes two passes instead of three, and layers can run 0.30-0.45 mm instead of 0.20 mm. The bead also carries far more molten plastic, which is the whole reason the speed gain often does not materialise.
| Setting | 0.4 mm nozzle | 0.6 mm nozzle |
|---|---|---|
| Typical layer height | 0.12-0.24 mm | 0.24-0.42 mm |
| Standard line width | 0.45 mm | 0.65 mm |
| Perimeters for a 1.2 mm wall | 3 | 2 |
| Nozzle temperature vs previous setup | Baseline | Add 5-10 °C |
| Time saved on large functional parts | Baseline | Roughly 20-40% |
| Time saved on miniatures | Baseline | Almost none |
Step-by-Step: How to Print with a 0.6 mm Nozzle
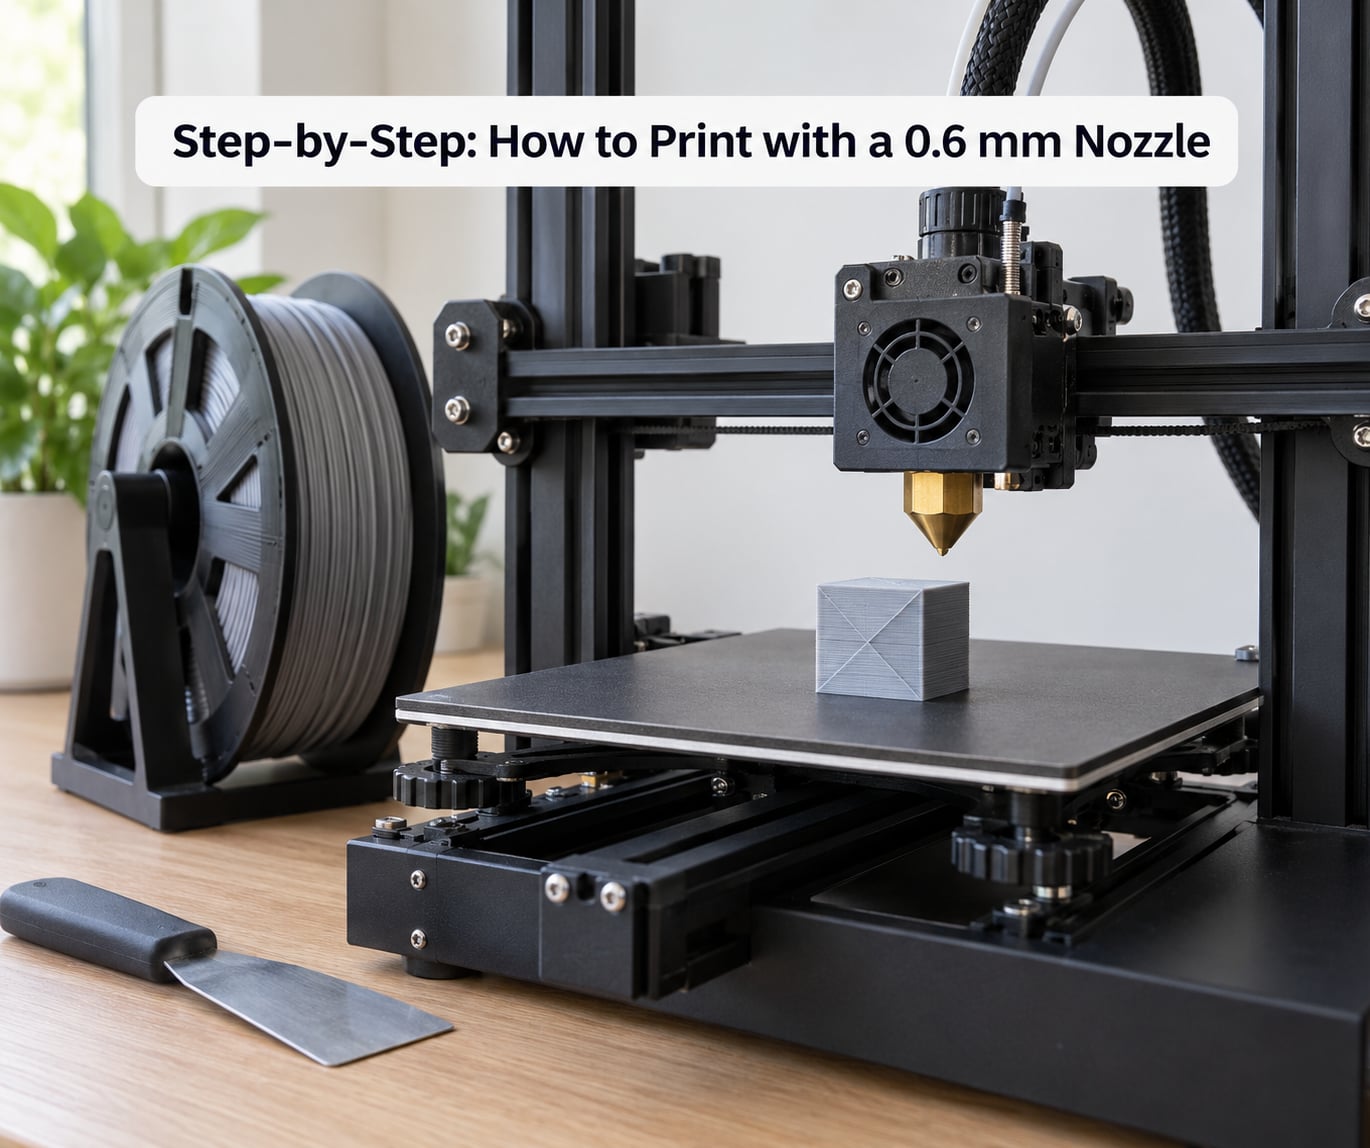
1. Confirm Printer and Extruder Compatibility
Most modern FDM printers accept a 0.6 mm with no hardware changes, but check three things first: the maximum nozzle diameter your firmware allows, whether your extruder can feed the heavier bead without skipping, and whether your slicer ships a 0.6 mm profile or lets you set the diameter yourself.
Where firmware enforces a limit, the printer may refuse to heat or may simply extrude badly. Most current Marlin-based firmwares accept 0.6 mm out of the box. If your setup came from an older guide, update the firmware before blaming the nozzle.
2. Install the 0.6 mm Nozzle Safely
Follow your printer’s own procedure, since hotend designs differ. The common sequence: heat the hotend to around 200 °C so the old nozzle softens, loosen the set screw or the heat break screw, remove the old nozzle with pliers, and clean residue off the threads and the heater block.
Fit the new nozzle with the tip as close to the centre of the chamber as you can get it, then tighten firmly but not violently. A stripped thread costs more time than a slightly off-centre nozzle. Before printing anything real, run a cold pull check: extrude a short length of filament at temperature and confirm a consistent bead comes out of the new orifice with no gaps or chatter.
3. Set the Nozzle Diameter in the Slicer
Menu names differ between applications, so the wording changes but the fields do not. In Cura it is Settings, then Printer, then the machine’s settings dialog where you select your printer from a list and set Nozzle Size. In PrusaSlicer, OrcaSlicer and Bambu Studio the nozzle diameter sits on the printer configuration page, alongside the filament diameter and any flow or extrusion multiplier.
Set the nozzle diameter to 0.6, confirm the filament diameter is 1.75, then make sure no profile override is pushing the value back. Slice once and look at the time and the first layer preview before changing anything else.
4. Choose a Reliable Starting Layer Height for a 0.6 mm Bead
Start at 0.30 mm, which is half the nozzle diameter and the safest general-purpose value. The usable band runs from about 0.15 mm up to 0.45 mm, and plenty of people run well above the halfway mark without trouble on functional parts.
| Layer height | Share of nozzle diameter | Good for |
|---|---|---|
| 0.15-0.20 mm | 25-33% | Detailed parts, tighter fit, showing layer lines |
| 0.24-0.30 mm | 40-50% | Everyday functional printing, safest starting point |
| 0.32-0.36 mm | 53-60% | Brackets, boxes, structural parts |
| 0.40-0.45 mm | 67-75% | Fast rough parts and prototypes |
A wide bead does not squash flat at high layer heights the way a thin one does, so quality holds up better than the percentages suggest. It still matters for the first layer, which needs to be flatter than everything after it.
5. Tune Line Width, Wall Thickness, and Infill
Set external wall line width to 1.0 times the nozzle diameter, so 0.6 mm. Internal walls, solid infill and top/bottom infill can run at 1.0-1.2 times, since they do not carry the visible surface. Anything above about 1.4 times the diameter makes the bead squash and ridges form on the outside of the wall.
With a 0.65 mm line width, a 1.2 mm wall comes out as two perimeters plus a small infill overlap, which lines up far more neatly than three 0.45 mm perimeters. Keep infill line width at or below the wall width, or the slicer will produce gaps at the perimeter-to-infill transition.
One setting people miss: the overlap between infill and walls. Leave the default, but if you see thin vertical seams where infill meets the shell, nudge it up until the seam closes.
6. Set Temperature, Speed, and Retraction
A bigger nozzle moves more melt per second, so the hotend has to run hotter and, in most cases, slower. Raise the nozzle temperature by 5-10 °C over your 0.4 mm profile, then cap speed with max volumetric speed rather than a raw print speed number.
| Material | Nozzle temp | Bed temp | Max volumetric speed | Part fan |
|---|---|---|---|---|
| PLA | 210-225 °C | 55-60 °C | 15-20 mm³/s | 100% |
| PETG | 235-250 °C | 80-85 °C | 8-12 mm³/s | 30-50% |
| TPU | 225-240 °C | 40-50 °C | 5-8 mm³/s | 30-60% |
| ABS or ASA | 245-260 °C | 95-105 °C | 10-15 mm³/s | 0-20% |
| ASA-CF or PETG-CF | 250-270 °C | 95-105 °C | 8-12 mm³/s | 0-30% |
Those flow numbers are starting points, not verdicts. If a 0.6 mm PLA print shows ridges or gaps on corners, drop max volumetric speed by 25% and look again. If the profile does not have a volumetric speed field, set max volumetric speed to zero and reduce print speed until corners stop looking chewed.
Retraction usually needs a small increase, because the wider melt zone keeps more pressure in the nozzle between moves. Add about 0.2 mm to your existing PLA value and hold print speed steady. Then recalibrate pressure advance (Marlin) or linear advance (Klipper). Prusa community members report a K value around the mid teens for a 0.6 mm nozzle with PLA, though your filament and setup will differ.
For extrusion multiplier, do not carry a value over blindly. A flow factor calibrated at 0.4 mm is often slightly off at 0.6 mm because of die swell. Print a single-wall cube, measure two walls with calipers, and adjust the multiplier from the difference.
7. Generate a Test Print and Check the Result
Slice a small calibration model, ideally one with flat walls, a hole, a bridge and a first layer. Then check it against a list rather than judging by eye alone:
- First layer: lines fused into one continuous sheet with no gaps between the edges of each bead.
- Walls: consistent thickness around the whole part, no visible ribs between perimeters.
- Corners: sharp and slightly rounded, not scalloped or chewed.
- Overhangs: check a 45-degree bridge. If it sags, drop temperature 5 °C and lower bridge fan to zero.
- Stringing: light strings are normal, blobs at the start of travel moves are not.
- Dimensions: measure the outer walls and any hole you need to fit a bolt into.
Once those pass, run your temperature tower and re-check retraction before committing to a long job. Nothing here is a one-time setup, and people who keep 0.6 mm as a permanent nozzle usually tweak flow per filament roll rather than per printer.
Common Mistakes and Fixes
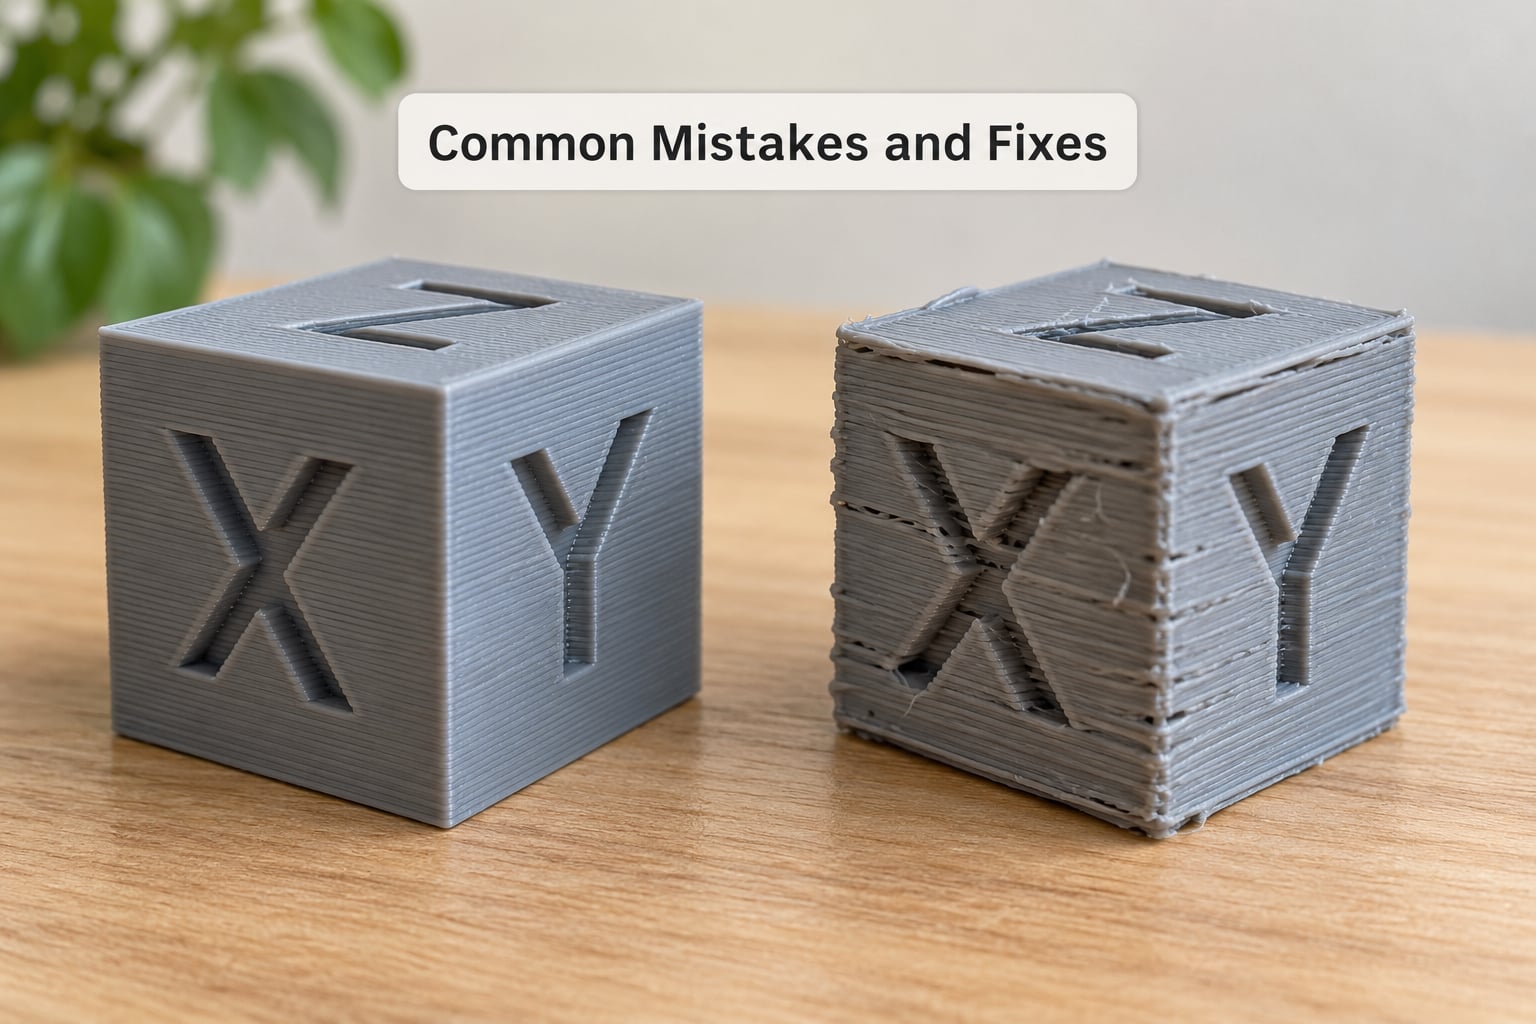
Almost every 0.6 mm problem traces back to one of four settings: layer height, temperature, volumetric flow or retraction. Match your symptom in the table first, then change one thing and reprint the same test object.
| Symptom | Likely cause | Fix |
|---|---|---|
| Under-extrusion, gaps in walls | Print speed above hotend flow limit | Lower max volumetric speed by 25% and reprint |
| Gaps right after travel moves | Retraction too short for the larger melt zone | Add 0.2 mm retraction, then recalibrate pressure advance |
| First-layer lines not connecting | Line width or flow too low for the wide bead | Raise extrusion width to 0.65 mm and check bed temperature |
| Layer splitting apart | Nozzle too cool for the larger melt volume | Add 5-10 °C and slow external perimeters |
| Blobs and heavy stringing | Retraction too aggressive or temperature too low | Reduce retraction 0.2 mm, raise temperature 5 °C |
| Cracked corners on ABS or ASA | Part cooling on, layer adhesion starved | Drop fan to 0-20% and print an enclosure |
| Print time barely changed | Profile still at 0.2 mm layers or low max speed | Raise layer height to 0.30 mm and allow more flow |
| Ridges between perimeters | Line width above about 1.4x nozzle diameter | Drop line width multiplier back to 1.0-1.1 |
Why your 0.6 mm print is barely faster
The widest bead demands the most melt. At a 0.6 mm line width and 0.30 mm layer height, printing at 250 mm/s needs roughly 48 mm³/s, which most factory hotends cannot deliver, so the slicer clamps your speed down hard.
This is why people slice a cube, see 2% saved, and conclude the nozzle was a waste. The variable is not the nozzle, it is how much flow your hotend can push. A high-flow hotend turns the same 0.6 mm nozzle into a genuine time saver on large parts; a factory one just makes thicker lines.
Overhangs and bridges sag with a wide bead
More plastic leaves the nozzle per millimetre of travel, so unsupported spans droop sooner. Lower the bridge fan to zero, drop temperature by 5-10 °C for the bridge itself, and cap bridging speed. Sharp downward overhangs are where a 0.6 mm looks worst, so avoid designing past 50 degrees without support.
Keep 0.4 mm for the fine work
Miniatures, engraved text, snap fits, threaded holes and small diameters all suffer with a wide bead. A 0.4 mm nozzle can print a 0.1 mm layer and hold a 2 mm hole; a 0.6 mm cannot reliably do either. Keep the smaller nozzle mounted or in a labelled case, since swapping back and forth is the reason many people end up with two printers.
Frequently Asked Questions
What layer height should I use with a 0.6 mm nozzle?
Start at 0.30 mm, which is half the nozzle diameter and the safest general-purpose value. A 0.6 mm nozzle handles anything from about 0.15 mm up to 0.45 mm, and many people run 0.32-0.36 mm on functional parts without problems. Keep the first layer flatter than the rest, around 0.15-0.20 mm, so it grips the bed.
Can I use a 0.6 mm nozzle with PLA, PETG, and ABS?
Yes, all three work well on a 0.6 mm nozzle. Run PLA around 210-225 °C, PETG at 235-250 °C, and ABS or ASA at 245-260 °C, all higher than you would with a 0.4 mm. TPU also prints well, though slower. Abrasive filaments such as carbon fiber or glass fiber filled need a hardened steel, ruby or tungsten carbide nozzle rather than brass.
Is a 0.6 mm nozzle faster than a 0.4 mm nozzle?
Sometimes, and much less often than the forums suggest. Large functional parts like bins, brackets and enclosures often save 20-40% because taller layers and fewer perimeter passes mean a shorter path. Detailed models and miniatures save almost nothing. If your hotend cannot melt the extra volume, the slicer clamps your speed and the saving shrinks to a few percent or less.
What temperature should I use for a 0.6 mm nozzle?
Add 5-10 °C to the temperature you ran with a 0.4 mm, because the wider bead carries more melt and needs a hotter melt zone. That means roughly 210-225 °C for PLA, 235-250 °C for PETG, 225-240 °C for TPU and 245-260 °C for ABS or ASA. Run a temperature tower on your own spool rather than trusting these ranges blindly.
How do I fix under-extrusion with a 0.6 mm nozzle?
Under-extrusion with a wider nozzle almost always means the print speed exceeds what your hotend can melt. Lower max volumetric speed by about 25%, or halve print speed if your slicer has no volumetric speed setting, then reprint the same object. If gaps persist, add 5-10 °C and recalibrate extrusion multiplier with a single-wall cube measurement.
When should I use a 0.6 mm nozzle instead of a 0.4 mm nozzle?
Use it for large functional parts, enclosures, bins, brackets, vases and single-wall prints, and for abrasive filaments such as carbon fiber, glass fiber or glow-in-the-dark, where the wider bore resists clogging. TPU also flows better. Stay on 0.4 mm for miniatures, engraved text, snap fits, small holes and threaded features that need to be accurate.
Conclusion: What to Do First
Install the nozzle, set the diameter to 0.6 in the slicer, then change three more things before printing anything: layer height to 0.30 mm, temperature up 5-10 °C, and line width to 0.65 mm. Add 0.2 mm of retraction and cap speed with max volumetric speed at 15-20 mm³/s for PLA.
Slice a calibration cube and check the walls, corners and dimensions before committing to a long job. If layer adhesion looks worse than before, the temperature or flow setting is the culprit, not the nozzle, and that is still the open question most 2026 firmware profiles do not answer well for you.