How to choose filament for functional parts comes down to one idea: pick a material whose weaknesses do not overlap the conditions your part actually meets. Heat and abrasion in the same spot, a hot car interior, a snap-fit that gets flexed fifty times a day, or a bracket bolted to a wall are four different problems, and each one rules materials in or out. Get this wrong and the part snaps at a layer line, softens on a hot day, or crumbles after a month of use.
Most failures are not material failures. They are decision failures made before the first layer was extruded, and they are fixable with a short checklist plus a cheap test print.
Here is the short version before the detail. Well-dried PETG is the sensible default for general mechanical work. ABS or ASA when heat and sunlight matter. Nylon or PA for wear, friction and serious load. Polycarbonate for the highest heat. TPU when the part needs to flex or grip. PLA for fit checks, prototypes and anything indoors with no load. And reinforced variants for stiffness, not automatically for strength.
Reading a filament spool label will not get you there. The useful numbers are the ones that describe how the part behaves after it comes off the bed, and several of them are missing from most retail listings.
Table of Contents
- What You Need Before You Choose Filament for Functional Parts
- Step-by-Step: Matching Filament to the Job
- 1. Define the load and operating environment
- 2. Match the filament to the printing process and printer hardware
- 3. Check dimensional accuracy and layer bonding
- 4. Consider heat, chemicals, moisture, and UV exposure
- 5. Test the filament before committing to the full print
- 6. Validate the finished functional part
- PLA or PETG for mechanical parts: the direct comparison
- Common Mistakes That Break Functional Prints
- Frequently Asked Questions
- What is the best filament for strong functional 3D printed parts?
- Is 100% infill necessary for a functional part?
- Should I use PLA or PETG for mechanical parts?
- Are carbon fiber or glass fiber filaments stronger than ordinary nylon?
- Can I reuse failed or leftover filament for functional parts?
- What to Do First
What You Need Before You Choose Filament for Functional Parts
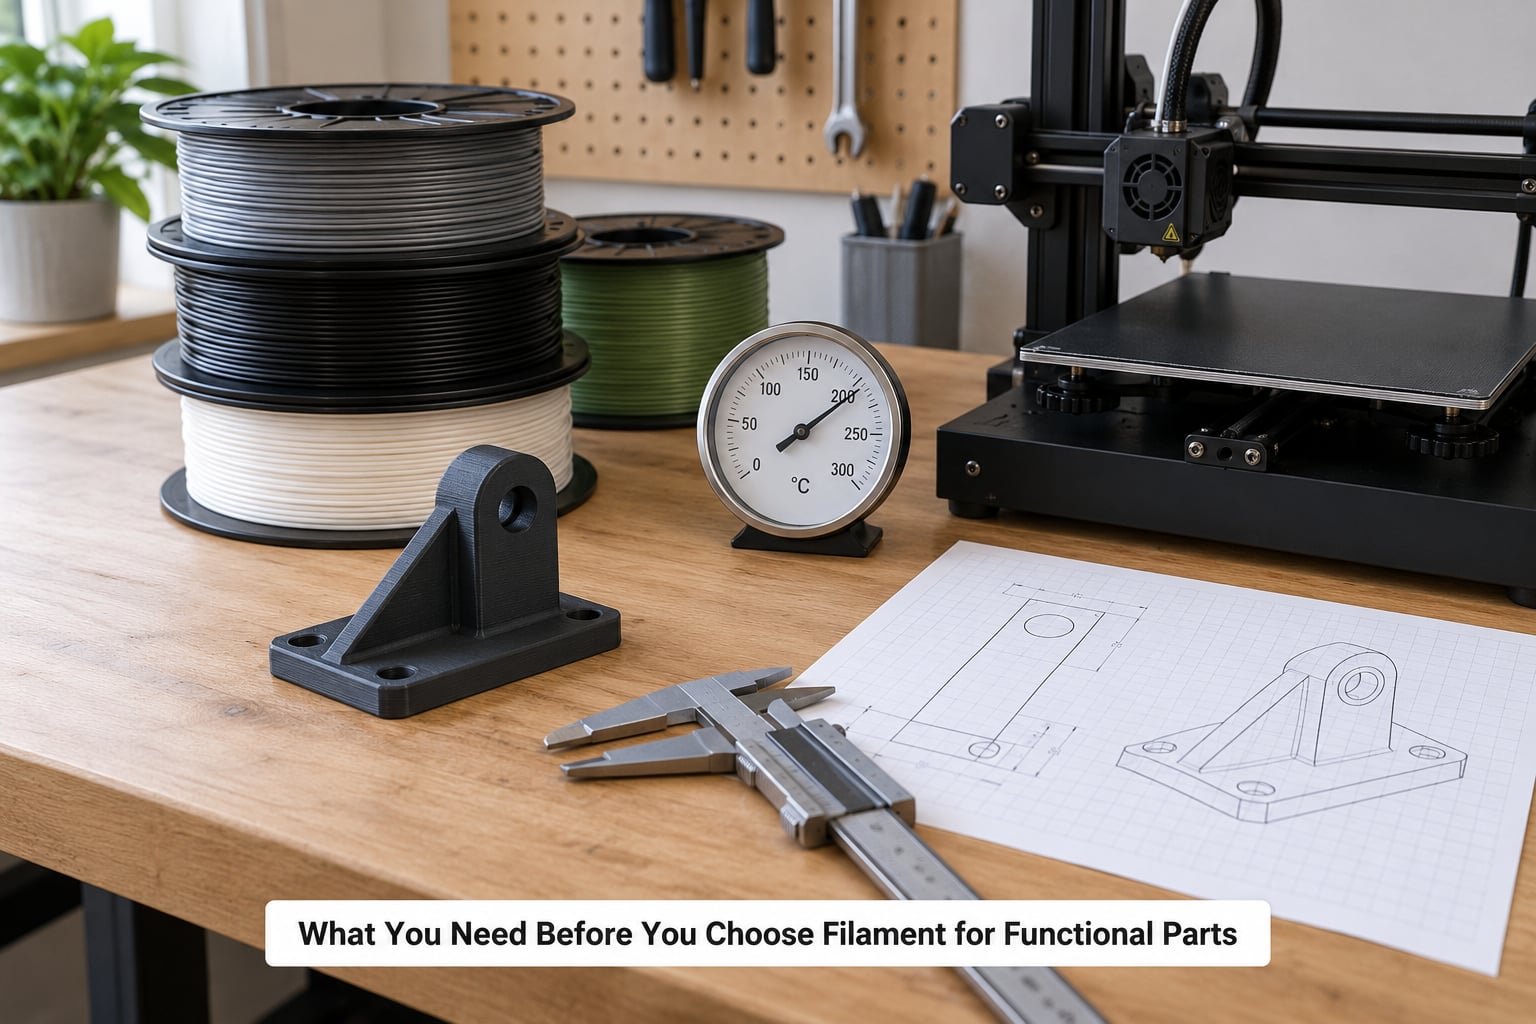
Before comparing materials, write down seven things about the part. Without them, every filament looks plausible.
- The load. Is it a 50 g clip, a 2 kg bracket, or a structural member holding something heavy? Note the direction of the force and whether it is steady, cyclic or sudden.
- The temperature at the part. Include the worst case, not the average. A dashboard in July is hotter than a workshop shelf in March.
- The environment. Indoors, outdoors in sun, in a car, in water, near solvents, in a wash-down area, in a hot engine bay.
- Flexibility. Should the part bend and spring back, or stay rigid? A gasket and a gear want opposite things.
- Abrasion. Is there a sliding or rubbing contact point? This is the case that quietly ends PLA prototypes.
- Dimensional tolerance. Snap-fit fits, press fits and shafts need to be planned, because shrinkage differs by material.
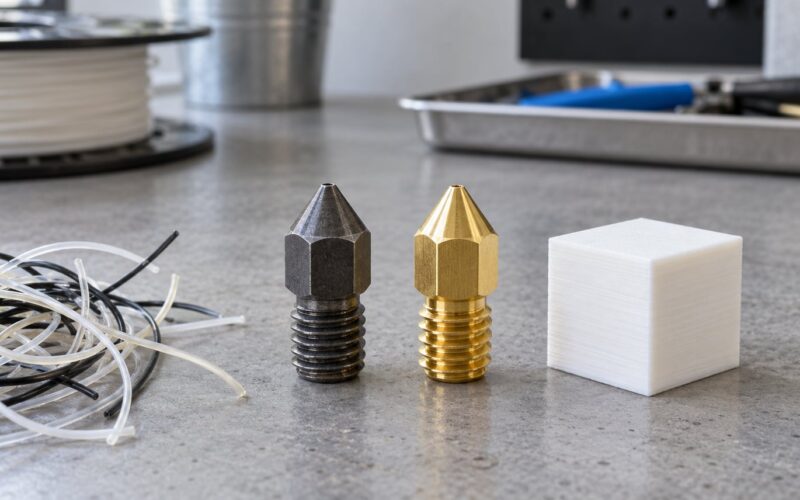
- Your printer. Open or enclosed bed, all-metal or PTFE-lined hotend, stock or hardened nozzle, direct drive or Bowden. This one can disqualify materials outright.
It also helps to know which numbers you should be reading, because three of them get confused constantly.
Heat deflection temperature (HDT) is the temperature at which a test specimen sags a set amount under a fixed load. It is the closest thing to a real service limit for a part that carries weight while hot.
Glass transition temperature (Tg) is where the polymer starts to soften. It is a material property measured on a small sample, not a structural limit, and it is usually well above the temperature at which a printed part starts to droop under load.
Vicat softening temperature uses a different indenter and a different load than HDT, so the number is not interchangeable. Comparing a Vicat figure with an HDT figure is like comparing a knot to a mile.
Brands disagree. One manufacturer will quote PLA HDT at 55 °C and another at 60 °C for filament that behaves the same on the bench. Treat every figure below as a range from manufacturer datasheets, not a promise.
One more thing to keep in mind while reading those datasheets: the tensile number is for bulk material. Your part is weakest between its layers. Layer adhesion, not the headline tensile strength, is what usually decides whether a functional part survives.
Step-by-Step: Matching Filament to the Job
1. Define the load and operating environment
Start by naming the failure you would actually accept. A bracket that snaps is a different problem from a bracket that flexes, and the materials that fix them are not the same.
For steady, moderate load with no heat and no sun, PETG is the baseline. It has more impact resistance and more layer adhesion than PLA and needs no enclosure. One r/3Dprinting poster described well-dried PETG as the toughest practical FDM material, and that matches what most people find when they print the same geometry in both.
For cyclic load, snap fits and hinges, you are really asking about fatigue. Unfilled PETG and ABS handle repeated flexing better than PLA, which is stiff and brittle and tends to hinge-crack rather than bend. TPU handles it far better because it is elastic, which is exactly why it is used for grips, bumpers and cable guides.
For a heat and friction wear point, move up the list. A product developer on r/3Dprinting abandoned PLA prototypes after they burned at a friction contact and ruined the tolerance, and was evaluating PA-12 as a replacement. That single report describes the most common reason PLA fails on a working part: PLA softens early, the contact point glazes, and the dimension you engineered is gone.
For high heat, the axis to use is HDT, not Tg. If your part sits under load above 80 °C, PLA and PETG are already out, and you are choosing between ABS, ASA, nylon and polycarbonate.
2. Match the filament to the printing process and printer hardware
Material choice is gated by hardware before it is gated by chemistry. A printer that cannot hold a chamber temperature or feed the filament simply cannot print that polymer, no matter how well the part is designed.
| Material | Tensile (typical printed coupon) | HDT (approx.) | Impact and behaviour | Nozzle range | Hardware needed |
|---|---|---|---|---|---|
| PLA | 50-60 MPa | 55-60 °C | Stiff, brittle, poor heat and UV | 190-220 °C | None. Prints on any machine |
| PETG | 45-55 MPa | 70-80 °C | Tough, good layer adhesion, stringy | 230-250 °C | None beyond a heated bed |
| ABS | 40-50 MPa | 95-105 °C | Tough, brittle if under-extruded | 240-260 °C | Enclosure strongly preferred |
| ASA | 40-50 MPa | 90-100 °C | ABS-like, far better UV and weather | 240-260 °C | Enclosure strongly preferred |
| Nylon / PA | 60-80 MPa dry | 70-100 °C | Very tough, abrasion resistant | 260-280 °C | All-metal hotend, enclosure, dry filament |
| Polycarbonate | 55-65 MPa | 110-130 °C | Very tough, highest heat, hard to print | 270-300 °C | All-metal hotend, enclosure, high bed temp |
| TPU (95A/85A) | 25-40 MPa | 60-80 °C | Elastic, abrasion resistant, Shore A | 220-240 °C | Direct drive strongly preferred |
| PET-CF / PA-CF | Stiff, not necessarily stronger | Higher than unfilled base | Stiff, low shrinkage, abrasive on nozzles | 250-290 °C | Hardened nozzle, often all-metal hotend |
All figures are manufacturer datasheet ranges for FDM filament, and they overlap between brands. Treat them as a ranking tool.
The hardware matrix is the part people skip and regret.
| Material | Enclosure | All-metal hotend | Hardened nozzle | Direct drive |
|---|---|---|---|---|
| PLA, PETG | Not required | Not required | Not required | Not required |
| ABS, ASA | Strongly recommended | Recommended above 240 °C sustained | No | Helps with stringing |
| Polycarbonate | Required in practice | Required | Recommended | Helpful |
| Nylon / PA | Required in practice | Required | Recommended | Required |
| TPU 95A | Optional | Not required | No | Strongly preferred |
| Any carbon or glass filled | As base material | Yes for PA-CF | Required | As base material |
If you print ASA on a machine with no enclosure, expect corner lift, delamination and layer separation, and expect it to be worse in winter. The short answer to the enclosure question is that ABS and ASA are not impossible without one, they are just inconsistent without one.
On process: FDM and FFF cover everything in the table above. SLA and other resin processes give you finer detail and smoother surfaces but different chemistry entirely, and a brittle resin is a poor choice for a snap fit. SLS and MJF print unfilled nylon powder with no layer interfaces, which is why they set the ceiling for structural FDM work and why a commercial structural part eventually leaves the desktop behind.
3. Check dimensional accuracy and layer bonding
Functional parts fail between layers, not through them. Interlayer strength is typically well below bulk tensile strength, and it is the number that matters for anything loaded perpendicular to the print bed.
Print orientation is the single biggest lever. Put the load along the layers and you are testing the weakest plane. Rotate the part so the main force runs within a layer and it gets much stronger without any material change. This one habit fixes more snapped brackets than switching from PLA to nylon.
Other levers, roughly in order of effect:
- Perimeters. Three or four walls beat a higher infill percentage almost every time, because they put material where the load is.
- Layer height. Thicker layers bond better to each other, and thicker layers mean fewer bonds in the critical direction. There is a detail cost.
- Nozzle temperature. Higher extrusion temperature generally improves bonding, right up to where the material degrades and drips or strings.
- Cooling. Good layer cooling keeps each bead round and well-defined, which supports the next layer. Too much cooling on some polymers raises the risk of cracking.
- Infill. Infill mainly saves material and print time. It is not a strength dial for a shell-loaded part.
- Shrinkage. Materials shrink as they cool and shrink unevenly when printed with filled or semi-crystalline polymers. Design a press fit, then measure an actual printed test piece and adjust the model.
Countersinks, bosses around screw holes and snap-fit roots are all stress concentrators. Radius them. A sharp internal corner in a bracket is a crack starter, and that crack will find the layer line above it.
4. Consider heat, chemicals, moisture, and UV exposure
Heat is where the datasheet figures earn their keep. A part sitting in a parked car on a summer day sees far more than a kitchen measurement suggests, and a part under mechanical load sags at a lower temperature than one sitting loose on a bench. That is exactly what HDT is designed to capture.
For outdoor parts, UV and weather resistance matter more than raw strength. ASA is the standard answer because it is chemically similar to ABS but survives sunlight far better, which is the property that makes it the default for automotive exterior fixtures. One caution: users in a 3D printing Facebook group have reported ASA behaving more brittlely in their hands than PETG or TPU, so treat ASA as weather-capable rather than unbreakable.
For chemicals, think about what the part touches. PETG resists many oils, cleaners and fuels, which is why it is common for workshop and automotive parts. ABS and ASA can be chemically bonded after printing with an acetone vapour bath, a trick some people use to improve interlayer bonding on prototypes, and PETG resists that same treatment because it will not dissolve in acetone.
Moisture is the one that catches people out. PETG, TPU and especially nylon are hygroscopic, meaning they absorb water from the air. Wet filament prints with poor surface quality, bubbles, stringing, weak layer adhesion and a loss of strength that looks like a material problem and is not one. Drying is not optional for these.
- Use a filament dryer, or a food oven on its lowest setting with a thermostat, for the manufacturer’s recommended time.
- Dry immediately before printing if the spool has been open to the air.
- Feed the filament straight from the dryer or a sealed box with desiccant if you are printing large parts or long jobs.
- Store spools sealed when they are not in use. A spool left open in a humid room degrades in a matter of days, not months.
For ABS, ASA, PC and nylon, the same closed-chamber approach that fixes warping also keeps the filament dry, which is why the enclosure and the filament dryer tend to arrive together.
5. Test the filament before committing to the full print
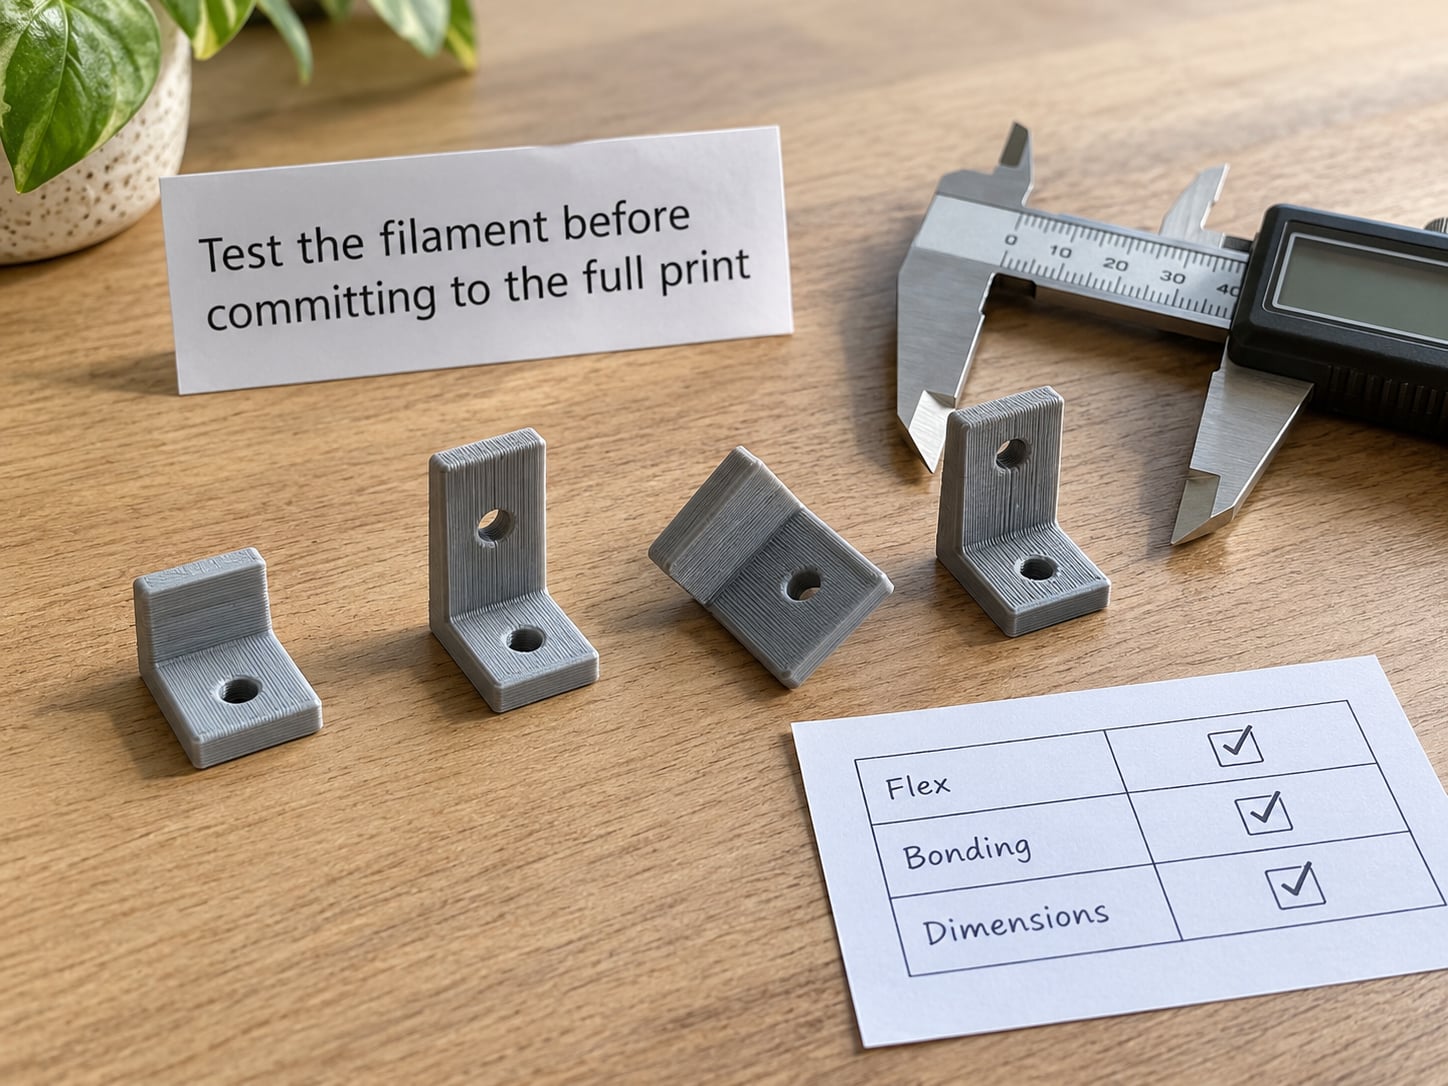
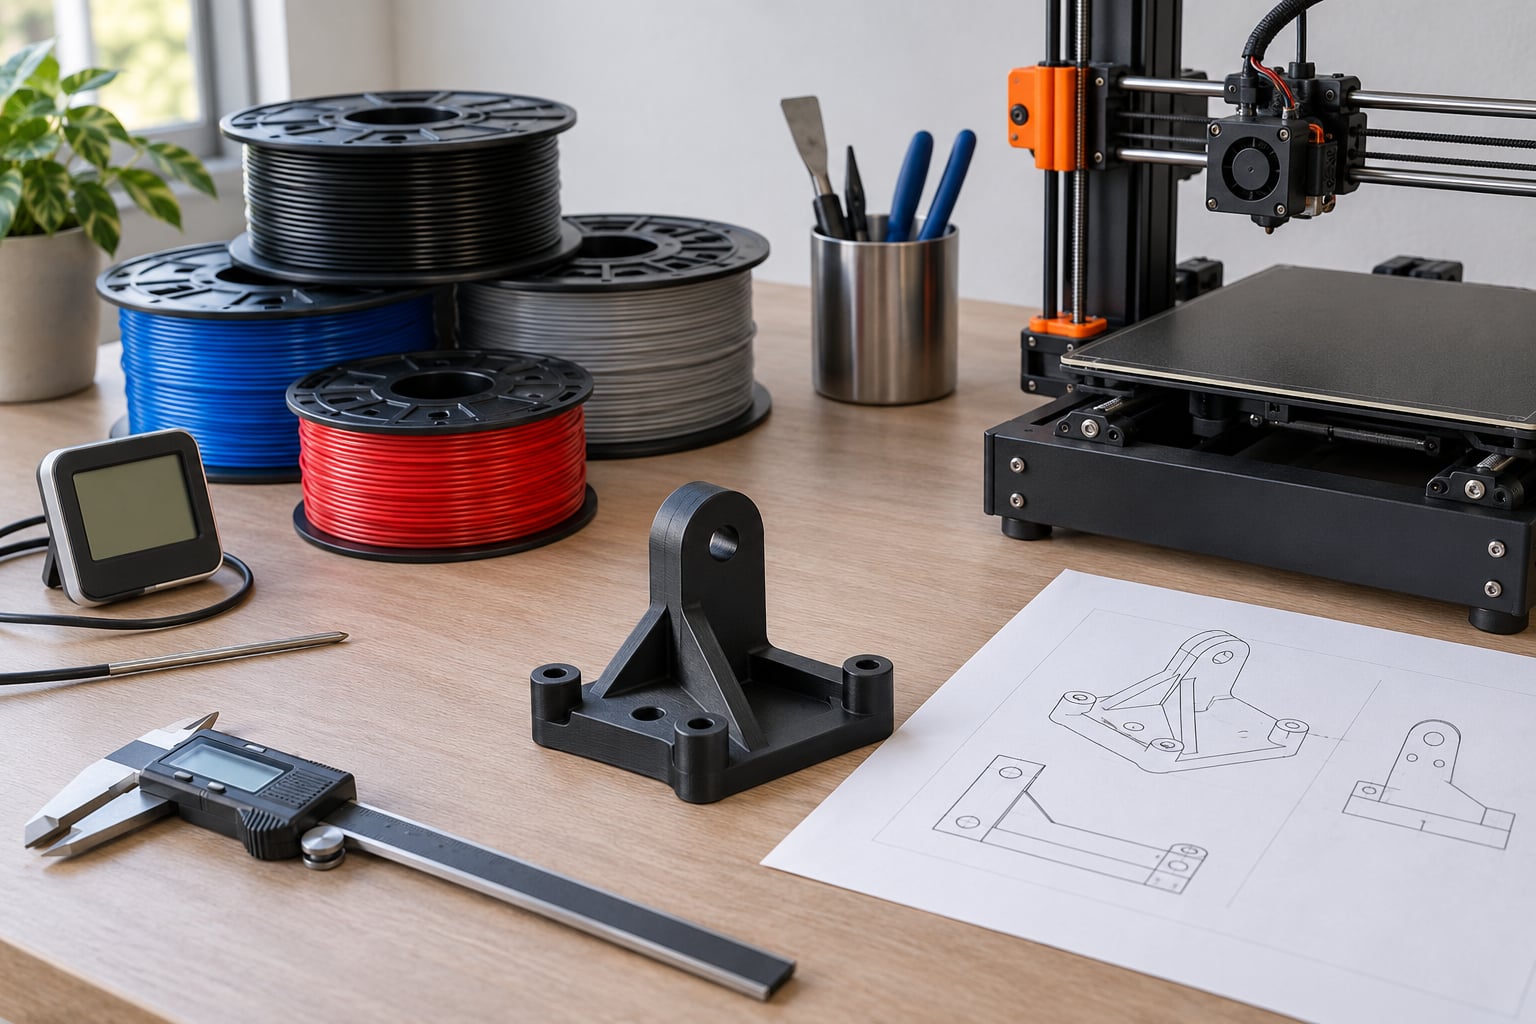
The cheapest way to avoid a bad engineering filament is a small coupon. Print a simple geometry in the candidate material, in the same orientation the real part will use, and put it through the conditions it will meet.
A useful coupon carries three or four straight beams of different layer directions, one stepped feature for fit, and one thin wall for bonding. Print two coupons in the candidate material and one in the material you are used to, so you have a reference.
Then test what matters for your part:
- Bonding. Break or pry a beam across its layers. It should show fibre tearing, not a clean split between layers.
- Flex. A hinge beam should spring back, not crease or snap.
- Dimensional check. Measure the fit features with calipers and compare against the model.
- Wear and heat. Rub a contact point against a metal surface, or warm the coupon to the part’s worst-case temperature under load and see if it holds shape.
If a material fails the coupon, adjust the profile before you reject the material. Higher nozzle temperature, more perimeters, slower speeds and better layer cooling fix more bad adhesion than people expect. Only when the coupon still fails after tuning should you move to a different polymer.
Coupon prints are fast, they use a fraction of a spool, and they are the reason people stop wasting half a roll of engineering filament before finding out it suits the job.
6. Validate the finished functional part
The real part gets a real test, but a controlled one. Fit it to the thing it was designed for, load it the way it will be loaded, and leave it in the environment for long enough to reveal creep.
For heat, hold it at the worst-case temperature under its working load for an hour and check for sag at the fit features. For UV and weather, leave a sample outside and re-measure it and any snap-fit every few weeks. For wear, run the sliding contact until you have a feel for the rate, then decide whether the design or the material needs to change.
One trap worth naming: a part that fits on day one and rattles on day thirty usually crept under a sustained load. That is a material behaviour at a temperature you did not account for, not a printer problem.
Then write down the settings. Save the slicer profile, the material, the nozzle temperature, the drying time, the orientation and the fill pattern with the part file. Most functional parts get printed again, sometimes years later, and a replacement part that uses different filament is a different part.
PLA or PETG for mechanical parts: the direct comparison
PETG for anything that will be handled, dropped, flexed or load-bearing. PLA only for fit checks, jigs that see no heat or load, and prototypes you intend to replace.
| Criterion | PLA | PETG |
|---|---|---|
| Impact and flex behaviour | Brittle, hinges crack | Tough, springs back |
| HDT | About 55-60 °C | About 70-80 °C |
| Layer adhesion | Good at high temperature, poor at low | Good across a wide range |
| Printer requirements | None | Heated bed, no enclosure needed |
| Drying | Not required | Recommended if opened or old |
| Detail and surface | Sharper, easier | Slightly softer, stringy |
| Best use | Fit checks, light indoor parts | General mechanical duty |
PLA is not a bad material. It is a poor default for a working part, because its failure mode is a sudden snap rather than a warning, and it gives up its shape at a temperature that a car interior reaches in ordinary weather.
Common Mistakes That Break Functional Prints
1. Using PLA for a heat-exposed part. The fix: check the part’s worst-case temperature against the material’s HDT, not its melting point. If the service temperature is within 15 °C of the HDT, step up a material. A printed prototype can stay PLA; a part that lives in the car should not.
2. Ignoring printer compatibility until the print fails. The fix: check the hardware matrix before buying, not after the first layer curls. Nylon and polycarbonate need an all-metal hotend and a real enclosure, and filled filaments need a hardened nozzle.
3. Treating infill as the strength dial. The fix: raise perimeter count and orient the load within a layer. A part with three or four walls and modest infill beats a thin-walled part at 100% infill in almost every load case, and prints faster.
4. Testing on a tiny coupon that does not represent the part. The fix: print the coupon in the same orientation, at a similar wall thickness, and make it large enough to grip. A 20 mm test block tells you nothing about a 120 mm bracket with one wall.
5. Printing hygroscopic filament straight from an open box. The fix: dry PETG, TPU and nylon before every print, and store spools sealed with desiccant. If your parts look rough, string badly or delaminate, moisture is the first thing to rule out.
6. Assuming reinforced filament is stronger. The fix: fillers make a material stiffer, more dimensionally stable and more heat tolerant. They are not free strength. Users on r/3Dprinting note that PETG-GF prints stiffer and more heat tolerant yet is not stronger than the same unfilled PETG, and the fibres wear brass and steel nozzles faster. Choose a filled variant for stiffness and precision, not for toughness.
7. Loading a part in the direction the layers were printed. The fix: rotate the model so the main load runs along the layers. This is free strength, and it is the change that fixes most snapped functional prints.
8. Forgetting chemical compatibility. The fix: check what the part will touch, not just its temperature. Solvents, fuels, oils, cleaners and UV each rule out different materials, and nobody’s spool label will tell you.
One habit that ties it together: spec a different filament per function in the same project. Engineers do this routinely, printing one material in PLA for fit and form checks and a second in ASA or ABS for the load-carrying geometry. It is simpler than finding one compromise material that is mediocre at everything, and it costs nothing extra to plan.
And know when to stop. For a one-off or a small run, FDM is the right tool. For repeated structural loads at scale, SLS or MJF nylon prints with no layer interfaces and beat desktop FDM outright. For thousands of identical parts, injection moulding wins on cost per part and consistency. Choosing filament well gets you the best part your printer can make, not the best part money can buy.
Frequently Asked Questions
What is the best filament for strong functional 3D printed parts?
Well-dried PETG is the best general-purpose choice for strong functional FDM parts, because it has higher impact resistance and better layer adhesion than PLA and prints without an enclosure. Use ABS or ASA for heat and UV exposure, nylon or PA for abrasion and heavy load, polycarbonate for the highest service temperatures, and TPU when the part must flex. PLA suits fit checks and light indoor parts.
Is 100% infill necessary for a functional part?
Rarely. Perimeter count matters far more than infill percentage, because most functional loads are carried by the outer walls rather than the core. Three or four perimeters with moderate infill usually outperform one or two walls at full infill, and they print much faster. Add more infill only when weight reduction is an explicit design goal.
Should I use PLA or PETG for mechanical parts?
Use PETG for mechanical parts that will be handled, flexed, dropped or loaded. It is tougher than PLA, springs back instead of cracking, and holds its shape at a higher temperature. PLA is stiff and brittle, so it fails suddenly, and it softens in a parked car or near a heat source. PLA is still the right choice for fit checks and replaceable prototypes.
Are carbon fiber or glass fiber filaments stronger than ordinary nylon?
Not usually. Fibres make filled filaments stiffer, more dimensionally stable and more heat tolerant, and they reduce warping, but they do not automatically add strength or toughness. Users on r/3Dprinting report PETG-GF printing stiffer yet not stronger than unfilled PETG. Filled variants also need a hardened nozzle and wear it faster, so choose them for precision and stiffness.
Can I reuse failed or leftover filament for functional parts?
Not for load-carrying parts. Once a spool has absorbed moisture, the visible stringing and roughness are the easy symptom, but the loss of interlayer strength is the part you cannot see. Re-dried filament is fine for jigs and fit checks. For anything structural, print with a fresh, dried spool and record the drying time so the next part matches.
What to Do First
Write down the part’s worst-case temperature, its load, and what it rubs against. Those three answers usually eliminate half the material list before you open a spool, and they make the rest of the decision mechanical.
Then, when you are learning how to choose filament for functional parts in practice, start with a coupon in PETG, print it in the real orientation, and load it the way the part will be loaded. If it holds, you have a material. If it does not, you now know whether the answer is a hotter nozzle, more perimeters, a different orientation, or a different polymer.