Ceramic 3D printing builds a part layer by layer from a ceramic feedstock — clay slurry, ceramic powder, or UV-curable resin loaded with ceramic particles — then heat-treats the printed green body through debinding and sintering at roughly 900 to 1400 degC. Printing is the quick part. The kiln is where loose powder actually becomes ceramic.
That distinction matters more than it sounds. A freshly printed ceramic part is fragile, porous, and the wrong shape, because it still has to shrink by a double-digit percentage before it reaches final size. Nearly every question people have about ceramic printing — why parts crack, whether a printed mug holds liquid, how long a job takes — traces back to the steps that happen after the printer stops.
This guide walks the ceramic 3D printing process explained end to end, from CAD model to glazed part, and then breaks down the five main technologies so you can tell which one suits your material, your geometry, and your tolerance.
Table of Contents
- Key Takeaways
- What Is Ceramic 3D Printing?
- Why print with ceramic at all?
- How Does the Ceramic 3D Printing Process Work?
- The Ceramic 3D Printing Process Explained Step by Step
- What Are the Main Ceramic 3D Printing Technologies?
- Which Ceramic Materials Can Be 3D Printed?
- What Happens During Sintering and Post-Processing?
- What Are the Advantages and Limitations?
- Why do ceramic 3D prints crack?
- How Do You Choose the Right Ceramic Printing Method?
- Frequently Asked Questions
- Can you 3D print with ceramic?
- Is ceramic 3D printing a thing?
- What is the hardest material you can 3D print?
- Do ceramic 3D prints need to be fired?
- How much does a ceramic part shrink when fired?
- Can you 3D print a functional ceramic mug?
Key Takeaways
- Ceramic 3D printing is an additive process: feedstock is deposited layer by layer, then the printed green body is fired.
- The printer only makes the shape. Debinding and sintering at 900 to 1400 degC make the material ceramic.
- Parts shrink on the way to final size, usually somewhere around 10 to 25% depending on the feedstock, so models must be scaled up beforehand.
- The five main technologies are material extrusion, binder jetting, powder bed fusion, nanoparticle jetting, and photopolymerization (DLP or SLA).
- Cracking, porosity, and warping come from drying too fast, uneven wall thickness, or a firing curve that outruns the part.
- Lead time is dominated by the furnace, not the printer. Budget days, not hours, for a full cycle.
What Is Ceramic 3D Printing?
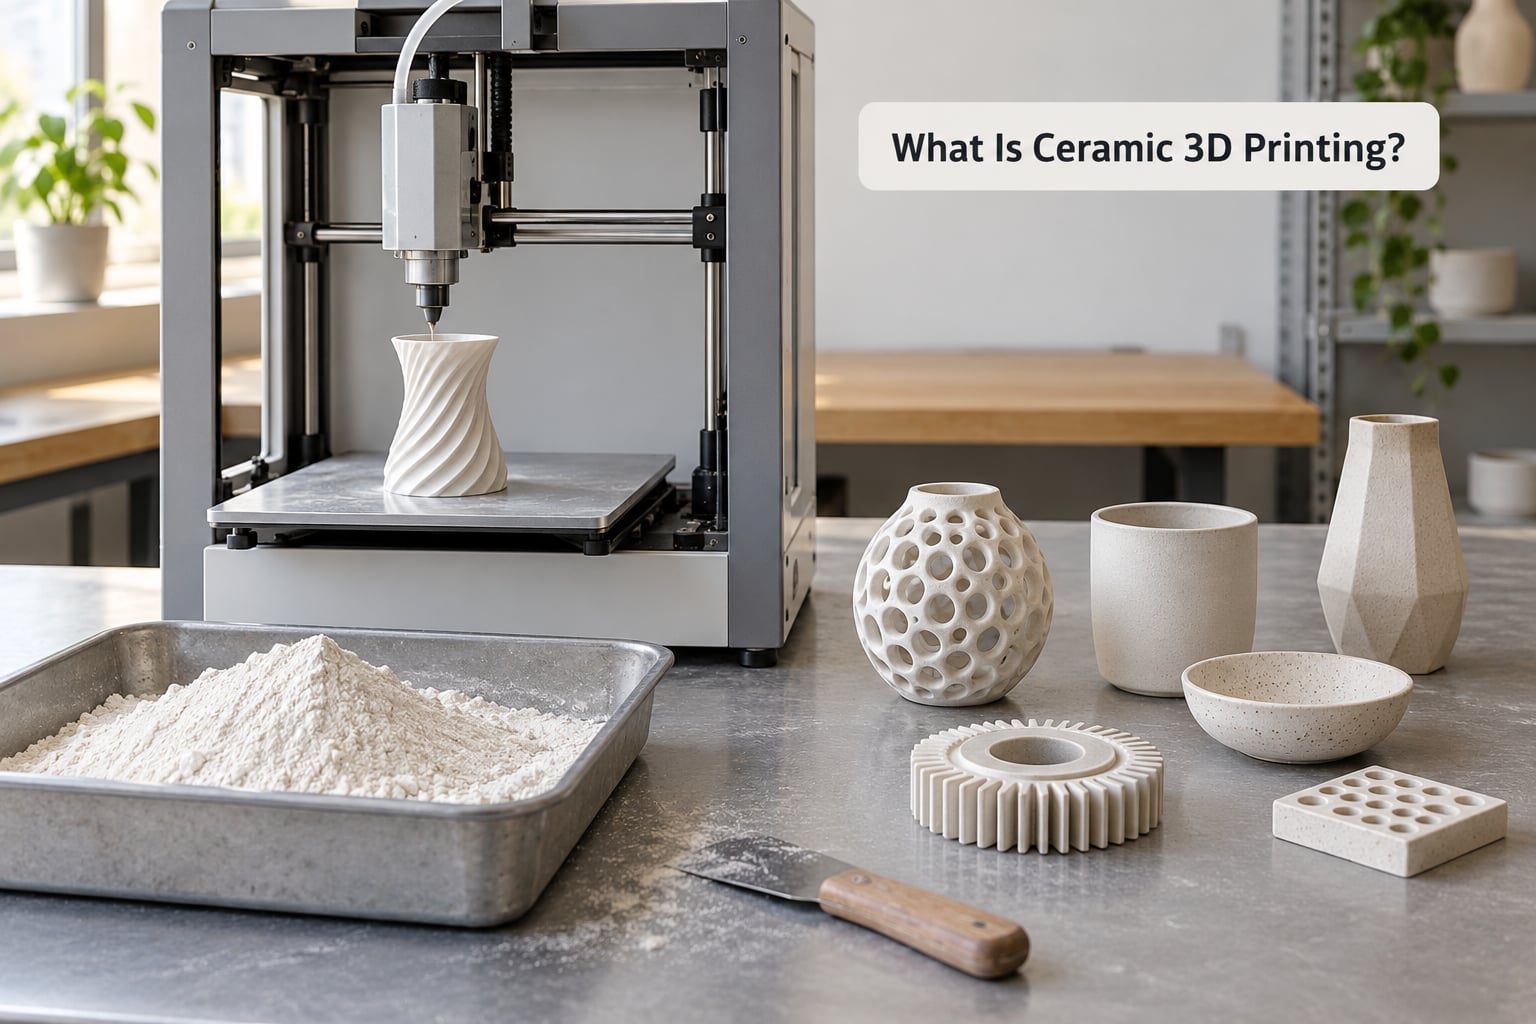
Ceramic 3D printing is additive manufacturing with ceramic feedstock. Instead of melting plastic, a machine deposits clay slurry, sprays binder onto a powder bed, fuses powder with a laser, or cures ceramic-filled resin with light — then the part is fired to make it ceramic.
There are two broad families, and they behave very differently. Classic ceramics are clay-based: earthenware, stoneware, porcelain, and the glazes that go on top. Technical ceramics, also called advanced or engineering ceramics, are engineered oxides, carbides, and nitrides such as zirconia, alumina, silicon nitride, and silicon carbide. Classic ceramics are made on desktop printers and in studios. Technical ceramics are made in labs and factories for aerospace, automotive, medical, and electronics work.
Why print with ceramic at all?
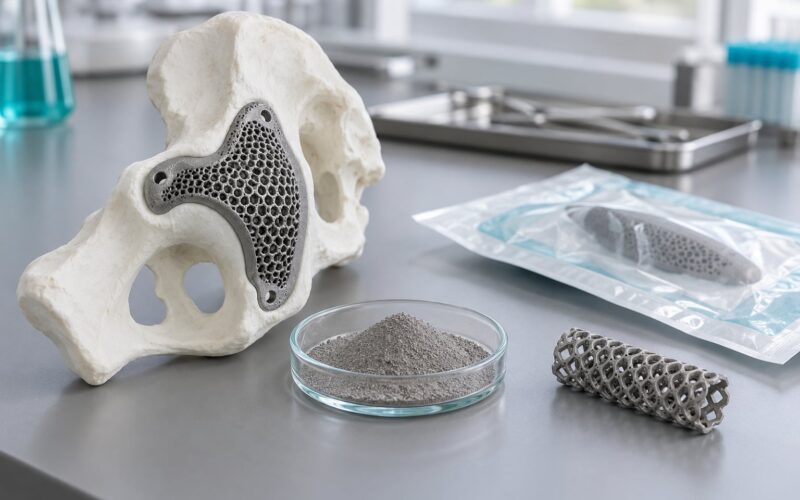
Because ceramics do things plastics cannot. They hold up to extreme heat, resist most chemicals, conduct heat while staying electrically insulating, and survive body chemistry. Zirconia, for example, is what many dental crowns and orthopedic bone implants are made from, because it is biocompatible and harder than the enamel it replaces.
The other reason is geometry. Casting, dry pressing, and injection molding all need a tool, and a tool limits shape. Layer-by-layer deposition has no such limit, so internal cooling channels, lattice cores, and undercuts that would be impossible to mold become routine. Material waste also drops, since you only build the part and not a block of material around it.
How Does the Ceramic 3D Printing Process Work?
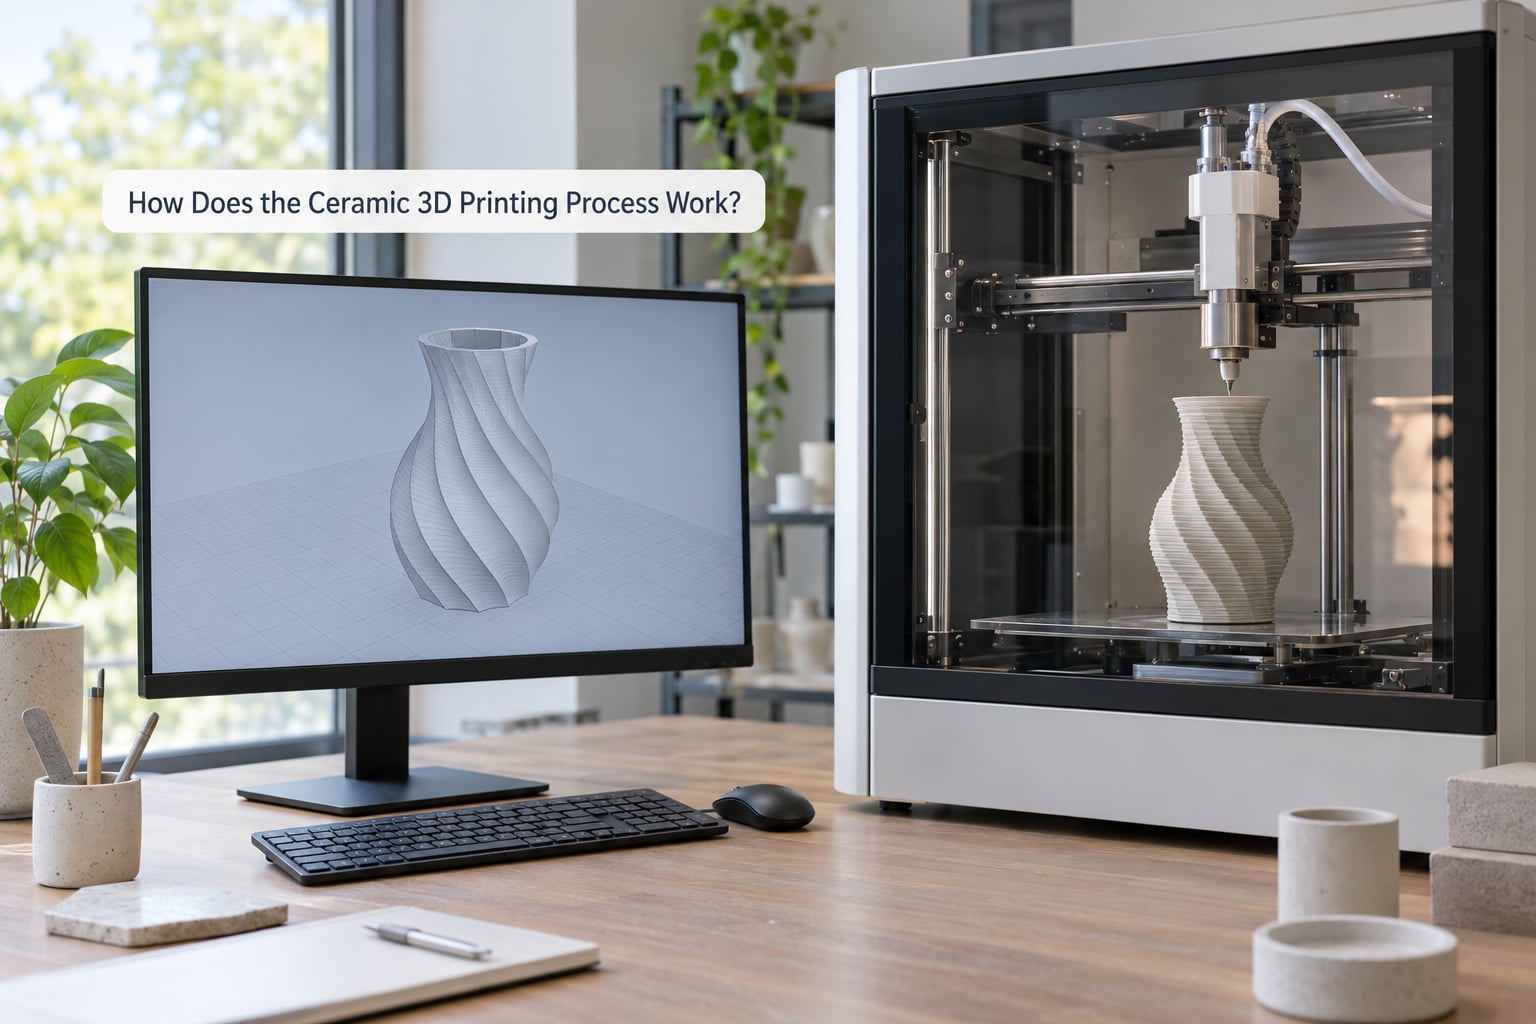
The ceramic 3D printing process explained in short: design a model, prepare a feedstock, slice it into layers, build the part, dry it slowly, burn out the binder, and fire it dense. Here is that chain in the order it actually happens, with the practical detail that trips up first-time users.
The Ceramic 3D Printing Process Explained Step by Step
1. Model the part in CAD. Model at the final size you want, then scale up. This is the step most beginners skip and the one that costs them the most rework, because a part that shrinks 15% on the way through the kiln comes out 15% undersized no matter how good the print was. Most people scale between 1.15 and 1.25 and then trim or glaze, but the right number depends on your material, and suppliers usually publish it.
While you are in CAD, design for the process. Keep walls thick enough to survive handling and firing, avoid overhangs sharper than roughly 45 degrees, add fillets at inside corners, and orient the part in the build chamber so layers stack along the direction of least stress. A wall thinner than about 1 mm in clay will usually crack somewhere in the kiln.
2. Prepare the feedstock. For extrusion, this means mixing a clay body to the right consistency — firm enough to hold a shape off the nozzle, soft enough not to tear. Hobbyists report that tuning clay consistency, not printing settings, is the biggest time sink in the whole workflow. For powder processes, the powder is loaded, spread, and leveled into a bed. For resin processes, ceramic-filled resin comes ready to use, though it is stirred and filtered first.
3. Slice the model. The slicer takes your model and turns it into toolpaths, one layer at a time, along with the supports needed to hold the part up. Layer height is the biggest accuracy lever you control. Extrusion printers commonly run somewhere in the 0.3 to 1 mm range; photopolymer processes go far finer, often in the tens of micrometers.
4. Build the part layer by layer. The machine deposits the layers. Extrusion lays down a bead of slurry or clay. Binder jetting sprays a liquid binder into a powder bed, and the unbound powder is recycled for the next layer. Powder bed fusion uses a laser to sinter powder where the cross-section calls for it. Photopolymerization cures a whole layer of resin at once, which is why it prints so fast despite fine layers.
What comes off the machine is called a green body or green part: the right shape, full of water, binder, or uncured resin, and roughly 20 to 40% weaker than the finished part.
5. Dry it slowly. Drying is a distinct step with its own time cost, and it is the step people rush. A clay body that loses water too fast on the outside while the inside is still wet will crack or warp, often with a split you do not see until the part is bone dry. Depending on size and clay, this takes anywhere from a day to a couple of weeks. Dry in a humidity-controlled cabinet, or wrap the part loosely while it firms up, and leave room between prints so air can move around them.
6. Debind, or burn out the binder. Debinding removes whatever held the powder together: water and additives from clay, organic binder from a jetted part, or the polymer resin from a photopolymerized one. It is done slowly, on a rising temperature ramp, because gas leaving too fast will blister or split the part. This stage can run from several hours to a day or more, depending on how much organic material is in the body. A piece that traps gas inside itself is what causes the kiln failures hobbyists describe.
7. Fire it, or sinter it. Once binder-free, the part goes into a furnace or kiln and is heated to a temperature specific to the material, typically somewhere in the 900 to 1400 degC range. The particles fuse, the pores close, and the part densifies and hardens. Sintering cycles run many hours, often most of a day, and they are the single largest chunk of the total lead time. The part also shrinks during this step as the pores close, which is why shrinkage compensation happens back in CAD.
Well-designed shrinkage is roughly isotropic — even in every direction — which is what makes tight tolerances achievable. Asymmetric shrinkage, where the part shrinks differently along different axes, is a defect and a frequent cause of warped or cracked parts.
8. Finish the surface, if needed. Green and fired ceramic is still porous. Support scars get removed, surfaces get sanded, machined, or lapped, and then the part gets glazed and glaze-fired for a sealed, functional surface. A glaze is what turns a decorative printed vessel into something that holds liquid and can go in a dishwasher. Skip it, and the part remains porous enough to stain and to absorb liquid into the body.
What Are the Main Ceramic 3D Printing Technologies?
Five processes account for nearly all ceramic additive manufacturing. They differ less in what the finished part can be than in how the feedstock is delivered, how fine the layers are, and what has to happen afterward.
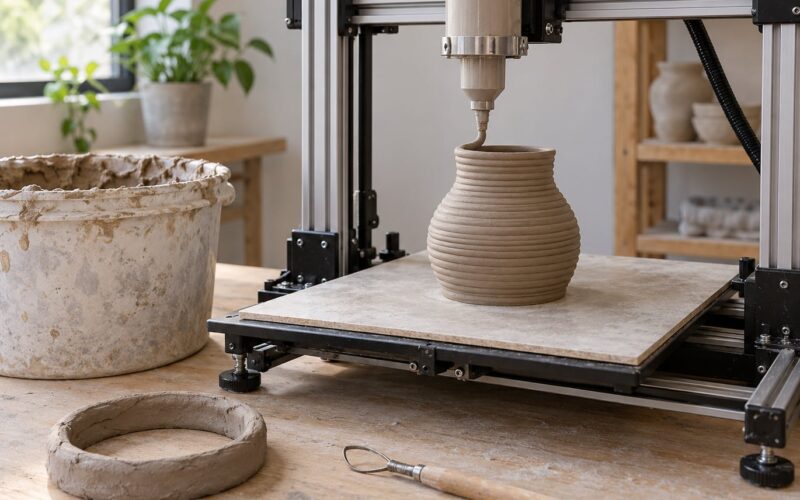
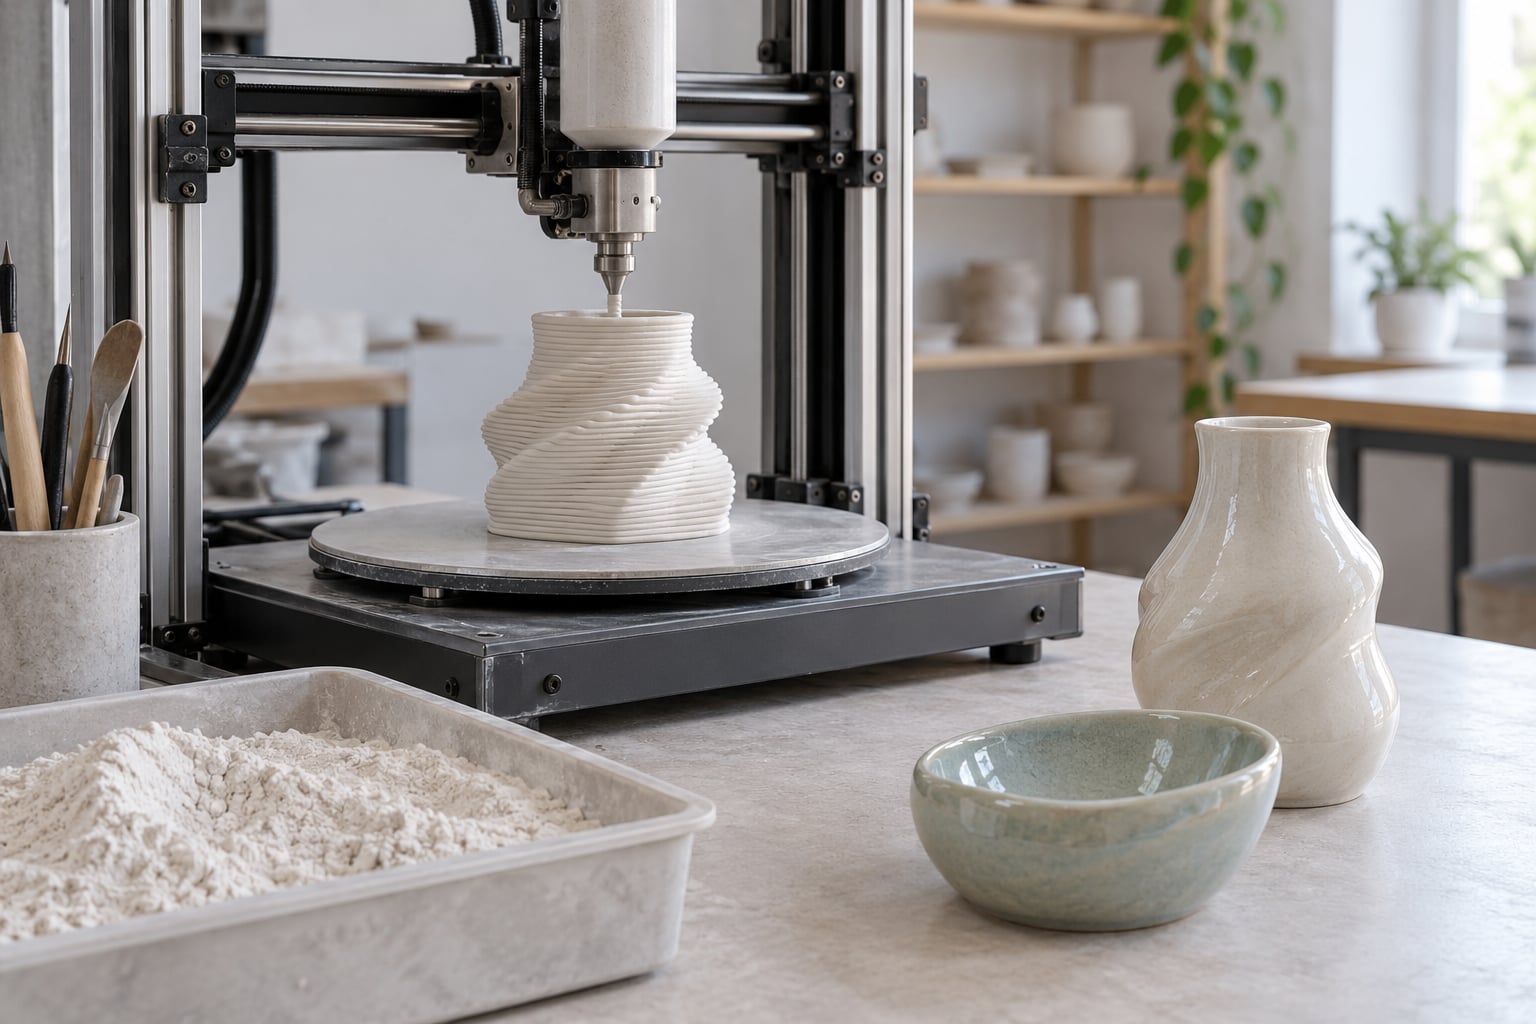
Material extrusion. A paste, clay, or slurry is pushed through a nozzle and built up bead by bead, layer by layer. Desktop clay printers use air pressure or a mechanical push rather than heat, which is the structural difference from plastic FDM that most explainers skip. Layer lines stay visible — artists sometimes use the coiling pattern deliberately — and accuracy sits well below plastic FDM.
Binder jetting. A liquid binder is deposited into a bed of loose ceramic powder, layer by layer, then the powder is sintered. Because the powder supports the part, there is no need for support structures, and the unbound powder is recycled. Build volumes are large and part counts are cheap, but process is slower and the parts need thorough binder removal.
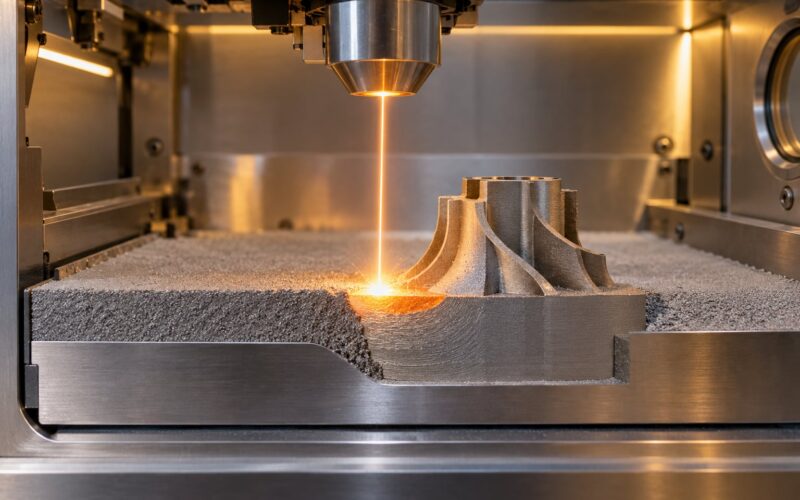
Powder bed fusion. A laser heats and partially fuses powder where the cross-section calls for it, and the surrounding loose powder supports the part without supports. This route produces dense technical ceramics such as zirconia and silicon nitride with no post-densification step, which is why aerospace and medical shops favor it.
Nanoparticle jetting. Very fine ceramic powders are jetted with a thin layer of binder. Because the particles are smaller, more of the part’s detail survives, which makes the process attractive for fine-detail components and for materials that are hard to print any other way.
Photopolymerization, DLP or SLA. A vat of ceramic-filled resin is cured one layer at a time by a projector or laser. This is the fastest route and it delivers the finest surface detail of the five, but the printed part has to be washed, then thoroughly cured, then fully burned out, and shrinkage can be significant. A ceramic-filled resin like an alumina-loaded dental resin is the best-known example.
| Technology | Feedstock form | Typical layer height | Supports | Post-processing | Best suited to |
|---|---|---|---|---|---|
| Material extrusion | Clay or ceramic slurry | About 0.3 to 1 mm | Yes, plus a drying stage | Dry, fire, optional glaze | Pottery, sculpture, large decorative forms |
| Binder jetting | Loose powder plus liquid binder | Tens to hundreds of micrometers | No | Dewax, sinter, machine | Part families, cores, medium production runs |
| Powder bed fusion | Loose powder, laser fused | Tens of micrometers | No | Stress relief, optional HIP | Dense technical ceramic engineering parts |
| Nanoparticle jetting | Fine powder plus binder | Tens of micrometers | No | Debind, sinter | Fine-detail components and difficult materials |
| Photopolymerization | Ceramic-filled resin | Tens of micrometers | Yes | Wash, cure, debind, sinter | Dental, medical, smooth-surface parts |
One more format worth naming is ceramic-filled filament, essentially FDM with a filled spools. It is the least common of the routes in serious ceramic work because the binder content and the particle size limit what you can achieve, but it is the easiest way for someone with a plastic printer to touch the process.
Which Ceramic Materials Can Be 3D Printed?
Almost any ceramic that can be ground into powder or suspended in a liquid can be printed, though printability varies a lot. The deciding factors are particle size, how well the powder flows, the melting or softening point, and how much the body shrinks as it densifies.
Zirconia is the workhorse of dental and medical printing. It is biocompatible, tough for a ceramic, and available in alumina-toughened grades that resist chipping. Alumina is cheap, hard, and electrically insulating, which makes it a common choice for insulators, wear parts, and electronic components. Hydroxyapatite is used for bone implants and scaffolds because bone grows onto it readily.
Silicon nitride and silicon carbide sit at the demanding end. Both hold up at very high temperatures, and silicon carbide takes thermal shock better than almost anything else printable. Both are used in aerospace, heat shields, and turbine hardware, and both are hard to print because they need careful binder chemistry and long sintering cycles.
For classic ceramics, porcelain gives translucency and takes glaze beautifully, which is why it dominates tableware. Stoneware and earthenware are forgiving and cheap. Glass ceramics, including machinable grades like lithium disilicate, combine printability with good optical properties. Silica and glass feedstocks print well in resin and slurry form, and are used for lenses, optical components, and investment casting shells.
| Material family | Where it prints | Typical use | Watch out for |
|---|---|---|---|
| Porcelain, stoneware, earthenware | Slurry extrusion, clay extrusion | Tableware, planters, sculpture | Moisture during handling; cracking if dried unevenly |
| Zirconia | Photopolymerization, powder bed fusion | Dental crowns and bridges, surgical parts | High shrinkage; proof-testing after firing |
| Alumina | Binder jetting, resin, powder bed fusion | Insulators, wear parts, electronics | Brittleness; low toughness in thin sections |
| Hydroxyapatite | Slurry, powder bed fusion | Bone scaffolds and implants | Porosity control and mechanical strength trade-off |
| Silicon nitride, silicon carbide | Binder jetting, powder bed fusion | Thermal shields, turbine and engine parts | Long sintering cycles; expensive powder |
| Glass and glass ceramics | Resin, slurry, binder jetting | Optics, investment casting shells | Very high firing temperature and long cycles |
Technical ceramic powders used in extrusion routes are usually fine, on the order of one to two micrometers, so the particles pack tightly and the fired part comes out with fewer voids.
What Happens During Sintering and Post-Processing?
Post-processing is where a green body becomes a finished part, and where most of the time and most of the failure happens. The order below is the normal sequence; glazing and machining are optional and their position depends on whether you want a sealed or a machined surface.
1. Drying. Water leaves the body gradually. Rate of loss, not just total loss, decides whether the part survives. Thick sections dry in days to weeks; small ones in hours.
2. Support removal. Extrusion and resin parts sit on a plate or raft with support structures underneath. These come off before firing, and any tool marks get sanded, because sharp leftover edges concentrate stress and crack under thermal cycling.
3. Debinding. A slow ramp burns out organic material — binder, wax, or polymer — without letting the gases vent too fast. This is the step that turns a noisy puff of smoke into a slow controlled burn, and it is where impatience shows up as a blistered or cracked part.
4. Sintering or firing. The densification step, typically in the 900 to 1400 degC range, with holds and ramps chosen for the material. Densified ceramic gains most of its strength here, along with its final dimensions. Parts come out smaller than the green body, and the shrinkage is the reason CAD scaling happens at the start.
5. Glazing and glaze firing. A glassy coating is applied and fired, sealing the surface. Glazing is what makes a printed vessel food safe and liquid tight, and it hides printing lines. A properly glazed and fired part can be dishwasher safe; an unglazed one stays porous and is best treated as decorative.
6. Machining or polishing. Ceramic is hard, so finishing uses diamond tooling, grinding, or lapping. This is where tight-tolerance parts get their final dimensions, and it is a normal step for technical ceramic work rather than a sign the print failed.
7. Inspection. Parts are checked for dimension, density, and flaws. Non-destructive methods like X-ray and ultrasonic inspection catch internal voids and delamination that you cannot see from outside, and proof testing catches the rare critical flaw in a loaded component.
What Are the Advantages and Limitations?
The advantages are real and they are specific: complex internal geometry with no tooling, minimal material waste, excellent heat and chemical resistance, wear resistance, electrical insulation, and biocompatibility where the material calls for it. Turnaround is fast for a prototype. For a one-off turbine shroud or a patient-specific surgical guide, printing beats waiting on a mold by a wide margin.
The limitations are equally real. Ceramic is brittle, so tensile strength is low and parts fail without warning rather than deforming first. Shrinkage means tolerances have to be compensated for in advance and re-checked after firing. Porosity is the persistent enemy — every trapped void left in the body shows up as a defect. Resolution is capped by layer height and by how much the body shrinks. Post-processing adds days to the lead time, and equipment, powders, and sintering energy are all costly.
And then there is the practical reality for anyone coming from plastic FDM. The learning curve is steeper than most people expect, consistency tuning takes months rather than an afternoon, and clay prints simply do not reach the precision of a good plastic printer. Hand finishing is often essential to hide the artifacts the machine leaves behind.
Why do ceramic 3D prints crack?
Almost always from differential shrinkage, meaning the part shrank unevenly in some place. The usual triggers:
- Drying too fast or too unevenly. The outside shrinks while the inside is still wet. Slow the drying, add humidity control, and leave air gaps between prints.
- Walls that are too thin or vary too much in thickness. Keep thickness uniform and above about 1 mm, and round the transitions.
- Overhangs and sharp corners. They concentrate stress and hold moisture longer. Stay under roughly 45 degrees and add fillets.
- A firing ramp that is too fast. A standard schedule beats a fast one every time; a shortened hold means a porous part, and gas release too quickly means a split part.
- Trapped moisture or organics. Bone-dry parts and a slow debind are the cheapest insurance there is.
- Porosity in the feedstock. A settled or agglomerated powder prints with voids baked in.
- Unsupported heavy overhangs and warping on the plate. Too little adhesion and the part peels during drying or handling.
If parts crack at the same spot every time, the cause is usually in the design. If they crack randomly, it is usually in the drying or firing schedule.
How Do You Choose the Right Ceramic Printing Method?
Start with the material, because the material picks the technology. Technical ceramics such as zirconia, alumina, and silicon nitride generally need photopolymerization, powder bed fusion, or binder jetting. Porcelain and stoneware are extrusion materials. If your part needs to be biocompatible, wear-resistant, or hold up to heat, you are in the technical range and the choice is mostly between resin, powder bed, and binder jetting.
Next, look at geometry and size. Big, thick, low-detail objects like planters or vases suit extrusion, which handles volume cheaply. Small parts with fine detail, smooth surfaces, or tight tolerances suit photopolymerization, and tooth-like or thin-walled features are close to impossible in any other route. Internal channels and lattices need a process that handles overhangs without support scars, which points to powder bed fusion or binder jetting.
Then consider volume and tolerance together. One prototype with tight dimensions is a photopolymerization job. Dozens of similar parts are a binder jetting job, because a powder bed amortizes well. Parts that must be near net-shape after firing are easier in powder bed fusion, since laser fusion densifies in place; photopolymer and extrusion parts usually need a machining pass afterward.
Finally, check your post-processing capability, because it decides whether a route is practical at all. A process that needs a long vacuum sintering cycle or a hot isostatic press is a poor fit for a lab without furnaces. A desktop clay printer needs a kiln you can load and a drying space with stable humidity. If you have neither, a service bureau that runs the whole chain, including firing, is usually the sensible first step, and it is how most industrial teams start with technical ceramics too.
For a beginner coming from plastic FDM, clay extrusion is the gentlest first step, as long as you expect lower accuracy and a longer learning curve. Engineers evaluating ceramic-filled resin get finer detail and faster iteration, but need a controlled burn-out and firing partner. Either way, treat the furnace as part of the machine, not an accessory.
Frequently Asked Questions
Can you 3D print with ceramic?
Yes, but not the way you print plastic. The machine deposits clay, ceramic powder, or ceramic-filled resin layer by layer, and the printed green body is then dried, debound, and fired at roughly 900 to 1400 degC to turn it into real ceramic. Desktop printers handle clay for pottery and sculpture; industrial machines handle technical ceramics such as zirconia and alumina.
Is ceramic 3D printing a thing?
It is a mature, commercial process used in aerospace, automotive, dental, medical, and electronics manufacturing. Binder jetting, powder bed fusion, and ceramic resin printing all run in production today, mostly for small, complex, high-value parts. It is less common in everyday manufacturing because of brittleness, shrinkage, and the long sintering cycle.
What is the hardest material you can 3D print?
Among the printable feedstocks, silicon carbide, alumina, and silicon nitride sit at the hard end of the scale, and they are routinely printed by binder jetting and powder bed fusion. Hardness is only half the story: these ceramics are also extremely brittle, so a hard printed part still needs careful support design and post-processing.
Do ceramic 3D prints need to be fired?
Yes. A printed part is weak, porous, and full of water, binder, or uncured resin, so it cannot be used. Firing removes that material first, then sinters the body dense at high temperature, typically somewhere in the 900 to 1400 degC range. Without firing you have a fragile shell, not a ceramic part.
How much does a ceramic part shrink when fired?
A lot. Depending on the material and process, total shrinkage from CAD model to finished part commonly lands somewhere around 10 to 25%, and technical ceramics can shrink further than classic clay bodies. That is why models are scaled up before printing, using the supplier’s published compensation figure, and why shrinkage is expected to be roughly isotropic.
Can you 3D print a functional ceramic mug?
You can, but the printed body alone will leak: fired ceramic stays porous until it is glazed. A mug that has been dried, fired, then glazed and glaze-fired seals the surface and is genuinely liquid tight, and generally dishwasher safe. People in clay printing communities still treat printed vessels as display pieces until they have been properly glazed and tested.
If you want to start, pick one material and one process, and take a small test part through the full chain including the kiln before you commit to a real design. Get the shrinkage number from your material supplier, scale the model by it, keep your walls above a millimeter, and give the part a slow, patient dry. The ceramic 3D printing process explained here rewards that patience with parts that hold heat, wear, and chemicals better than almost anything else you can print.