A good-quality STL file is a watertight, manifold triangle mesh with outward-facing normals, real-world-correct scale, and enough tessellation to hold the detail you need. If you know how to tell if an STL file is good quality, you can catch a broken file in about five minutes instead of finding out four hours into a print.
Most failed prints that get blamed on the printer actually start with the file. Slicers often repair a bad mesh silently, so the damage only shows up as a hole in layer 90, a missing wall, or a part that will not fit with its mate.
Here is the routine I use, ordered by how fast each check gives an answer. Start with the slicer you already own, add a free inspection tool if the first pass looks questionable, and save the test print for when the job is expensive or the fit matters.
Table of Contents
- What You Need
- Step-by-Step: How to tell if an STL file is good quality
- 1. Check the file for corruption or loading errors
- 2. Inspect the mesh for non-manifold or intersecting geometry
- 3. Verify the scale and real-world dimensions
- 4. Check wall thickness and small details
- 5. Look for non-flat bases and unstable geometry
- 6. Review orientation and supports in the slicer
- 7. Slice the file and inspect the preview
- 8. Run a small test print when the stakes are high
- Common Mistakes
- Frequently Asked Questions
- Can an STL file be high quality but still print badly?
- What STL errors should I fix before printing?
- Does a larger STL file mean better quality?
- Is it necessary to repair an STL before printing?
- How do I know if an STL file is manifold?
- Is STL or STEP higher quality?
- Conclusion
What You Need
Almost nothing. Most people already have enough to run the full check.
- A slicer such as PrusaSlicer, OrcaSlicer or Cura. It reports mesh problems on import and shows you the layer preview.
- A free mesh inspection tool. Autodesk Meshmixer (Analysis > Inspector) is the most commonly recommended path, and Blender’s 3D Print Toolbox works if you already model there. MeshLab is another free option.
- The source information. A listing that states real dimensions, a CAD file, or a scan report. Without it you are guessing at scale.
- A printer, optionally. Only for check 8, and only when accuracy, strength or fit actually matters.
Step-by-Step: How to tell if an STL file is good quality
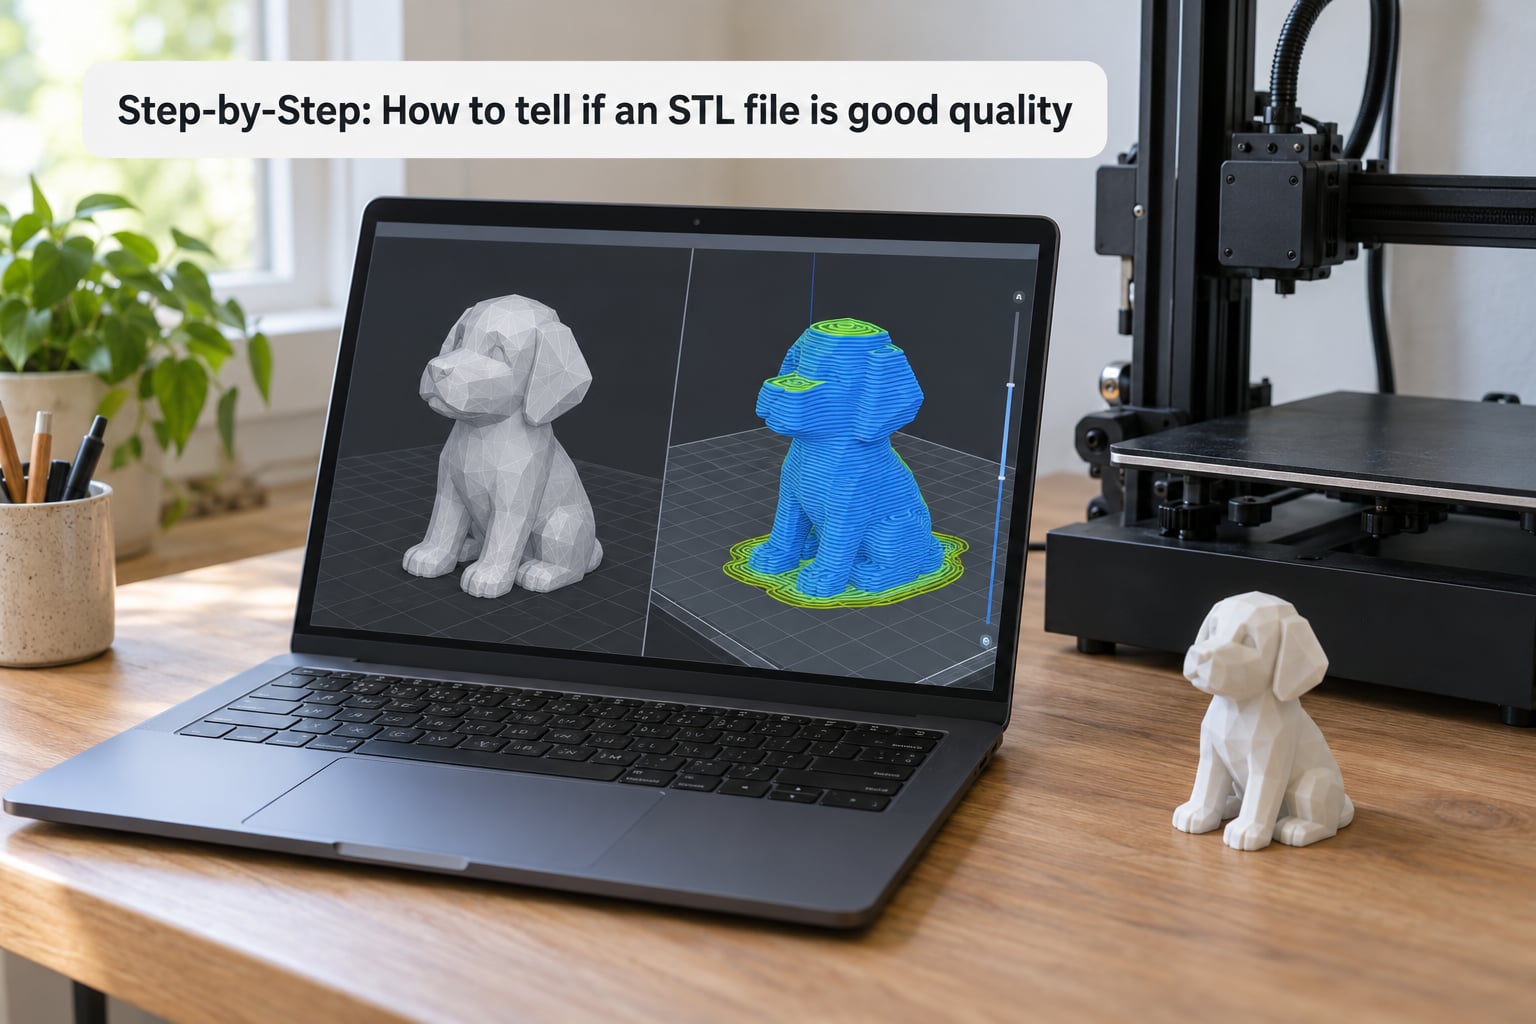
The eight checks below run from fastest to slowest. Steps 1 through 3 take minutes and catch almost every problem worth catching. Steps 4 through 7 ask whether a technically valid file will actually print well. Step 8 is the physical confirmation.
1. Check the file for corruption or loading errors
Drag the STL into your slicer and watch what happens on import. A healthy file appears whole, with all the geometry present, no truncated limbs and no missing chunk of surface.
It worked if the model renders solid and you can rotate it freely. Files that arrive as a fraction of the object, or that make the slicer hang, are truncated downloads or failed exports, and nothing else in this list matters until that is fixed.
2. Inspect the mesh for non-manifold or intersecting geometry
Every edge in a printable mesh should be shared by exactly two triangles. When it is shared by one triangle (a hole or open edge) or by three or more (a non-manifold edge), the slicer has to guess, and its guesses are what show up as missing plastic later.
In Meshmixer, open Analysis and run Inspector. In Blender, use the 3D Print panel. Both report non-manifold edges, self-intersecting faces, duplicate faces and flipped normals as countable errors. A pass means zero open edges and zero holes. Small warnings on decorative models are often harmless; an error on the surface you care about is not.
3. Verify the scale and real-world dimensions
This is the check people skip and then regret. STL stores no units, so a model exported from CAD set to inches arrives 25.4 times larger than intended, and a model scaled around a moved origin arrives at an odd size in a slicer that assumes millimeters.
Measure the bounding box in the slicer or Blender and compare it with something you know. If a part should span 100 mm across and the model measures 254, it was exported in inches. It worked if the numbers match reality, not just if the model looks plausible on screen.
4. Check wall thickness and small details
A valid mesh can still contain features your printer cannot reproduce. On a 0.4 mm nozzle, a wall thinner than roughly two extrusion widths (about 0.8 to 1.0 mm) usually prints as a gap or a single wobbly line.
Look for the same problem in tiny holes, thin spokes and fragile overhangs. As a rule of thumb, overhangs at or above 45 degrees from vertical need support, and details smaller than your nozzle diameter will be rounded off no matter how clean the mesh is.
5. Look for non-flat bases and unstable geometry
Rotate the model onto the surface it is meant to sit on. If that surface is angled, split, or a thin rim rather than a continuous footprint, the first layer will not stick evenly and you will spend an evening fighting leveling.
Also check where the mass sits. A tall shape balanced on a narrow base is fine in CAD and awkward on a printer bed. It worked if you can set the model down and it stays down.
6. Review orientation and supports in the slicer
Orientation changes quality more than most people expect. Put the surface that matters most facing the bed, which hides layer lines and gives the part a flat base.
Then read the support preview. Supports should touch only what needs holding up, and there should be clearance to get them off afterward. Overlapping supports leave scars on finished faces, and a part with no removal clearance usually comes off in pieces.
7. Slice the file and inspect the preview
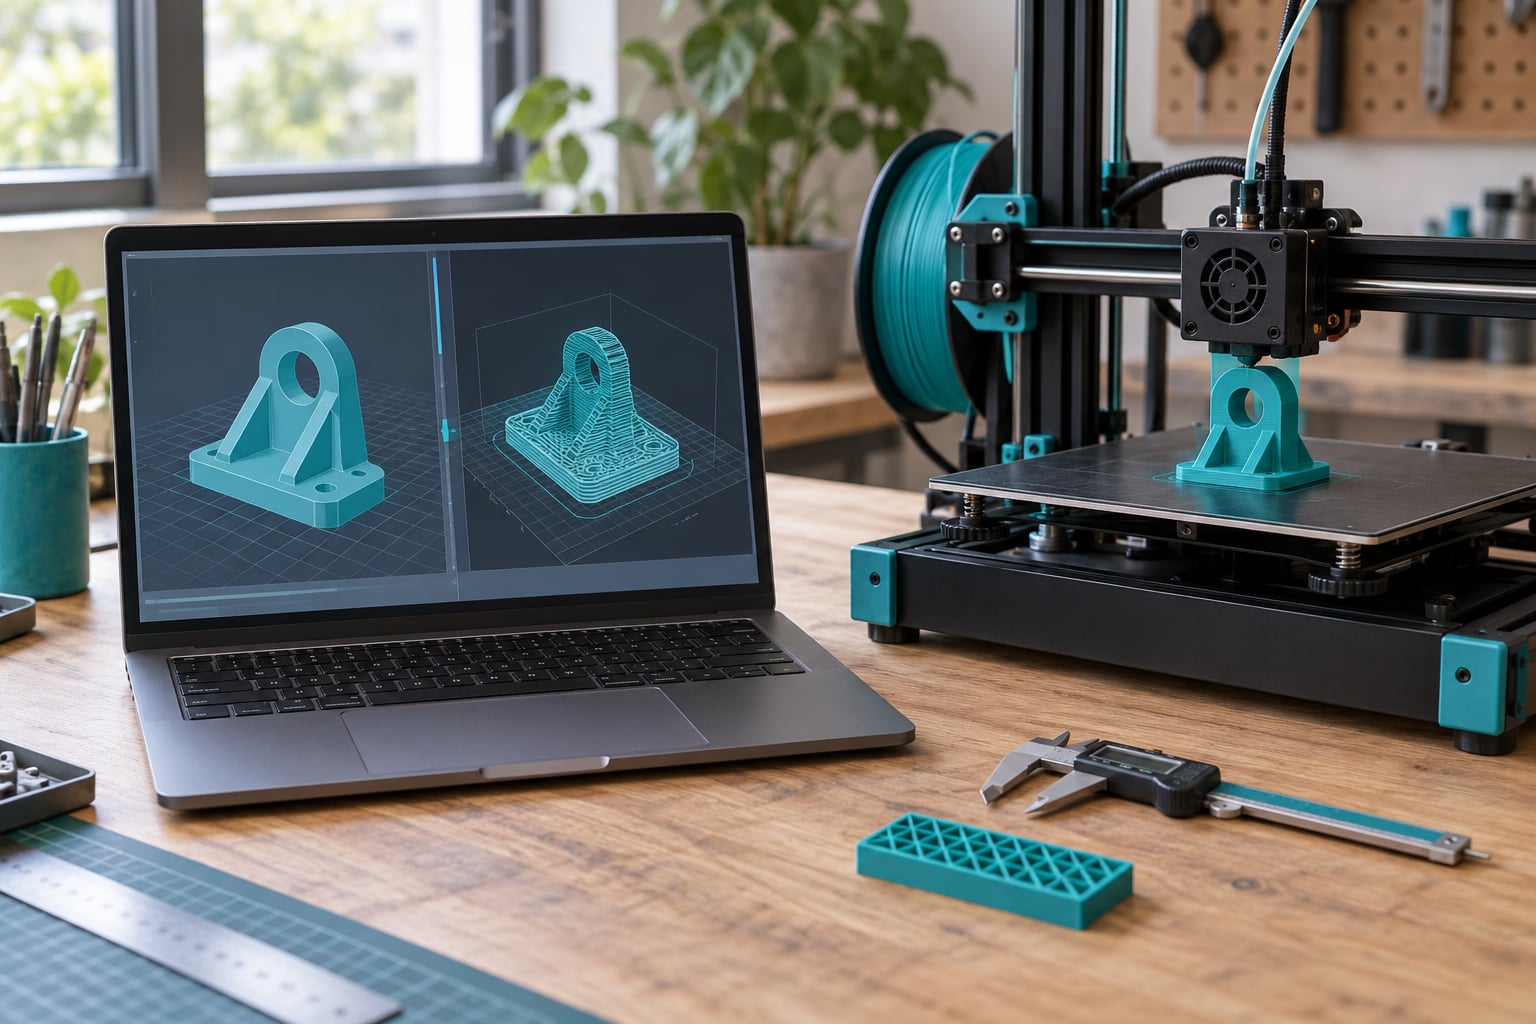
Slicing is the practical printability test. It settles the mesh questions from step 2 and the wall thickness, orientation and support questions from steps 4 through 6 in one pass.
Step through the layer preview. Look for continuous perimeters with no gaps, infill that actually connects, supports that start on the bed, and no long stray travel over finished surfaces. Then read the warning messages instead of dismissing them. If the slicer offered to repair the file, your check 2 did not pass.
8. Run a small test print when the stakes are high
Slice the same file at 30 to 50 percent scale, or print just the section with the fit, the thin feature or the surface finish you care about.
Twenty minutes on a small coupon tells you whether the dimensions are right, whether the walls came out solid, whether supports left marks and whether the repair is visible. If the coupon passes, print the real thing with confidence. If it fails, you found it for the price of a coffee, not a spool.
Common Mistakes
Treating every mesh warning as fatal. A decorative figurine with two non-manifold edges will usually print fine, and a part with one tiny error on a mating face will print perfectly and still be scrap. Match the error to the surface you care about.
Accepting an automatic repair without reviewing it. Auto-repair closes gaps by guessing a surface, and that guess can bulge or dent a panel. After repairing, re-run the analysis and look at the repaired region close up.
Ignoring units and scale. A file that is technically flawless can be unusable because it imported at the wrong size. Measure before you commit to a long print, and check that the model sits at the origin if you will be printing it with others.
Choosing an orientation by default rather than by feature. The automatic orientation usually balances supports and z-height, not which surface the part is judged on.
Judging quality from the file alone. A clean mesh does not predict layer adhesion, elephant foot, stringing or surface finish. Those come from the printer, filament, and settings.
Repairing when re-exporting would be faster. If you have the original CAD, exporting again at a finer resolution takes minutes and gives a better result than patching a decimated mesh. Repair scans and downloaded marketplace models; re-export your own CAD.
One habit worth keeping: always save the repaired version as a new file. That way you still have the original to go back to if the repair made things worse.
Frequently Asked Questions
Can an STL file be high quality but still print badly?
Yes. A file can have clean, valid geometry and still print poorly because its scale, wall thickness, orientation, supports or material settings are unsuitable. That is why check 7 exists: the sliced preview catches problems that mesh analysis cannot. Always inspect the preview in your intended settings before a long job.
What STL errors should I fix before printing?
Prioritize open or missing surfaces, non-manifold edges, self-intersections, duplicate faces and inconsistent normals. Review automatic repairs carefully, because a tool may close a gap with a surface that bulges or sits slightly off the original shape. Re-run the analysis after any repair and inspect the patched region up close.
Does a larger STL file mean better quality?
No. File size mostly reflects the number and density of triangles, not whether the model is accurate or printable. A large file can still contain holes, bad normals or a wrong scale, while a smaller, well-designed model may be flawless. Read the diagnostic numbers instead, not the byte count, and judge density against the smallest radius in the design.
Is it necessary to repair an STL before printing?
Not always. Some slicers print a technically imperfect mesh successfully, especially for decorative objects. Repair or re-export when the slicer reports serious errors, when surfaces must remain dimensionally accurate, or when the file is going into a customer order. Save the original, then work on a copy.
How do I know if an STL file is manifold?
Run a mesh analysis. In Meshmixer, open Analysis and choose Inspector; in Blender, use the 3D Print panel. Both report non-manifold edges, where one edge is shared by more than two triangles. A watertight, manifold mesh has zero such edges and zero open edges, which is the number you are aiming for.
Is STL or STEP higher quality?
STEP keeps exact solid geometry, real units and feature history, so it is better for CAD work, CNC and further editing. STL is a triangulated surface with no units and no solid definition. For printing from a fixed design, a well-tessellated STL is all you need. Choose STEP when you plan to modify the part or cut it on a machine.
Conclusion
Open the file and watch it load. Run a mesh analysis and get open edges, self-intersections and flipped normals down to zero. Measure it against something you know the size of. Then slice it in the settings you actually intend to use and step through the layer preview.
When dimensions, strength or fit matter, print a small section first. That sequence takes minutes and tells you whether the STL file is good quality far more reliably than file size, forum opinion or a clean-looking model in a preview window.
Reviewed for 2026.