How to create a custom printer profile in a slicer comes down to one job: entering your machine’s real specifications — build volume, nozzle diameter, firmware limits, start and end G-code — so the software knows what your printer can physically do. Whether you run PrusaSlicer, Cura or OrcaSlicer, it takes 20 to 40 minutes, and most of it is typing numbers from a spec sheet.
You need one whenever your printer isn’t in the bundled preset list, whenever you’ve swapped the nozzle or hotend, or any time you want a clean baseline to copy across two workstations. The slicer cannot override your firmware’s real limits, so anything it guesses wrong becomes a crashed print halfway through a long job.
I’ve built profiles for kit printers and for machines that never shipped with official support at all. The ones that worked were never clever — they were boring and accurate.
Table of Contents
- What You Need
- Step-by-Step
- 1. Open the Printer Settings and Duplicate a Starting Profile
- 2. Enter the Printer’s Mechanical Specifications
- 3. Set the Printer Profile Name and Description
- 4. Configure the Default Print and Travel Settings
- 5. Add Material-Specific Settings
- 6. Calibrate the Profile and Run a Test Print
- 7. Save, Export, and Reuse the Custom Profile
- Common Mistakes
- Frequently Asked Questions
- What is a 3D printer profile?
- How do I add a new printer to PrusaSlicer?
- How do I add a new printer to Cura?
- Can I use PrusaSlicer with other printers?
- Why is my custom printer profile not showing up?
- What tests should I run after creating a custom printer profile?
- Conclusion
What You Need
Before you open any settings window, gather five things. Missing one of them is why profiles end up subtly wrong.
- The exact model and build volume. Include the usable volume, not the marketing number. Bed leveling or a heated chamber often eats a few millimetres off the front and back edges.
- Nozzle diameter and type. Stock 0.4 mm brass, hardened steel, or something tungsten-infused changes your temperature ceiling and what you can push.
- Firmware flavour. Marlin, Klipper and RepRap are treated differently by every slicer, and the wrong choice changes how speed limits are applied.
- Start and end G-code. The manufacturer’s own slicer is the best source if your printer shipped with one.
- One filament spool and a small test model. Calibration is part of this job, not a separate hobby.
The machine’s motion limits matter just as much as the bed size. Max travel speed, max acceleration and max volumetric speed are what stop the slicer from handing your board a move it physically cannot make in time.
If your printer’s manufacturer publishes an official profile in the slicer you use, download it first. Even a profile you plan to replace is a useful cross-check against your spec sheet.
Step-by-Step
How to create a custom printer profile in a slicer is the same seven-step job everywhere, even though the menu names differ. Here is the workflow, starting with finding and duplicating a base profile rather than building one from nothing.
1. Open the Printer Settings and Duplicate a Starting Profile
Duplicate the closest existing profile instead of editing it. Editing in place means one bad save and you’ve corrupted the preset every other user on that install depends on.
In PrusaSlicer and OrcaSlicer, open the printer tab, hover the printer in the list, click the copy icon, then the pencil icon to rename it. In Cura, use Settings, Printer, Manage Printers, then Add Printer, and either pick a close match or select the Custom FFF printer entry. Choosing a model close to yours gives you sane motion settings and G-code templates to edit, while a blank Custom FFF entry gives you an honest starting point.
Set the view mode to Expert first. Several pages you will need — including Dependencies in PrusaSlicer — stay hidden below that level, and people regularly lose an afternoon to a setting that was never missing, just invisible.
2. Enter the Printer’s Mechanical Specifications
Fill in the numbers that define the machine envelope first: X, Y and Z size, the origin position (front left, front centre, rear centre), whether the build plate has a heated bed and its maximum temperature, the nozzle’s diameter, and the extruder count.
Then add the motion limits from your firmware or printer documentation. Max travel speed and max acceleration cap what the slicer will generate, and setting them low makes prints needlessly slow. Setting them above what your machine can actually deliver produces skipped steps and layer shifts instead.
Axis direction and offset values matter if you have moved the origin, installed a different hotend, or rebuilt an Ender-style machine with a cloned board. Get these from your printer’s board configuration rather than guessing, because a sign error here shows up as a crash and nothing else.
3. Set the Printer Profile Name and Description
Name it so you can find it in six months: model, hardware revision, nozzle and intended material. Something like “Printer-Mini-Rev2-0.4-PLA” beats “My Printer” every time.
Put the source of your numbers in the description. A line reading “build volume from factory sheet, motion limits from a Marlin config dump” tells the next person whether these values can be trusted. Save it into the user profile folder, not next to system files, so a slicer update can’t overwrite it.
4. Configure the Default Print and Travel Settings
These are the machine’s own defaults, not your material tuning. Set a sensible layer height, line and extrusion width that suit the nozzle, print and travel speed, acceleration limits, and the nozzle and bed temperatures to use when no filament profile overrides them.
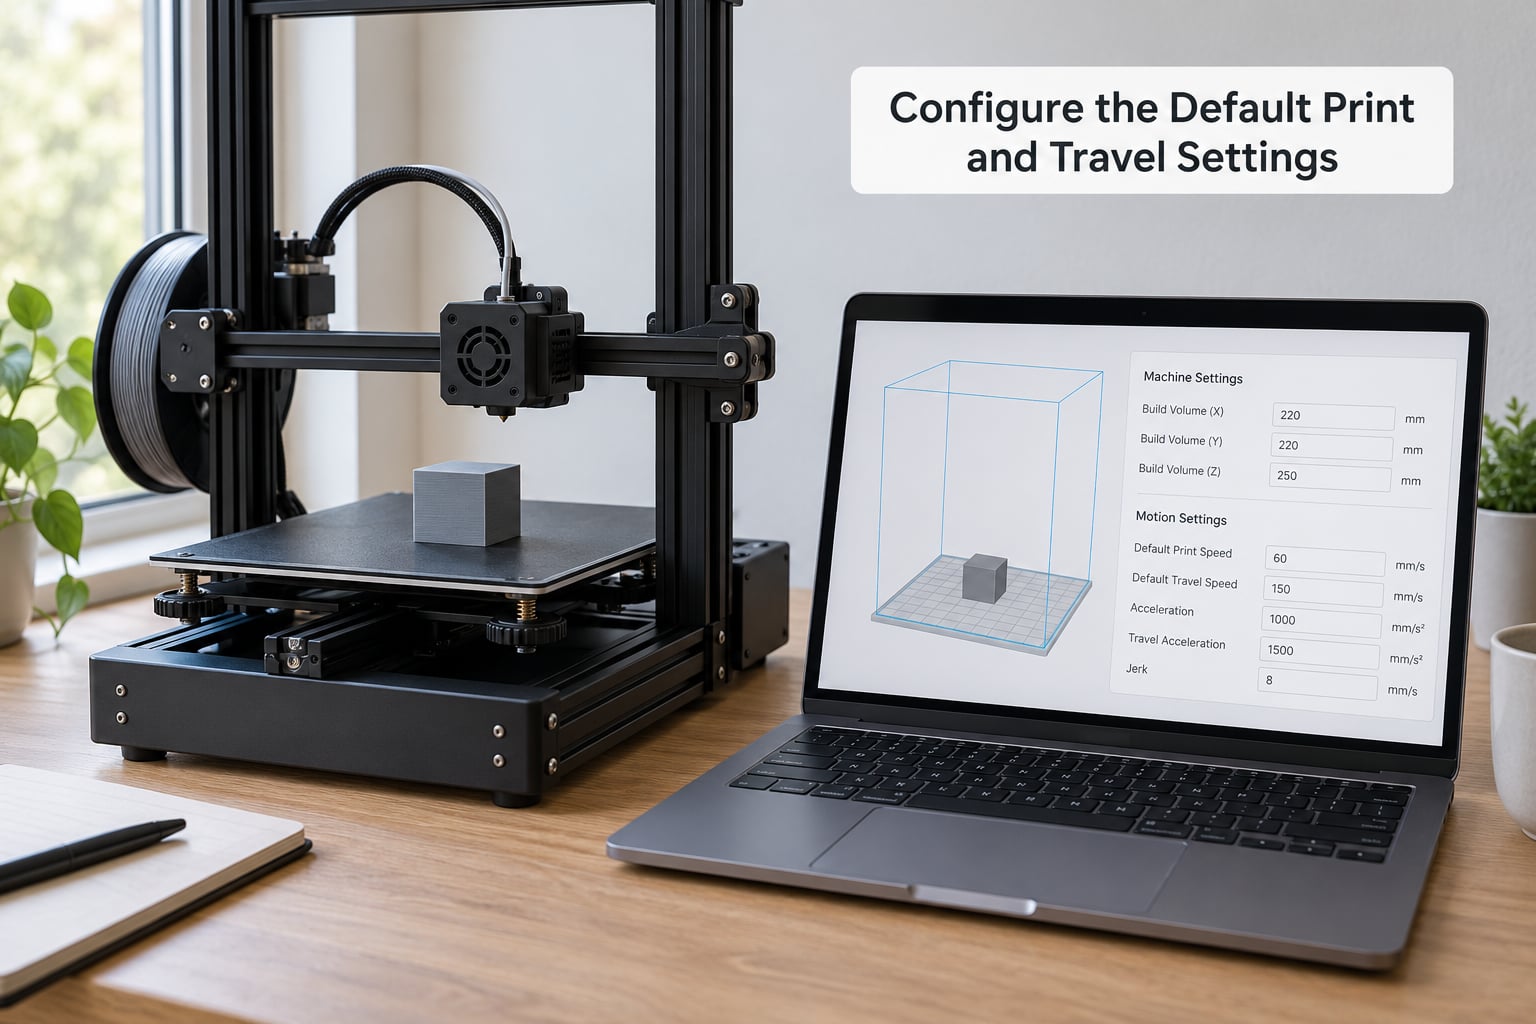
Do not treat any of these as universal numbers. A 0.4 mm nozzle and a 0.6 mm one cannot share sensible extrusion widths, and a printer with a small heated bed should not default to a bed temperature its heater cannot reach. The calibration section later in this guide will pull these values toward what your actual machine does.
Retraction distance and speed belong here too, but treat them as a starting point only. Bowden tubes need more retraction than direct-drive extruders, and the right number comes from a printed tower, not a spec sheet.
5. Add Material-Specific Settings
Keep the split clean. The printer profile defines safe machine defaults; the filament profile controls temperature, flow, retraction, cooling, adhesion and everything else that changes when you swap spools.
This matters more than it sounds. If nozzle temperature lives in the printer profile, every material inherits it, and you end up printing ABS at PLA temperatures because you forgot to check a tab. In PrusaSlicer and OrcaSlicer this is the printer, filament and process profile trio; in Cura, material settings sit in their own section and are attached to each material.
Create one filament profile per material type, then per brand if two spools behave differently. Flow multiplier is the value you will adjust most often, and it needs somewhere safe to live.
6. Calibrate the Profile and Run a Test Print
A profile is a hypothesis until it has printed something. Run these in order, because each one assumes the earlier stages are right.
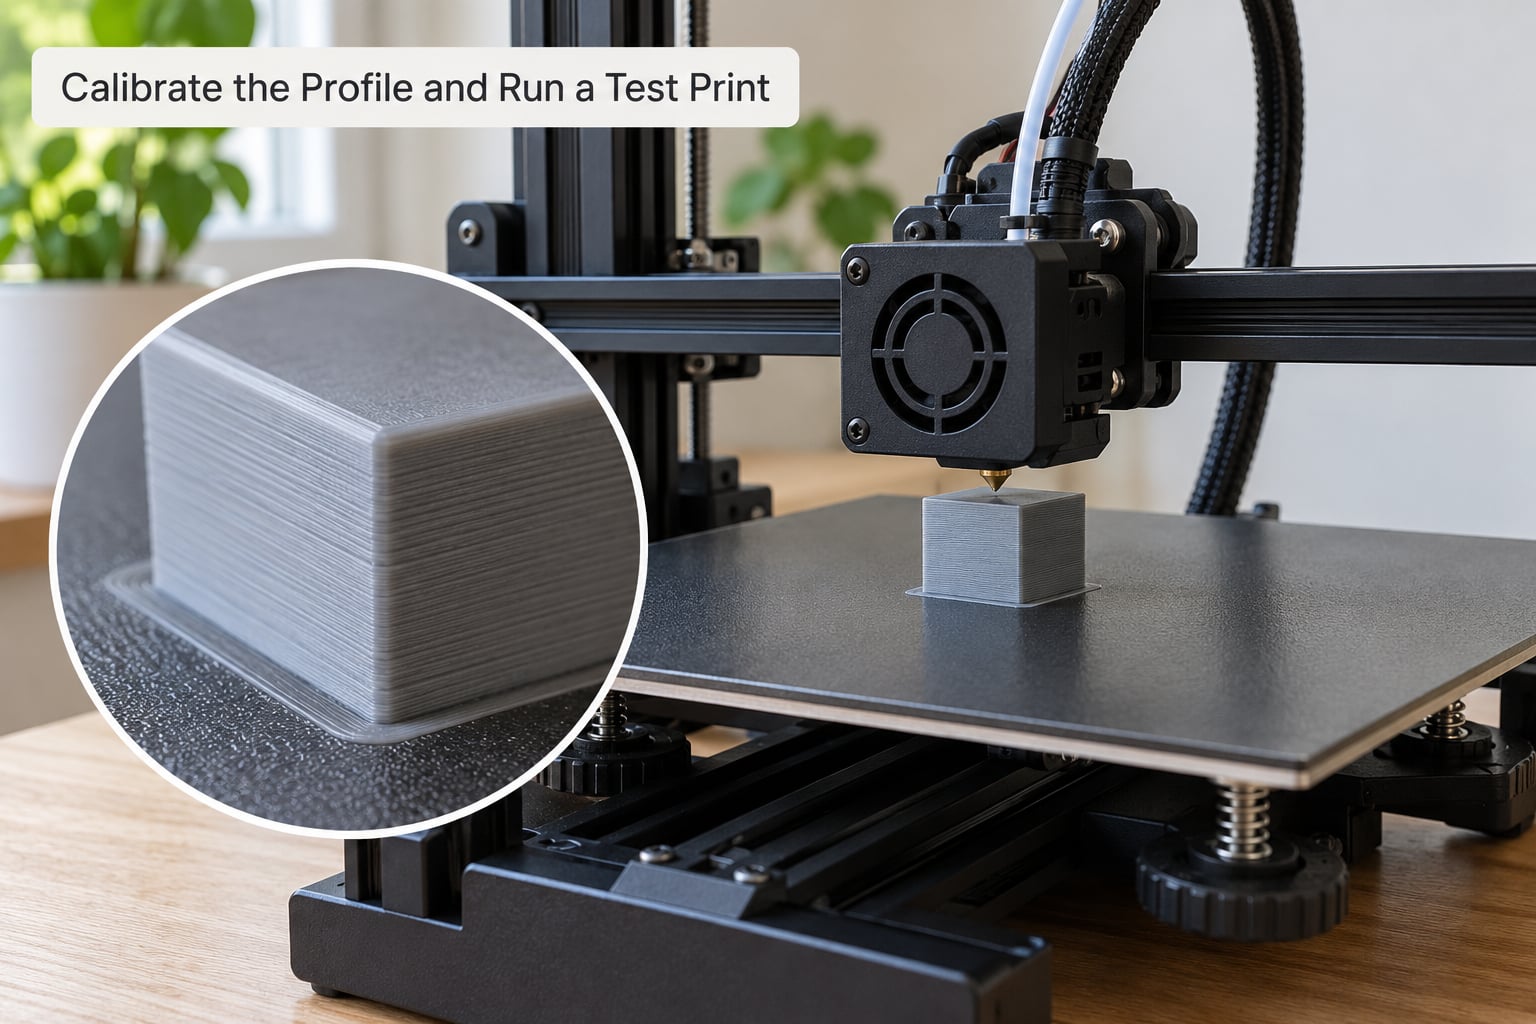
- First layer check. Print a small flat shape and confirm the line sticks with no gaps or lifting at the corners. Fix Z-offset and bed adhesion here, because every later test inherits this result.
- Extruder calibration. Mark a line on the filament, command a fixed 100 mm of extrusion, and measure what’s left. The difference is your steps-per-millimetre error. OrcaSlicer and PrusaSlicer both have this built into the calibration tools.
- Temperature tower. Print a series of small towers across a temperature range. Pick the lowest temperature that still gives clean overhangs without stringing.
- Flow cube. A 20 mm cube with measured walls. Over-wide walls mean you need less flow; narrow ridges or gaps mean more.
- Retraction tower. A vertical post printing at increasing distances. The cleanest height is your machine’s working retraction distance.
- Pressure advance or linear advance. Corners and overhangs will show blobby or hollow artefacts until this is tuned. It depends on firmware, which is why it comes last.
Change one variable per test. Two changes at once and a bad result tells you nothing about which one caused it.
Forum threads about hand-built profiles keep circling the same gap: nobody can tell whether a profile is correct until something prints. These six tests answer that question cheaply, in roughly an hour of machine time, before you commit to a twelve-hour job.
7. Save, Export, and Reuse the Custom Profile
Save it into your user configuration folder so it survives a slicer update. PrusaSlicer and OrcaSlicer export as .ini files, or as a config bundle when you want the printer, filament and process profiles together. Cura exports a .curaprofile containing its own printer definition.
Select it in the printer dropdown before every new job, and expect to re-check it after a slicer upgrade. Definitions and preset compatibility shift between releases, and a profile that worked last month can disappear from the list entirely.
There is no automatic converter between Cura and PrusaSlicer or OrcaSlicer, though .ini profiles move between PrusaSlicer and OrcaSlicer reasonably well. Test a print before trusting any imported profile — community members report that cross-slicer imports usually need corrections to retraction, temperatures and speed.
Common Mistakes
Trusting the marketing build volume. The usable area is usually smaller. Fix: measure the plate and account for whatever is physically in the way, then use the smaller number.
Putting material settings in the printer profile. Every spool then inherits one temperature. Fix: move temperature, flow and retraction into a filament profile.
Copying a profile built for a different machine. This is the most common import failure. Bed size, motion system, hotend and firmware all have to match closely before a profile means anything. Fix: duplicate and correct rather than import.
Changing five settings before the next test print. You lose the ability to attribute the result. Fix: one variable per print.
Skipping the test prints. The profile saves fine and the print fails at hour nine. Fix: run the six-step sequence before anything long.
Not switching to Expert mode. Dependencies, compatible printers conditions and some advanced fields stay hidden otherwise. Fix: change the view mode at the bottom of the configuration menu.
Saving a custom printer and losing your print presets. In PrusaSlicer, a hand-made printer profile with no matching process profiles makes the bundled print presets vanish from the list. It reads like a bug and isn’t one. Fix: add a process profile that references your printer, or restrict visibility with a compatible printers condition.
Editing the profile that ships with the slicer. Fix: always duplicate first.
Forgetting where Cura’s files go. Three folders matter: meshes under resources, definitions under resources, and extruders under resources. Put a definition in the wrong one and it will never load.
Ignoring the profile after an upgrade. Fix: re-verify the build volume and G-code once after each major slicer release.
Frequently Asked Questions
What is a 3D printer profile?
A 3D printer profile is the set of machine-specific settings your slicer uses to generate correct G-code: build volume, origin, nozzle diameter, extruder count, heated bed capability, firmware limits and start and end G-code. Without it the slicer has to guess what your machine can do, and wrong guesses show up as clipped models, crashes or skipped steps.
How do I add a new printer to PrusaSlicer?
Open the printer tab, pick a profile close to your machine, and click the copy icon followed by the pencil icon to rename it. Then correct the build volume, origin, nozzle diameter, extruder count and motion limits, add your start and end G-code, and save into your user profile folder. Switch to Expert view first, or the Dependencies page stays hidden.
How do I add a new printer to Cura?
Go to Settings, Printer, Manage Printers, then Add Printer. For a full custom machine, install a definition bundle instead: place the mesh STL in resources/meshes, the .def.json in resources/definitions and the extruder file in resources/extruders, then restart Cura and pick your printer from the list. The built-in Custom FFF entry covers basics but not advanced machine behaviour.
Can I use PrusaSlicer with other printers?
Yes. PrusaSlicer works with plenty of third-party machines because its printer profiles describe physical hardware rather than brand. The catch is accuracy: build volume, motion system, hotend and firmware must all match, and you still need correct start and end G-code. A cloned board or a kit build will not match an existing profile exactly.
Why is my custom printer profile not showing up?
Most often the file went into the wrong folder, or the slicer is caching its profile list. In Cura, confirm each file sits in resources/meshes, resources/definitions or resources/extruders as appropriate, then restart. In PrusaSlicer and OrcaSlicer, confirm it saved into your user configuration folder rather than the system folder, where the next update would overwrite it anyway.
What tests should I run after creating a custom printer profile?
Run them in order: first layer check, extruder calibration over a measured 100 mm, temperature tower, flow cube, retraction tower, then pressure advance or linear advance. Each stage assumes the earlier ones are correct, so working through them in sequence saves you from re-running the whole set when something late goes wrong.
Conclusion
Start with the manufacturer’s specification sheet, not with the slicer’s defaults. Duplicate the closest existing profile rather than editing it, keep material settings in the filament profile, and run the six calibration tests in order before you trust anything.
Change one setting per test print. That single habit is the difference between a profile you can tune and a profile you keep re-guessing at. As of 2026, the community conversations around hand-built profiles are still asking which tests to run first, which tells you the answer is worth writing down.