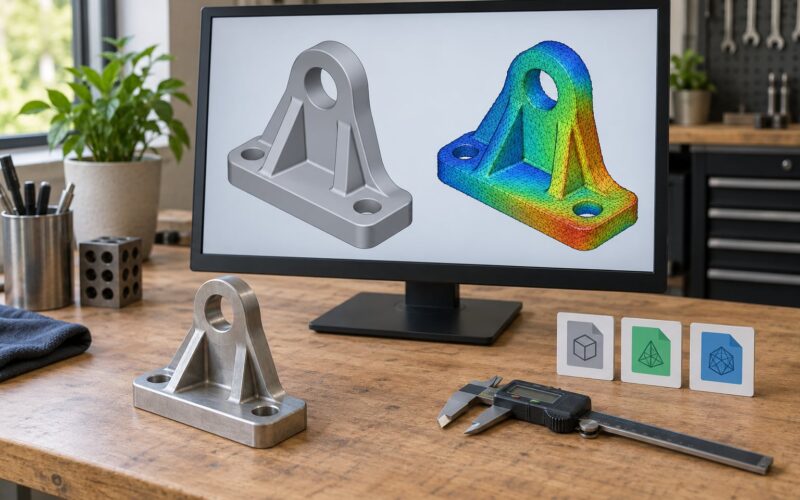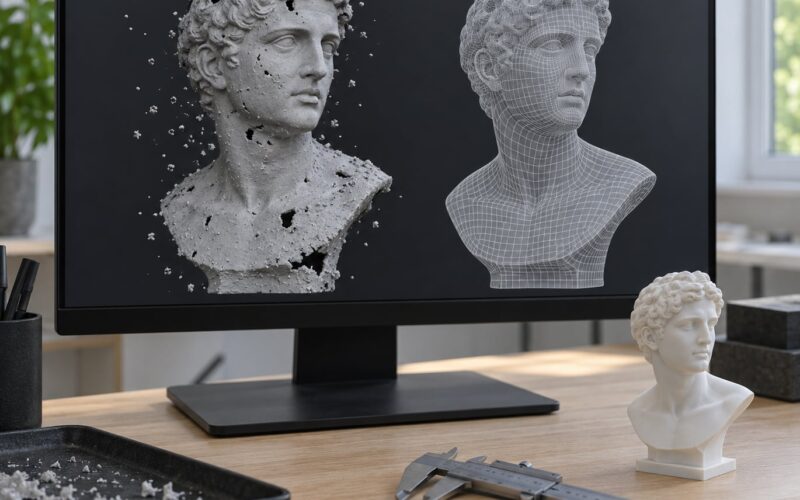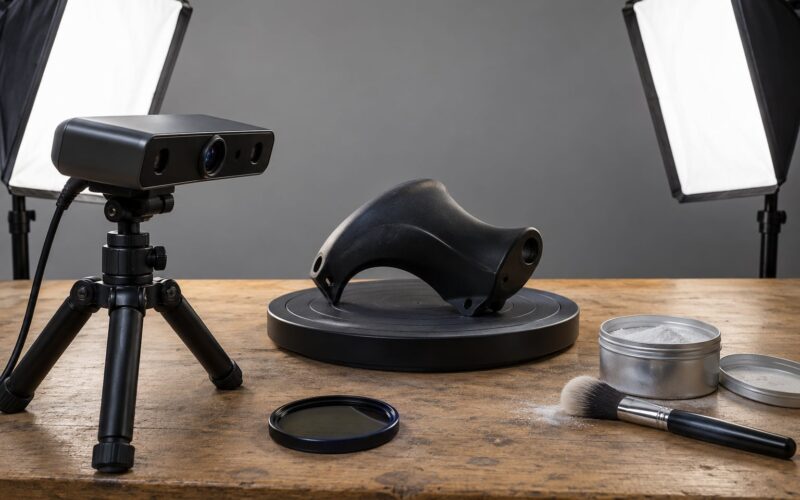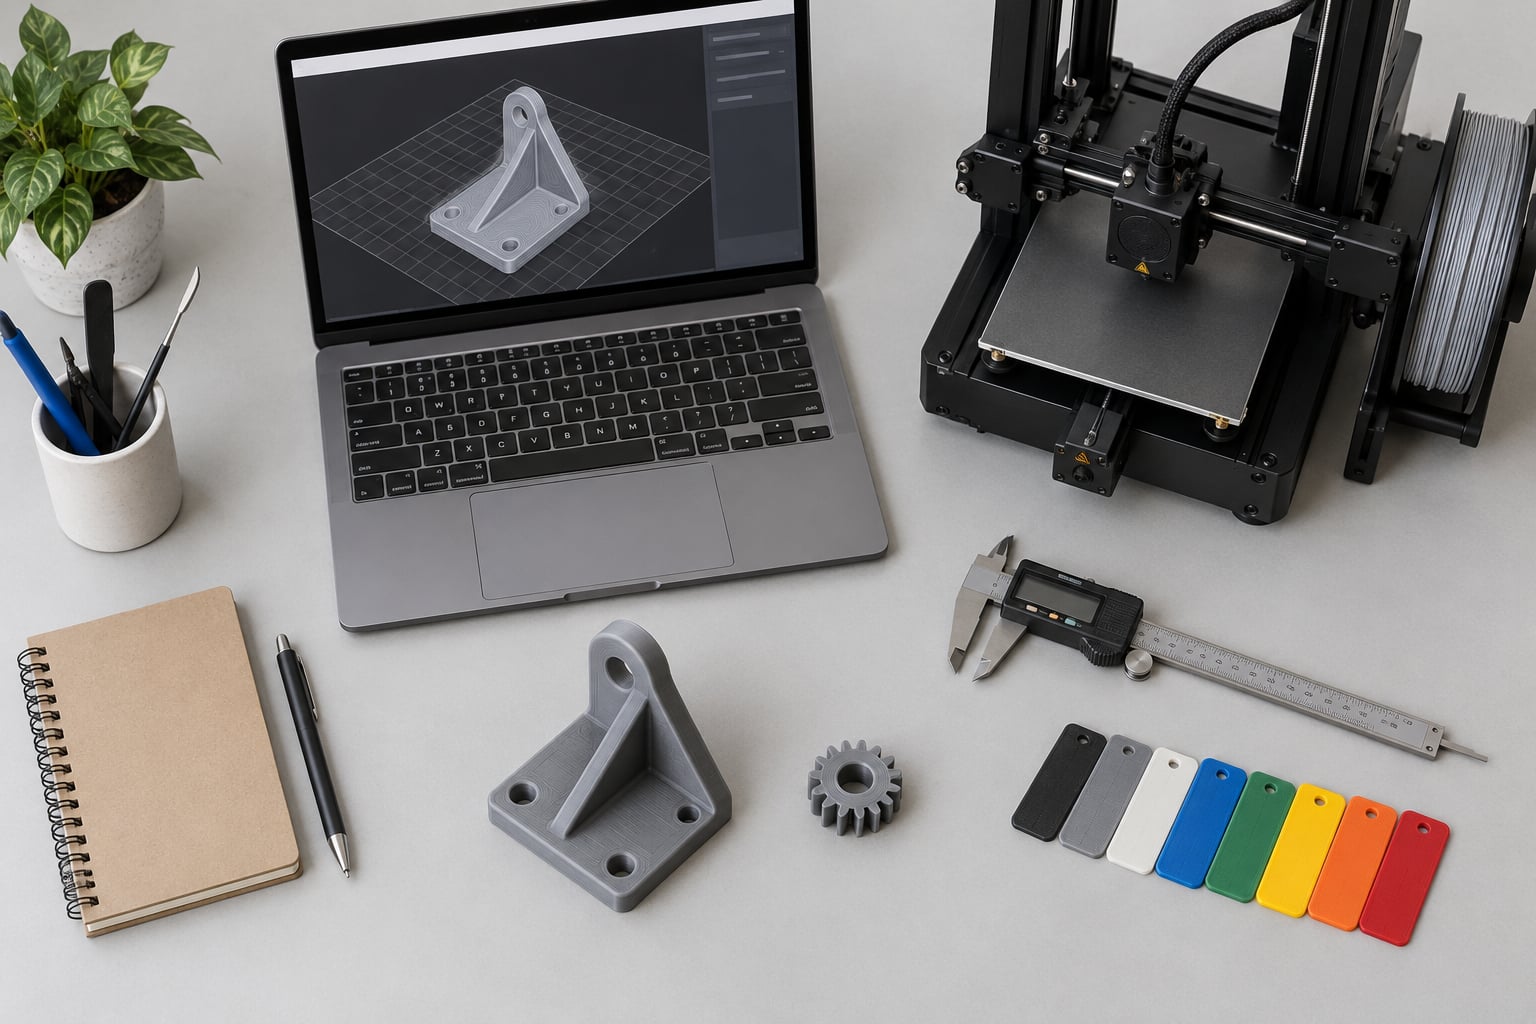
A 3D printing portfolio is a curated set of your printed projects, each documented with photos of the finished part, evidence of the process that made it, and the print specifications behind it. A print sitting on a shelf proves almost nothing on its own. A portfolio proves you can design a part, set it up, print it, fix what went wrong, and finish it well, which is exactly what a hiring manager or commissioning client is trying to verify before they hand you work.
Most makers build one badly for the same reason: they photograph the finished object and nothing else. So the guide below covers what to gather, which projects to pick, how to document them, and how to publish it so a stranger understands your skill in under a minute. Budget a weekend for the first version and a few hours every couple of months after that to keep it fresh.
Table of Contents
- What You Need
- Step-by-Step
- 1. Define Your Portfolio Goal
- 2. Choose Projects That Prove Your Skills
- 3. Create Strong Case Studies
- 4. Capture the Print Process
- 5. Present Results With Evidence
- 6. Build a Clear Portfolio Structure
- 7. Review and Publish Your Portfolio
- Common Mistakes
- Frequently Asked Questions
- How many projects should I include in a 3D printing portfolio?
- What should I photograph when documenting a 3D print?
- Should I include failed prints and mistakes in my portfolio?
- Is a PDF better than a website for a 3D printing portfolio?
- What should a beginner include if they have not completed many projects?
- How do I explain 3D printing results if the client does not understand the process?
- Conclusion
What You Need
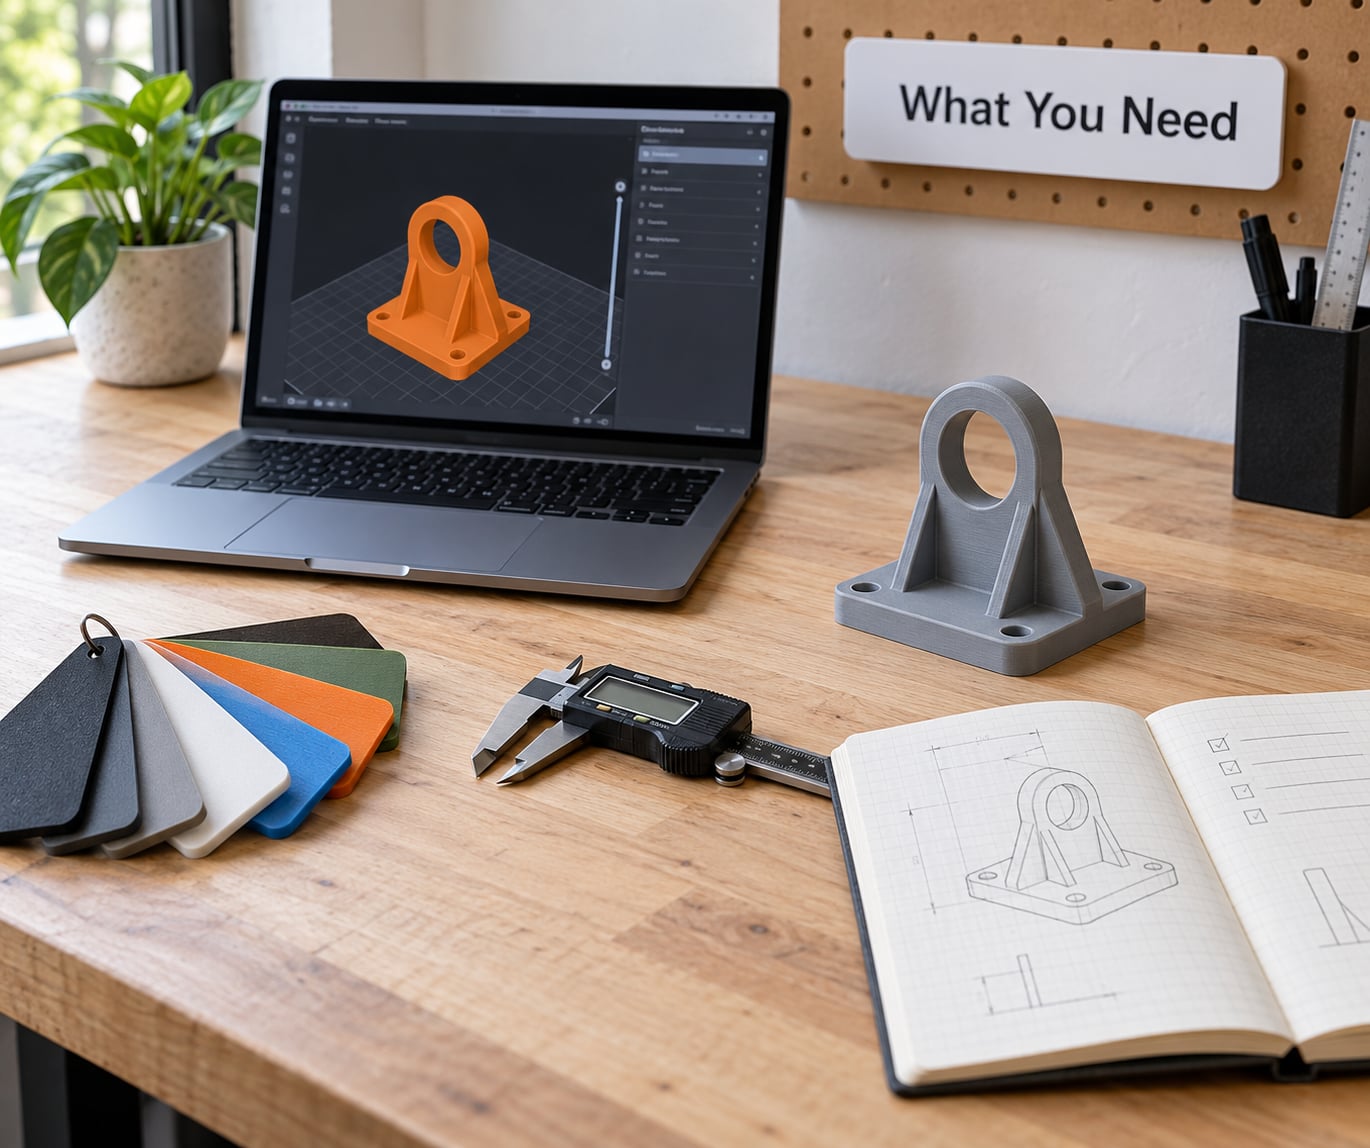
None of this is expensive, and most of it you already own. What matters is that the items below exist somewhere organised before you start building pages.
- Your source files. The CAD or sculpting file, the sliced file, and any version history you kept. Exportable, named sensibly, in one folder per project.
- Print logs or slicer archives. PrusaSlicer, Cura, OrcaSlicer, Bambu Studio and PrusaLink all keep a history of print time, filament used and the exact settings. This is your raw evidence.
- Notes. A phone note is fine. Write down the brief, what failed, what you changed, and why. You will not remember these in six months.
- A measuring tool. Digital calipers, and a feeler gauge or a printed tolerance test if you claim dimensional accuracy.
- A simple photography setup. A window, a sheet of white or grey card, a small turntable, and a phone with a decent camera. A lightbox helps with dark or translucent prints but is not required to start.
- A place to host. Decide later, but reserve a filename or subdomain now so links stay consistent.
One more thing worth gathering: a scale reference object. A coin, a ruler, a common household item, or a calibration cube next to the print tells a viewer the size instantly, which a photo without one never does.
Step-by-Step
1. Define Your Portfolio Goal
Decide who is reading it before you pick a single photo. The same body of work needs a different cut for a print operator application, a freelance pitch, a print shop’s commercial bid, and a personal maker site, and mixing them is what makes portfolios feel unfocused.
A job application needs evidence of process and troubleshooting. A freelance client needs reliability, finish quality, and clear turnaround. A print shop needs materials, equipment, capacity, and evidence of repeatability. A personal site can be looser and more experimental. Write your goal in one sentence, for example: convince small product teams that I can take a part from brief to finished prototype in under a week, and let everything after that be judged against it.
2. Choose Projects That Prove Your Skills
Pick a small balanced set rather than your ten best-looking prints. Six to twelve well-documented projects is a strong commercial or freelance portfolio, eight to fifteen suits a personal maker site, and only go to fifteen or twenty for a design-school or academic submission, where volume is expected.
Cover different evidence with each one. Include at least one part you designed from scratch, one functional part that had to fit precisely, one where you printed someone else’s model and modified it, one with heavy post-processing such as sanding, priming and painting, one in a difficult material, and one where something broke and you fixed it. A set of six that covers all six of those beats a set of six that are all decorative objects.
Redundancy is the enemy here. If three projects are the same phone stand in different colours, keep one and use the space for something that shows a different skill.
3. Create Strong Case Studies
A case study is the difference between a gallery of objects and proof of professional thinking. Every project gets the same five-part structure so a reader knows where to look.
- The brief or problem. Who needed it, what it had to do, and any constraint that shaped the design, such as load, temperature, wall thickness or a target cost.
- Your design decisions. Orientation on the plate, wall count, infill, where supports went and why, and what you changed between versions.
- The print itself. Process and material, layer height, nozzle temperature, print time, and the one or two settings that mattered most.
- The result, measured. Finished dimensions, fit check, surface quality, and how it performed in use.
- What you learned. The failure, the fix, and what you would change next time.
Keep the written version short. Four hundred words is plenty for most projects. A hiring manager scanning twelve case studies will not read two thousand words each, and short write-ups signal that you respect the reader’s time.
4. Capture the Print Process
Process shots are what separate a maker portfolio from a render portfolio, and they are the one thing competitors in this space rarely bother with. Capture the following, ideally while the print is running.
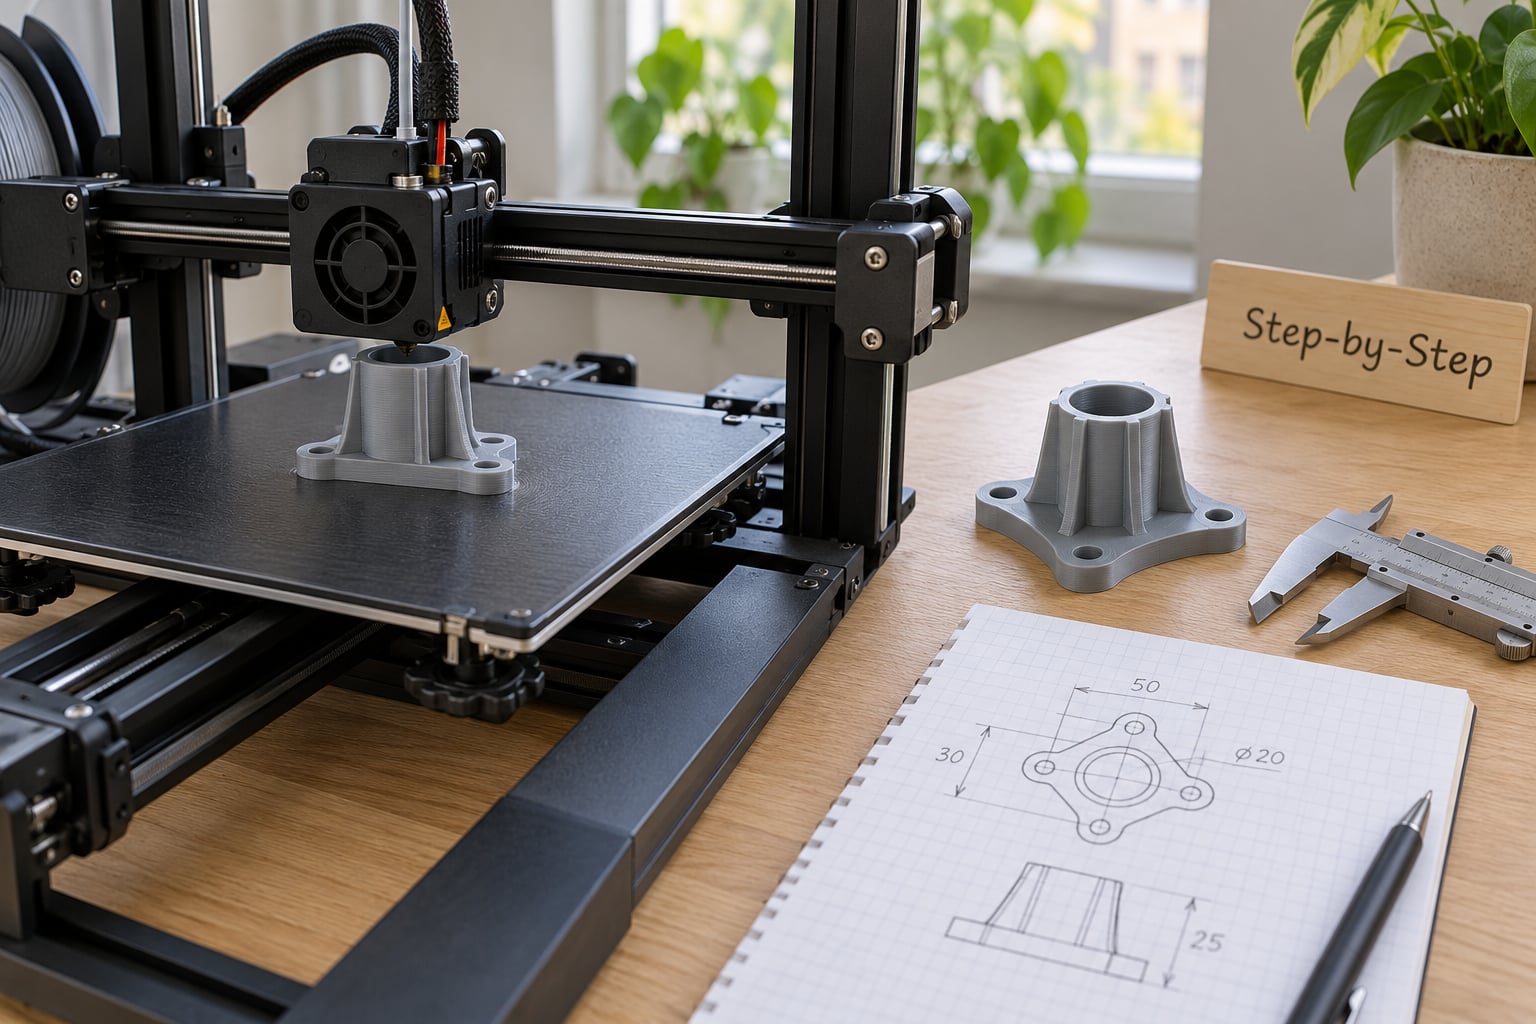
- A wide shot of the printer mid-print, so the machine and the setup are visible.
- The slicer preview with layer height, infill and support settings visible on screen.
- A time-lapse or short clip of the part being removed, cleaned and post-processed.
- Macro detail shots of layer lines, corners, seams and any surface finish work.
- The failed version, if there was one, next to the successful one. Same angle, same light.
Makers lead with what went wrong far more often than you would expect. The top thread on this topic in r/3Dprinting opens with a maker describing a tap handle where the real problem was the screw that actually attaches the tap, not the print itself. That kind of honesty reads as competence, not failure.
Resin printers need slightly different proof. Photograph washing and curing, note the safety gear and ventilation you used, and record cure time under UV. A client asking about a resin part will want to know whether you handled it responsibly.
5. Present Results With Evidence
A print spec card is the single highest-value item in a maker portfolio, and no ranking guide currently documents one. Put the same short table on every project page so visitors can compare work at a glance.
| Field | What to record | Example |
|---|---|---|
| Process | FDM or resin | FDM, direct drive |
| Material | Filament type and brand | PETG, 1.75 mm |
| Layer height | Actual layer size used | 0.2 mm |
| Nozzle and bed temperature | Both values | 240 C nozzle, 80 C bed |
| Print time | Wall clock, not estimate | 6 h 42 m |
| Material used | Grams or metres | 84 g |
| Finished dimensions | Measured, not designed | 82.4 x 62.1 x 18.0 mm |
| Post-processing | Time spent finishing | 90 min sanding, priming, paint |
Measured numbers are what make a claim checkable. Say the part fits a 0.2 mm tolerance only if you verified it with calipers, and photograph the measurement. Add a comparison where you have one: the same design printed in two materials, a before and after of a failed layer shift, or a prototype next to the original it replaced. Anyone using 3D printing for professional work in industry also tends to quote a well-known rule of thumb, that without a portfolio it is all just talk, which is exactly the argument for showing evidence rather than adjectives.
6. Build a Clear Portfolio Structure
Structure is not decoration. A visitor who cannot tell what you do within thirty seconds will leave, so the order and the labels should do the explaining for you.
- One project per page. Do not cram six prints onto a single scroll. A project page holds the hero image, the case study, the spec card, and a small gallery.
- Open with your strongest evidence. Lead with the project that best matches the role or client you want, not your chronologically first print.
- Use consistent labels. The same project title, thumbnail style and caption format on every page and every social post.
- Label the material and process on thumbnails. A grid that reads clearly without clicking is far more persuasive than a pretty one that needs explanation.
- Write alt text that describes the picture. For example, a grey 3D-printed camera cage on a white background, not a keyword list. Search engines and screen readers both need it.
On hosting, match the tool to the goal rather than the trend.
| Route | What you get | Best for |
|---|---|---|
| Existing platforms | Fast, free, built-in audience, limited layout control | Makers building a name and finding a community |
| Page builders | Custom domain, good templating, modest monthly cost | Freelancers and print shops pitching clients |
| Self-hosted | Full control of structure, speed and search visibility | Job applicants and anyone serious about search traffic |
Have both a website and a PDF version. The site is what a client browses, the PDF is what survives an email attachment or a careers portal that only takes one file. Keep the PDF under about ten pages for a commercial pitch.
On a phone, check that the project pages stay readable, that images scale down instead of overflowing, and that the page still loads quickly. Large phone photos of prints will destroy load time unless you resize them before uploading.
7. Review and Publish Your Portfolio
Run this checklist before you share the link, then again whenever you update it.
- Every measurement, print time and setting matches your notes, not your memory.
- Photography is consistent in background, lighting and angle across all projects.
- Every image loads on a phone, and each one has alt text.
- All third-party models are credited with a link to the original creator.
- No self-assessed skill percentages anywhere. Saying you are 80 percent in any tool is the single most common thing reviewers call out as amateur.
- There is a clear contact path, and if you take paid work, a stated turnaround time.
- The opening page matches the goal you set in step one.
After publishing, look at which projects get opened and which get skipped. If your best-looking piece is never clicked, the thumbnail and title are not doing their job. The portfolio teaches you what to show next, so treat it as a live document rather than a finished artefact.
Common Mistakes
The damaging errors are consistent across makers, and they are mostly about what you leave out. Here is the cut list, with a fix for each.
- Showing only finished prints. A final object proves nothing about how you work. Fix: add at least one process shot and one slicer screenshot to every project.
- Using phone snapshots on a cluttered table. Background mess reads as carelessness. Fix: white or grey card, window light, and a fixed camera position.
- Omitting design intent. The reader cannot tell a good decision from a lucky one. Fix: state the constraints and the reasoning in two or three sentences.
- Claiming measurements you never took. Fix: measure with calipers and photograph the measurement. If you did not measure it, leave the number out.
- Hiding failures. A single reprint with no explanation invites the reader to assume it happens often. Fix: show the failure and the change that fixed it.
- Uncredited STL files. Printing a downloaded model without crediting the creator is the fastest way to look dishonest. Fix: credit the base model and state exactly what you changed.
- Too many similar pieces. Fix: keep the best one and cut the variants. Whitespace and range are worth more than volume.
- Skill percentages and tool lists without evidence. Fix: delete the list, keep the projects that prove the same thing.
- Never updating it. A portfolio from two years ago misrepresents your current skill. Fix: add one project a month, swap the strongest to the front.
One question that comes up constantly is whether to show prints you designed and printed, or prints you downloaded and modified. Show both, but label them honestly. A clean split between self-designed work and community models tells a client exactly what you are responsible for, which is the thing they are trying to price in.
Frequently Asked Questions
How many projects should I include in a 3D printing portfolio?
Six to twelve well-documented projects works for freelance and commercial work, eight to fifteen suits a personal maker site, and fifteen to twenty only makes sense for a design-school or academic submission. Quality of documentation matters more than count: twelve projects with case studies and spec cards beat forty bare photographs. A hiring manager will usually look at the first two or three before deciding whether to keep reading.
What should I photograph when documenting a 3D print?
Shoot the finished part on a neutral background with a scale reference object such as a coin or ruler, then add a wide shot of the printer mid-print, a slicer screenshot showing layer height and infill, macro detail shots of layer lines and corners, and any post-processing work. Photograph the failed version too if there was one, from the same angle. Consistent lighting and angle across projects is what makes a portfolio look professional.
Should I include failed prints and mistakes in my portfolio?
Yes, and it often helps. A failure paired with the change that fixed it is the clearest proof that you can troubleshoot, which is what clients are really paying for. Show the failed part next to the successful reprint from the same angle, name what caused it, and state what you changed. Keep it to one or two examples rather than a wall of them, or the page starts to look like a troubleshooting log.
Is a PDF better than a website for a 3D printing portfolio?
Do both if you can. A website is what clients browse and what search engines can read, while a PDF is what survives a careers portal that accepts a single attachment or an email thread. Keep the PDF to roughly ten pages with the strongest projects first, and make sure the contact details appear on every page. If you can only build one, build the site and export a short PDF from it.
What should a beginner include if they have not completed many projects?
Include fewer projects and document them deeply. One well-explained print with a full case study, spec card and process shots is stronger than five finished objects with no context. Beginners often have their best evidence in the learning itself, so show a reprint, a calibration cube test, or a first design you iterated on. Label it honestly as early work and the reader will read it as growth, not weakness.
How do I explain 3D printing results if the client does not understand the process?
Lead with the outcome, not the process. Instead of explaining infill or nozzle temperature, say what the part now does, what it replaced, whether it held up in testing, and what it cost in material and time. Keep the technical detail in the spec card further down for anyone who wants it. A client cares that the bracket fits and survives use; the settings only prove you can repeat it.
Conclusion
Start with the project you can document most honestly, not the one that photographs best. Pull its slicer log, measure the finished part with calipers, take six photos on a sheet of white card, and write four hundred words answering the five case study questions above. Publish that single page, then repeat for four more projects. That is a working 3D printing portfolio, and it is a weekend of work rather than a season of worrying about design choices.