A single photo can become a 3D model, but what you get depends almost entirely on how many angles you photographed. One image gives you an AI guess at the hidden sides; thirty overlapping shots around a real object give you a measured mesh with your object’s actual texture on it. So here is how to convert a photo to a 3D model that actually holds up: the workflow that produces the second result, from setting up the scene to exporting a file a slicer will accept.
The short version:
- Decide whether you need a textured scan, a watertight printable mesh, or just a rotatable reference — the destination dictates everything downstream.
- Set up a plain background, even light, and a scale reference so the model comes out the correct real-world size.
- Capture 60 to 90 percent overlap while you circle the subject and change elevation, not just azimuth.
- Run feature alignment first, check the sparse point cloud, then launch the dense reconstruction.
- Import into Blender, delete background geometry, crop, fill holes, check for non-manifold edges and thin walls.
- Export STL for printing, GLB or FBX for games and AR, OBJ with MTL for textured work.
Budget about 30 to 90 minutes of capture and processing per object. The capture is the slow part, and it is also the part nobody can shortcut.
Table of Contents
- What You Need
- Hardware
- Capture materials
- Reconstruction software
- Editing and export
- Step-by-Step: How to Convert a Photo to a 3D Model
- 1. Define the Output and Inspect the Subject
- 2. Prepare the Scene and Lighting
- 3. Capture Overlapping Photographs for Photo-to-3D Accuracy
- 4. Import Images and Run the Reconstruction
- 5. Inspect, Crop, and Clean the Generated Mesh
- 6. Prepare the Model for Its Destination
- 7. Validate and Export the Final File
- Common Mistakes
- Frequently Asked Questions
- Can you convert one photo into a complete 3D model?
- What is the best software for converting photos to 3D models?
- How many photos are needed for photogrammetry?
- Can you make a 3D model from a photo of a face or person?
- Do photogrammetry models always work for 3D printing?
What You Need
The honest starting point: a single-photo conversion is a visual estimate, not a measurement. Modern image-to-3D tools can build a convincing mesh from one photograph in under a minute, but the back of the object is invented. For anything that has to hold together in a slicer or read correctly from a second angle, you need multiple photographs and a real reconstruction.
Hardware
- A camera with manual exposure and manual focus. Phone cameras work, but tap-to-focus drifts between shots and ruins alignment.
- A tripod or a turntable that lets you shoot from a repeatable height and distance.
- Even, indirect light — a window, a softbox pair, or two lamps bounced off white card.
Capture materials
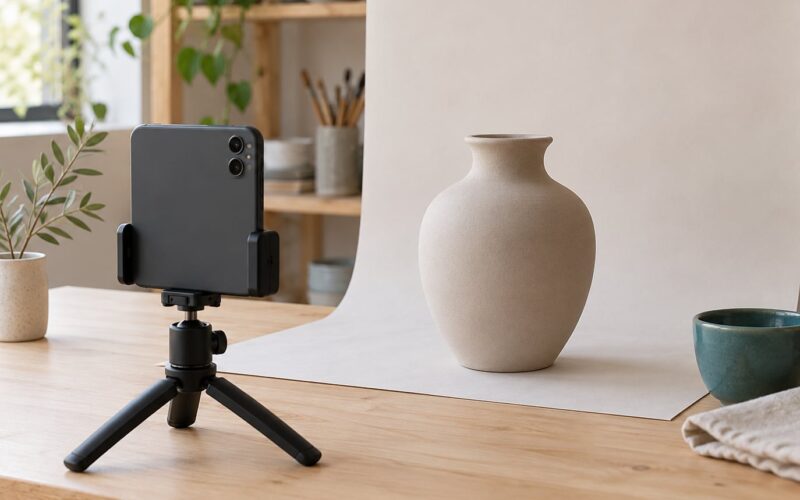
- A matte surface: black or white card, a photography sweep, or plain fabric with no visible weave.
- A scale reference: a printed ruler or a checkerboard card with a known length in the shot.
- A turntable, or a marked turntable mat so you can keep the overlap consistent.
Reconstruction software
Desktop photogrammetry tools are the reliable path. AliceVision Meshroom wraps COLMAP behind a node graph, so you can inspect feature matching before committing to a full build. COLMAP itself is free and open source if you want direct control of sparse versus dense reconstruction. Cloud services and phone apps — Qlone, Trnio, Scandy Pro — handle the capture and processing together, which is convenient when you cannot carry a camera rig around.
Single-image AI generators are a different category. Meshy, Kiri Engine and TripoSR produce a mesh and a texture from one picture, usually as GLB, OBJ or FBX. That output is useful for concept work, blockouts and quick game props. It is not scan data.
Editing and export
Blender handles the cleanup, retopology, UV unwrapping and export. FreeCAD is a solid alternative when you want parametric constraints alongside mesh editing. For output, STL is the printing default, OBJ plus MTL keeps a texture, GLB bundles geometry and PBR maps in one file for web and AR, and FBX is what most game engines and DCC tools expect.
Step-by-Step: How to Convert a Photo to a 3D Model
Seven stages, in order. Skip ahead and you inherit the mess, so the sequence matters more than the speed of any one step.
1. Define the Output and Inspect the Subject
Before touching the camera, write down what the model has to do. Visualization and AR want a textured mesh with clean UVs. 3D printing wants a watertight solid with walls thick enough for your nozzle. Game work wants controlled face count and a real topology.
Then look at the subject. Reflective surfaces like chrome or wet glaze give the matcher nothing to lock onto. Transparent and translucent material scatters light and confuses depth estimation. Thin structures — wires, leaves, whiskers — usually vanish. Deep concavities and anything the subject hides from itself are self-occluded and will not appear unless you change camera height.
2. Prepare the Scene and Lighting
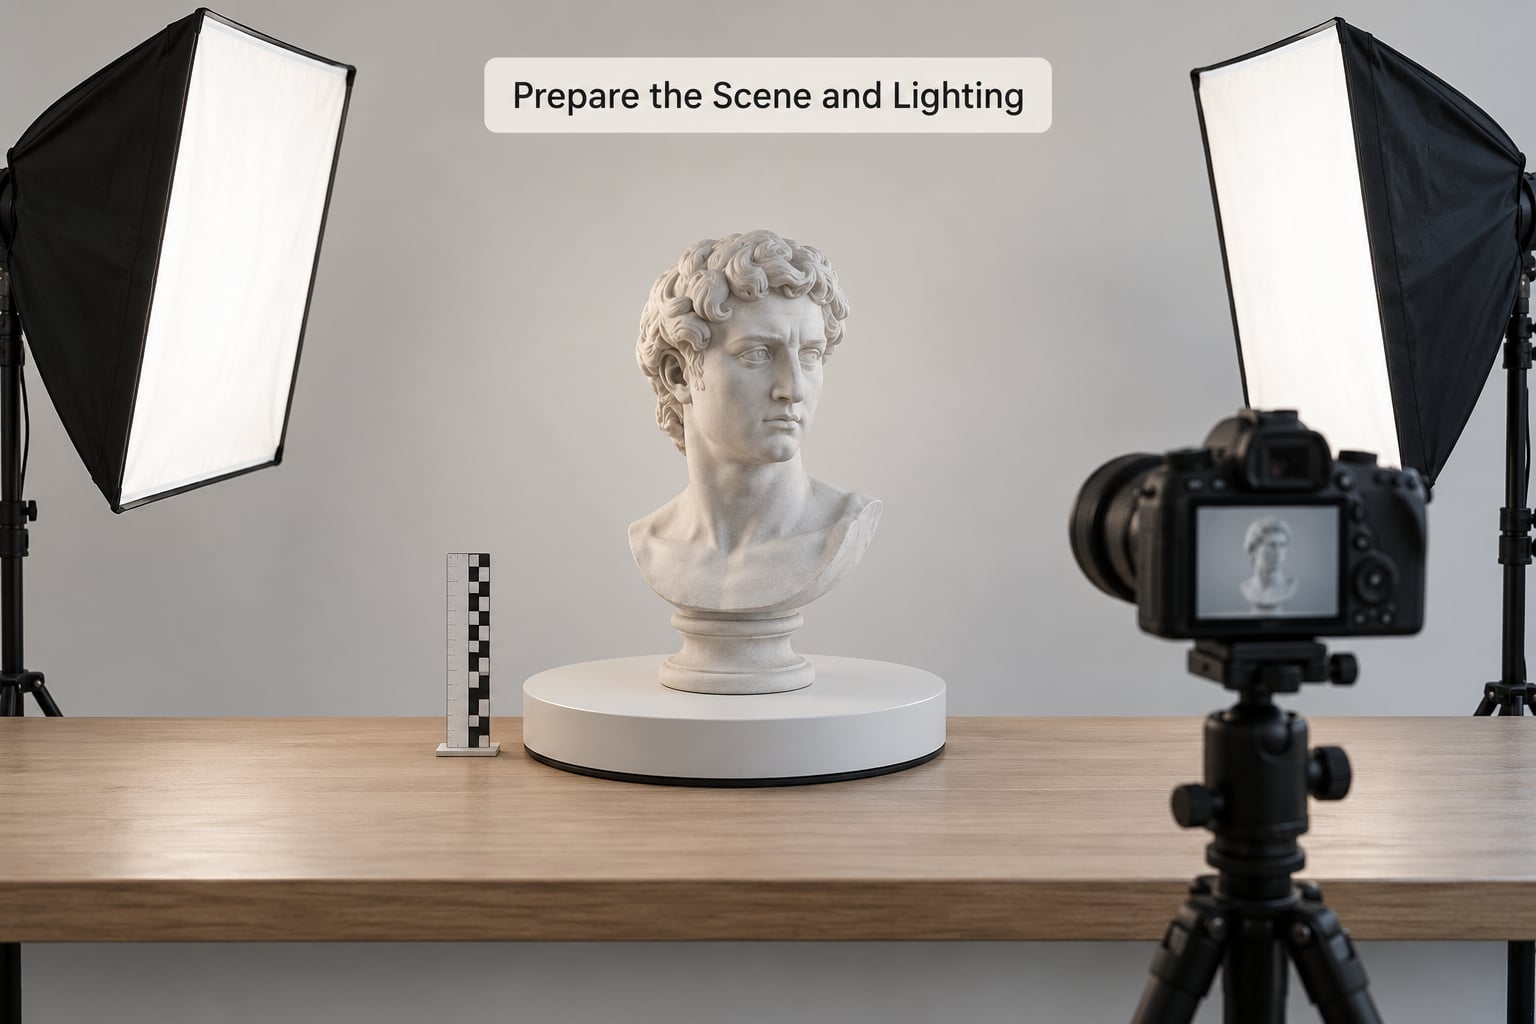
Place the subject on a plain, matte background with no shadows falling onto it, and light it evenly from two sides. Hard single-source light creates a bright patch that appears in every frame from one direction, which the reconstruction happily turns into a dent in the model.
Keep the camera at a fixed distance. Changing the distance mid-session rescales the whole object, and the software will blend two different sizes into a lumpy surface. Put your scale ruler or checkerboard in the shot, on the turntable, and note the exact distance between the marker and the subject.
3. Capture Overlapping Photographs for Photo-to-3D Accuracy
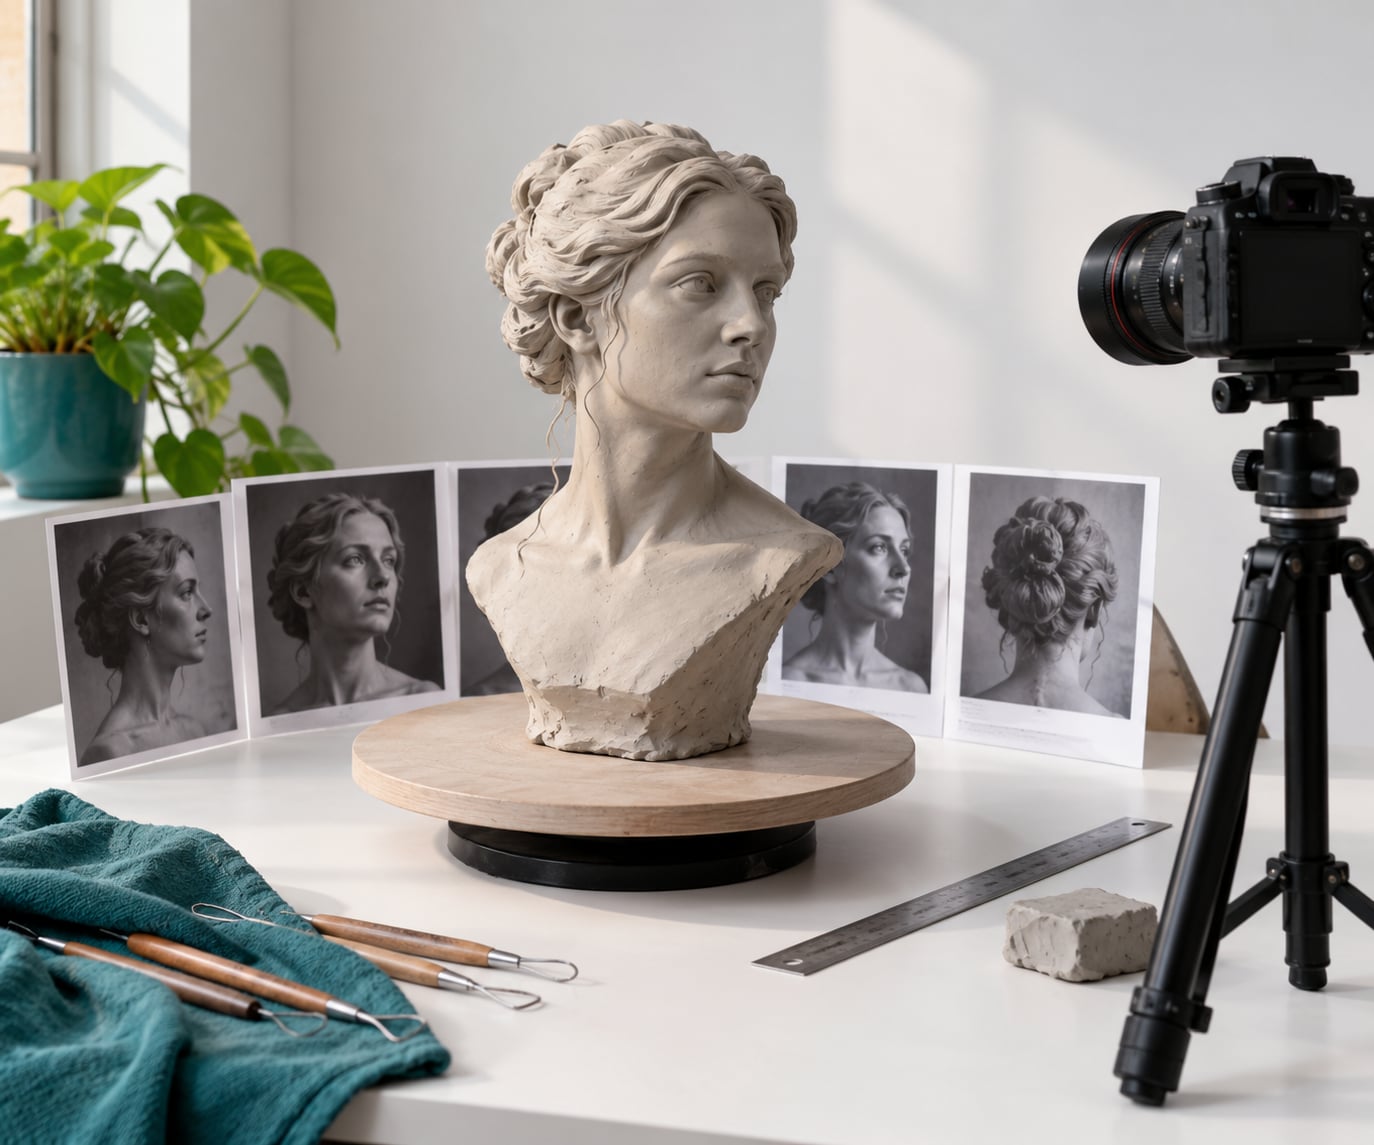
Work in rings. Start with a full circle at about eye level, then a ring above, then a ring below, each ring offset by roughly a third of a turn so the frames overlap heavily.
Aim for 60 to 90 percent overlap between consecutive frames. That is the difference between a mesh that reconstructs cleanly and one that fails at feature alignment with half the surface missing. Overlap means the same patch of surface texture appears in two or more images — you should be able to recognise the same scratch or speckle in adjacent frames.
For an object you can walk around, 40 to 70 frames usually covers it. For anything with a hollow interior or a protected underside, you need to light it and photograph inside, or accept that those regions will be filled in by hand. One image cannot reveal what the camera never saw, which is the whole limitation of single-photo conversion.
4. Import Images and Run the Reconstruction
Load the set into Meshroom or COLMAP and run feature extraction and matching first. This stage finds distinctive points across your images and links them into a sparse point cloud — a skeleton of where the camera was and roughly what shape it saw.
Check that skeleton before going further. If the point cloud is sparse, lopsided or missing a whole side, the match failed, and you should fix the capture or loosen the matching ratio rather than push on. Once the sparse cloud looks right, run dense reconstruction to generate the full point cloud and mesh. On a mid-range laptop, 60 images usually takes several minutes; cloud services hand back the same thing faster because the processing runs on their hardware.
5. Inspect, Crop, and Clean the Generated Mesh
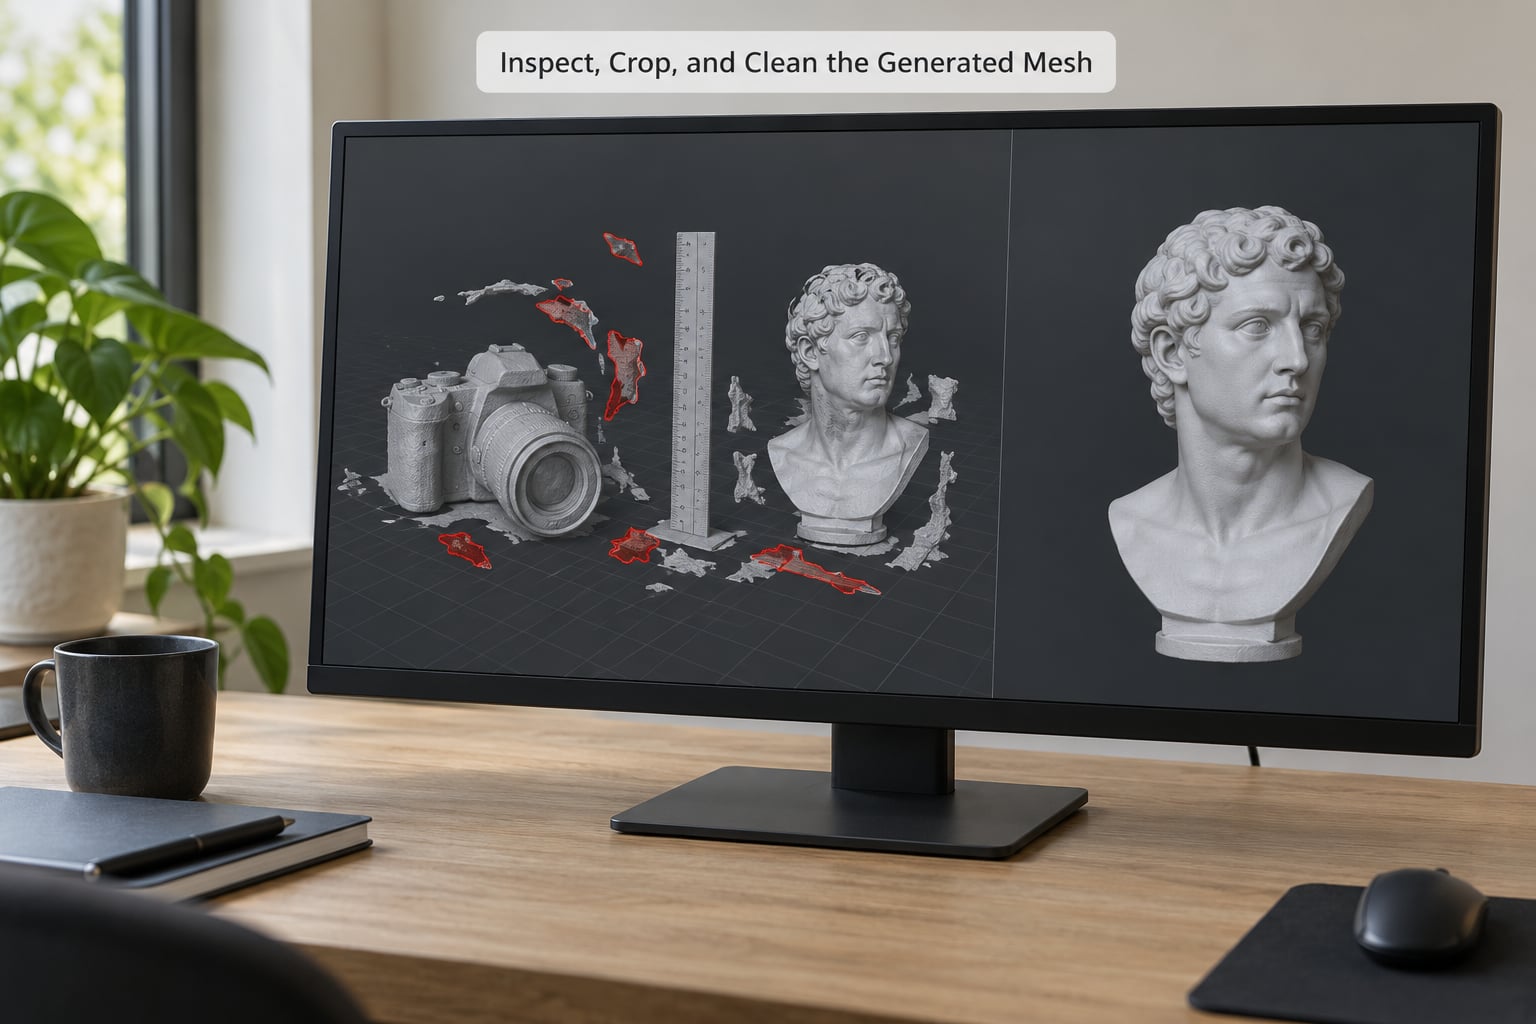
Export into Blender and switch to solid shading. The background almost always comes along for the ride, reconstructed as a shell or a floor slab. Select it and delete it. Then crop the model to the subject with a bisect or boolean so the background shell stops shadowing everything else.
After that, work through four checks: floating geometry (delete stray islands), holes (fill obvious gaps), scale (measure against your ruler reference and rescale the object to real dimensions), and thickness. Run a non-manifold and a thickness analysis; printable parts usually want at least three shells for a typical FDM nozzle, and anything thinner will break the slicer or print as a fragile wafer.
Topology matters too. A dense photogrammetry mesh carries hundreds of thousands of noisy triangles that render fine but are miserable to work with. Decimate to a sensible face count for the destination, then recalculate normals so shading behaves. Users on r/3Dmodeling and r/aigamedev report this Blender cleanup stage taking longer than the reconstruction itself, which is normal.
6. Prepare the Model for Its Destination
Each path needs something different.
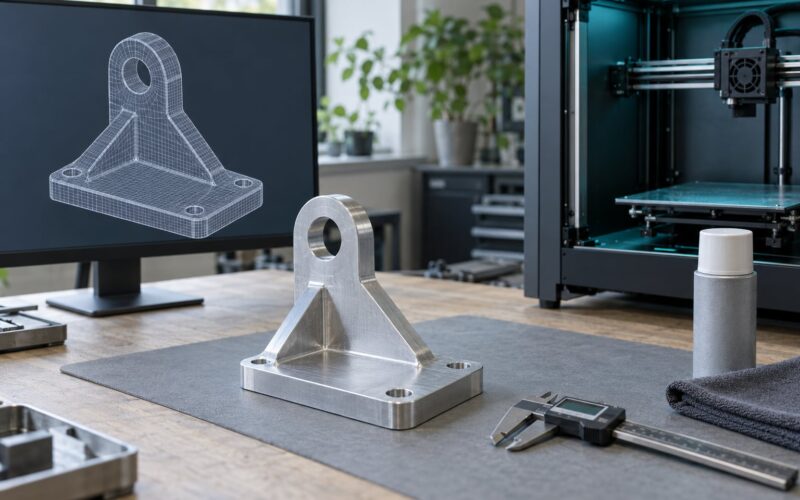
- 3D printing: make it watertight, check wall thickness, then open it in Cura or PrusaSlicer and use the slicer’s own repair function to catch any remaining non-manifold edges. Scale to true dimensions first, using calipers on the real object as the reference.
- Rendering: bake or generate PBR maps — albedo, normal, roughness — and keep the UV layout unwrapped and non-overlapping.
- AR and web: export GLB with embedded textures, keep the face count low, and test it in a browser viewer before shipping.
- Games: decimate, retopologize to clean quads, UV unwrap, then export FBX or GLB for your engine.
7. Validate and Export the Final File
Rotate the model and look at it from angles you never photographed. That is the honest test of a reconstruction — a model that only survives inspection from the reference view is guesswork on every other side.
Measure it against your scale marker, confirm the dimensions match the real object, then open the exported file fresh in the application that will use it. Save with a name that records the object, the date and the format, and keep a backup of the raw project file so you can re-export without redoing the cleanup.
Common Mistakes
Almost every bad scan traces back to something that happened during capture, not during processing. Work down this list before you re-run anything.
- Too few photos: you need enough frames that every surface patch appears in two or more of them. Fix it by shooting another ring.
- Not enough overlap: consecutive frames that show different surfaces leave the matcher nothing to triangulate. Shoot 60 to 90 percent overlap.
- Reflective or transparent surfaces: chrome, glass and wet surfaces break feature matching. Shoot them with matte reflection spray, or reconstruct them by hand.
- Subject moved mid-session: even a small shift on the turntable smears the mesh. Mark the turntable and leave it untouched.
- Lighting that changed: moving the sun, a flickering lamp or auto-exposure shifts texture between frames. Lock exposure, shoot on an overcast day or indoors.
- Background geometry: a textured or cluttered background gets reconstructed too. Use plain matte card and delete the shell afterwards.
- Wrong scale: without a size reference the model comes out in arbitrary units. Photograph a ruler and scale in Blender.
- Holes and thin walls: visible gaps break slicing. Fill small holes, thicken anything under three shells.
- Noisy topology: decimate and recalculate normals before exporting, or your slicer and game engine will both complain.
One habit worth building: inspect the sparse point cloud after matching, every time. It takes seconds and it is the earliest signal that the capture failed. As people on r/photogrammetry and r/3DScanning keep saying, success in photogrammetry is mostly about the quality of the photos you took, not the software you chose.
Frequently Asked Questions
Can you convert one photo into a complete 3D model?
You can produce a complete file, but not a complete object. Single-image tools estimate depth from shading and perspective, so the visible face is roughly right while the back, sides and interior are invented. The result is fine for blockouts, concept references and quick game props. For anything that has to survive a slicer or look right from an unseen angle, shoot 40 to 70 overlapping photos instead.
What is the best software for converting photos to 3D models?
AliceVision Meshroom is the safest desktop default because it wraps COLMAP and shows you the sparse point cloud before you commit to a dense build. COLMAP is free and open source if you want direct control. Meshy and Kiri Engine handle single-image generation and cleanup in the cloud. Qlone, Trnio and Scandy Pro are good when you want to capture on a phone and skip the desktop entirely.
How many photos are needed for photogrammetry?
For a small hand-sized object, 40 to 70 frames usually reconstructs cleanly if you maintain 60 to 90 percent overlap between consecutive shots. Larger or more complex subjects need more, especially if there are hollow areas. Any surface patch should appear in at least two images. Fewer than about 20 frames tends to fail at feature alignment, which is why multi-view generators exist for crowdsourced captures.
Can you make a 3D model from a photo of a face or person?
Technically yes, and single-image generators do it routinely, but expect a likeness rather than a scan. A photograph shows one lit surface, so ears flatten, the back of the head is guessed and hair becomes a solid shell. Head and shoulders work acceptably for figurines. Accurate proportions and full body volume need multi-angle capture, and a texture projected from one photo will smear across every unseen side.
Do photogrammetry models always work for 3D printing?
No. Raw photogrammetry output usually includes the background, floating geometry and holes, so it needs cleaning before slicing. Export into Blender, delete the background shell, crop to the subject, fill small holes and run a thickness check so nothing is thinner than about three shells. After that, open it in Cura or PrusaSlicer and use the slicer repair function as a final safety net.
Start where the failure is, not where the fix is. Improve the capture setup first — matte background, locked exposure, a scale reference in frame, real overlap — then check the sparse point cloud before running a full reconstruction. Only once the alignment looks right is it worth cleaning the mesh, and if you do need to convert a single image, treat the output as a starting shape rather than a finished model.