Structured light wins on speed, point density and price. Laser wins on range, difficult surfaces and industrial accuracy. If you are capturing an object that already sits on a desk under controlled light, structured light is the easier answer. If you are measuring a full-size vehicle, a dark rubber seal, or a part in a machine cell, a laser is the one that finishes the job.
Both technologies are optical triangulation, and both end up in the same place: a point cloud you turn into a mesh. The difference is how that point cloud gets collected, and that single difference cascades into accuracy, speed, surface handling, workflow and cost. This guide breaks down structured light vs laser 3D scanning so you can match the method to your part, your environment and your tolerance stack.
I have watched the same argument play out on scanning forums for years, and the honest summary is that most people pick the wrong tool because they start from the technology instead of the part. Check the surface finish first. That one check resolves about half of these decisions before you ever look at a spec sheet.
Table of Contents
- Structured Light vs Laser 3D Scanning at a Glance
- How Structured Light and Laser 3D Scanning Work
- How structured light captures a whole surface at once
- How laser scanning builds a point cloud one line at a time
- Is LiDAR the same as laser 3D scanning?
- Accuracy, Resolution, and Fine Detail
- Structured light vs laser 3D scanning accuracy: what the numbers mean
- Blue light and red light do not behave the same on hard surfaces
- Speed, Workflow, and Ease of Use
- Why laser scanning takes longer in real shops
- Markers, turntables and the hidden cost of re-scanning
- Range, Object Size, and Material Compatibility
- Surface Finish, Texture, and Color Data
- Cost, Setup, and Maintenance
- Which Should You Choose?
- Structured light vs laser 3D scanning for common applications
- A four-step decision process
- Frequently Asked Questions
- Is structured light or laser 3D scanning more accurate?
- Can laser 3D scanners capture color and texture?
- Which scanner is best for reverse engineering a mechanical part?
- What surfaces are difficult to scan with either technology?
- Is structured light suitable for 3D printing workflows?
- Should I choose a desktop scanner or a handheld laser scanner?
- Conclusion
Structured Light vs Laser 3D Scanning at a Glance
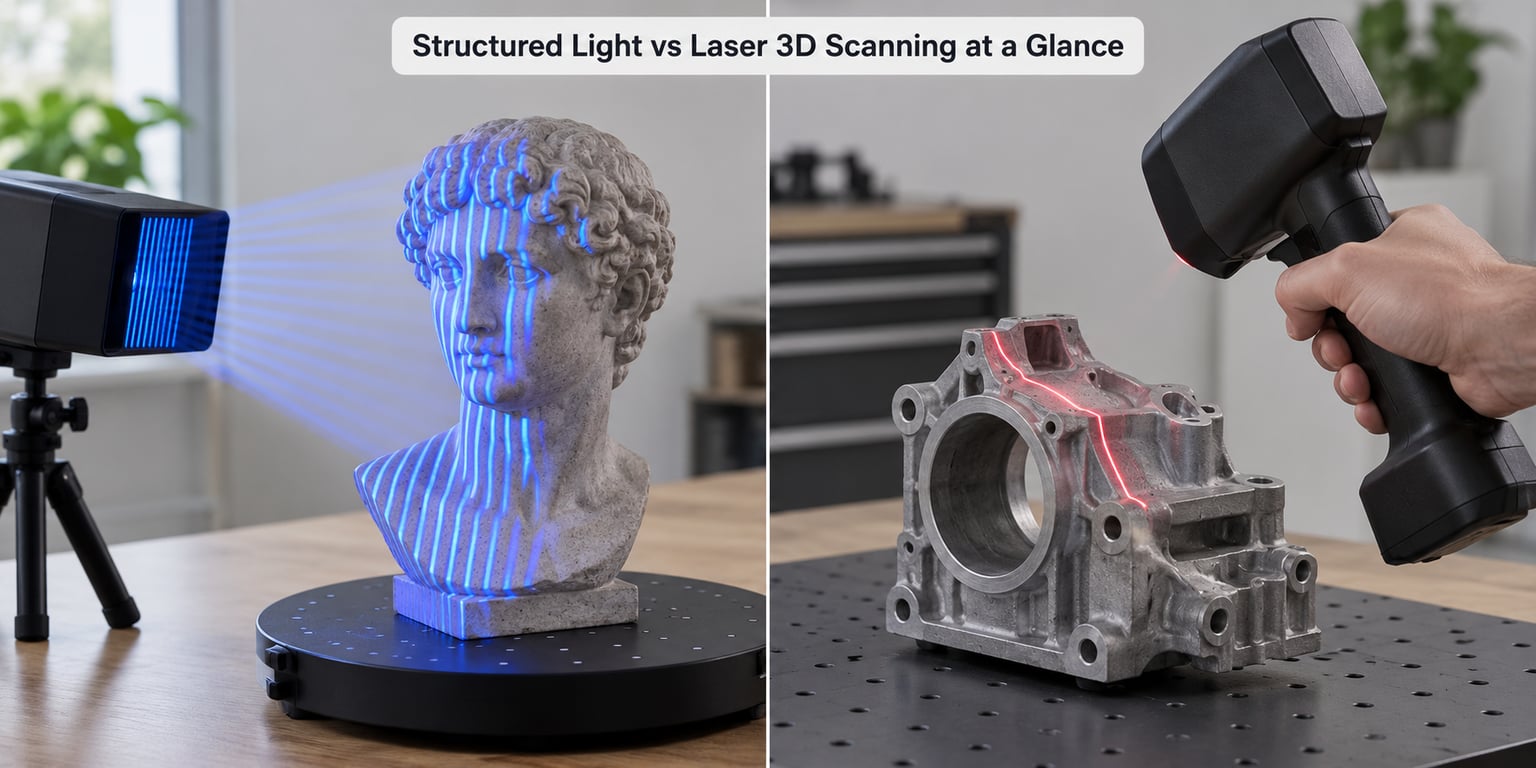
Here is the short version. Structured light projects a known pattern of light and photographs how that pattern deforms across an entire surface in one exposure. Laser scanning sweeps a narrow beam across a part and measures the deformation one profile line at a time, then stitches thousands of those profiles into a point cloud.
| Criterion | Structured Light | Laser (triangulation) |
|---|---|---|
| Light source | Projector: fringe pattern, grid, coded dots or speckle | Focused laser line, often blue or red |
| Capture method | Full-field: whole visible surface per frame | Line-by-line: one or more profiles per position |
| Typical feature accuracy | Roughly 20 to 100 microns (about 1 to 4 mils) on desktop and handheld units | Roughly 20 to 100 microns on handheld and CMM-class units; long-range units sit higher |
| Point density | Very high, often hundreds of thousands to millions of points in seconds | High, but accumulated over many passes |
| Working range | Short to medium, typically a few hundred millimetres to about a metre | Short handheld to tens of metres on surveying-grade instruments |
| Best part size | Objects up to roughly a person, or a car interior on larger units | Anything from a small component to a building, aircraft or ship hull |
| Shiny or chrome surfaces | Weak without matte scanning spray; causes holes and noise | Generally handled well; the beam still returns data |
| Black or very dark surfaces | Poor, since almost no light comes back to the camera | Usually workable, often better on very dark materials |
| Transparent materials | Fails: glass and clear plastic let the pattern pass through | Also fails, though thickness and surface curvature sometimes give partial returns |
| Ambient light tolerance | Lower. Direct sun or strong lamps wash out the pattern | Higher for most units; still affected by very strong light |
| Colour and texture | Usually built in, with a colour camera in the head | Often geometry only; colour comes from a separate camera or photogrammetry pass |
| Laser eye safety | Not applicable, no laser emitter | Class 1 or Class 2 in most handheld units; check the label before scanning people |
| Typical cost tier | Entry to professional, broadly accessible | Professional handheld to six-figure industrial and surveying systems |
Read the table as a set of trade-offs rather than a scoreboard. Notice that accuracy is not the row that separates them. What separates them is how fast you collect the data, how far away you can stand, and how badly a black plastic housing ruins the result.
How Structured Light and Laser 3D Scanning Work
Both scanners are triangulation systems. A light source projects a known pattern, a camera records how that pattern bends across the surface, and software works out how far away each point is by solving the triangle between projector, camera and surface. When the pattern lands flat, you get one distance. When it bends over a curve, each pixel sits at a slightly different distance, and that variation is the shape.
How structured light captures a whole surface at once
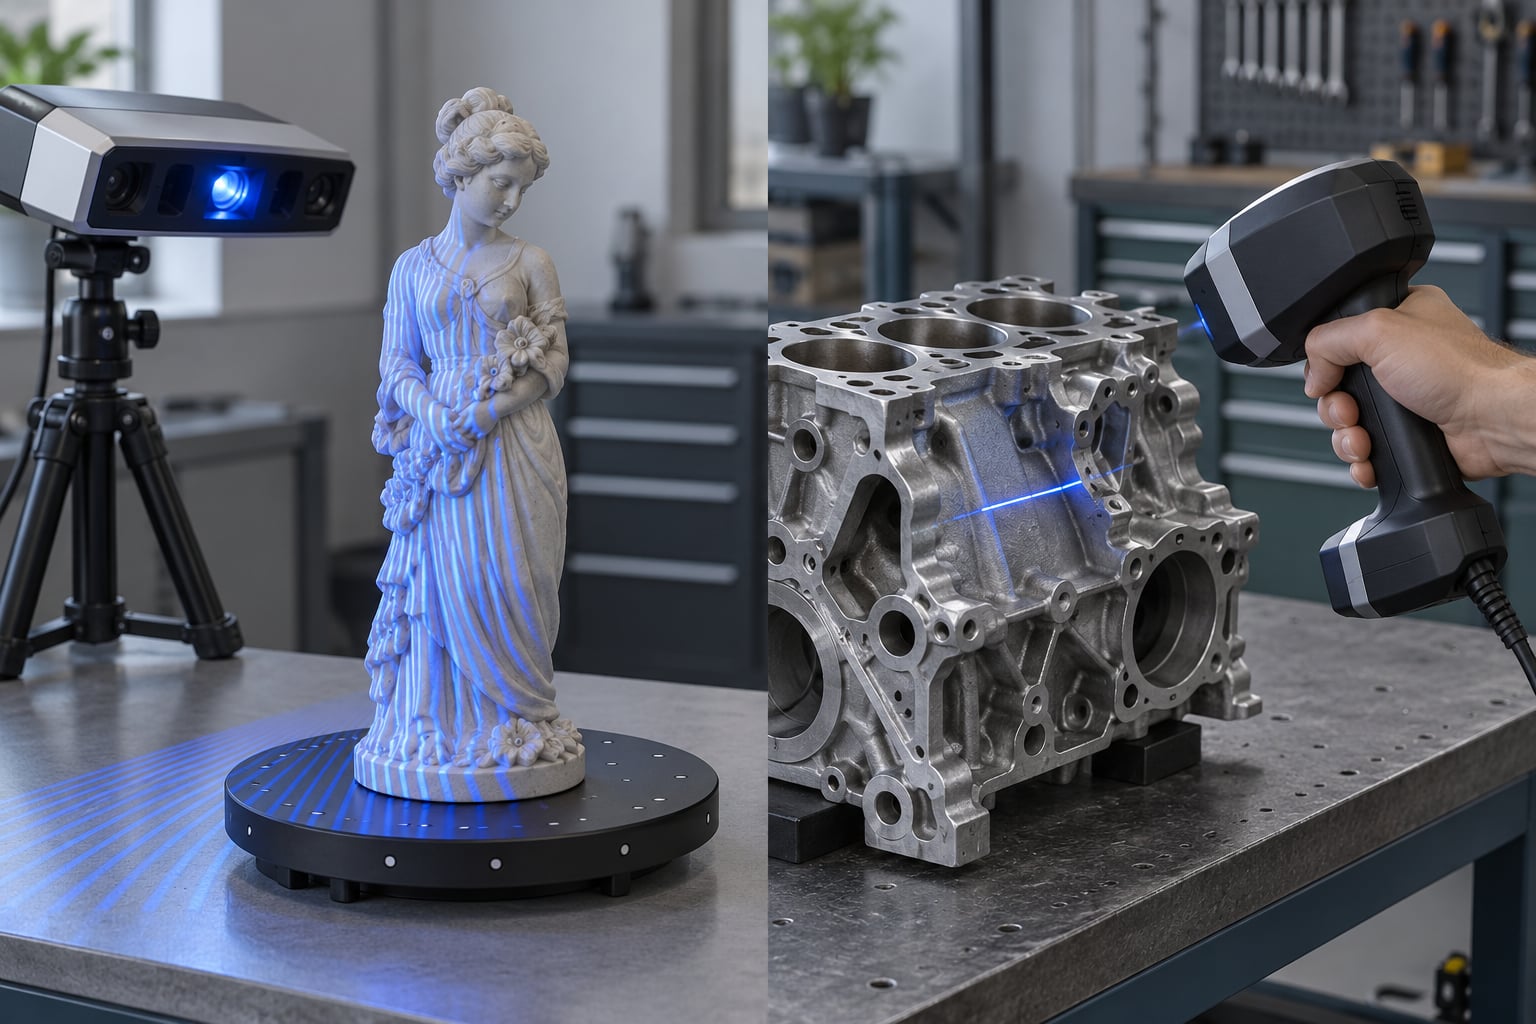
A digital projector throws a fringe pattern, a dot grid or a speckle pattern onto the object while a camera captures it. The projector is calibrated, so the software knows exactly where every dot was sent. Comparing the observed pattern to the projected one gives depth for the whole visible field in a single frame.
That single-frame behaviour is why structured light feels fast. One vendor page on this topic puts a full capture at roughly a million 3D data points in under a second, and desktop units aimed at 3D printing reach comparable throughput routinely. Because the camera sees everything at once, overlapping scans align easily and small movements between frames blend rather than fight each other.
Sequential projectors add a second layer: they project the pattern in sequence, and the software can separate depth from surface colour or reflectance. That is how many mid-range units get a usable colour texture in the same pass. It also adds moving parts, which is why some structured light scanners develop alignment drift after a year of use and need a recalibration.
How laser scanning builds a point cloud one line at a time
A laser scanner throws a thin line of light across the part. A camera watches where that line lands, and triangulation turns it into a profile containing thousands of points. Then something moves: the part, the turntable, or the scanner on its arm. Repeat, and the profiles stack into a point cloud.
Many handheld units fan several laser lines out at once to shorten this. Even so, the fundamental constraint holds: you have to cover the surface area, and that takes time and coverage discipline. Users on scanning forums describe laser jobs taking several times longer than structured light on the same part, mostly because of coverage, not because the laser itself is slow.
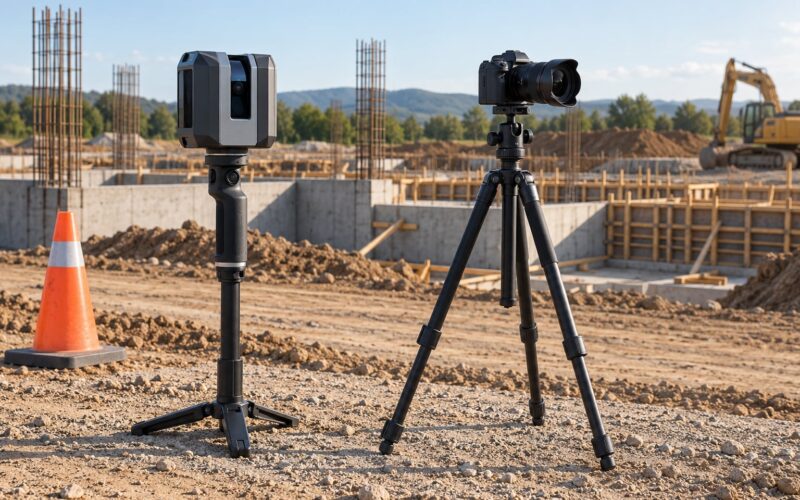
Line-by-line acquisition is the reason a laser can handle surfaces that confuse a projector. The beam is a controlled, narrow light source at a known angle, so it still returns usable data from a dark surface that reflects almost nothing back to a camera. A line laser also reaches much further, which is why the same principle scales from a desktop unit to a tripod on a construction site.
Is LiDAR the same as laser 3D scanning?
No, and this is the single most confused corner of the search results. Laser 3D scanning for metrology and modelling almost always means laser triangulation, which is what this whole article compares. LiDAR is time-of-flight: it fires a pulsed laser, measures how long the return takes, and divides by the speed of light to get distance.
Time-of-flight systems range far faster and reach much greater distances, but their depth precision is lower for close work, and they inherit the same shiny and transparent surface problems. Airborne laser scanning, sometimes called ALS, is exactly this: a pulsed time-of-flight LiDAR on an aircraft or drone. When a vendor page says ALS and LiDAR are the same, that is correct; when it implies either is the same as a triangulation scanner, that is not.
Two more names show up in the same category. Photogrammetry uses an ordinary camera and matches features across overlapping photos, with no light source at all. And laser profilers, common in robot cells, are triangulation sensors that measure a cross-section for path planning rather than building a finished model. Helpful vocabulary, but four different machines.
Accuracy, Resolution, and Fine Detail
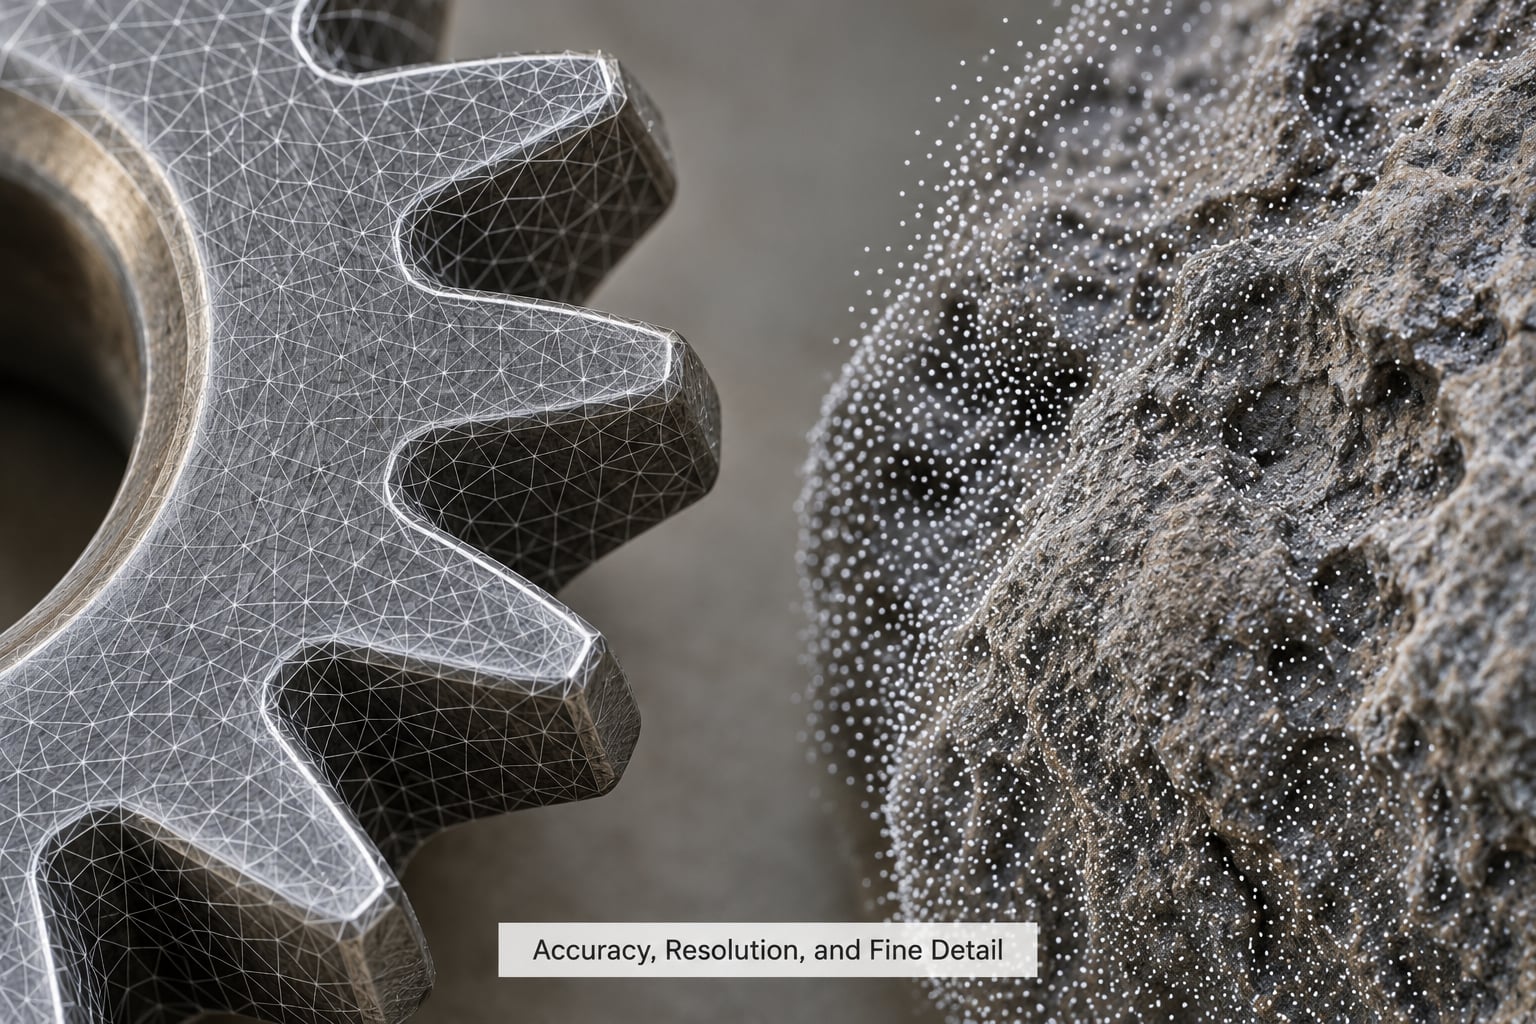
Both technologies reach comparable accuracy on a well-prepared part, and the gap between them is smaller than most marketing implies. On a typical desktop or handheld unit you are looking at feature accuracy in the range of 20 to 100 microns, which is 0.02 to 0.1 mm. A mil is 25.4 microns, so 20 microns is under one mil and 100 microns is about four.
Where accuracy actually diverges is at the extremes. Metrology-grade structured light systems with calibrated volume and temperature compensation reach single-digit to low-tens-of-microns feature accuracy in a controlled lab. Handheld laser systems cluster in the same band, and CMM-class laser scanners reach comparable numbers on a tripod. Long-range and survey-grade laser units are deliberately less precise because they are trading resolution for distance.
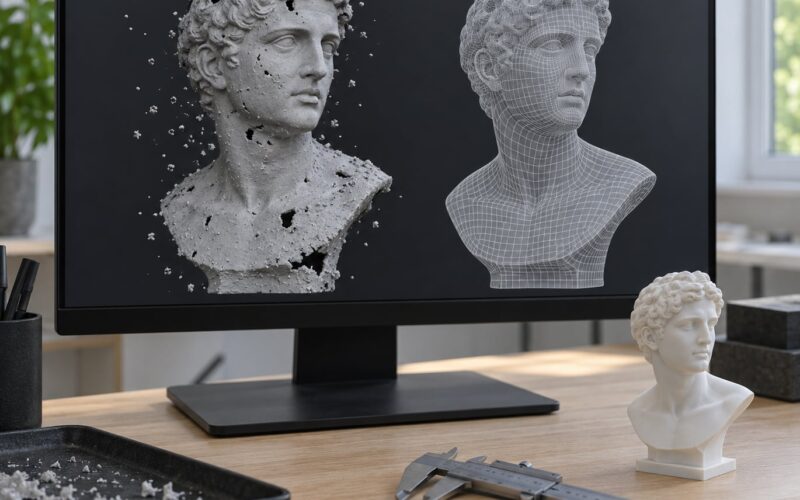
Point density is where structured light separates itself in practice. Capturing an entire visible surface per frame means very dense clouds almost for free. A study cited in community discussion compared roughly 51 million polygons from a structured light capture with about 10 million from photogrammetry of the same subject. For 3D printing references, that density means thin walls and small holes come through without hand cleanup.
Laser scanners produce excellent line quality and very repeatable profiles, which is why they remain the standard in inspection. Repeatability is worth separating from accuracy: a scanner can repeat the same measurement to within a micron or two while still being a few hundredths of a millimetre away from true. Calibration, not optics, usually decides that.
Structured light vs laser 3D scanning accuracy: what the numbers mean
Vendor accuracy figures are not directly comparable unless you know which kind of accuracy was quoted. The two that matter are feature accuracy and volumetric accuracy, and they can differ by a factor of ten or more on the same scanner.
Feature accuracy is how close a single measured detail is to its true position. Volumetric accuracy covers the whole measured volume: the gap between any two points anywhere in the field. A structured light scanner might quote 25 microns feature accuracy and 100 microns volumetric accuracy, and both can be true at the same time. Always ask which one is on the datasheet, and ask under what working distance and field of view it was measured.
Forum complaints about spec sheets rarely being met in the field usually trace back to exactly this, plus three other things: a part scanned with matte spray still carrying a thin coat, a scanner used outside its calibrated volume, or a calibration plate that had drifted. Ask for the calibration certificate date, not just the number.
Blue light and red light do not behave the same on hard surfaces
Wavelength matters more than most comparison articles admit. Blue lasers around 450 nm are described repeatedly on scanning forums as the least susceptible to ambient light interference and the best performer on difficult surfaces. The physics is straightforward: shorter wavelengths scatter less off airborne dust and moisture, and the eye and camera sensors are less sensitive to them, so the same optical power produces a cleaner return.
Red lasers around 650 nm are still the norm in cheaper gear, and they are perfectly serviceable. The practical difference shows up outdoors or in a shop with sodium and LED lighting, where blue units hold their signal better. It also shows up on dark materials, where the shorter wavelength is the difference between a usable point and no data at all.
Structured light systems face the same physics from a different direction. Blue and cyan projectors dominate higher-end units for the same reason, and any structured light system struggles outdoors regardless of colour because the projector must overwhelm the sky.
Speed, Workflow, and Ease of Use
Structured light is faster on a stationary part in controlled light, and the gap is wide enough that you feel it in the schedule. A desktop turntable scan can finish an entire object in a handful of captures. A laser job on the same object takes multiple passes from multiple angles, plus time to line up each one.
The workflow difference goes deeper than clock time. Structured light needs a stable part, a reasonably matte surface and a controlled room. In return it asks almost nothing of the operator: place the object, step around it, stop when the coverage indicator is full. Laser scanning asks more, but it asks for the things that matter when the data has to survive inspection.
Post-processing is where a lot of the practical speed difference hides. Structured light output usually arrives as a dense, well-aligned cloud that converts to a mesh quickly. Laser output often needs more registration work, especially across separate passes, so budget extra minutes in software even though the capture is fast per line. If your team lives in PolyWorks, Geomagic or Inspect, that software competence matters as much as the hardware.
Why laser scanning takes longer in real shops
Three things eat the time. Coverage discipline comes first: a laser only records what the line touches, so the operator has to plan overlapping passes and watch for gaps between them. That planning is a learned skill, and new users lose whole passes to it.
Second, moving between positions. A handheld laser has to be aimed, held at a consistent standoff and registered to the previous pass. Third, the data itself: a long-range scan can produce a point cloud large enough that cleanup and mesh fitting are separate half-day jobs.
Markers, turntables and the hidden cost of re-scanning
Marker-based laser scanning means sticking adhesive targets on the part so the software can register passes. The accuracy can be excellent, but targets on a curved or delicate surface are both a placement problem and a re-placement problem, because the part must come off and go back on. Forum users consistently report that the stick-and-replace cycle is the most frustrating part of the job.
Turntables are the desktop equivalent. They make structured light scanning nearly automatic, since the software knows the rotation axis and aligns each frame without you doing anything. Laser turntable workflows are less common and less seamless, since the profile still has to be walked around the part.
Markerless algorithms on good handheld lasers have improved a lot, and for textured organic or mechanical parts they often work without targets. Do your homework on whether your part has enough distinctive geometry, because a smooth painted cylinder has almost nothing for the software to lock onto.
Range, Object Size, and Material Compatibility
Range is the cleanest divider between the two. Structured light works over a short band measured in centimetres to about a metre, with accuracy degrading as you move away from the calibrated sweet spot. Laser triangulation scales from handheld units with roughly half a metre of useful range to surveying instruments that work tens of metres out.
That makes object size the practical dividing line. A jaw, a casting, a prosthetic socket, a statuette, a car interior, a full human body: structured light handles all of it well and delivers dense, colour-rich data. A car, a building facade, a boat hull, a turbine blade, a large die: structured light would need you to stitch many separate captures, and a laser tripod or rover is the sane tool.
Materials tell the same story from a different angle. On black plastic, matte rubber and dark paint, structured light gets almost no returning light and produces holes. Matte scanning spray is the standard fix, and a thin even coat works, but it adds a cleanup step and it slightly changes dimensions on anything you care about at fine tolerance. Forum users report laser handling these parts without spray, which matches the physics.
On chrome, polished aluminium and mirror-finish surfaces, spray is not optional for structured light. A diffuse projector pattern simply reflects away from the camera. Laser units do better but are not immune, and a highly specular surface can still return a confusing double image.
Glass, clear acrylic and transparent resins defeat both technologies, because the pattern or beam passes straight through instead of scattering back. The workarounds are indirect: scan a matte opaque coating, scan a plaster or resin cast of the original, use structured light in transmission mode for thin flat parts, or use CT and ultrasound. Transparent materials are where a technology stops and a workaround starts.
Environment matters as much as material. Structured light outdoors in direct sun is effectively finished, because the projector cannot outshine the sky. Indoors, a windowless room with lamps you can switch off is ideal. Laser units tolerate far more, though bright direct sunlight still degrades older units, and dust in a machine cell shows up in the profile as noise.
Surface Finish, Texture, and Color Data
Geometry and colour are separate problems, and conflating them leads to bad scanner choices. A scanner can produce a flawless white mesh with no texture at all, which is fine for 3D printing and useless for visualisation. Another can produce a beautiful colour scan of an object too coarse to hold a tolerance.
Structured light usually wins colour out of the box. A colour camera sits in the head, projected light is encoded, and the software fuses texture and geometry into one file. It is the reason structured light dominates cultural heritage work, artefact scanning and e-commerce product capture, where the visual record is half the point.
Laser systems have historically been geometry-first, which is exactly what metrology wants. A clean surface with no colour cast reads more easily on a deviation map. Many professional setups pair the laser with a separate camera, or run a photogrammetry pass over the same object, and merge the two in software. That gives the best result of all and roughly doubles the workflow.
One practical point on texture resolution: it is governed by the camera and its distance, not by the laser. A 12-megapixel sensor on a turntable cannot resolve fine engraved detail no matter how good the geometry is. Judge texture on the camera spec and the working distance, separately from any point-density claim.
Cost, Setup, and Maintenance
Structured light is the cheaper entry point by a wide margin, and the ecosystem runs from turntable scanners in the hundreds of dollars to professional handheld and metrology systems well into five figures. Laser triangulation handhelds start around the same professional tier and climb steeply, while tripod, robotic and surveying-grade systems sit in a different category entirely, where a single instrument can run into six figures.
Setup costs are where the gap narrows. Structured light needs a table, a turntable for anything not flat, a stable light source and somewhere with the ambient light under control. Laser needs the same, plus targets or fiducial markers if you go marker-based, and often a separate PC. Neither hides a room-sized infrastructure requirement at the entry level.
Calibration separates them more sharply. Structured light projectors and cameras drift with movement and temperature, so recalibration is a recurring five-minute job with a calibration plate. Laser units are more stable but their calibration is less accessible, and factory recalibration can mean shipping the unit. A robot-mounted laser adds hand-eye calibration on top of everything else, and that is a specialised job.
Software is the hidden running cost. Bundled packages handle scanning, alignment and mesh export, which covers most 3D printing work. Inspection, CAD fitting, organic modelling and automated robotic path generation all live in professional suites with annual licences. Budget for that licence before you assume the scanner purchase is the whole number.
Maintenance is unglamorous. Keep structured light projector vents clear, use the supplied cleaning kit on the glass, and expect a bulb or laser source replacement eventually on laser units. Fingerprints on a structured light projector window will quietly wreck accuracy long before anyone calls it a fault.
Which Should You Choose?
Choose structured light if the part is small or medium, the environment is indoors and controllable, and you want colour, dense meshes and a fast turn-around for 3D printing references, visualisation or CAD modelling. Choose laser if the part is large, far away, outdoors, dark, shiny without the option to spray it, or if the output has to pass an inspection tolerance.
There is a third answer that suits a lot of shops: do both. Many small businesses run a desktop structured light unit for day-to-day modelling and rent or borrow a laser handheld or tripod for the occasional reverse engineering job or annual inspection. The rental route is genuinely viable for laser work that happens a few times a year.
Structured light vs laser 3D scanning for common applications
| Application | Better fit | Why |
|---|---|---|
| Product design and 3D printing references | Structured light | Dense, colour-rich, fast, and a direct path to STL |
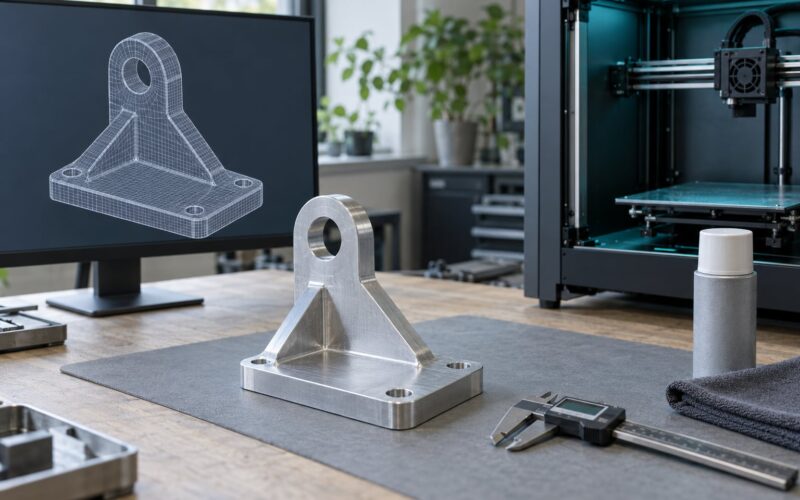
| Reverse engineering a mechanical part | Laser | Works on dark castings and machined surfaces, and tolerance reporting is built in |
| Quality inspection and metrology | Laser | Repeatable profiles, calibrated volume, comparison to nominal CAD |
| Cultural heritage and artefacts | Structured light | Colour texture is essential for the record, and sizes are manageable |
| Mould and die preservation | Laser, or a fixed optical profiler | Large, shiny tool steel, and the output feeds CNC directly |
| Automotive body panels and crash parts | Laser | Full vehicle scale with the standoff that implies |
| Jewellery, dental and fine detail | Structured light | Very high point density on small objects, plus colour for presentations |
| Architecture, heritage facades and terrain | Laser or time-of-flight LiDAR | Range and outdoor tolerance, plus registration over many setups |
| Robotic scan-to-path programs | Laser profiler or fixed structured light | Needs a fast, repeatable profile rather than a finished model |
| Scanning a human body | Structured light | Fast enough to be tolerable, and eye-safety rules are simpler without a laser |
Two rows deserve a caveat. Scanning people with a laser is a genuine safety question, not a formality: most handheld units are Class 1, which means the laser is safe under normal operation but not safe when aimed directly into an eye at close range. Operators should know their device class and never point a scanner at a face. Structured light has no such issue, which is a practical reason it dominates body scanning.
A four-step decision process
Start with the surface finish. Black, chrome, transparent, or coated in a matte spray you can live with? That single question pushes you toward laser or toward spray plus structured light.
Next, size the part. Anything bigger than a person, or more than an arm’s length from where you would stand, is a laser job. Then set your tolerance honestly, including the paint thickness if you spray, and check whether the spec you are comparing is feature accuracy or volumetric accuracy.
Finally, count the environment. Bright room, controlled lighting, or a shop floor with sunlight and dust through the window. That last question decides more real-world failures than the scanner choice itself.
Frequently Asked Questions
Is structured light or laser 3D scanning more accurate?
On a well-prepared part, both land in a similar band, typically 20 to 100 microns of feature accuracy on desktop and handheld units. Metrology-grade systems on either technology reach single-digit to low-tens-of-microns in a calibrated lab. Laser tends to win on repeatability and on parts you cannot spray, while structured light produces denser point clouds. The gap between the two is smaller than most marketing implies.
Can laser 3D scanners capture color and texture?
Yes, but usually not from the laser head itself. Most professional laser scanners are geometry-first and produce a clean surface with no colour, which is what inspection software wants. Colour is added with a separate camera mounted on the scanner or a photogrammetry pass over the same object, then merged in software. That produces the best result and roughly doubles the workflow time.
Which scanner is best for reverse engineering a mechanical part?
A handheld laser scanner is the usual answer, especially for dark castings, machined steel and parts larger than a turntable can hold. It handles black and shiny surfaces without matte spray and outputs fit to CAD directly. If the part is small, light-coloured and you mostly need a printable mesh, a desktop structured light scanner is faster and cheaper to live with.
What surfaces are difficult to scan with either technology?
Transparent and clear materials defeat both, because the light passes straight through instead of scattering back. Glossy chrome and mirror-finish surfaces are hard for structured light and need matte spray. Very dark plastic and rubber starve structured light of returning light. Deep undercuts need either a repositioned sensor or a different technology entirely, since neither can see into a recess it cannot illuminate.
Is structured light suitable for 3D printing workflows?
It is arguably the best-suited technology for that job. Full-field capture produces very dense point clouds in seconds, so thin walls, small holes and fine surface detail survive the conversion to mesh without hand cleanup. Most units export STL directly and many bundle the modelling software you need. The main limit is matte spray being required for shiny or black printed parts.
Should I choose a desktop scanner or a handheld laser scanner?
Choose desktop structured light if the part fits on a turntable, the room is under your control and you scan often. Choose a handheld laser if you need to move around the part, reach dark or shiny surfaces, or capture objects larger than a table. Many small workshops do both, renting a laser for the occasional large reverse engineering job and owning structured light for daily use.
Conclusion
The decision rule is simple. Structured light for parts you can put on a table under controlled light, especially when you want colour, dense meshes and fast 3D printing references. Laser for parts that are large, far away, dark, shiny or outdoors, and for any job where the measurement has to pass a tolerance.
Before you buy anything, write down five things: required accuracy in real units, the largest object, the worst surface finish, whether you need colour, and the lighting conditions of the room. Those five answers will pick the technology for you, and they will also tell you which spec to read closely on a datasheet.