Photogrammetry for 3D scanning step by step comes down to three things: a textured object that does not move, evenly diffused light, and a long overlapping sweep of photographs taken from a locked camera position. The software matches the same surface details across those photos, measures the parallax between views, and triangulates a 3D model with real color baked into the texture.
A whole tabletop scan takes 20 minutes to photograph and 20 minutes to process on a normal laptop. The gear cost can be near zero if you already own a phone and a light, which is why this technique sits at the center of so many maker workflows.
This guide walks the whole workflow end to end, from picking an object to exporting a file your slicer or game engine will accept.
Table of Contents
- What You Need
- Photogrammetry for 3D Scanning: Step-by-Step
- 1. Define the Scan Goal
- 2. Prepare the Object
- 3. Set Up Lighting and Camera Controls
- 4. Capture Test Images
- 5. Photograph the Object from Multiple Angles
- 6. Check the Image Set
- 7. Import and Align the Images
- 8. Generate and Refine the 3D Model
- 9. Add Scale and Verify Dimensions
- 10. Export for Your Next Use
- Common Mistakes
- Frequently Asked Questions
- How many photos do you need for a good photogrammetry scan?
- What are the best camera settings for photogrammetry?
- Can you scan a shiny or transparent object with photogrammetry?
- How do you scale a photogrammetry 3D model?
- What is the best free photogrammetry software for beginners?
- Is photogrammetry accurate enough to 3D print from?
- Conclusion
What You Need
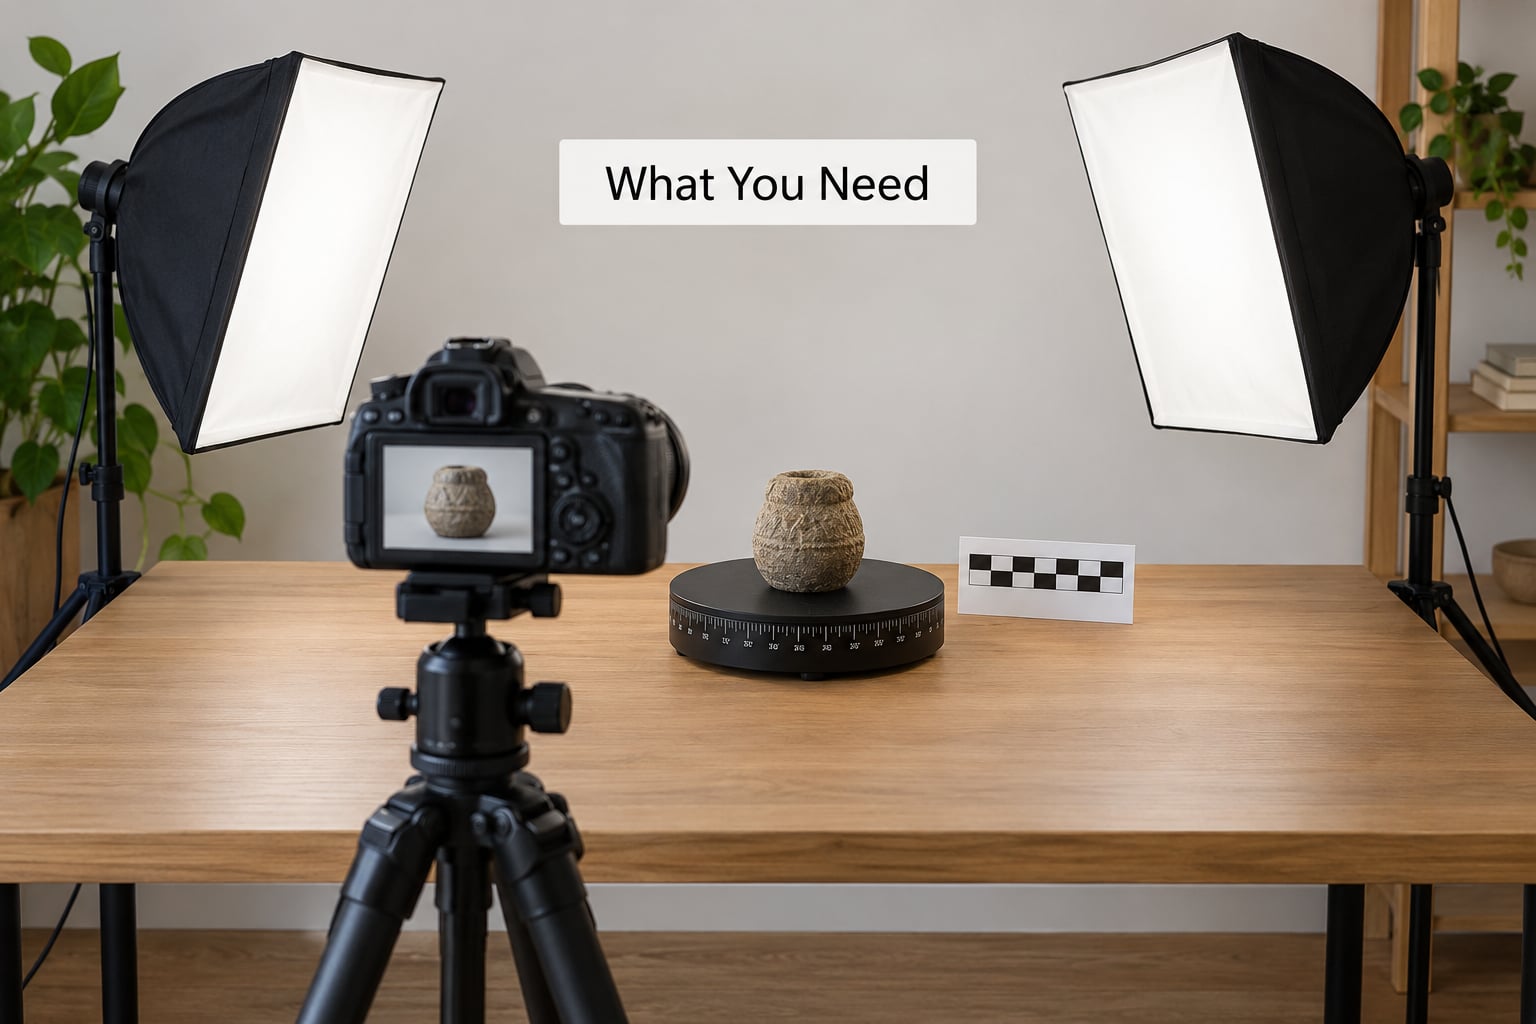
You need far less than a dedicated scanner demands. Everything below falls into four groups: the camera, the capture aids, the lighting, and the software.
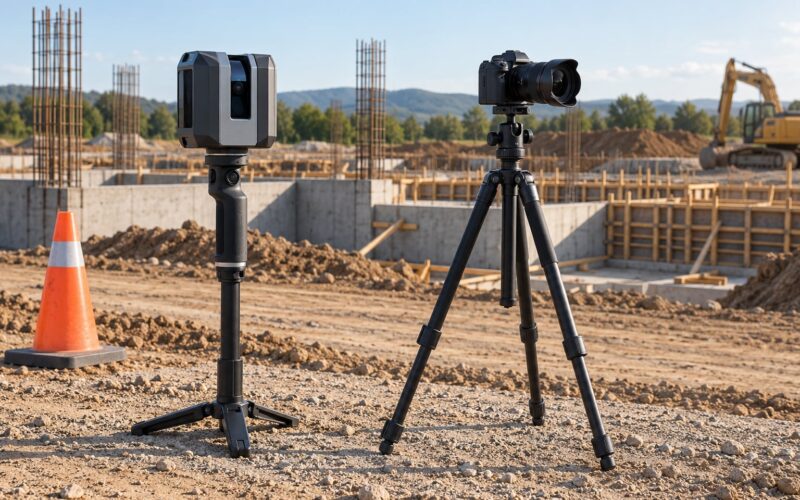
Camera. A recent phone camera will produce a usable scan for a small textured object. A mirrorless or DSLR body with a short focal length lens (roughly 24 to 50mm on full frame) gives you far more detail per photo, which matters when the model needs to hold up under measurement or printing. Phones with manual controls let you lock exposure and focus; if yours does not, a manual camera app does the same job.
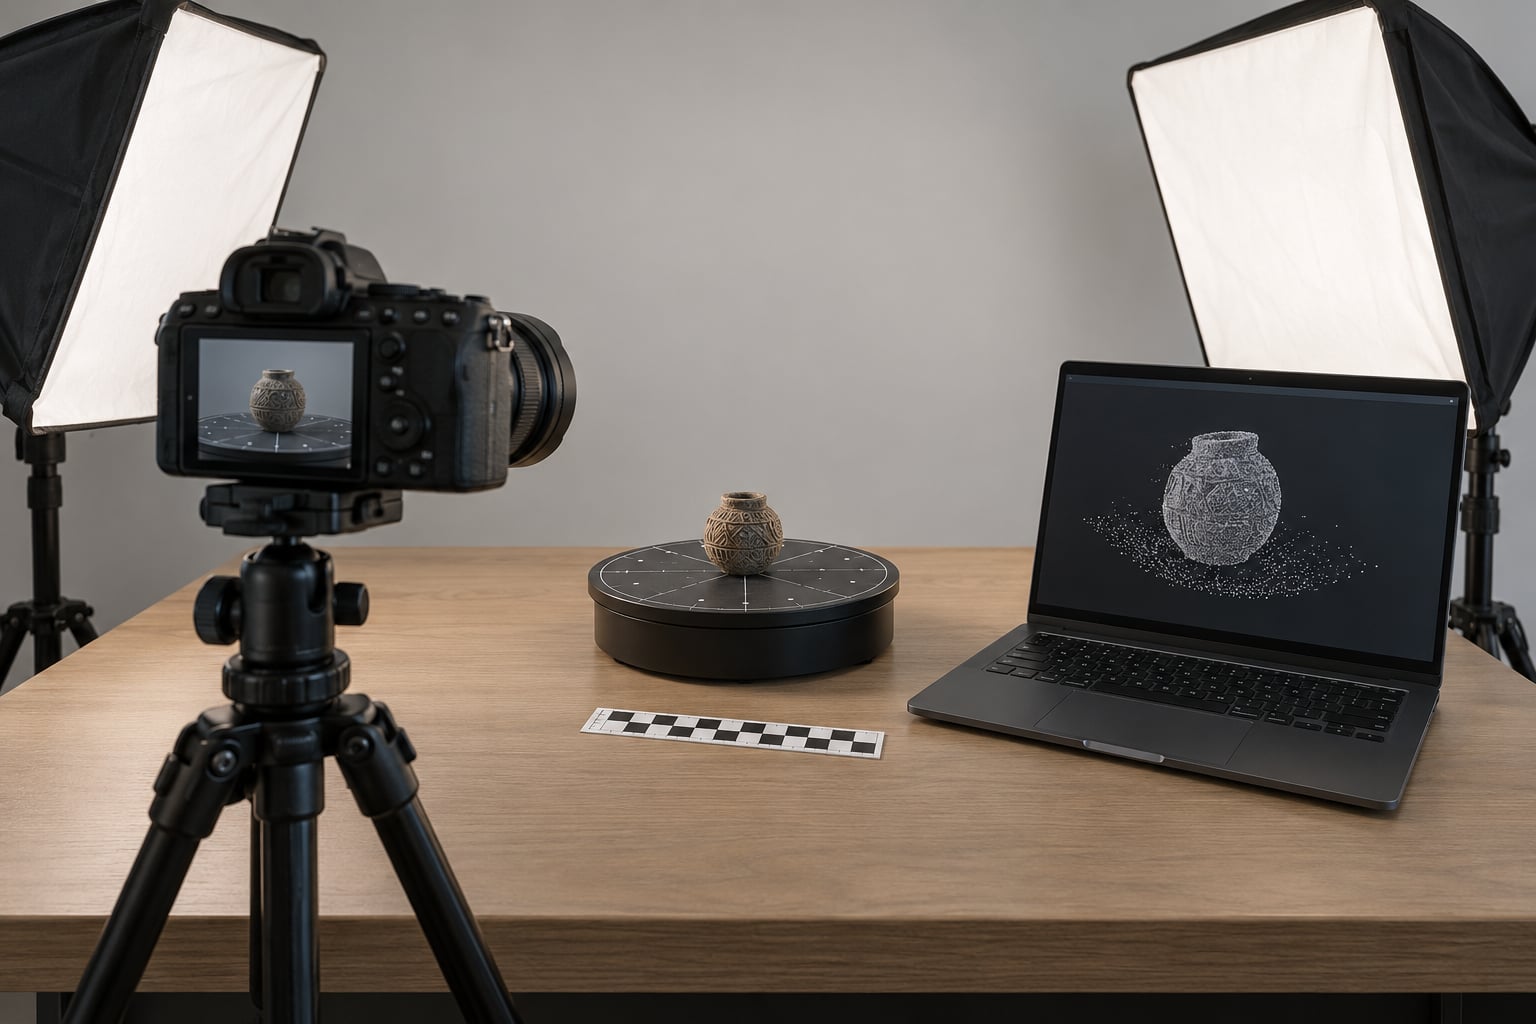
Capture aids. A tripod is the single most useful accessory, because the camera must not move between shots. Beyond that you want a turntable or lazy Susan, a non-reflective backdrop, a printed scale bar, masking tape, and a soft brush or blower for dust. If your object has a flat bottom, raise it on a small pedestal so you can photograph the underside without tilting the whole setup.
Lighting. Two diffused sources beat one bare lamp, because two sides cancel out shadows that the reconstruction turns into lumps. Overcast daylight works outdoors; direct sun does not, since hard shadows get baked into the mesh and cannot be removed later.
Software and computer. Free desktop photogrammetry software includes AliceVision Meshroom, Agisoft Metashape and RealityCapture for paid professional work, plus Blender or MeshLab for cleanup afterward. Mobile apps such as Polycam and KIRI Engine handle capture and processing on the phone. Budget 16 GB of RAM for moderate image sets and more for full-resolution files; if you shoot 24 megapixel RAW and the machine stalls, downscaling the images before import usually fixes it.
Photogrammetry for 3D Scanning: Step-by-Step
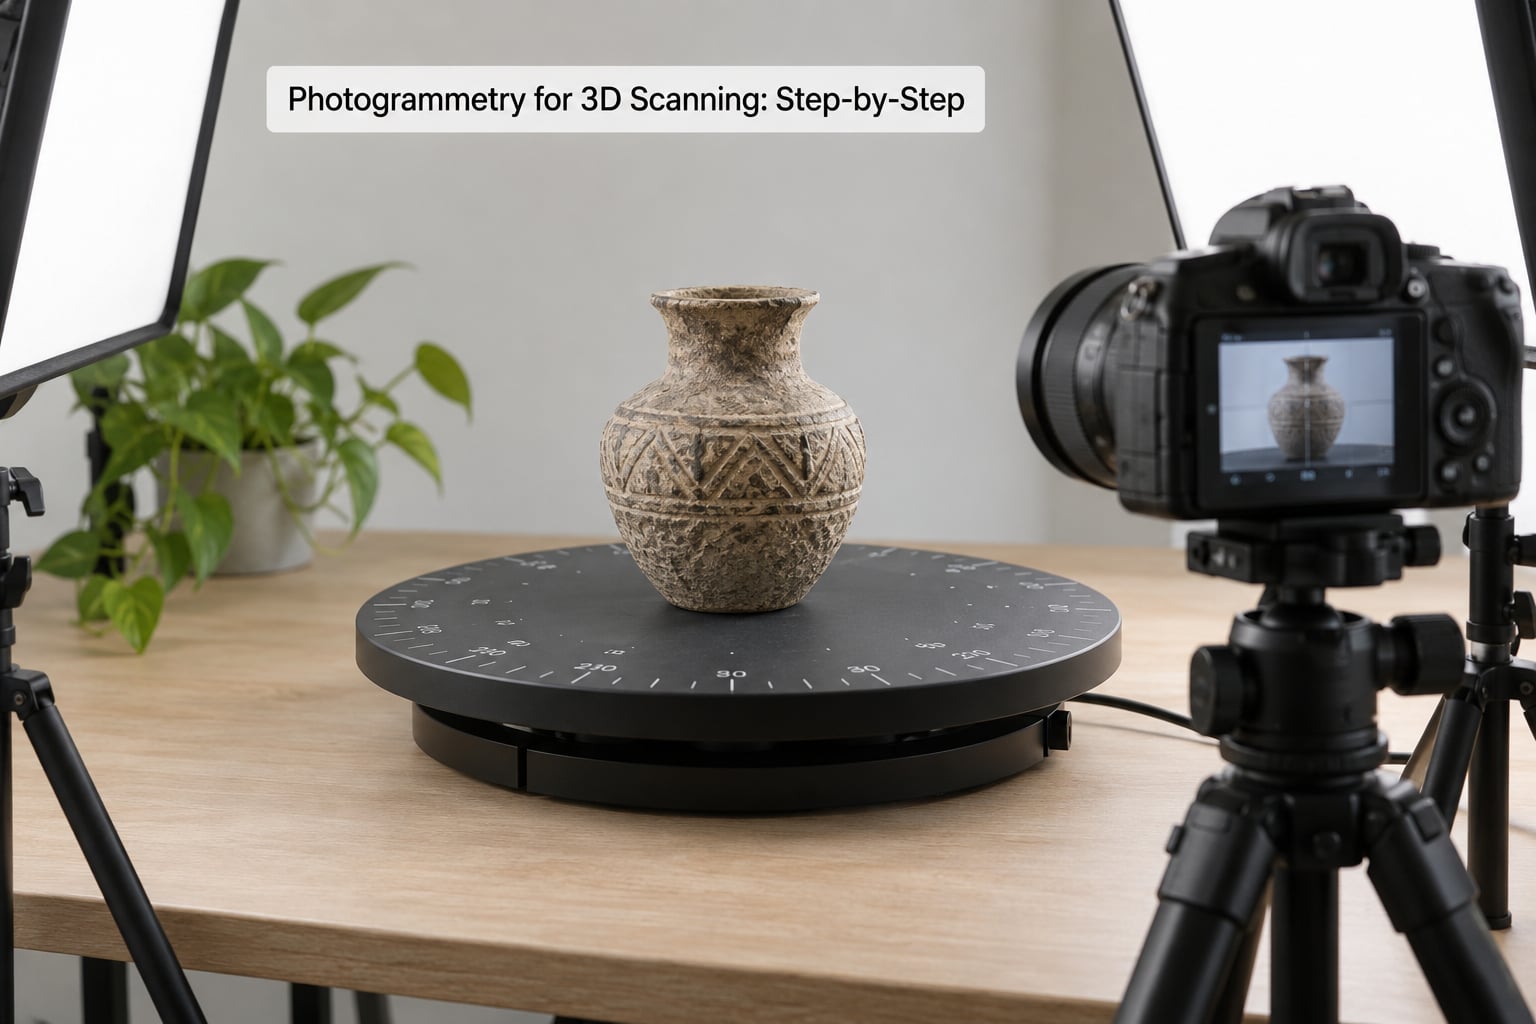
The workflow below runs from goal definition through export. Each step includes the signal that tells you the previous one worked, so you can stop and fix a problem at the stage that caused it rather than at the end.
1. Define the Scan Goal
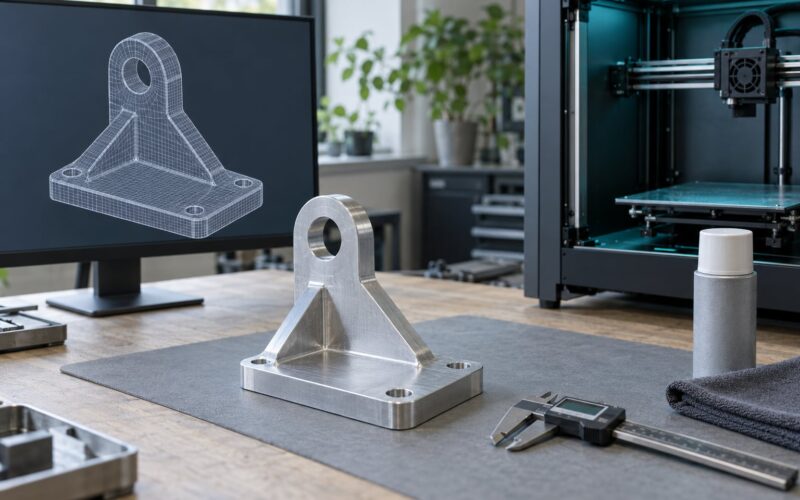
Decide what the model is for before you lift the camera, because the goal sets your accuracy target and your photo count. Visual reference, archiving, and game assets tolerate surface error and reward texture. Reverse engineering and 3D printing demand accurate proportions and a clean, watertight mesh. Inspection work needs known scale references and control points.
How to tell it worked: you can name the destination format (STL, OBJ, GLB, PLY) and the required tolerance before you start shooting.
2. Prepare the Object
Clean and dry the surface. Anything matte, dusty-free, and reasonably textured scans well; glossy paint, bare chrome, glass, and untextured plastic do not. Remove or fully document moving parts such as lids, doors, and cables, because anything that shifts between frames turns into smeared geometry. Note hidden areas such as the underside or the inside of a cavity, since those surfaces get no photographs and will end up as holes.
How to tell it worked: every part of the object either stays rigid for the whole session or has been photographed separately, and you have written down which areas the camera cannot see.
3. Set Up Lighting and Camera Controls
Kill the shadows first. Position two diffused lights at roughly 45 degrees to either side and slightly above the object, and keep their brightness matched. Turn off the room lights, close curtains, and keep the object away from windows that shift brightness mid-session.
Then lock the camera: manual focus with a single fixed distance, the lowest ISO the light supports, a fixed shutter and aperture, and white balance locked to a preset rather than auto. Disable image stabilization if the camera offers a way to turn it off for tripod work. Autofocus hunting between frames is one of the top causes of failed alignment.
How to tell it worked: surface highlights move smoothly as you orbit the object instead of flickering, and two test photos taken ten seconds apart have identical brightness.
4. Capture Test Images
Shoot five frames from different sides before committing to the full set. Load them into your software and run a quick alignment, or simply zoom in to 100 percent on each file.
How to tell it worked: all five frames are sharp at the object, the object is visually distinct from the background, and the surface texture is visible rather than blown out or crushed to black.
5. Photograph the Object from Multiple Angles
Overlap is the rule that matters most. Consecutive photos should share roughly 70 to 80 percent of the content, which for a tabletop turntable usually means about 10 to 15 degree steps. Move the elevation too, not just the azimuth: shoot a ring at the object’s midline, a second ring from about 30 degrees above, and a third from 30 degrees below, using the pedestal for the underside.
Keep the camera distance constant as you orbit, since software infers depth from scale change as well as parallax. Overshoot on purpose. Extra images are trivial to delete, while a gap in coverage can never be recovered.
How to tell it worked: you can see roughly 60 percent of any given photo duplicated in its neighbor, and every surface the camera reached has at least three views of it.
6. Check the Image Set
Sort through the folder before importing. Delete out-of-focus frames, motion-blurred shots, frames with a hand or tool in them, and any duplicates. Check for surfaces covered by only one or two photos and plan a few extra angles for those spots.
Write practical ranges. Small handheld objects (under 20cm) need roughly 30 to 60 photos. Mid-size items such as shoes or pottery need 100 to 200. Large subjects like statues, vehicles, or room corners need 200 to 500.
How to tell it worked: the frame count matches the range above, and the shots run in a sequence with no missing number.
7. Import and Align the Images
Load the set into your chosen tool and start with the standard structure-from-motion workflow. The software detects feature points on each image, matches those points against neighboring frames, and solves for camera position and orientation. Some tools estimate camera calibration automatically; on difficult subjects, supplying lens focal length or running a self-calibration pass improves results.
How to tell it worked: the point cloud forms one connected model rather than several floating fragments, and no image appears marked as failed to match.
8. Generate and Refine the 3D Model
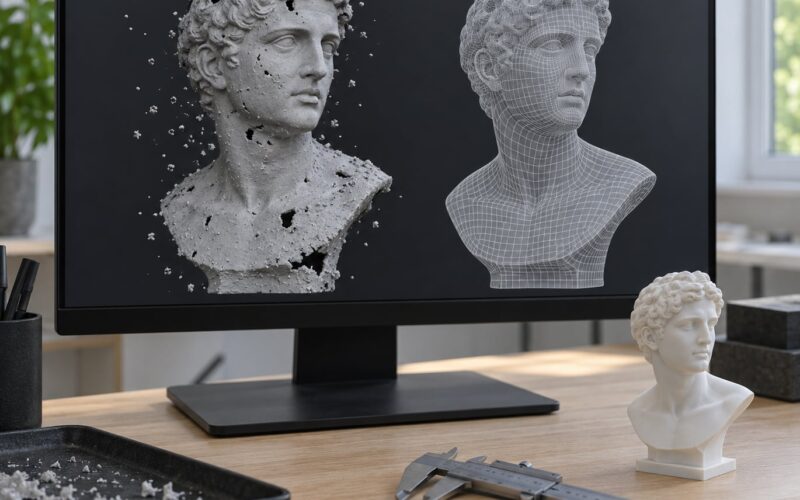
Run dense reconstruction to fill in the point cloud, then generate a mesh. Filtering is a balance: too little leaves noisy surface bumps, too much smooths away real surface detail such as lettering and fabric weave. Check the result against your test photos and re-run with a gentler setting if detail disappeared.
Handle holes by re-photographing those surfaces if the object is still on the table, or by filling them in your mesh editor. For 3D printing, the mesh must be watertight and manifold before you export it.
How to tell it worked: the mesh looks solid from every side with no visible interior walls, and surface detail matches what you saw in the photographs.
9. Add Scale and Verify Dimensions
Photogrammetry produces a model with no absolute size, because nothing in the image set establishes real-world scale. Fix that in software by entering the true length of the scale bar you placed in the scene, or by identifying coded targets and control points whose coordinates you measured yourself. Place the bar flat and fully visible in several shots rather than leaning it against the object.
Then measure. Check overall length, wall thickness, and one known dimension against the physical object. Record the deviation; typical hobby-scale results land within 1 to 2 percent of real size for well-textured objects photographed up close, and worse than that for shiny or low-detail surfaces.
How to tell it worked: a caliper measurement on the finished model is within a few percent of the real object, and you wrote down the tolerance you achieved.
10. Export for Your Next Use
Pick the format from the destination rather than by habit. Use STL for 3D printing, PLY to keep the raw point cloud, OBJ or GLB for game engines and VR, and FBX when a 3D program needs rigged or layered geometry. If the model carries millions of polygons, decimate it first; game engines usually want under 100k triangles for a background prop, while a slicer can struggle well below that if the mesh is not manifold.
For visualization work, bake the texture to normal and ambient occlusion maps rather than shipping the raw photographs.
How to tell it worked: the exported file reopens cleanly in the destination program at the expected size and triangle count.
Common Mistakes
Most failed scans trace back to capture conditions, not to the software. Work down this list in order, because the earliest cause explains the later symptoms.
Uneven or shifting lighting. One lamp, or daylight that changed during the session, produces shadows and brightness jumps that reconstruction turns into lumps and warped surfaces. Fix: two diffused sources at matching angles, locked exposure, no auto white balance.
Not enough overlap. Gaps between viewpoints leave holes and floating fragments. Fix: aim for 70 to 80 percent overlap and 10 to 15 degree steps.
Shiny, reflective, or transparent surfaces. Chrome, glass, and wet plastic give the software nothing stable to match, which shows up as noise or as an empty shell. Fix: coat the surface with matte spray developer or a matte primer, or switch to structured light or laser scanning for that part.
The object moved. A settling sculpture, a cooling part, or a person shifting posture makes the model double and smear. Fix: rigidly secure the object, and for people use a helper app that guides a steady walk-around.
Missing or unreadable scale reference. Without a usable scale bar the model has no size, and correcting it after the fact means measuring something in the reconstruction and scaling by hand. Fix: place the bar in the frame during capture. If you already missed it, measure one clear dimension of the finished model with a ruler and apply a uniform scale.
Over-smoothed or over-dense mesh. Aggressive filtering erases lettering and fine texture, while a raw cloud with tens of millions of points can choke Blender or a slicer. Fix: keep an early filtered copy, decimate to what the destination needs, and check the triangle count before export.
Before you call a scan done, run this quick quality-control pass: the mesh is watertight and manifold, the model matches a tape measure within your stated tolerance, surface detail from the photos survived filtering, every hidden area was either photographed or deliberately left open, and the export reopens in the destination program.
Frequently Asked Questions
How many photos do you need for a good photogrammetry scan?
Roughly 30 to 60 photos for a small handheld object, 100 to 200 for a mid-size item such as a shoe or a pot, and 200 to 500 for a large statue or room corner. Overlap matters more than raw count: consecutive frames should share about 70 to 80 percent of their content, which on a turntable means shooting in 10 to 15 degree steps. Shoot more than you think you need, because surplus images are easy to delete and missing angles cannot be recovered.
What are the best camera settings for photogrammetry?
Use manual focus locked to a fixed distance, the lowest ISO the lighting supports, a fixed shutter and aperture, and white balance set to a preset instead of auto. Turn off image stabilization when the camera is locked on a tripod. Autofocus hunting and auto exposure are the two most common reasons a capture set fails to align.
Can you scan a shiny or transparent object with photogrammetry?
Not well as-is. Chrome, polished metal, glass, and wet plastic reflect the environment, so the same surface looks different in every frame and the software finds no stable features to match. A coat of matte spray developer or primer usually makes these objects scannable. For an uncoated mirror or glass part, structured light or laser scanning is the better tool.
How do you scale a photogrammetry 3D model?
Photogrammetry produces a model with no absolute size, so you must add scale during or after processing. The easiest route is to place a printed scale bar in several frames and enter its true length in the software. For higher accuracy, use coded targets and control points whose positions you measured with a tape measure. If no reference exists in the photos, measure one known dimension of the finished model and scale it uniformly.
What is the best free photogrammetry software for beginners?
AliceVision Meshroom is the most practical free desktop option, with a guided workflow and local processing. RealityScan offers a limited free tier, and Agisoft Metashape is the standard paid choice for larger jobs. On a phone, Polycam and KIRI Engine handle capture and processing together. Blender or MeshLab handle mesh cleanup afterward, and both are free.
Is photogrammetry accurate enough to 3D print from?
For visual prints, yes. For parts that need to fit or function, expect about 1 to 2 percent deviation on a well-textured, matte object photographed up close, and worse on shiny or low-detail surfaces. Photogrammetry also captures surface noise, so a printed part usually needs cleanup, decimation, and thickness added before it is printable.
Conclusion
The workflow is short once you know it: fix the goal, prep the object, light it evenly, lock the camera, photograph a long overlapping sweep with elevation changes, clean the image set, align, mesh, scale, and export in the format your destination expects. Every failure mode traces back to one of those steps, so diagnose in order.
Start with a small matte object that has visible surface texture, two lights, a tripod, and a scale bar in the frame. Shoot a test set of five, align it, and only then work up to something complex or measurement-critical.