A part only looks transparent when light passes through it instead of scattering off air gaps, and in resin printing that means fusing every layer, washing out all the uncured resin, and sanding the stair-stepping off the surface. Knowing how to print clear parts that look transparent is mostly a discipline problem: right resin, right exposure, thorough wash, patient finishing. The print itself might take an hour, while the finishing eats another two to three.
I’ve printed enough cloudy lenses to know where it usually goes wrong. It’s almost never the printer. It’s the wet filament or wet wash, the overexposed surface, or the part that went straight from the curing lamp to the display shelf with sandpaper still in the drawer.
This guide walks the whole job, from picking a resin to judging the finished part on a black background. I’ll note where filament is a reasonable substitute and where it just won’t get you there.
Table of Contents
- What You Need
- Required gear
- Optional gear
- The filament route, honestly
- Step-by-Step
- How to Print Clear Parts That Look Transparent
- 2. Calibrate the Resin Printer and Exposure
- 3. Choose the Part Orientation
- 4. Slice for Clarity and Surface Quality
- 5. Print, Wash, and Cure the Part
- 6. Polish the Printed Part
- 7. Inspect the Finish and Improve the Next Print
- Common Mistakes
- Tips for the Clearest Possible Result
- Frequently Asked Questions
- Can you 3D print fully transparent parts with filament?
- What resin is best for clear transparent prints?
- Why does my clear resin print turn cloudy after curing?
- How do you make a 3D-printed resin part more transparent?
- Do clear resin prints yellow over time?
- Is a resin printer necessary to achieve optical clarity?
- Conclusion
What You Need
You’ll need a resin printer, a low-pigment clear resin, proper PPE, a real wash station, and finishing gear. If you skip the finishing gear, you’ll end up with a translucent part that never reads as clear.
Required gear
- MSLA resin printer with a build plate that tilts easily, plus enough light shielding that stray room light doesn’t fog your exposure tests.
- Clear, low-pigment resin. Look for resin sold as clear or optical rather than as “translucent” or “frosted”. Pigment-loaded resins will never go clear no matter what settings you use.
- Nitrile gloves and sleeves, plus UV-rated safety glasses for when you peel a part off the plate. Uncured resin sensitises skin and burns on contact.
- Isopropyl alcohol at 90% or higher for washing. Lower percentages carry too much water to strip resin properly.
- A wash station with agitation — an ultrasonic cleaner, a magnetic stirrer bath, or at minimum a sealed jar you shake. A part with trapped resin in it will never clear, no matter how long you cure it.
- A curing setup: a 405nm UV LED curing lamp or a long UV flashlight, and a way to turn the part mid-cure.
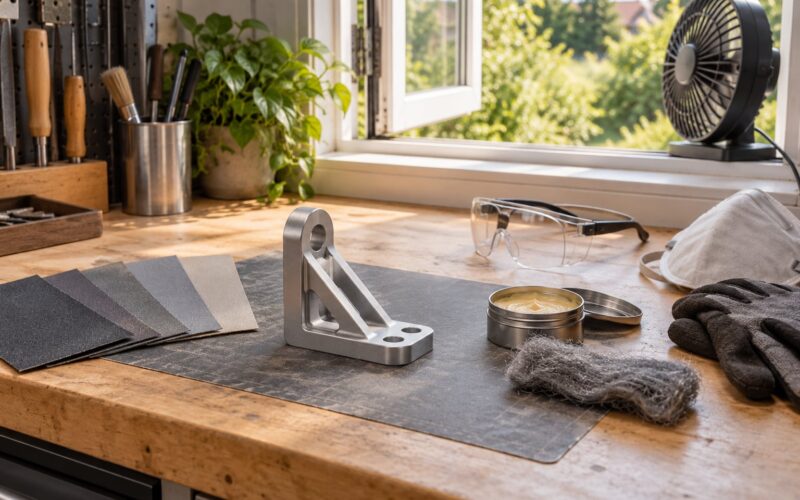
- Wet sanding kit, 400 through 3000 grit, with a spray bottle or a running tap.
- Polishing compound for resin, a lint-free cloth, and clean paper towels for handling.
Optional gear
A glossy clear coat or epoxy flood coat buys you depth and scratch resistance after sanding. A matte black display board makes judging clarity far easier, since haze shows up against dark backgrounds and disappears against a white wall. A dust cover matters more than people expect, because a fine scratch on a finished clear part is the first thing you see.
The filament route, honestly
If you don’t own a resin printer, transparent filament will get you part of the way and no further. Clear PETG is the most forgiving, printing around 240C at roughly 25 mm/s with high flow and full walls; clear polycarbonate transmits more light but demands an enclosed, heated chamber. Crystal and clear PLA behave more like frosted glass than like a window, which is why the r/3Dprinting consensus holds that plain PLA will never be fully transparent and PETG is the better pick when you need to see through something.
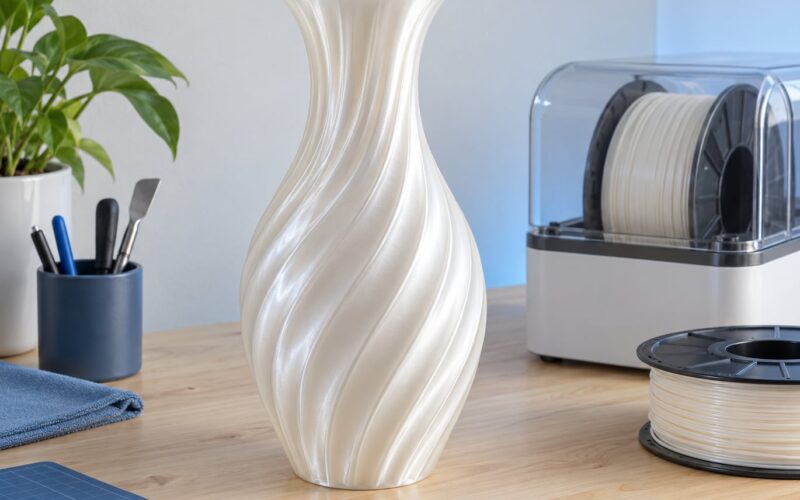
So decide which problem you’re solving. Translucency — a lamp shade, a diffuser, a decorative vase that glows — is achievable on any decent FDM printer. Optical clarity, where you can read text through a part held up to a window, is resin work.
Step-by-Step
How to Print Clear Parts That Look Transparent
Start by choosing a clear, low-pigment resin designed for optical parts, not a general-purpose grey or translucent bottle resin. Clear resin is the most reliable route to a genuinely see-through part because the light passes through a continuous cured block instead of hopping between thousands of extruded lines, and because you can sand and polish the surface afterwards.
Keep the distinction straight as you shop. Translucent means light gets through but scatters — a lamp shade. Optically clear means you can read a page through it. Nearly every “clear” filament on the shelf is really the first one, and community reports on r/3Dprinting consistently say the brand matters more than the label suggests: swapping one clear PETG spool for another fixed a permanently cloudy part with no settings change at all.
Buy resin in small bottles first. A litre of clear resin goes a long way if you hollow parts, and you do not want a bad batch driving your material budget for the year.
2. Calibrate the Resin Printer and Exposure
Level the build plate, set your Z offset, then run a resin test print before touching any clear parts. Clear parts expose bad settings that opaque prints hide, because a cloudy patch looks identical whether it came from under-exposure, a dirty lens, or a plate that was slightly tilted.
Level the plate at all four points plus the centre. Set Z offset so the film flashes and lays down without the plate dragging it — that gap is where your cure depth and detail come from. Then run your slicer’s exposure test matrix and pick a setting that cures fully through the layer thickness. A cure depth of roughly double your layer height is a reasonable target for a clear part; if it cures only skin-deep, the interior stays soft and hazy even when the surface looks fine.
Finally, run a wash-and-cure cross test. Slice a small coupon with a hollow cross section, print it, wash it, cure it, then snap it and look at the middle. If you see cloudiness in the core, your cure depth is short and no amount of polishing will save it. Fix that before your real part.
3. Choose the Part Orientation
Tilt the part on the build plate at 30 to 45 degrees with a raft underneath. A part printed flat against the plate has a large flat face resting on a textured raft, which means suction, support scarring, and a surface that has to be sanded back further than it should be.
Tilted parts have their faces at an angle to the plate, so the layered surface breaks light rather than reading as one flat pane. Hollow any part thicker than about 8mm and add at least two drain holes at the lowest point, otherwise uncured resin sits in the bottom like a puddle and cures into a cloudy block. This is the single most common reason a clear print turns out cloudy in the middle.
Put supports on surfaces you don’t plan to look through. Every support scar needs sanding, and sanding a curved viewing face is how people accidentally turn a clear part into a frosted one.
4. Slice for Clarity and Surface Quality
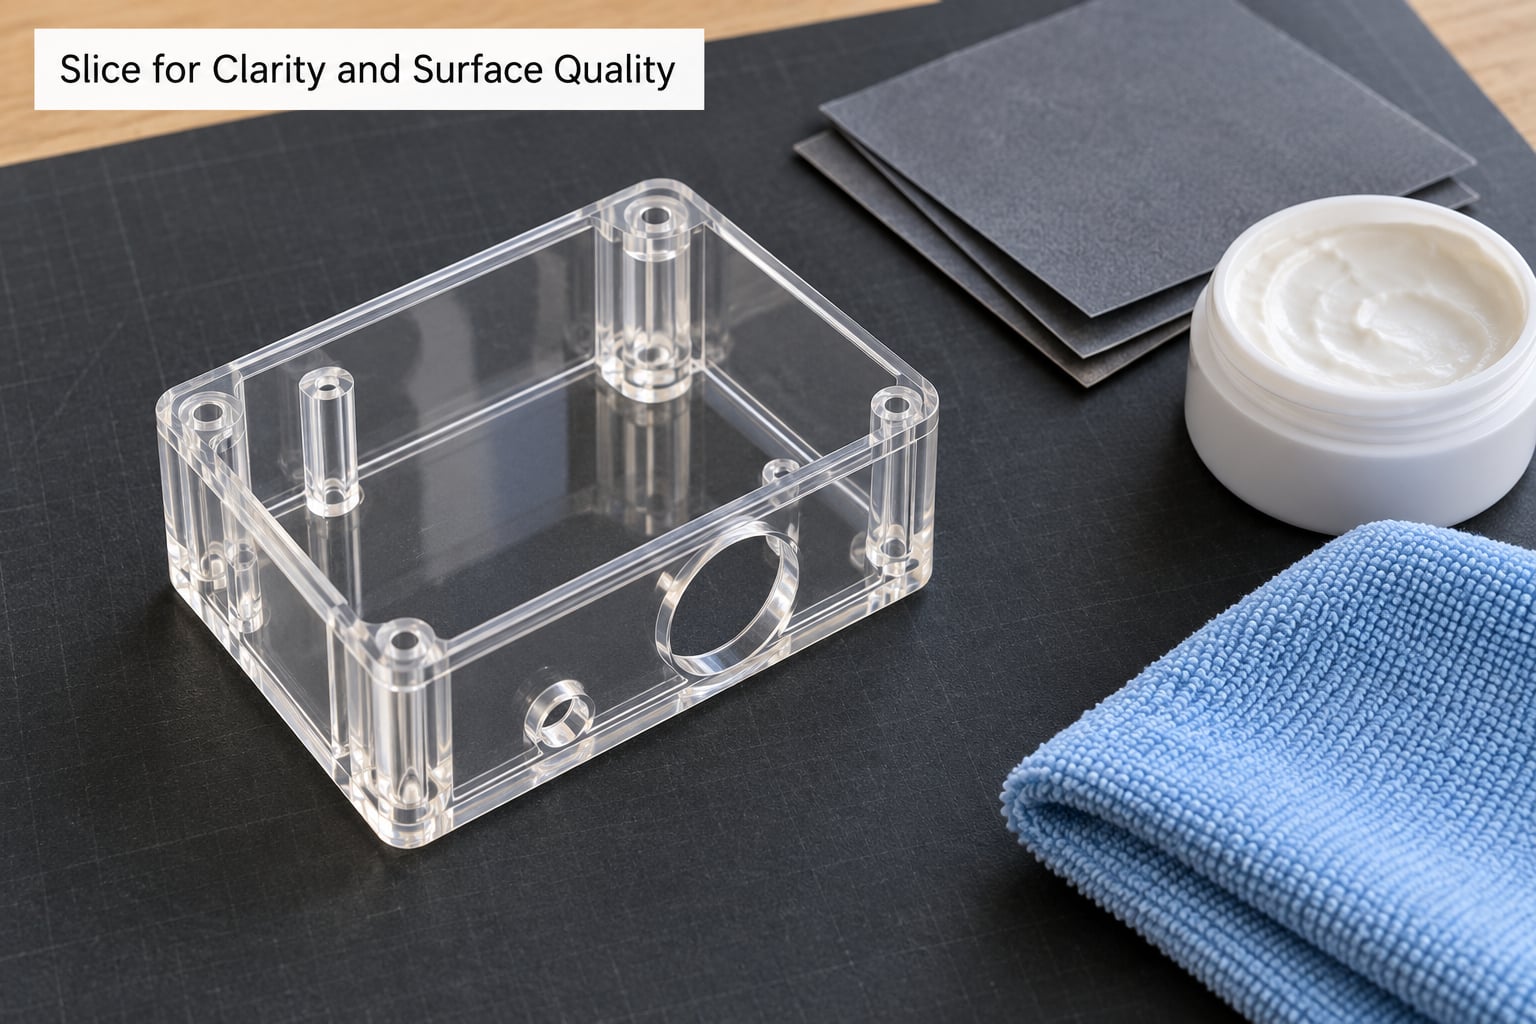
Slice with thin layers, exposure that scales down with layer height, and supports placed away from viewing faces. Thin layers mean smaller stair-steps for light to catch on, which is the entire game in FDM and half the game in resin too.
A few specifics: keep layers between 0.025 and 0.05mm for a clear part, and drop bottom exposure slightly so the raft doesn’t lock onto the plate so hard that peeling it chips the surface. Turn off any aggressive anti-aliasing or smoothing filter that samples neighbouring pixels, because it softens features and can bake a matte texture into the surface you’re about to polish.
If your slicer offers per-layer exposure scaling, set the bottom layers higher and the rest lower. Deep penetration early on keeps the part attached; gentler exposure on the final layers keeps the surface smooth and free of over-cured texture.
5. Print, Wash, and Cure the Part
Print the part, then handle it in gloves and peel it from the plate under warm water or on the build plate with a plastic scraper, working from one edge rather than levering the middle.
Wash it in 90% isopropyl alcohol with gentle agitation for 10 to 15 minutes, then move it to a second clean bath for another few minutes. The second bath matters more than it looks: it carries away the alcohol carrying the resin. A part that looks clean but still smells sweet or feels tacky will go cloudy and brittle in the cure.
Let it air-dry for 20 to 30 minutes, then cure it with UV. Curing only one side leaves the opposite face soft, so turn the part at the halfway mark. Over-curing is as bad as under-curing — it embrittles clear resin and can turn it milky — so follow the resin’s recommended exposure rather than leaving it under the lamp all afternoon. If you have no lamp, direct sunlight for a couple of minutes per side does the job.
6. Polish the Printed Part
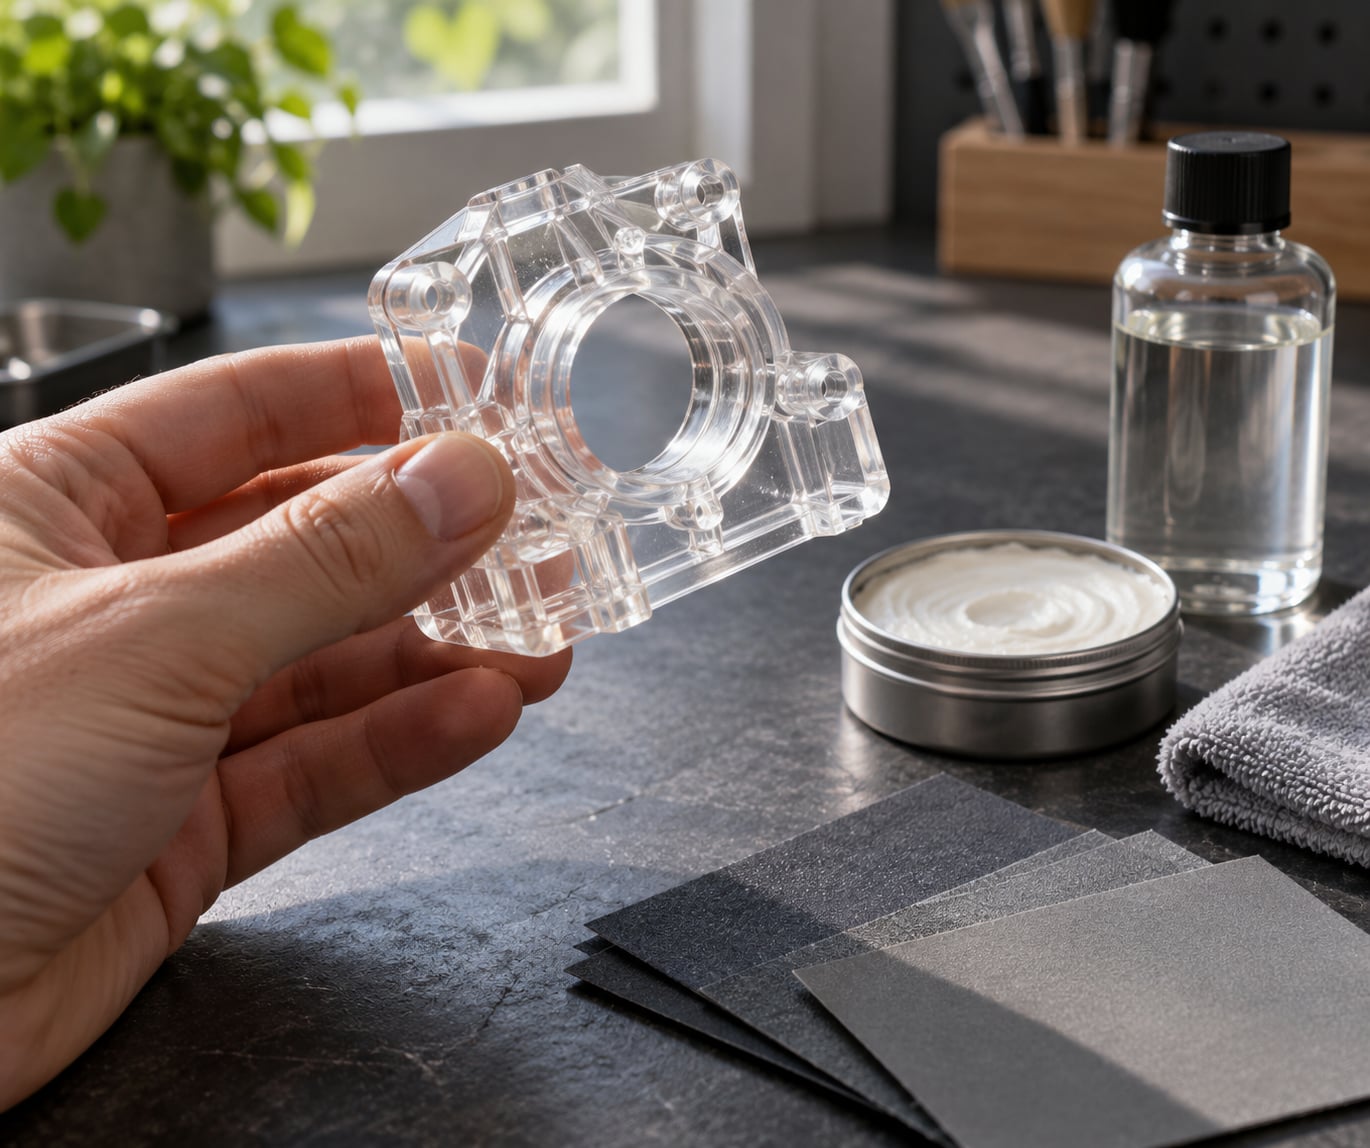
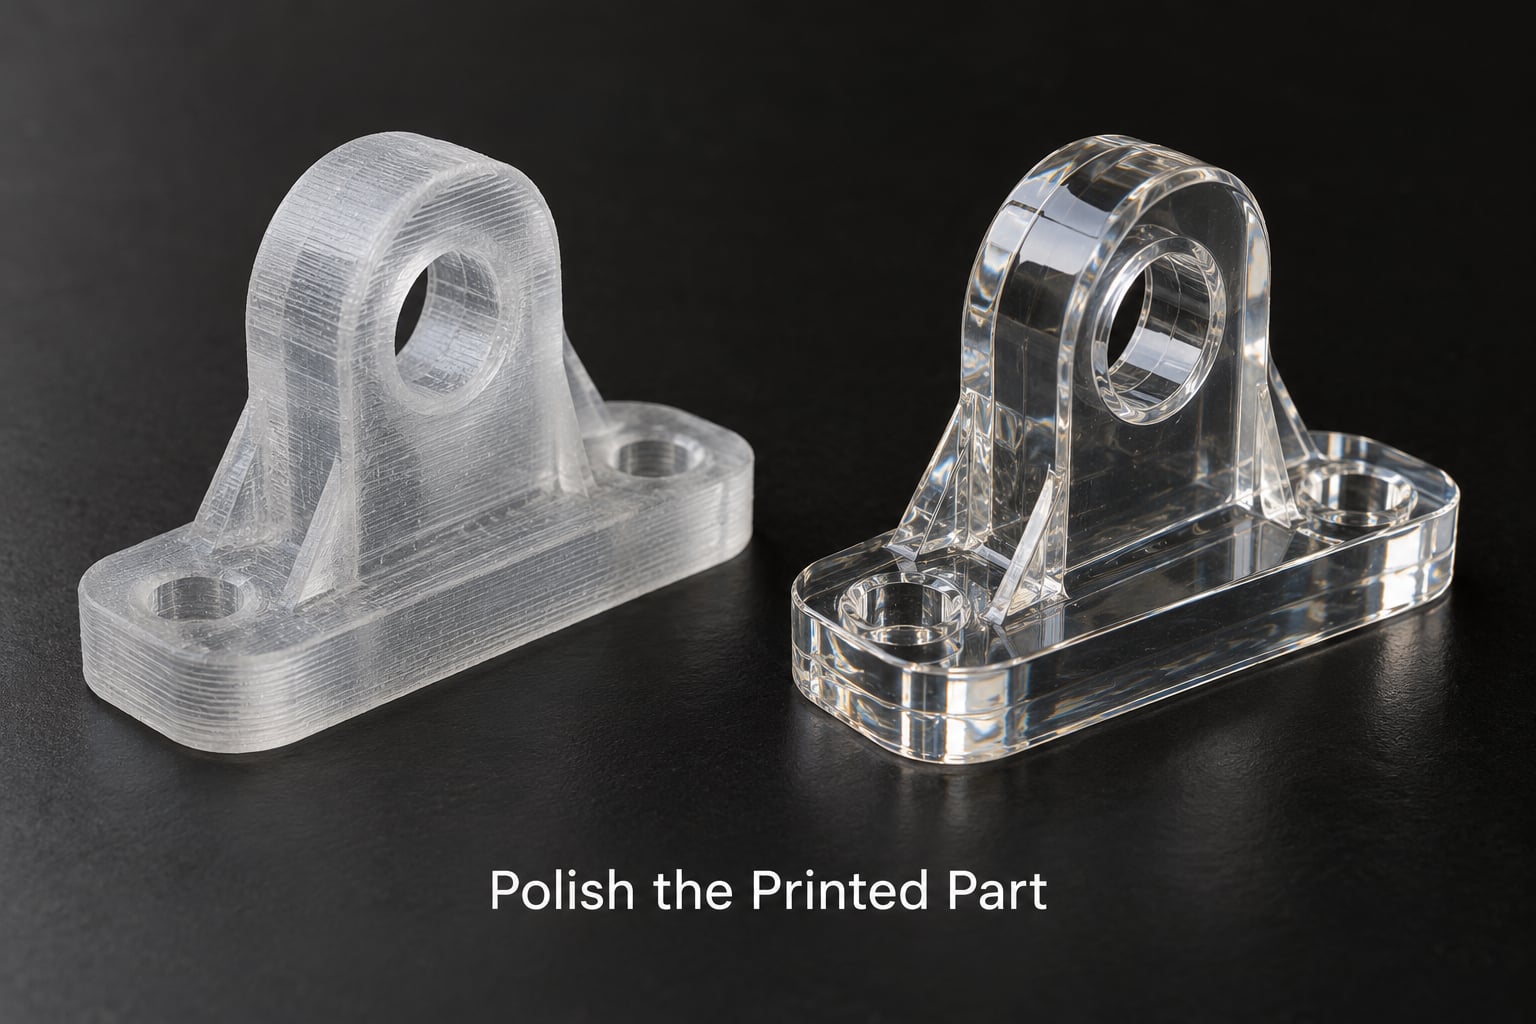
Wet-sand the cured part progressively through 400, 800, 1200, 2000, and 3000 grit, with water between grits and a fine abrasive rather than a coarse one. Skipping grits is how you scratch a part that then refuses to look clear no matter how long you polish it. Keep water moving, keep your fingers off the surface, and rinse the part fully between steps so leftover abrasive doesn’t scratch it during the next pass.
Finish with a polishing compound and a clean cloth until the surface stops feeling slippery and starts feeling glassy. At that point most clear prints are already transparent enough to read through.
If you want more depth, more scratch resistance, or the ability to wipe dust off with a finger, add a clear coat or epoxy flood coat after the finest grit. A thin coat, brushed or sprayed evenly, cures to a harder surface than the resin itself.
7. Inspect the Finish and Improve the Next Print
Hold the part against something dark and look through it, not at it. Haze, trapped bubbles, and remaining layer lines all disappear against a light background and stand out sharply against black.
Check for four things. Bubbles inside the walls mean resin was trapped during printing — check your hollow drain holes. A white, cloudy cast through the body means under-cure or an incomplete wash. Visible layer lines mean the print needs more time on sandpaper, not more heat. Yellowing around edges and window frames means UV exposure, which you’ll want to address with a coating or a shaded display.
Then write down what you saw while it was still in your hand. Clear prints get diagnosed badly because people remember the settings but not the defect. Note the layer height, exposure time, wash duration, and cure time for this part, and change one variable next round.
Common Mistakes
Almost every cloudy clear print comes from one of six things. Here’s the fix for each.
- Over-curing. The part turns brittle, feels hard and slightly cloudy. Cut cure time back to the resin’s recommended exposure and rotate the part.
- Incomplete washing. The part smells sweet, feels tacky, or looks greasy. Wash longer in 90%+ isopropyl, add a second clean bath, and dry fully before curing.
- Wrong exposure. Under-exposure gives a soft part with a rough, spongy interior. Run the test matrix again and aim for a cure depth about twice your layer height.
- Trapped resin. Cloudiness pools in the bottom of a solid part. Hollow the print and add drain holes at the lowest point.
- Poor orientation. Flat prints pick up raft texture and support scars. Tilt 30 to 45 degrees and keep supports off viewing surfaces.
- Scratching during finishing. Fine haze across the surface after sanding usually means skipped grits or dirty water. Restart at 400 with clean water and go through every step.
Tips for the Clearest Possible Result
Work ventilated and wash your hands before handling a finished part — skin oils print onto clear surfaces and show up as fingerprints the moment light hits them. Store clear resin away from light and heat, and keep your build plate and silicone mat free of cured chunks, which etch the next surface.
Keep walls thin where you can. Light travels further through a short optical path, so a 2mm wall in a small part is clearer than a 10mm wall in a large one. Print test coupons before a big part; a 30mm cube tells you about cloudiness, wash quality, and finish in an hour.
Control where the light hits it. A clear part displayed under a window will yellow over time whatever resin you use, and a clear coat slows that down considerably. Most people who complain about yellowing were storing a part in direct sun for months, which is roughly the worst case for a photopolymer.
Finally, keep the printer maintained. A dirty lens or a scratched LCD means uneven exposure, uneven cure depth, and a surface that never polishes to a clean finish no matter how long you spend on it.
Frequently Asked Questions
Can you 3D print fully transparent parts with filament?
Partly. Clear PETG, PMMA filament, and transparent polycarbonate can produce translucent to semi-clear parts on a well-tuned FDM printer, especially in vase mode, but air trapped between extruded lines scatters light and you will rarely read text through the result. If you need genuine optical clarity, a clear resin print is the more reliable route.
What resin is best for clear transparent prints?
A clear, low-pigment resin formulated for optical parts. Avoid anything sold as translucent or frosted, and avoid pigment-loaded resins, since colourant permanently blocks light. Choose a resin with a low viscosity so it flows into hollow sections and rinses out of drain holes, and pick a brand with good batch consistency, because cloudiness often comes down to the bottle rather than your settings.
Why does my clear resin print turn cloudy after curing?
The usual causes are under-cure and trapped uncured resin. If cure depth is shorter than twice your layer thickness, the interior stays soft and hazy. If the part was solid or poorly drained, resin sits in the bottom and cures cloudy. Incomplete washing leaves a greasy film that turns milky under UV. Cure depth, hollow drain holes, and a second clean alcohol bath fix all three.
How do you make a 3D-printed resin part more transparent?
Wet-sand the cured part through 400, 800, 1200, 2000, and 3000 grit, rinsing with clean water between grits, then finish with a polishing compound. Skip no grit stages and keep water moving, or you will leave fine scratches that read as haze. Add a clear coat or epoxy flood coat afterwards if you want more depth and a harder, more scratch-resistant surface.
Do clear resin prints yellow over time?
Yes, most clear photopolymers yellow with UV exposure, fastest in direct sunlight and near thin edges. Storing the part in shade, away from windows, slows it noticeably. A clear or epoxy coating adds a sacrificial UV layer and slows the yellowing further, which matters most for parts kept on display. Heat accelerates the process as well.
Is a resin printer necessary to achieve optical clarity?
No, but it is the practical answer. FDM can reach translucent and, with vase mode, slow speeds, thin layers and a sand-and-coat finish, surprisingly good near-clear results. Reaching true optical clarity, where the part reads as glass, is far easier in resin because layers are fused chemically rather than pressed together with tiny gaps. A resin printer is worth it if clear parts are a recurring need.
Conclusion
Pick a low-pigment clear resin, verify your cure depth with a test print before you commit, print a small coupon first, and give the finishing the time it needs. Wash it in two clean baths, cure it from both sides, and wet-sand through every grit without skipping.
Clear prints are judged on light passing through, not on how they look off the plate, so evaluate against something dark. Write down what you changed each time and the part before you gets better and better. Updated for 2026.