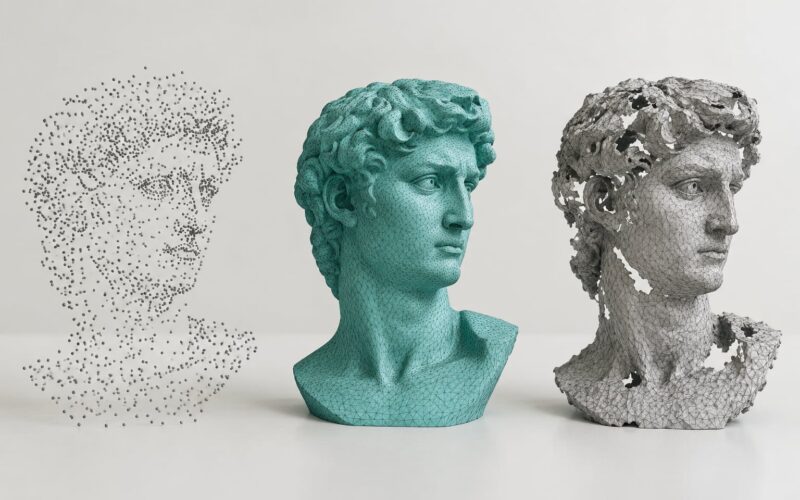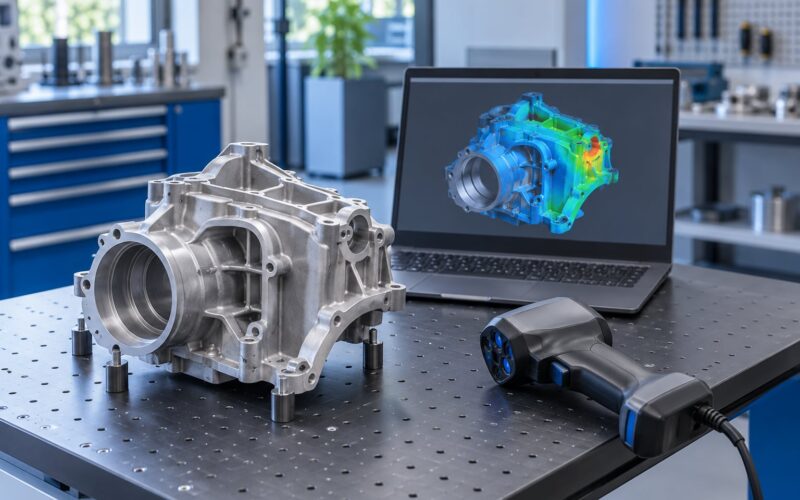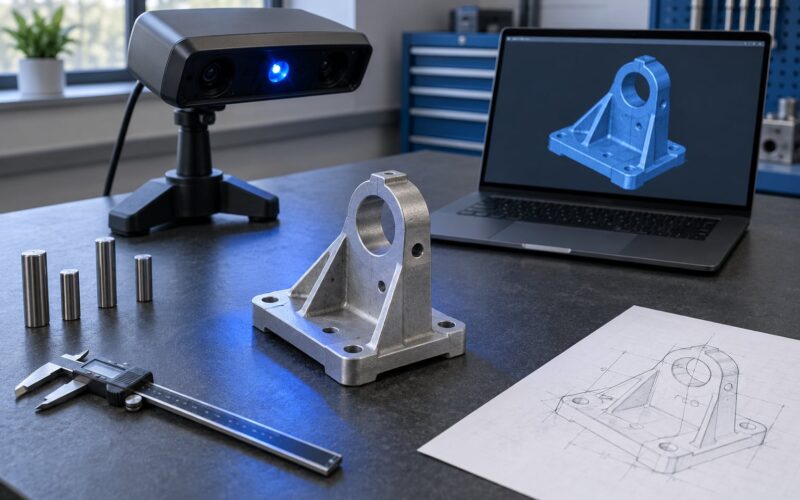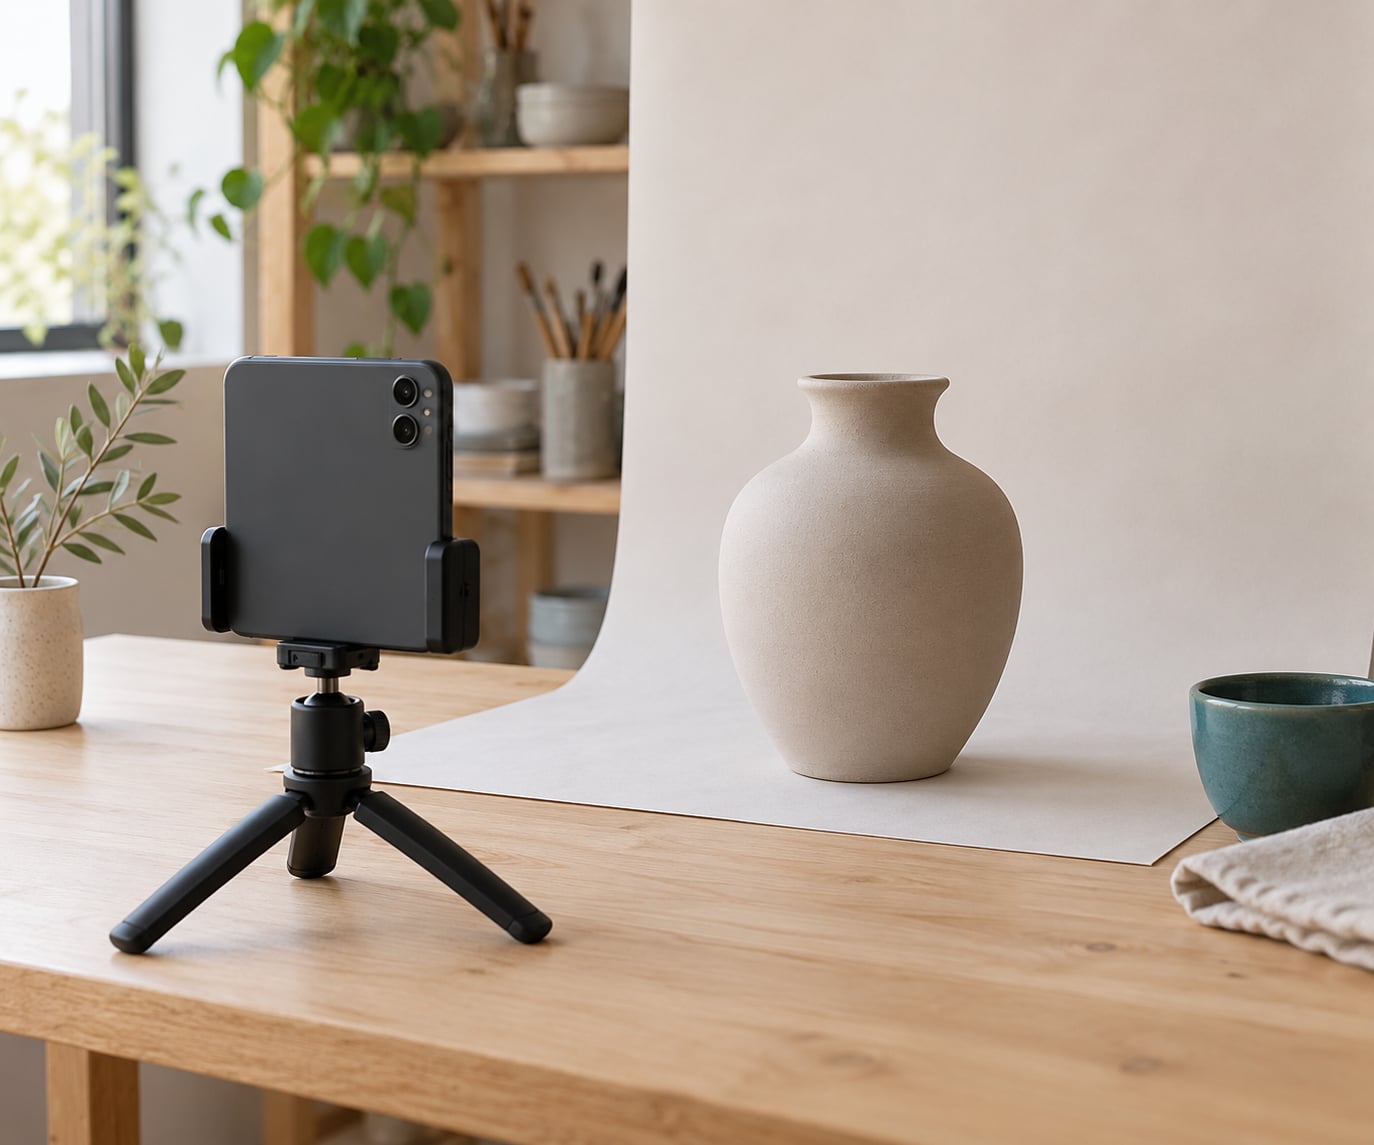
To use iPhone LiDAR for 3D capture, you need a Pro or Pro Max iPhone from the 12 Pro generation onward, a scanning app that reads the depth sensor, and about ten minutes of careful movement around one object. The sensor itself measures distance by timing infrared light pulses, then the app fuses those depth readings with your camera frames and the phone’s motion data into a textured mesh. Most first captures take five minutes; the cleanup is where the real time goes.
What follows is the workflow I use on the workbench, tested on objects from clay pots to plastic machine housings. Menu labels shift between app versions, so I’ll name the buttons as they currently appear in Polycam and note where other apps label things differently.
Table of Contents
- What You Need to Use iPhone LiDAR for 3D Capture
- Step-by-Step
- Check iPhone LiDAR for 3D Capture Compatibility
- Prepare the Object and Scanning Space
- Start an Object Scan in Polycam
- Move Around the Object Slowly
- Review and Clean the 3D Model
- Add Texture and Real-World Scale
- Export the Model for 3D Printing or Design
- Verify the Scan in Another App
- Common Mistakes
- Frequently Asked Questions
- Do I need an iPhone with LiDAR to make a 3D capture?
- How accurate is iPhone LiDAR for 3D printing?
- Can Polycam scan shiny, transparent, or reflective objects?
- Can I use an iPhone LiDAR scan commercially?
- When is a professional 3D scanner better than an iPhone?
- Conclusion
What You Need to Use iPhone LiDAR for 3D Capture
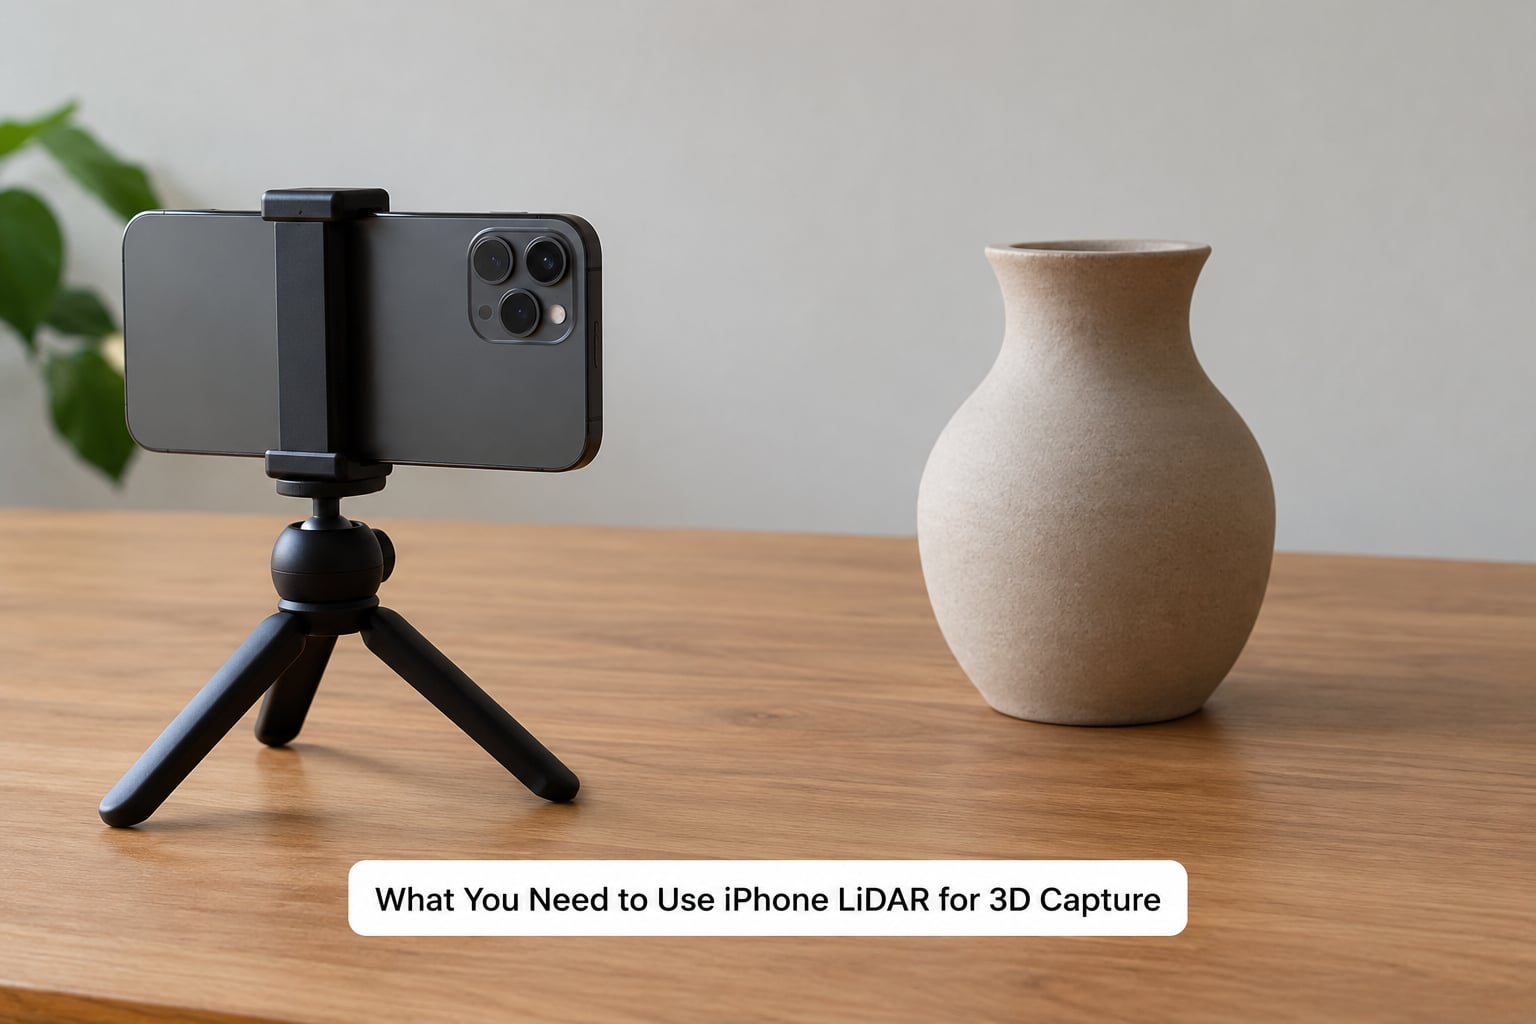
You need hardware first. The rear LiDAR scanner appeared on the iPhone 12 Pro and stayed on every Pro and Pro Max model since, including the 11-inch and 13-inch iPad Pro. Standard and Plus models without the Pro designation do not have it.
On the software side, this guide assumes iOS 17 or later and a current build of Polycam. Polycam is one of the more widely recommended scanning apps on scanning forums, alongside 3D Scanner App, Scaniverse and KIRI Engine, and it handles the full path from capture to export without a subscription for the basics.
Physically, have these on hand:
- The iPhone, charged above halfway so a ten-minute scan doesn’t die mid-capture
- A stable surface to set the phone on, or a small tripod or clamp if you have one
- A plain subject: matte clay, painted wood, unglazed ceramic, textured plastic
- Optional: a soft light or a window with diffuse daylight, and a plain sheet of paper to act as a backdrop
Skip the last two if your object is matte and the room is evenly lit. I’ve scanned more objects in a bright corner of the workshop than anywhere with a studio rig.
Step-by-Step
Check iPhone LiDAR for 3D Capture Compatibility
Confirm the sensor before you waste a session. Open Settings, then General, then About, and look for the model identifier near the bottom. Anything ending in Pro or Pro Max from the 12 generation onward qualifies.
You can also check from the hardware side. Open the stock Camera app, switch to Portrait mode, and point at a person. Devices with LiDAR and a Pro camera also offer a depth map toggle in Portrait captures, which is a quick visual confirmation that ARKit has a ToF sensor to work with.
Keep iOS updated, then open Polycam. When the app detects the sensor, the capture screen shows a LiDAR or Auto depth option instead of camera-only capture. If that option never appears, the app is falling back to photogrammetry, which produces a usable but noticeably softer model.
Prepare the Object and Scanning Space
Pick something small and rigid. A fist-sized object you can reach all the way around in about forty seconds scans far better than a wide machine housing, because you can hold the phone close and keep the subject filling the frame.
Matte and slightly textured surfaces win. Glossy plastic, chrome and glass bounce the infrared pulse back unpredictably, and forum threads about failed scans almost always trace back to reflective or transparent material.
Remove anything loose, including cables and a stand the object rests on. Then clear the area you’ll walk through. Shuffling into a table edge halfway around is the most common way captures get ruined.
Start an Object Scan in Polycam
Open Polycam and tap Scan. From the mode selector, choose Object rather than Room or Freeform, which suits spatial or open-scene capture. Object mode builds a single centered mesh, which is what you want for a part or a sculpture.
Set the depth source to LiDAR, or leave it on Auto if you’d rather the app decide based on lighting. Some builds expose a quality selector with low, medium and high settings; high gives the densest mesh and the longest processing time.
Tap the capture button to start. Leave iOS alone during the scan — switching apps, taking a notification, or plugging in a charger interrupts the sensor fusion and usually forces a restart.
Move Around the Object Slowly
Sweep the phone in one continuous arc, about forty to sixty centimeters from the subject, turning until you have seen every side and slightly underneath. Then come back around the way you came.
The second pass matters. Each viewpoint you skip leaves a region the reconstruction has to guess at, and guessed geometry is where the holes and stretched surfaces come from. Small overlapping steps beat big ones, because heavy overlap gives the solver more shared features to match.
Watch the on-screen indicators. Gaps in the accumulating preview point at missing geometry, a lost tracking warning means you moved too fast or too far, and a preview that stops filling in usually means the subject is too far away to add detail. Stop when the shape stops improving, not when the counter hits a number.
Review and Clean the 3D Model
Spin the finished mesh all the way around before exporting. If you only look at the front, you’ll miss that the back is missing entirely.
Localized problems are cheap to fix. A patch of noise or a small bulge usually means you can delete that region and rescan just the gap, which takes a fraction of a full capture. Large holes across a whole face mean the move was too fast in that section, and the honest fix is another pass.
Trim the floor and any support surface out of the model before it goes anywhere. Floor geometry is the single most common reason an otherwise good object scan fails in a slicer, because it creates an open, unprintable shell. Remove stray floating fragments too; they’re harmless in a preview but they multiply your triangle count.
Finally, simplify if the mesh is far denser than the job needs. A sculpture for viewing can carry a million triangles. A part you’re about to print does not, and cutting the count makes it slice faster.
Add Texture and Real-World Scale
Polycam captures color automatically during the same pass, so you usually don’t need a separate texture step. If the color looks washed out or patchy, re-shoot with flatter, more even lighting rather than editing it afterwards.
Texture and material controls sit alongside the export options, where you can choose between the captured color and a uniform material. Keep the real color if the mesh might go into AR or a game engine, and switch to plain material if the destination is a slicer, where texture does nothing.
Scale is the part people skip and regret. LiDAR depth is metric, so measurements are close by default, but confirm it before you cut material. Measure one dimension on your real object with calipers, note the same dimension in the app’s measurement tool, and compare. If they disagree, set scale using the known reference and re-verify against a second, different dimension.
Photogrammetry fusion also drifts over long captures, and room-scale scans drift the most. If your model came out of a ten-minute walk, check it against two references rather than one.
Export the Model for 3D Printing or Design
Pick the format by destination, not by habit. OBJ carries color and is a good default for viewing and for 3D printing with color. GLB is the compact, self-contained choice for AR previews and web or game-engine work. STL is geometry only, with no color, and remains the most widely accepted input for slicers. PLY is the point-cloud and mesh format most inspection and alignment tools expect.
For fabrication, the mesh has to be watertight, meaning a closed surface with no gaps. Consumer LiDAR output rarely is on the first pass, so plan to run repair. Close holes, fix normals so they all point outward, and check for self-intersections before importing into a slicer or CAD tool.
Blender handles every one of these formats and is the right first stop for cleanup and retopology. MeshLab is lighter and quicker for hole filling and simplification. If you are going straight to a printer, your slicer’s own repair function catches small defects before the first attempt.
Verify the Scan in Another App
Export, then reopen the file somewhere else. This catches export problems while they’re still cheap, and it stops you treating a broken file as a broken scan.
Rotate it from several angles and confirm the dimensions against your references. Then flip it upside down. Inverted, a watertight solid looks solid and an open shell shows you its inside surfaces immediately — a faster test than counting edges by hand.
Load it into MeshLab or straight into your slicer and run the repair check. Only when the mesh passes that check should you call the capture print-ready.
Common Mistakes
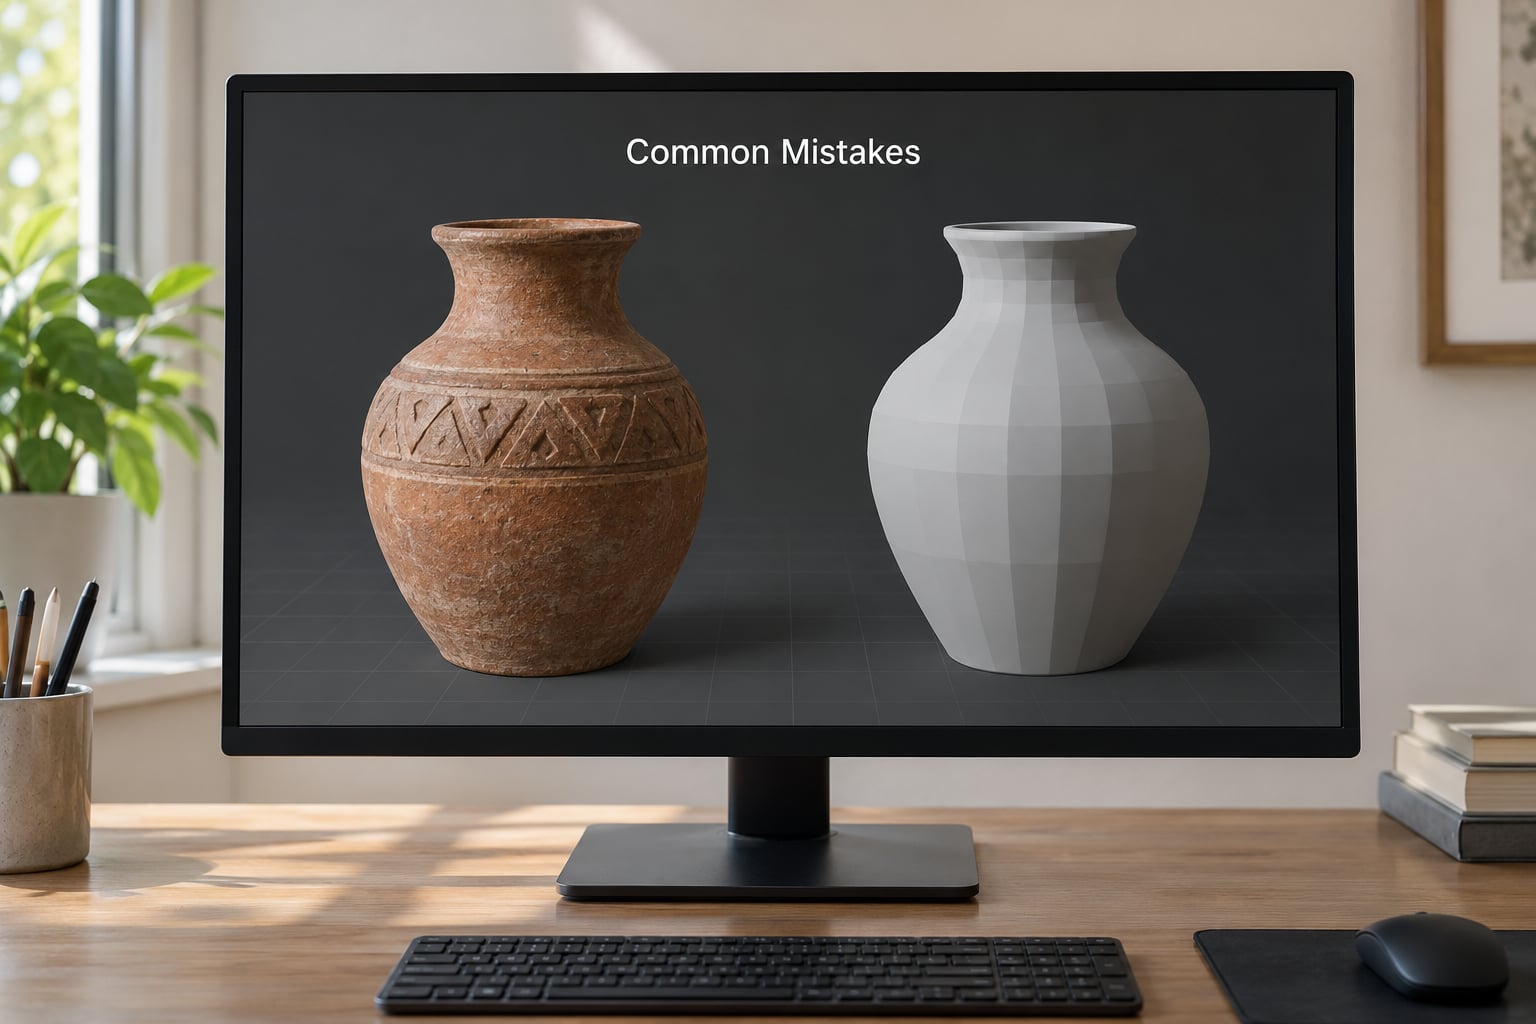
Holes and missing faces mean insufficient coverage. Overlap your viewpoints more, move slower, and get closer rather than trying to cover more ground per pass.
Stretched, smeared surfaces mean the tracking lost its grip, usually after a fast move or a low-texture surface like a matte white wall. Slow down and give the object something to track, such as a lightly textured backdrop.
A missing underside is normal when you never tilt the phone below the object’s base. Add a short low pass, and if the object sits flat on a table you won’t see the base at all — lift it on a small stand or accept that you scanned the visible portion.
Streaked or smeared color comes from motion blur in the texture frames, not from the depth sensor. Hold steadier, raise your shutter expectations by giving the scene more light, and don’t scan in a dim room hoping the sensor will compensate.
Wrong scale traces back to unverified measurement. Set scale against a measured reference and confirm with a second dimension.
Floating specks and fragments appear when you capture a cluttered background. Clear the area behind the object before you start.
A mesh that doesn’t sit flat in the slicer is almost always carrying the floor or table with it. Trim it out before importing rather than fighting it afterward.
For the next capture, do three things: pick a smaller and matte subject, move more slowly, and finish each pass before starting the next. Those three habits fix most of the problems listed above before they appear.
Frequently Asked Questions
Do I need an iPhone with LiDAR to make a 3D capture?
No, but you will get a worse result without it. iPhones without the Pro rear LiDAR fall back to photogrammetry, which estimates depth from many camera views and needs good lighting, a textured subject and a slow circular move. That method can produce a decent model, but it needs more practice and produces thinner, noisier geometry. If you have access to a Pro model from the 12 Pro generation onward, use it.
How accurate is iPhone LiDAR for 3D printing?
Expect centimeter-level working accuracy rather than metrology-grade numbers. The depth sensor gives metric distances, so small objects usually measure within a few millimeters under good conditions, and accuracy degrades with distance, surface finish and capture length. For a hobby print scaled to fit a build plate, that is usually fine. For engineering tolerances or billing a client by measured dimensions, verify against a physical reference before you commit.
Can Polycam scan shiny, transparent, or reflective objects?
Poorly. Chrome, mirrors, glass and gloss-finished plastic reflect the infrared pulse in ways the sensor cannot resolve cleanly, and the result is usually holes or smeared geometry. Transparent material is worse, because the depth reading passes straight through and reports the wall behind the object. The practical workaround is to cover the surface with removable matte tape or a matte spray coating, then scan the coating. Deep gloss finishes can often be improved with more diffuse, even lighting.
Can I use an iPhone LiDAR scan commercially?
Usually yes, but the terms come from the scanning app, not from Apple. Most scanning apps grant you rights to the output you create, and some distinguish personal from commercial use in their subscription tiers. Before you scan a client’s space or an unreleased product, read the app’s terms and check whether it processes captures in the cloud or entirely on the device. On-device processing keeps your scans and client images off the vendor’s servers.
When is a professional 3D scanner better than an iPhone?
A dedicated scanner wins when you need guaranteed accuracy, absolute dimensions you can defend, or geometry with no color bias from lighting. A terrestrial laser scanner or a structured-light unit gives you the tolerances and repeatability that a phone cannot. An iPhone is the faster, cheaper first pass: it is excellent for visualization, AR, reference measurement and hobby printing. Many professionals use the phone for exploration and a dedicated scanner for the deliverable.
Conclusion
Start with the boring parts. Update iOS, confirm Settings shows a Pro model from the 12 Pro generation or later, install Polycam and check that it offers LiDAR capture. Then run one controlled practice capture of a small matte object, keep it short, and review the result before attempting anything detailed.
Once that first model comes back clean, the workflow stops being a mystery and becomes routine: slow overlapping passes, verified scale, a trim step, and a file you check in a second app before printing.