Variable layer height lets your slicer print thin layers over curves and thick layers over flat walls, so you stop paying for tiny layers on geometry that never needed them. Turn it on from the Quality tab of Orca Slicer or Bambu Studio, the Quality settings in Cura, or the Variable Layer Height tool in PrusaSlicer, then slice. It takes about ten minutes to set up and most prints finish noticeably faster.
The idea is simple. A uniform print forces one layer height on everything, so a sphere ends up either slow and smooth or fast and stepped. Adaptive slicing looks at the slope of each surface and picks a thickness to match it.
Table of Contents
- What You Need Before You Start
- How to Use Variable Layer Height, Step by Step
- Step 1: Set a base layer height the model can live with
- Step 2: Turn on adaptive layer height in your slicer
- Step 3: Set the quality and speed slider
- Step 4: Paint layer height by hand where the model needs it
- Step 5: Smooth the transitions between heights
- Step 6: Slice and judge the result in the preview
- Common Mistakes and How to Fix Them
- Frequently Asked Questions
- What is variable layer height in 3D printing?
- Is variable layer height suitable for beginners?
- Does variable layer height make printing faster?
- What is the difference between variable and adaptive layer height?
- Can variable layer height cause weak or rough prints?
- Which slicer setting should I use for a test print?
What You Need Before You Start
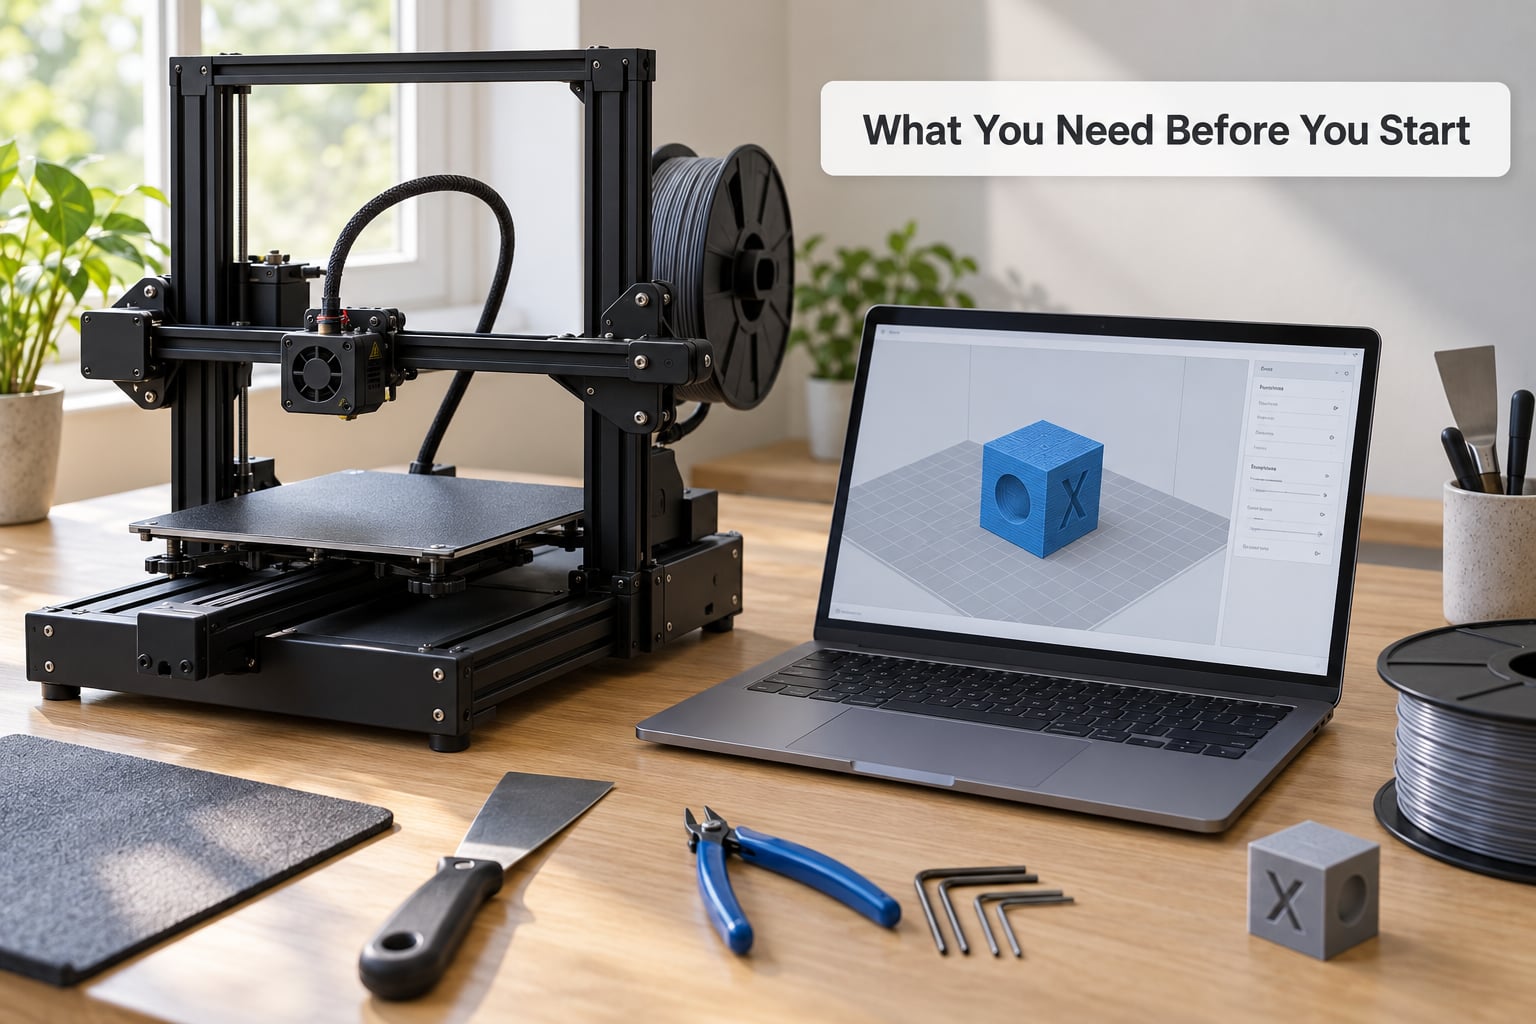
You need an FDM printer you already know how to operate and a slicer that supports the feature. Bambu Studio, OrcaSlicer and PrusaSlicer all handle it. Cura can do it too, though with fewer controls.
Pick a small test model before touching a print you care about. A sphere or a vase is ideal because it has one continuous curve and no tiny fragile details to lose. Calibration cubes hide the effect entirely, since every face is vertical.
Know your printer’s normal layer height range first. That range is set by your nozzle, not by the software, and it stays the same whether layers vary or not.
How to Use Variable Layer Height, Step by Step
Step 1: Set a base layer height the model can live with
Open your usual quality profile and leave the base layer height where it is. Most people run 0.15mm or 0.2mm with a 0.4mm nozzle and that becomes the ceiling that adaptive mode works below.
Start conservative. If your profile is already at the fastest layer height the nozzle can push, adaptive has nothing to speed up.
Step 2: Turn on adaptive layer height in your slicer
In Orca Slicer and Bambu Studio, open the right-hand settings panel, go to the Quality tab and tick Adaptive layer height. Both slicers are built on the same engine, so the labels match exactly.
In Cura, go to Settings, then Print Settings, then scroll down to the Quality section and tick Adaptive Layers. If you do not see it, turn on Expert mode from the configuration dropdown at the top and reopen the settings.
In PrusaSlicer, open the Variable Layer Height tool from the toolbar. Its panel appears along the right edge with a colour-coded bar showing the layer height across the model.
Step 3: Set the quality and speed slider
Next to the Adaptive checkbox sits a slider labelled Quality and Speed. It runs from roughly -2 on the left to +5 on the right in Bambu Studio and Orca. Negative values go thin, positive values go thick, zero sits close to your base setting.
Most people land somewhere around 0 or +1. That is a good default for shapes with a mix of walls and visible curves, and it is where I leave it unless a specific part needs more speed.
Step 4: Paint layer height by hand where the model needs it
Automatic mode covers maybe 90 percent of what you need. The remaining 10 percent is where the manual brush earns its keep.
Hover over the model and a yellow highlight follows your cursor. Left click to add detail, which pushes layer height down toward the minimum. Right click to remove detail and let layers grow thicker. Shift plus left click resets a spot, and the mouse wheel changes the brush size, which matters a lot on a small figurine head.
Watch the colour coding as you paint. Green means thin layers and more detail, amber means thicker and faster. PrusaSlicer uses the same scheme, and community users on the Bambu Lab forum describe the workflow almost identically, so what you learn in one slicer transfers to the others.
Step 5: Smooth the transitions between heights
Raw adaptive mode switches layer heights abruptly, and that seam shows up as a visible ring partway up a sphere. Click Smooth to blend the changes over a wider radius. In PrusaSlicer this is a Smooth checkbox with a radius value, and you can press it more than once for a gentler transition.
There is also a Keep Min option. It protects the thinnest regions from being smoothed away, so the detail you asked for survives the blend. Turn it on when you have painted detail manually, otherwise smooth freely.
Step 6: Slice and judge the result in the preview
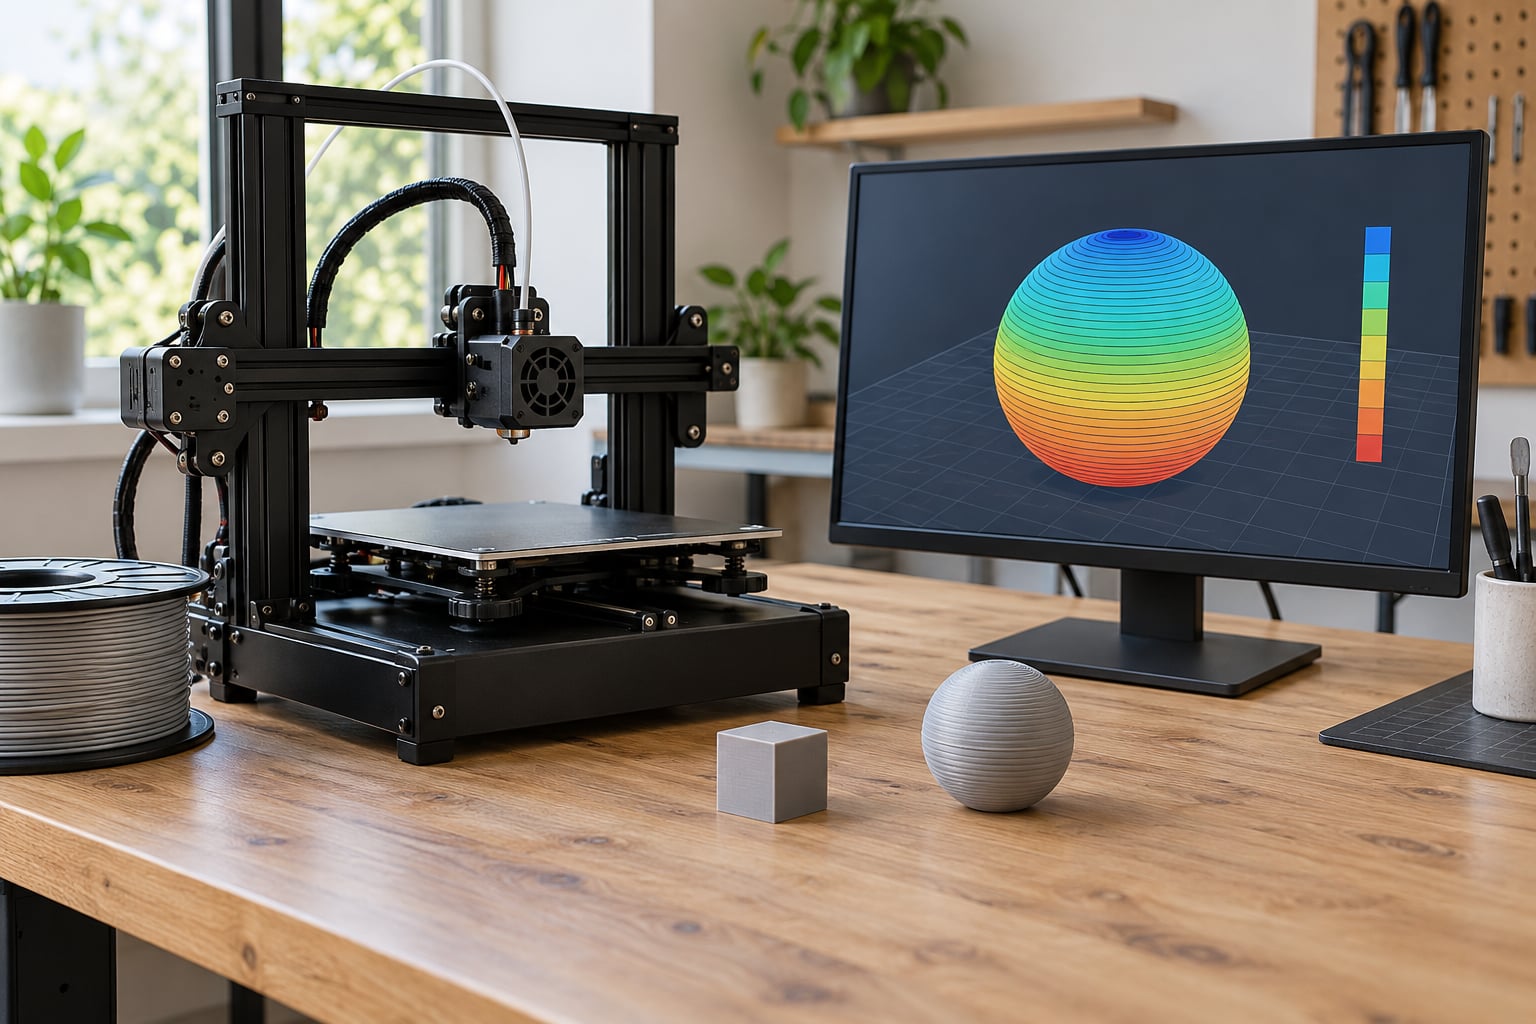
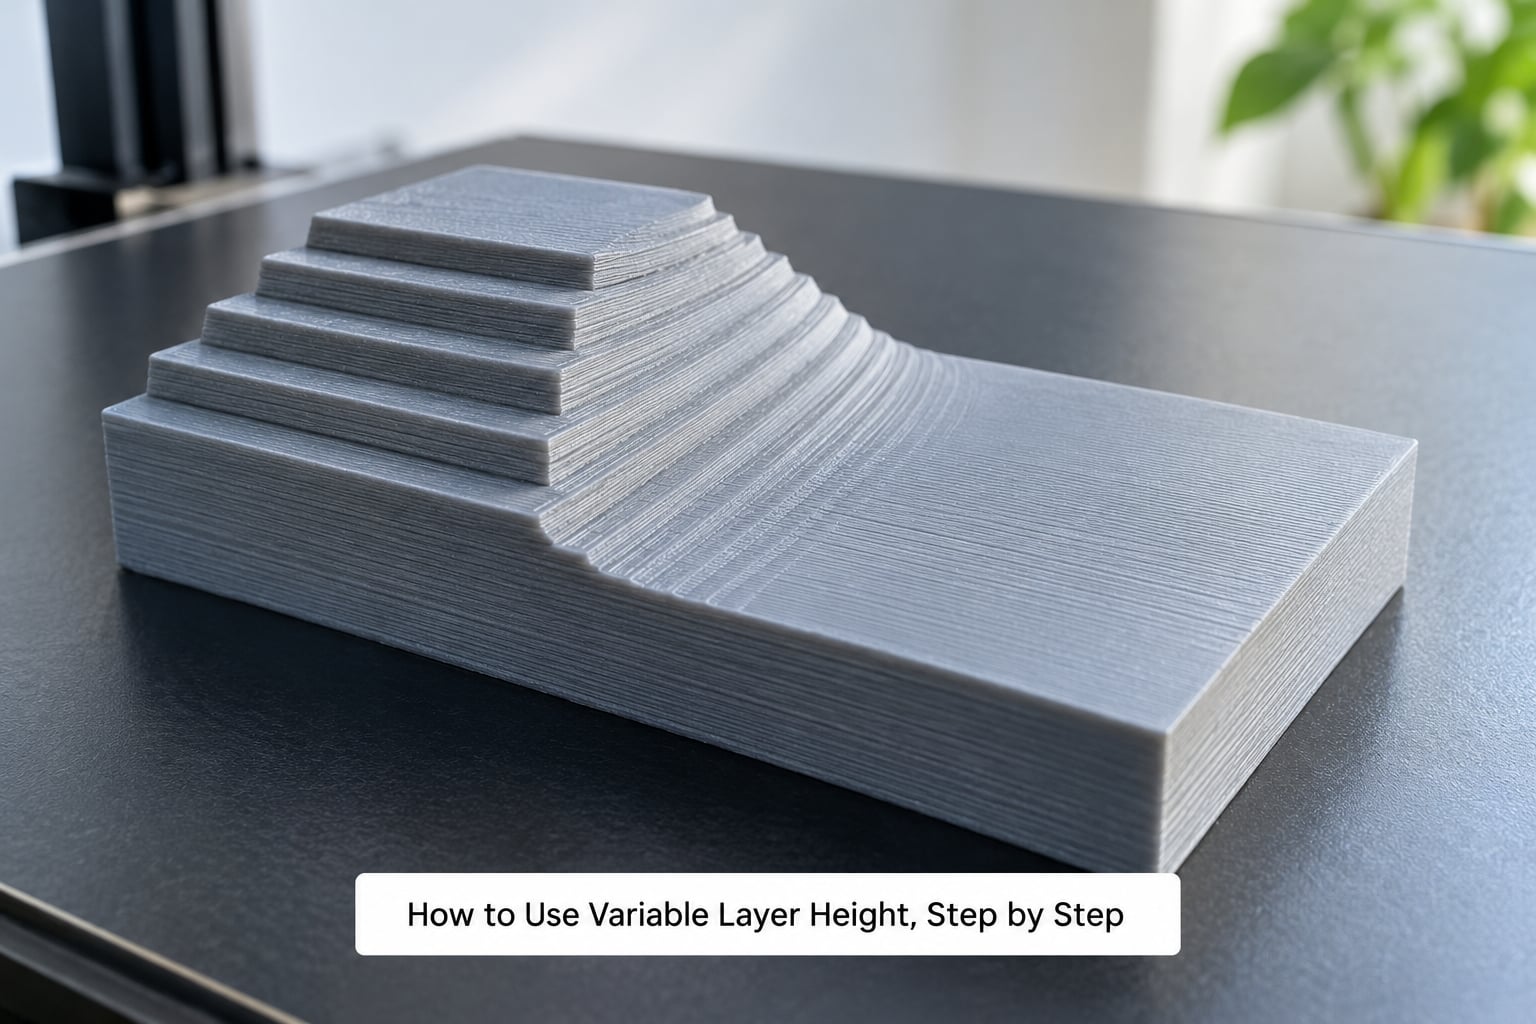
Slice with the top-down or colour-coded contour view open and watch where the layers change. On a good sphere you will see thin layers concentrated near the top and bottom where the surface turns horizontal, and thicker layers along the vertical sides.
Check the time estimate too. Users comparing a sphere printed both ways regularly report savings in the neighbourhood of 20 to 30 percent, which is the whole reason to bother.
Common Mistakes and How to Fix Them
A visible ring partway up a curve. This is an unsmoothed transition. Click Smooth and increase the radius until the ring disappears in the preview. Clicking it a second time helps more than cranking the radius.
Weak or delaminating layers. Thinner layers carry less material and less heat into each other. If a part is doing real work, hold the minimum layer height at 0.12mm or higher and let the slider range shrink accordingly.
Walls look over-squished or the surface feels ridged. You probably pushed the slider too far positive. Positive values trade visible quality for speed, and past about +3 the results stop being acceptable on anything people look at closely.
The message that variable layer height is not supported with organic supports. Orca Slicer and Bambu Studio block adaptive layers when organic tree supports are enabled, because the support tips need consistent layer thickness to attach properly. Switch support style to Normal, Grid or Tree, or turn off the support altogether for models that do not need it.
Your painted changes vanished after re-slicing. This one catches people constantly. Manual layer height edits are stored per model in the current session and are easily reset by the Reset button in the variable layer height panel. Re-paint after any big profile change, and save your project file once the look is right.
Multi-colour prints fail at the prime tower. Objects with different layer height settings trigger priming on nearly every layer, and a purge tower that thick can jam or leak. For AMS or multi-material prints, keep every object on the same base layer height and skip adaptive layers.
The first layer came out wrong. Adaptive layer height never touches the first layer, so a bad first layer means the problem sits elsewhere. Check nozzle height, bed level and the first layer height in your filament profile rather than chasing the adaptive settings.
You want to undo everything. Open the variable layer height panel and click Reset, then untick the adaptive checkbox. In Orca Slicer that returns the model to a uniform layer height immediately.
Frequently Asked Questions
What is variable layer height in 3D printing?
It is a slicer feature that changes layer thickness across a model instead of using one fixed height everywhere. Thin layers go on curves and slopes to smooth the surface, and thick layers go on flat vertical walls to save time. The slicer reads the surface angle at each point and assigns a height to match.
Is variable layer height suitable for beginners?
Yes, once your printer is already dialled in. The setting is a checkbox plus one slider, and leaving it near the default does most of the work for you. The one thing to respect is your nozzle’s layer height limits. Keep the minimum at or above 0.08mm on a 0.4mm nozzle and you will not get weak or gappy prints.
Does variable layer height make printing faster?
Usually, noticeably. You are no longer paying to print 0.12mm layers through the vertical sides of a shape that would be perfectly fine at 0.28mm. Users testing spheres report roughly 20 to 30 percent shorter print times. The saving grows on round or organic shapes and shrinks on boxy parts that are mostly walls already.
What is the difference between variable and adaptive layer height?
They are the same feature with different names. Adaptive is how Bambu Studio and Orca Slicer label it, and variable layer height is the older PrusaSlicer and Cura wording. Curvature-driven automatic assignment is sometimes called adaptive, while variable layer height describes the outcome: heights that vary across the model.
Can variable layer height cause weak or rough prints?
It can do both, and the causes are different. Weak layers come from the slider sitting too far negative and dropping below what your nozzle can lay down cleanly. Rough surfaces come from too few smoothing passes, leaving visible transitions where heights change. Keep the minimum around 0.08mm on a 0.4mm nozzle and click Smooth before slicing.
Which slicer setting should I use for a test print?
Use your standard quality profile with the base layer height you already trust, then enable adaptive layers and leave the quality and speed slider at zero. Slice a sphere in the colour-coded preview view. If the thin zones land on the top and bottom curves and the ring seam disappears after Smooth, the setting is working.
Start by slicing a sphere with adaptive layers on and the slider at zero. If the preview looks right, keep it in every profile you own and only touch the slider when a specific part needs a different balance.