To seal 3D prints for outdoor use, you clean and dry the part, apply a thin first coat of a filler primer or low-viscosity epoxy that wicks into the layer lines, sand lightly, then add two or three thin coats of a UV-resistant topcoat and let each cure fully. The material decides the recipe: PLA needs a barrier against water and heat, ASA and PETG need far less.
I put a coated planter through a summer of rain, sun and temperature swings and an uncoated one from the same batch next to it. The uncoated part crazed and let water along the layer seam within weeks. The coated one faded evenly but never leaked or went soft.
Before you buy anything, know this one thing: there is no universal outdoor sealer. A coating that bonds beautifully to ABS can delaminate from PLA, and a rigid epoxy on a flexing bracket will crack where a flexible polyurethane would not. Print settings matter too, since a denser print has far fewer leaks for the coating to find.
Budget an hour for a small ornament and most of a weekend for a large planter. The drying and curing time is what eats the clock, not the application.
Table of Contents
- What You Need to Seal 3D Prints for Outdoor Use
- How to Seal 3D Prints for Outdoor Use: Step-by-Step
- 1. Identify the print material and how much exposure it takes
- 2. Clean, dry and repair the surface
- 3. Pick a primer and finish that match the plastic
- 4. Apply a thin first coat
- 5. Cure, sand lightly and repeat for a smooth finish
- 6. Apply the final UV and water-resistant topcoat
- 7. Cure fully, inspect and run an outdoor exposure test
- Common Mistakes That Ruin an Outdoor Seal
- Frequently Asked Questions
- What is the best sealer for PLA 3D prints used outdoors?
- Can you use a clear epoxy coating on a 3D print?
- Do all 3D prints need a protective coating for outdoor use?
- How do I repair a sealed 3D print without ruining the finish?
- Does polyurethane or a UV-resistant clear coat stop PLA from fading and cracking?
- Conclusion
What You Need to Seal 3D Prints for Outdoor Use
Start with surface prep. Isopropyl alcohol at 90% or higher and a lint-free cloth remove the oils that keep coatings from bonding. A plastic-safe filler primer handles the layer lines; ordinary spray primer works on ABS and ASA but can craze PLA, so check compatibility before spraying.
- Prep and repair: isopropyl alcohol, plastic-safe filler primer, 220 to 400 grit sandpaper, a hobby knife, and spackle or plastic epoxy for gouges.
- Coatings: a UV-resistant acrylic clear coat for fast jobs, a two-part epoxy resin for thick watertight parts, an exterior polyurethane varnish for flexible parts, or a bonding primer plus exterior acrylic paint if you want colour.
- Application: foam brush for crevices, chip brush for edges, and spray equipment with a mask if you want thin, even coats.
- Safety: nitrile gloves, a particulate respirator for sanding, eye protection, and a ventilation fan or fume extraction. Epoxy and spray solvents are worth moving outdoors or into a garage.
- Drying and curing: a drying box or food dehydrator for hygroscopic filaments, a heat mat to warm the part and pop bubbles, and a dust cover for the curing spot.
- Optional: a filament dryer for PETG, nylon and TPU, acetone and a vapour smoothing jar for ABS and ASA only, and a small syringe or pour spout for low-viscosity epoxy.
That is the full kit. If you only have the alcohol, a foam brush and a can of exterior clear coat, you can still get a working result on ASA or PETG.
How to Seal 3D Prints for Outdoor Use: Step-by-Step
The workflow below runs in order because each step depends on the last. Skipping to the topcoat on a dirty, damp print is the single most common reason a seal fails in month two.
1. Identify the print material and how much exposure it takes
PLA is the fussiest. It softens near 60 C, which a parked car in summer reaches easily, and it photodegrades fast, going brittle and fading. It needs a coating that blocks water and sun, and it needs re-coating on a schedule.
PETG handles heat and impact far better, absorbs a small amount of moisture over time, and yellows under long UV exposure rather than crumbling. ABS and ASA behave similarly mechanically, and ASA is the one made for sun because it resists UV without the yellowing ABS shows.
TPU is flexible, which means rigid epoxy will crack on it. Nylon and polypropylene are hygroscopic or chemically inert enough that coatings adhere poorly without a primer. Resin prints are a different animal: fully cured MSLA parts are smooth and need only a UV-stable topcoat.
Then decide the job. Decorative and sheltered parts need one good coat. Handled parts, planters, signage and electronics enclosures need a filled, cured, multi-coat build. A part holding water under pressure needs epoxy plus a pressure test.
2. Clean, dry and repair the surface
Wipe the part with 90% or higher isopropyl alcohol and let it dry fully. Any remaining oil or plasticizer becomes a bond breaker and the coating peels later in sheets.
For moisture-sensitive material, dry the print before it goes near a coating. A drying box or food dehydrator at 45 to 55 C for four to six hours handles PETG, nylon and TPU. Trapped moisture under a coating comes out later as bubbles or a dull haze.
Fill gouges and open seams with plastic filler, sand flush, then sand the whole part with 220 grit and finish at 400. Wipe again with alcohol and let it dry. A part that is warm to the touch traps solvent in the coating, so wait until it is at room temperature.
3. Pick a primer and finish that match the plastic
Primer decides whether anything else sticks. Plastic-safe filler primer fills layer lines and gives subsequent coats a uniform surface. Bonding primers are the answer when you are painting or using epoxy on a low-surface-energy plastic. Skip standard spray primer on PLA: the solvents can leave a soft, hazy, sticky-looking finish.
For the finish, match the coating to the demand.
- Acrylic clear coat spray: fastest route, thin films, easy to re-coat, good UV resistance when the label says UV-stable. Roughly 0.1 mm added per pass.
- Two-part epoxy resin: the thickest, most waterproof option and good for planters and vessels. Adds around 0.2 to 0.5 mm, so it breaks tight fits. Low-viscosity epoxy pours into layer lines.
- Exterior polyurethane varnish: stays slightly flexible, so it survives flexing parts and vibration. Slower to cure and brush marks show.
- Bonding primer plus exterior acrylic paint: the best route when the part needs a colour and the paint can double as the seal.
- Solvent smoothing: acetone vapour smoothing closes pores on ABS and ASA before coating. It has no useful effect on PLA and is not a sealant on its own.
4. Apply a thin first coat
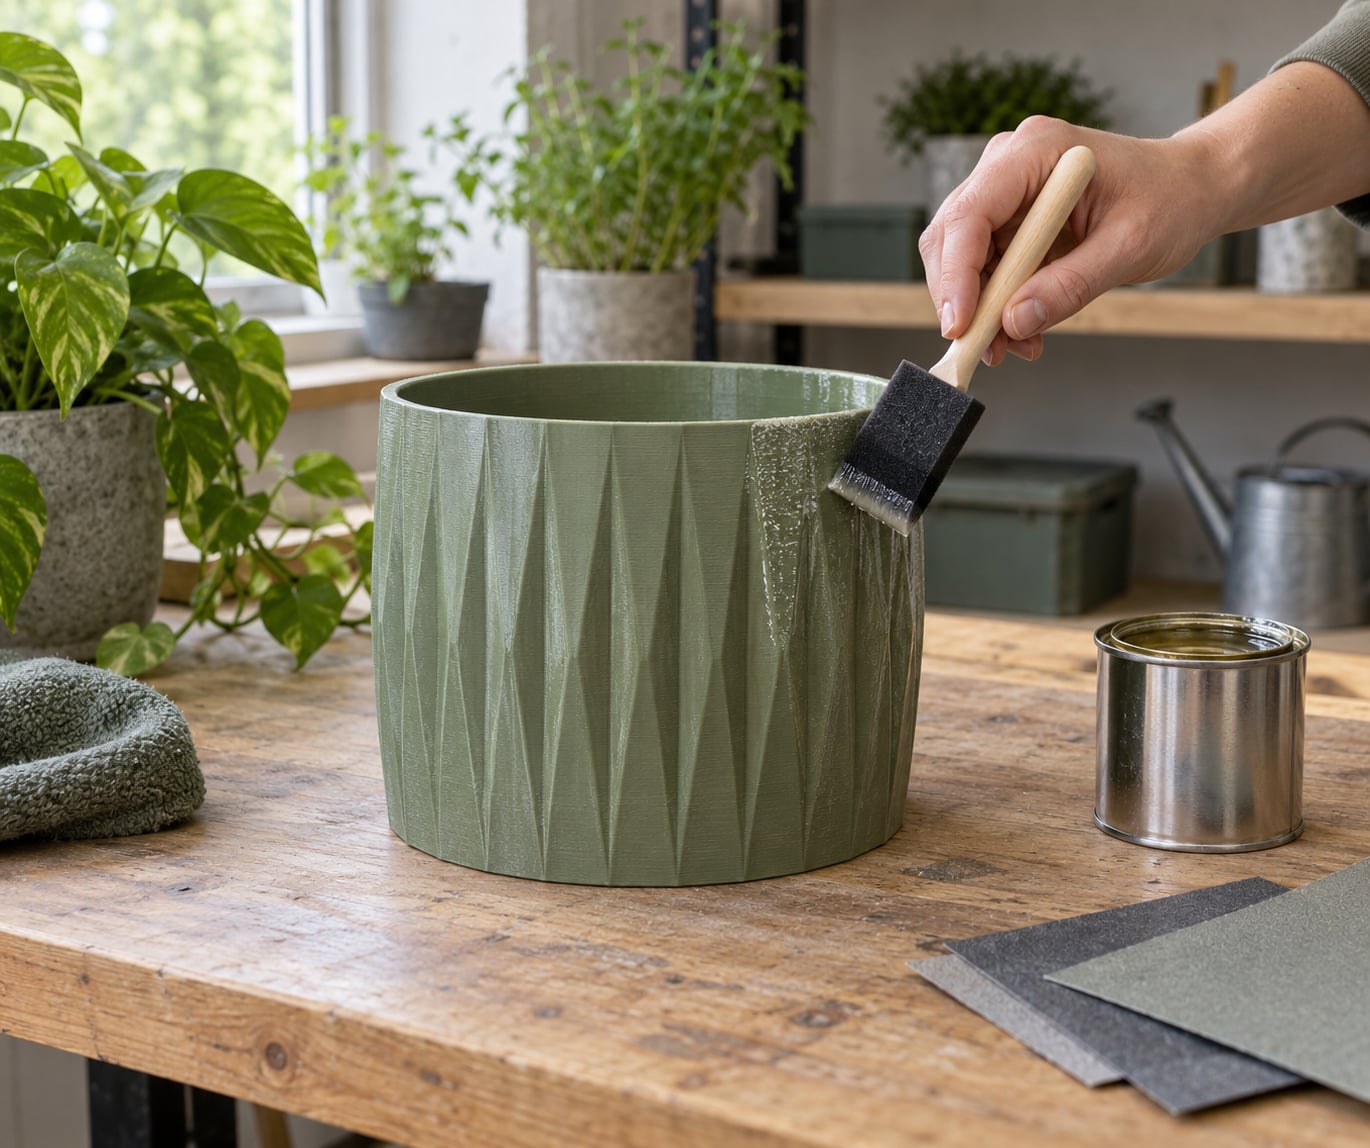
This is the fill coat, and thin is the whole point. On a Prusa forum plant pot thread, the recommended approach was low-viscosity two-part epoxy mixed at full ratio and poured in, thin enough to flow into the layer lines. Brushing it on works too, and it is easier on small parts.
Work the coating into the layer lines with a foam brush, then knock off any excess so it does not pool in corners. For spray work, hold the can 20 to 25 cm away and keep it moving; most runs and sags come from one heavy pass trying to cover a lot of ground.
Warm the part gently with a heat mat to pop bubbles, then let it cool. Thick coats trap solvent and cure soft inside, which is exactly where delamination starts later.
5. Cure, sand lightly and repeat for a smooth finish
Follow the manufacturer’s cure time. Most epoxy coatings need 24 hours before handling and up to a week before full chemical resistance, while spray clear coats dry to the touch in under an hour and harden over 24 hours. Rushing this is why coatings peel.
Once cured, sand lightly with 400 grit and wipe clean. If the layer lines still read clearly under raking light, apply a second fill coat the same way. Two thin fill coats beat one thick one every time.
Stop when the surface reads as one continuous film rather than stacked ribbons. If you want a glassy finish, keep going; if you are sealing a bracket or a planter, two fill coats are usually enough.
6. Apply the final UV and water-resistant topcoat
This is the coat that decides whether the part survives a season outside. Apply it in multiple thin layers with the flash time the can specifies, usually 15 to 20 minutes between passes. Cut in slightly on the last coat rather than flooding edges, because edge coverage is where water gets in first.
Keep a light hand on large flat faces to avoid runs, coat the inside separately with a foam brush, and treat underhangs and overhang corners as separate surfaces rather than trying to catch them in one sweep. Mask or back off electronics openings so the coating never sits on a contact or a seal face.
7. Cure fully, inspect and run an outdoor exposure test
Let the part cure in a dust-free spot for the full stated time before it touches water. Then inspect under raking light: a good seal shows continuous gloss with no pinholes, no soft patches and no lifting at edges. Run a fingernail across a hidden corner; any lifting there means the bond is weak everywhere.
Test it before you trust it. Fill the part with water and add a drop of food colouring, then check the underside and the seam line after an hour. For a full check, leave it filled for 24 hours and confirm it is dry on the outside the next morning. Parts that will see pressure need a staged pressure test rather than a guess.
Finally, park the finished part in the sun and rain where it will live, and look at it after two weeks. Water tracking, chalky patches or a lifting corner show up early when you can still fix them.
Common Mistakes That Ruin an Outdoor Seal
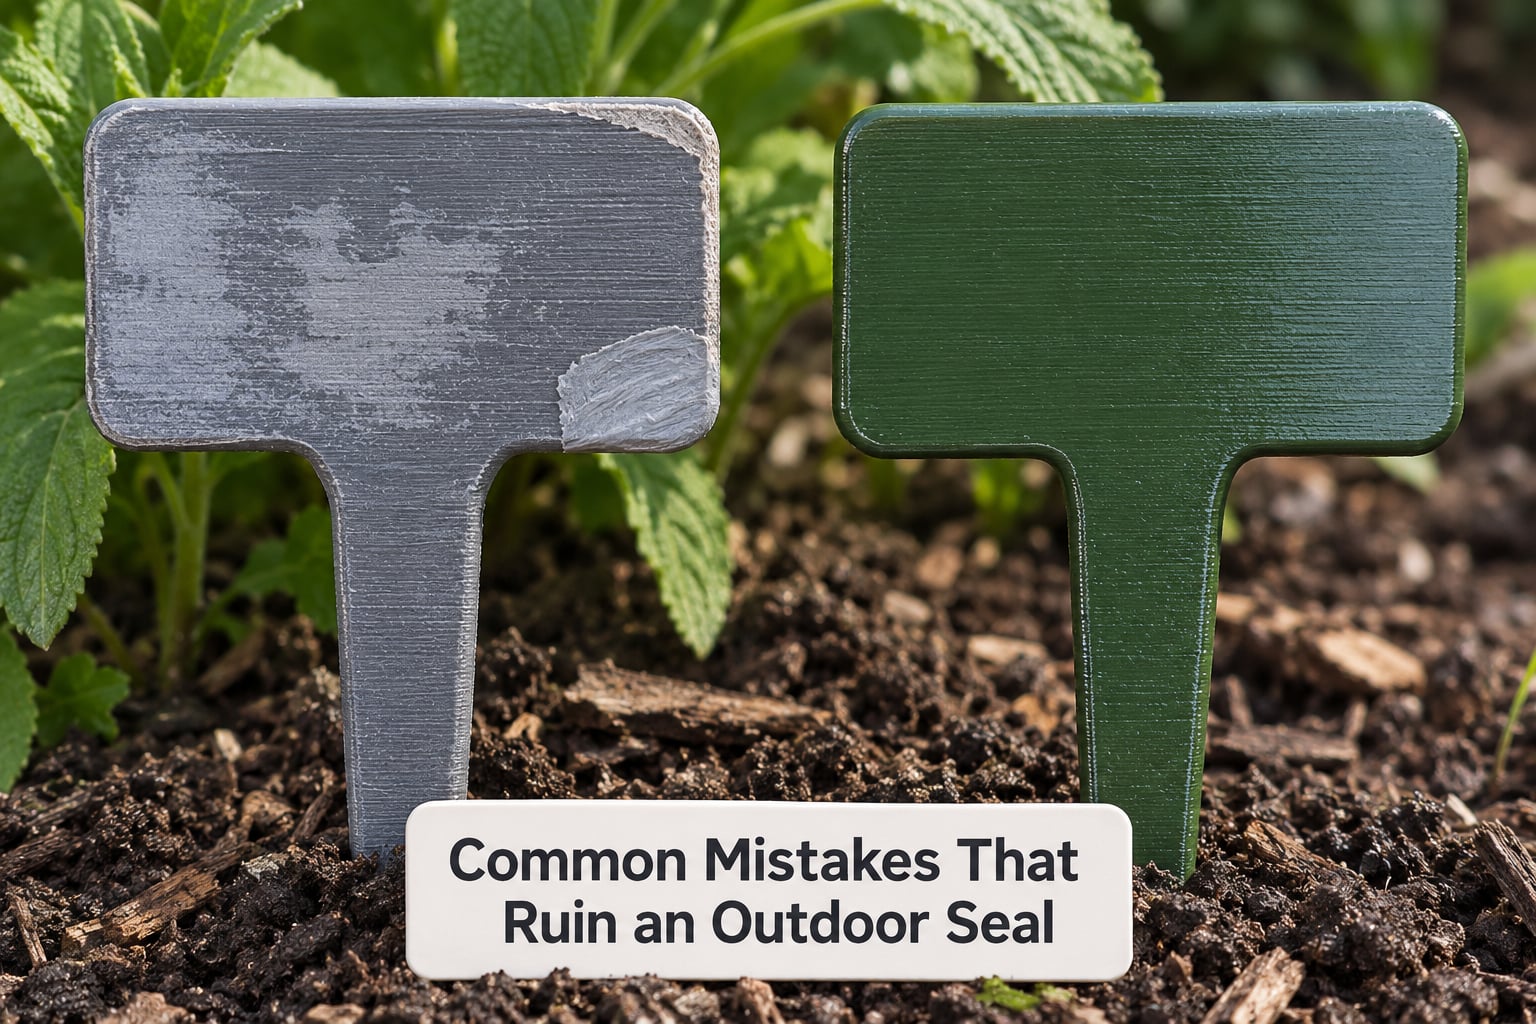
- Coating a dirty or warm part. Alcohol and a fully cooled surface first; coatings applied over oil or heat peel in sheets.
- Using a coating that does not bond to the plastic. Epoxy and polyurethane are known to delaminate from some PLA prints. Test a small hidden corner and wait the full cure.
- One thick coat instead of thin ones. Thick films trap solvent, cure soft inside and crack later.
- Under-curing before the next step. Handling a part early leaves the film soft and it wears off in the first month of use.
- Sanding through the sealer. Once you hit bare plastic, moisture gets straight in. Use 400 grit and light pressure after the fill coats only.
- Missing edges and overhangs. Water enters at the first exposed lip, often the seam or the underside of an overhang.
- Ignoring drainage. No coating beats a design that lets water drain instead of pooling. Add drip edges and drainage holes in the model.
- Expecting an ordinary clear coat to stop UV damage. If the label does not say UV-stable, it will yellow and chalk. That is when re-coating every year comes in.
- Putting a rigid epoxy on a flexing part. Cracks follow the flex. Use a flexible polyurethane or a TPU-tolerant route instead.
Frequently Asked Questions
What is the best sealer for PLA 3D prints used outdoors?
A plastic-safe filler primer followed by two or three thin coats of a UV-resistant acrylic clear coat or polyurethane varnish. Epoxy also works on PLA but needs a bonding primer and often delaminates if the print is oily or under-cured. Coat the seam and the edges, and plan on an annual touch-up.
Can you use a clear epoxy coating on a 3D print?
Yes, and for planters, vessels and anything that must hold water it is the most reliable option. Mix it at the full ratio, apply it thin so it flows into the layer lines, and give it the full cure time before handling. Clear epoxy adds roughly 0.2 to 0.5 mm, so it will not fit a tight snap-fit.
Do all 3D prints need a protective coating for outdoor use?
No. ASA and ABS are made for weather and often need only a UV-resistant clear coat for appearance and easier cleaning. PLA always needs one, since it softens near 60 C and photodegrades quickly. Parts printed dense enough to be watertight can often go uncoated in permanent shade.
How do I repair a sealed 3D print without ruining the finish?
Sand the damaged area back to sound coating, feather the edge with 400 grit, clean with isopropyl alcohol, then apply a fresh thin coat and let it cure fully. Match the product if you can, because a mismatched coating can stay tacky against the old film. A small ding is a patch job; widespread chalking means a full re-coat.
Does polyurethane or a UV-resistant clear coat stop PLA from fading and cracking?
It slows them down rather than stopping them. A UV-stable topcoat filters the radiation that breaks the polymer chains, so a coated part usually looks usable after a season where a bare one is brittle and blotchy. The coat itself will yellow or chalk eventually, which is your cue to re-coat, usually once a year.
Conclusion
To seal 3D prints for outdoor use, identify the plastic, clean and dry it, apply a compatible filler primer or bonding promoter, add thin coats that wick into the layer lines, sand lightly between them, finish with UV-resistant topcoats, cure fully, and dye-test before you deploy it. Re-coat annually for anything in full sun. And where you can, design the water out with drainage and drip edges rather than trying to seal it in.