A parked car in summer sun reaches 70-90C (158-194F) on the dashboard and higher on a sun-facing surface, while plain PLA starts to sag around 50C. So the answer to how to make 3D prints heat resistant for a car is not a coating trick: pick a polymer whose heat deflection temperature sits above the hottest spot your part will ever see, print it in a stable enclosure, then prove it with a heat soak test before you bolt it in. Anyone with a consumer FDM printer can do this in an afternoon of printing plus one oven session.
The reason PLA fails is not that it melts. It never gets that hot in a car. Filaments lose stiffness as they approach their glass transition temperature and soften well before the melt point, so a dashboard part made of PLA droops, curls and stays that way. Pick the wrong polymer and no amount of careful printing saves the part.
Table of Contents
- What You Need
- Step-by-Step: How to Make 3D Prints Heat Resistant for a Car
- 1. Identify the Heat and Load Conditions
- 2. Choose the Right Heat-Resistant Filament
- 3. Print with Stable Temperature and Layer Settings
- 4. Design the Part for Heat and Automotive Loads
- 5. Finish and Protect the Surface
- 6. Test the Finished Part Before Installing It
- Common Mistakes
- Tips
- Frequently Asked Questions
- Is PLA heat resistant enough for a car?
- Will my 3D print melt in a hot parked car?
- What is annealing for 3D prints?
- Will PETG or PLA Plus melt in a car?
- Does a heat-resistant coating make a PLA print safe?
- Can I use a 3D printed part in a safety-critical spot in my car?
What You Need
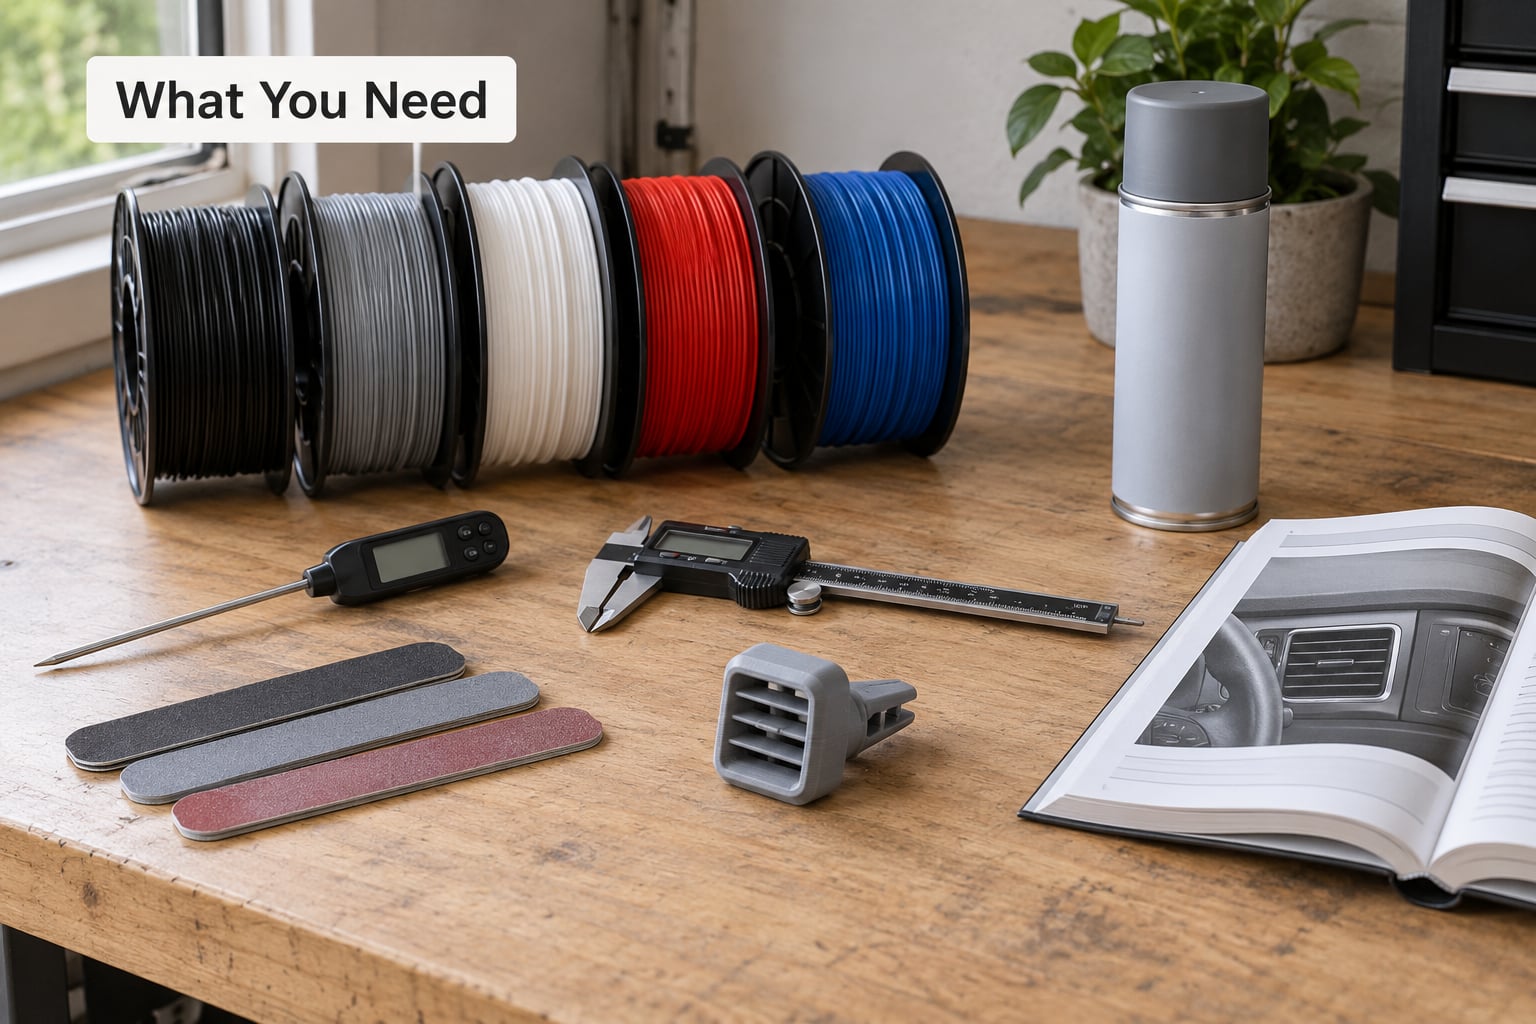
Filament first. ABS or ASA covers almost every interior job, polycarbonate and nylon cover the rest, and PEEK, PEKK or PEI/Ultem only matter if you are working near the engine bay or building a fixture.
Then hardware. An enclosed printer with a heated bed is the practical minimum for ABS and ASA, because warping, not temperature rating, is what stops most people. A bed at 100-110C, a nozzle at 240-260C and a closed chamber kill most of the lift you would otherwise fight.
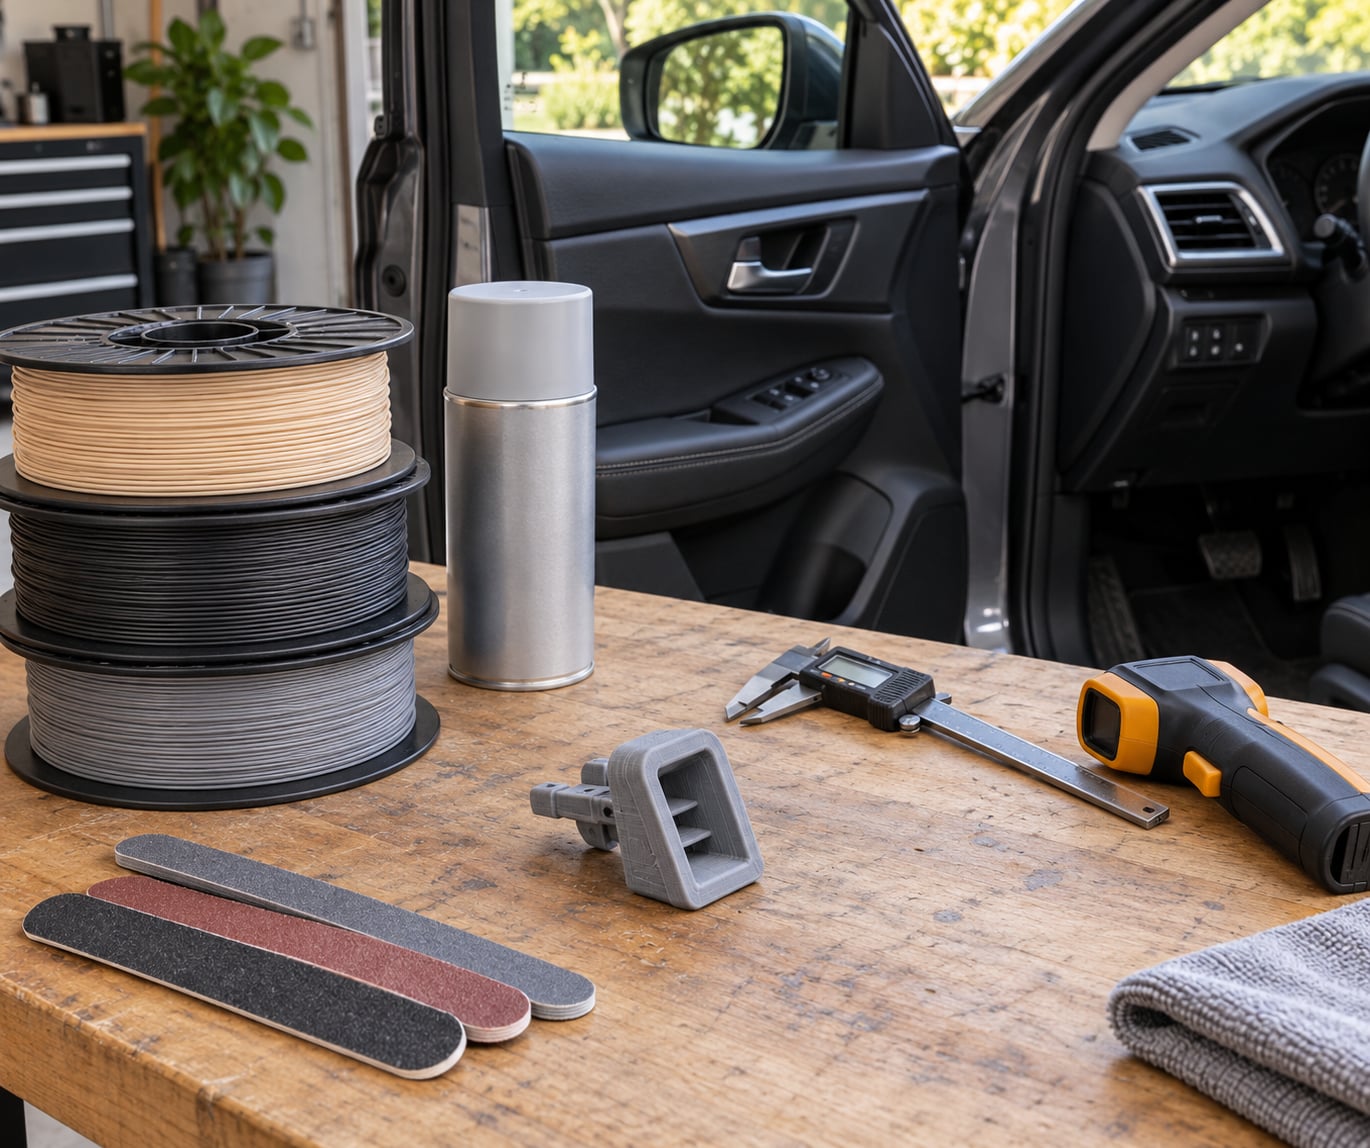
Measurement tools do more work than people expect. A cheap infrared thermometer tells you the surface temperature of your dash on a hot afternoon, and a digital caliper lets you measure a coupon before and after a heat soak. Those two tools are the difference between guessing and knowing.
You also want design software that can export an STL or 3MF with a defined wall thickness and orientation, plus surface-preparation supplies: isopropyl alcohol, sandpaper or a filler primer for the surface, and an oven or a heat gun for the test itself. Optional but useful: a high-temperature epoxy, a UV-stable automotive clear coat, and a dry box for nylon.
Step-by-Step: How to Make 3D Prints Heat Resistant for a Car
Six steps, in order. Skipping ahead to the filament choice without measuring where the part lives is the most common reason a car accessory fails in August.
1. Identify the Heat and Load Conditions
Start with where the part sits, because a door pocket and an engine bay are different problems wearing the same name. Then work out the worst case: a parked car in July, in direct sun, on a dark day, with the part carrying a phone or a 500g tool.
Measure rather than assume. Park the car, put an infrared thermometer on the surface where the part will sit, and read it after 30 minutes. Note whether it is in direct sun or shaded, and add a safety margin of about 20C on top of whatever you read.
These are typical readings for a parked car in summer, useful as a sanity check rather than a promise. Every model, colour and roof behaves differently, which is exactly why measuring beats guessing.
| Location in the car | Typical peak temperature | Notes |
|---|---|---|
| Dash top, sun-facing | 70-90C (158-194F) | Worst case for any accessory; direct sun on a dark surface |
| Windshield base / dash mount | 65-85C (149-185F) | Adhesive and plastic parts both soften here |
| Front seat cushion | 60-80C (140-176F) | Slow to cool, so parts stay warm long after the car is shaded |
| Cabin air (general) | 50-70C (122-158F) | Below the dash, in the shadow of the pillars |
| Door pocket / glovebox | 45-65C (113-149F) | Shaded, the mildest interior spot for plastics |
| Trunk or boot | 45-65C (113-149F) | Varies wildly with cargo colour and window tint |
| Engine bay, running | 100-150C+ (212-302F+) | A different tier of material entirely; assume professional engineering review |
Two more conditions matter as much as heat. Vibration from road surface shakes a bracket hundreds of times a minute, so a rigid part needs multiple walls rather than a single shell. And chemicals matter: cabin air fresheners, windshield washer fluid, engine oil and coolant will attack some polymers that handle temperature fine.
Finally, read the vehicle owner’s manual and the material guidance from the vehicle manufacturer before you pick anything. If the part touches a restraint, a pedal, steering or visibility-critical area, stop and treat it as a safety-critical job.
2. Choose the Right Heat-Resistant Filament
Match the material to the temperature you measured, not to a marketing line. Heat deflection temperature (HDT) is the number that matters, because it is the temperature at which the loaded part starts to deflect. Glass transition temperature (Tg) is the softer, laboratory number vendors quote most often, and it is always higher than what you want to rely on.
HDT also depends on the test method and the load, so compare figures from the same standard. When two datasheets disagree, the manufacturer’s technical data sheet wins over any number on a blog, including this one.
| Filament | Tg (approx.) | HDT (approx.) | Verdict inside a hot car |
|---|---|---|---|
| PLA | 55-60C | 50-60C | No. Distorts on a hot dashboard |
| PLA+ | 60-65C | 55-70C | Still no for sun-facing surfaces; marginal behind the dash |
| PETG | 75-85C | 70-80C | Door pockets and footwells only; softens on the dash |
| ABS | 100-105C | 90-95C | Yes, for most interior locations |
| ASA | 100-105C | 90-100C | Yes, and it holds up to sunlight far better than ABS |
| Polycarbonate (PC) | 145-150C | 120-130C | Yes, with a high-temperature nozzle and drying |
| Nylon | 70-80C | 70-80C | Interior only; needs a dry box or it prints stringy and weak |
| Carbon-fibre nylon | 75-85C | 90-110C | Yes for interior and light engine-bay fixtures; abrasive on brass nozzles |
| PET-CF | 75-85C | 85-95C | Stiff and stable, prints drier than plain PETG |
| PEEK | 143C | 115-150C | High-end only; needs a heated chamber at 70-100C |
| PEKK | 160C | 150-175C | Chemical resistance plus heat; specialist machinery |
| PEI / Ultem | 217C | 180-200C | Near the engine bay, in a well-ventilated chamber |
One real test is worth more than the whole table above. Repper’s Delight ran an oven test on printed car accessories under load: PLA distorted at 48C, an ASA filament (ApolloX) at 89C, and ABS at 97C. The numbers line up with the datasheets, and they are the ones I would actually design against.
Most people do not need PEEK or Ultem to solve a dashboard problem. ASA gets a printed clip through a Southern summer for a fraction of the material cost, and it resists the UV that makes ABS go chalky and brittle. Reserve the engineering polymers for engine-bay work and heated fixtures.
3. Print with Stable Temperature and Layer Settings
Printability decides your material as much as temperature does. An enclosure, a heated bed and a dry spool are what separate a usable ASA part from a warped pile of plastic.
- Enclosure and chamber control. ABS and ASA shrink as they cool, and any moving air makes the outer layer contract before the inner layers set. Close the doors, or fit a front cover and a side draft shield. Keep the chamber steady rather than venting every layer.
- Bed temperature. 100-110C for ABS and ASA, and stay there for the whole print. An early restart on a cool bed is where first-layer adhesion fails.
- Nozzle temperature. 240-260C for ABS and ASA, 280C for polycarbonate. Run the manufacturer’s suggested range and adjust in 5C steps.
- Adhesion. A brim of 5-8mm on larger footprints, clean the sheet with isopropyl alcohol first, and add a glue stick or hairspray layer if the corners still lift.
- Drying. Nylon, PET-CF and polycarbonate absorb moisture from the air and print with bubbles, stringing and weak layers. A dry box or a filament dryer at 60-80C for 4-6 hours fixes most of it.
- Layer height and walls. Stay at or below 0.2mm and use at least four walls on a heat-loaded part. Extra perimeters and a 30-40% infill keep the part rigid when the material softens; thin, sparse PLA has nothing left to hold its shape.
- Cooling. Reduce fan speed on the first few layers, then moderate it for the rest of the print.
Ultimaker community users fighting ABS warping report printing shells one at a time, gluing the build plate, adding a front cover and pre-heating the whole machine. That combination is the reliable version of the same advice.
4. Design the Part for Heat and Automotive Loads
Heat-loaded parts fail at stress risers long before they fail at temperature. Print orientation decides which direction sees the worst of it: FDM parts are strongest along a layer line and weakest between layers, so orient the load path along the walls, not across them.
Use at least 2.5-3mm walls on anything structural, add ribs instead of thickening a whole wall, fillet every inside corner, round every external corner, and leave clearance where a part bolts to metal, because those parts expand at different rates. Keep mounting points away from the layer lines and drive fasteners into thick bosses rather than thin skin.
Do not assume a printed part matches an injection-moulded automotive component. For load-bearing or safety-critical uses, check the manufacturer’s load data and run finite element analysis, and have a qualified engineer sign off. If you cannot state the load in newtons and the temperature in degrees, you do not have a specification yet.
5. Finish and Protect the Surface
Clean first: an IPA wipe removes oils that stop coatings from bonding. Then sand or fill if the part is visible, since a smooth surface is what keeps a clear coat from peeling off later.
Coatings raise UV resistance and surface durability far more often than they raise heat resistance. A high-temperature epoxy, a two-part polyurethane automotive paint or a UV-stable clear coat can make a PLA part survive sun exposure for a season, but if the substrate underneath softens at 50C, the coating does not care. Not every paint, glue or epoxy stays stable at the same temperature as the printed material, so check the product’s own temperature rating before you apply it.
This is also the rescue path for a print you already made. If a PLA part is going into a shaded door pocket rather than on the dashboard, a cleaned, primed and clear-coated part is a reasonable fix. If it belongs on the dash or in direct sun, reprint it in ASA instead of building a coating argument.
Keep UV and heat failures apart. UV embrittlement turns a part chalky and fragile while it sits in sunlight at mild temperatures, and only a UV-stable material or coating addresses it. Thermal softening is the separate failure where the part sags and stays sagged, and only the material choice fixes that one.
6. Test the Finished Part Before Installing It
Print a small coupon alongside the real part: the same material, the same layer height, the same walls, and roughly 40 x 40mm. Small coupons fail faster than you expect and cost almost nothing.
Measure the coupon with a caliper, mark its length, and put it in the oven. Raise the temperature in 5C steps with a 15-minute soak at each step, measuring between steps, and stop when you see the first permanent change. That is your material’s real-world number for this part geometry, not a datasheet figure.
Then run the fit check: bolt the real part in, leave it for a full hot day, and look again. Give a new mount one full day in the sun before you trust it.
Discard any part that warped, cracked, softened, delaminated or deformed permanently, and reprint it. If the coupon fails below the temperature your location actually reaches, go up a material tier rather than trying again with better settings.
Common Mistakes
- Printing PLA for a hot trunk or dashboard. No setting fixes this. Change material to ASA or ABS.
- Trusting an unverified temperature rating. Vendor Tg figures are laboratory values under light load. Use HDT, and verify with your own coupon.
- Poor first-layer adhesion. Clean the sheet, raise the bed temperature, add a brim, and close the chamber.
- Too few walls. A single-perimeter part has almost no bending stiffness. Use four walls minimum and 30-40% infill.
- Aggressive cooling on ABS or ASA. Full fan speed on a high-temperature material stresses it as it cools. Slow the first layers and moderate the rest.
- Wet filament. Nylon, PET-CF and PC lose strength when they absorb moisture. Dry before every print and store in a dry box.
- Incompatible coatings. A generic epoxy or topcoat may soften below the temperature the part survives. Match the coating’s own rating to the location.
- Testing above the safe limit. Heating a coupon past the material’s service temperature to “see what happens” tells you nothing useful and gives you a ruined coupon. Step it up in small increments.
Tips
- Print the coupon first. It is the fastest way to rule a material in or out.
- Label the spool and note the nozzle temperature, bed temperature, wall count and orientation somewhere you will find it again. Next year’s part in the same location should not need a fresh experiment.
- Keep the finished part out of direct sun when a shade or a mount makes that easy. Location is the cheapest heat protection there is.
- Do not claim automotive certification for a printed part. A material datasheet describes a test coupon, not your bracket in your car.
- Write down the material, the orientation and the heat test result. That record is what makes a replacement part match the first one.
Frequently Asked Questions
Is PLA heat resistant enough for a car?
No. PLA reaches its glass transition temperature at roughly 55-60C and starts to lose stiffness below that, while a parked dashboard in summer reaches 70-90C. One oven test on printed car accessories showed PLA distorting at 48C under load. PLA is fine for a shaded door pocket in mild weather, but for a dashboard, windshield base or trunk use ASA, ABS or polycarbonate instead.
Will my 3D print melt in a hot parked car?
It will soften and sag long before it melts. Filaments lose rigidity as they approach their glass transition temperature, so a part in a 70-90C cabin deforms permanently while the material is still solid. If your part has already deformed, reheating it will not restore the original shape; reprint it in a material rated above the temperature that spot reaches.
What is annealing for 3D prints?
Annealing is a controlled heat soak that raises crystallinity and relieves internal stress, which improves stiffness and dimensional stability at temperature. For PLA, soak at 55-60C for about an hour. For PETG, 70-80C for two hours. For ABS and ASA, 90-100C for three to four hours. Let the part cool slowly inside the oven to avoid new stress. Annealing helps, but it never lifts a material above its own limit.
Will PETG or PLA Plus melt in a car?
PLA Plus is a marginal improvement on PLA and still not safe on a sun-facing dashboard. PETG holds to roughly 70-80C, so it survives a footwell or door pocket in a shaded cabin but softens on a dash that regularly passes 80C. If the location reads hot on an infrared thermometer, treat both as inadequate and print the part in ASA or ABS.
Does a heat-resistant coating make a PLA print safe?
Not really. Primers, epoxies and clear coats improve UV resistance, surface durability and chemical resistance, but a coating does not raise the softening point of the plastic underneath. A coated PLA part can survive sun exposure for a season in a mild location, yet it will still sag when a dashboard passes 60C. Coatings are worth doing for appearance and UV; only a material change fixes heat.
Can I use a 3D printed part in a safety-critical spot in my car?
Treat anything structural or driver-facing as a professional job. Parts near airbags, steering, pedals, restraints or the driver’s view should be engineered to a stated load and temperature, checked against manufacturer data, and signed off by a qualified engineer. Printed layers are weaker between plies than along them, so orientation changes the strength. Mounting loose objects on a dashboard also falls under road-safety rules that vary by country.
Start by measuring. Put an infrared thermometer on the spot where the part will live, note the peak, and pick a filament whose HDT clears that number by a wide margin. For most interior accessories that means ASA or ABS on an enclosed printer, with four walls, a brim and a dry spool.
Then print a coupon, soak it, and let the measurement tell you what you have. If the coupon holds, the part holds, and you will not be explaining a warped mount to anybody. This guide stays current for 2026 and beyond as filament datasheets get revised, so re-check the numbers for your specific spool before you trust a table.