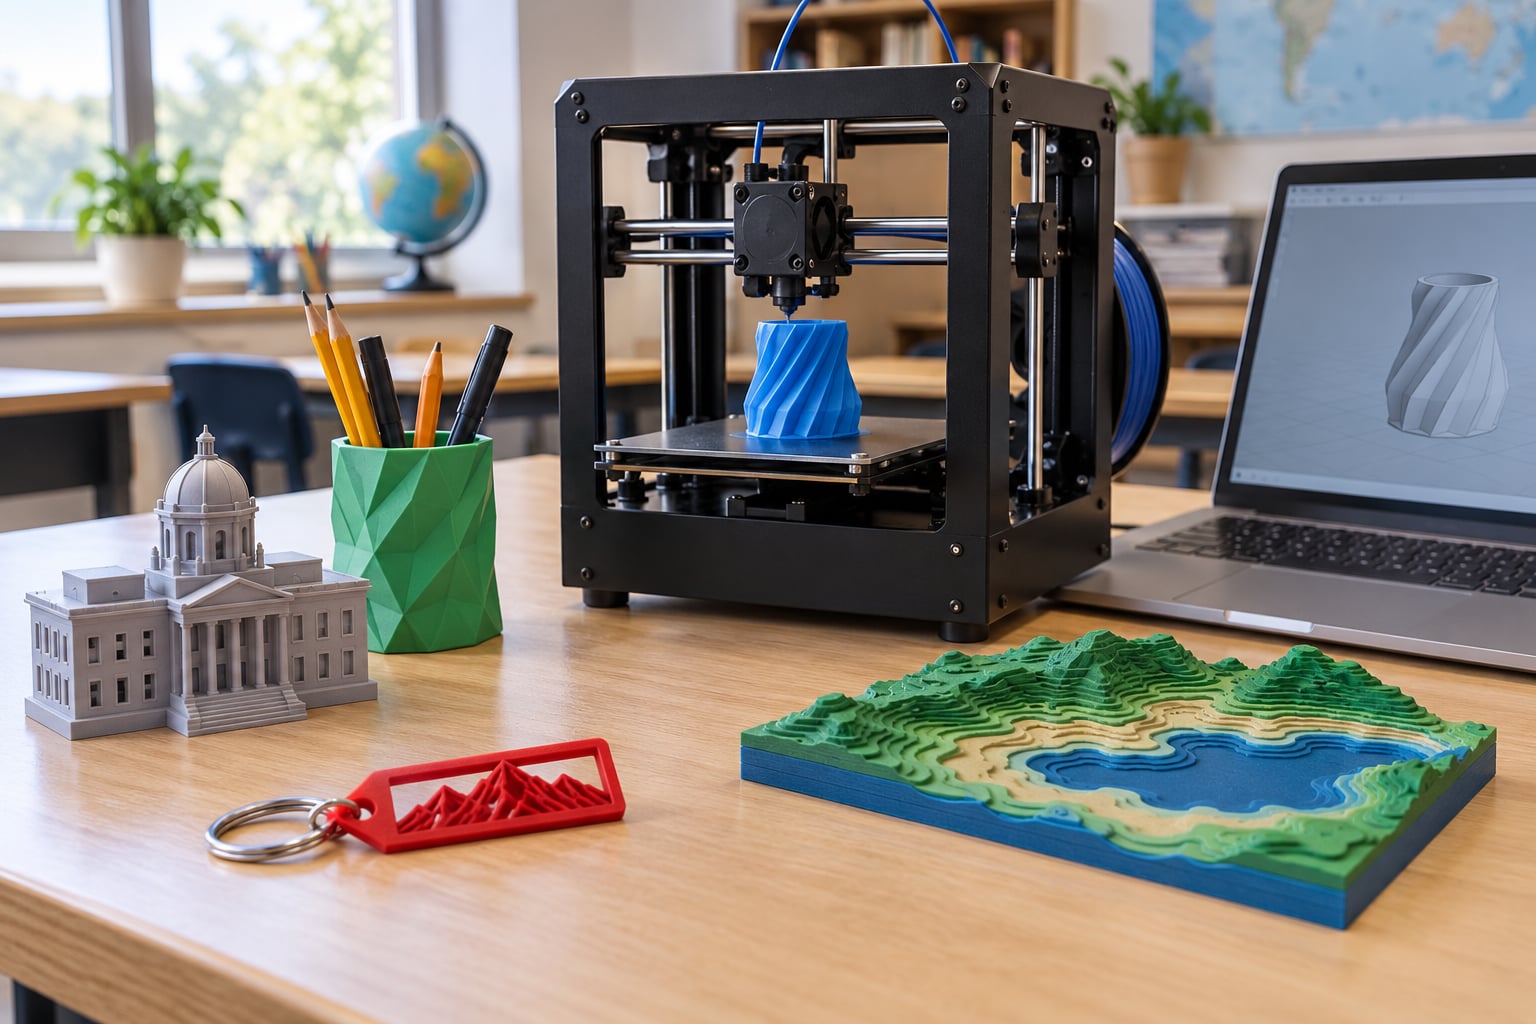
3D printing lesson ideas for students work best when every project has a real purpose beyond making something cool: a name keychain teaches CAD basics, a pencil holder teaches tolerances and overhangs, and a topographic map turns elevation data into a physical landscape. Below are ten classroom-ready projects, each with a grade band, a realistic class time, and the specific skill it teaches. Most need only free browser-based design software and one classroom FDM printer.
I have watched teachers stall on this exact question. The hardware arrives, the filament arrives, and then the class sits there staring at a blank modeling canvas because nobody picked a first project. The fix is boring and simple: start with something the student can hold in one hand, something they will want to personalize.
A word on what these projects are not. Nothing here needs a resin printer, a 3D scanner, or any paid software. If you are starting from zero, ideas 1 through 3 will run on a single entry-level FDM machine and free browser CAD. If you already have a makerspace running, jump to ideas 6, 8, and 9, which are where the design thinking gets serious.
Table of Contents
- 3D Printing Lesson Ideas at a Glance
- 1. Design a Name or Initial Keychain
- How to run this 3D printing lesson plan in one class period
- 2. Create a Custom Pencil Holder
- 3. Build a Simple Architectural Model
- 4. Engineer a Student-Made Replacement Part
- Teaching the design process out loud
- 5. Make a Topographic Map of a Local Area
- 6. Design an Accessible Tool or Aid
- Talking points for inclusive design conversations
- 7. Create a Miniature Museum Exhibit
- 8. Explore Materials and Print Settings
- What students record in the print settings comparison
- 9. Design a Prosthetic Hand Concept
- 10. Make a Sustainable Packaging Prototype
- Frequently Asked Questions
- What is the easiest 3D printing project for students who are beginners?
- Do students need their own 3D printer for these lesson ideas?
- What age is appropriate for introductory 3D printing lessons?
- Which 3D printing project is best for teaching engineering and problem-solving?
- How can teachers assess student learning in a 3D printing project?
- What software and materials should a classroom use for beginner projects?
- Conclusion
3D Printing Lesson Ideas at a Glance
Here is the full list of 3D printing lesson ideas for students compressed into one view. Difficulty is rated for the design step, not the print step, because printing happens while you teach something else.
| Project | Subject or skill | Grade band | Class time | Printer needed | Difficulty |
|---|---|---|---|---|---|
| Name or initial keychain | CAD basics, personalization | K-5 | 1 session design, overnight print | Optional | Easy |
| Custom pencil holder | Additive manufacturing, tolerances | 3-8 | 2 sessions | Yes | Easy |
| Architectural model | Geometry, scale, structures | 6-12 | 2-3 sessions | Yes | Medium |
| Replacement part | Reverse engineering, iteration | 6-12 | 3-4 sessions | Yes | Medium |
| Topographic map | Geography, data, scale | 6-12 | 3 sessions | Yes | Medium |
| Accessible tool or aid | Human-centered design | 5-12 | 3-4 sessions | Yes | Medium |
| Miniature museum exhibit | History, storytelling, visual design | 4-10 | 3 sessions | Yes | Medium |
| Materials and settings test | Controlled experiment, data | 7-12 | 4-5 sessions | Yes | Medium |
| Prosthetic hand concept | Mechanisms, force, safety | 9-12 | 4-5 sessions | Yes | Hard |
| Sustainable packaging prototype | Material use, testing, trade-offs | 7-12 | 4 sessions | Yes | Hard |
1. Design a Name or Initial Keychain
A keychain is the best first 3D printing lesson idea for students because every student gets a different result and nobody can copy. The design surface is tiny, so the print finishes fast and the fail rate stays low, which matters when 30 kids are queuing behind one machine.
Objective: Create a 2D shape, convert it to a solid, apply a scaling rule, and orient it for printing. Grade band: K-5. Class time: one 40-minute session for the design, print overnight. Materials: browser-based CAD, a letter or initial, one small ring or split ring per student.
Students type a name or initial as text, set the font height to roughly 20 mm, and connect the outline to a base plate with a hole. The two things they will get wrong are scale and orientation, so make those explicit: too small and the layer lines are visible, laid flat and the first layer may not stick.
How to run this 3D printing lesson plan in one class period
Minute one to ten, show three finished keychains from previous years and let students handle them. Minutes ten to thirty are design. The last ten minutes go to naming the file, submitting it through your queue, and one student reading the slicer preview so the class sees what the printer actually needs. The prints finish overnight and the keychains come back at the start of the next session, which is when the real lesson happens: comparing the print against the screen.
If your school has no printer yet, this project still works. Send the STL files to a local print service or a parent volunteer with a printer, and the lesson loses nothing.
2. Create a Custom Pencil Holder
The pencil holder is where most classes learn what additive manufacturing actually is. It is the first project with a functional requirement, a dimension that has to be right, and a shape that will fail if the student ignores how a printer builds layers.
Objective: Model a container with real-world clearances and design for printability. Grade band: 3-8. Class time: two sessions, with a print between them. Materials: CAD software, calipers or rulers, a real pencil and marker for reference.
Hand out an actual standard pencil and have students measure it. Then make them add 0.5 to 1 mm of clearance per side, because a hole sized exactly to the pencil will print slightly smaller. That one lesson covers tolerances, measurement, and shrinkage in about five minutes.
The printable-design part is the interesting half. A circular holder needs no supports but wastes material; a square one prints faster but needs an interior void students must learn to cut. Ask them to add compartments for pens and small scissors, then compare print times between a round and a square version on the slicer preview. That number becomes a real conversation about cost and time.
3. Build a Simple Architectural Model
Architecture gives math students something they already care about, and the print exposes structural thinking that paper models never do. A building that stands up on the build plate is not the same as a building that stands up in the real world, and students should discover that gap themselves.
Objective: Translate real-world dimensions into a scaled model and reason about structural stability. Grade band: 6-12. Class time: two to three sessions. Materials: floor plans or photographs of a local landmark, CAD software, a scale reference such as a 1:100 ruler or a coin.
Give each student the footprint of a real building in their own town and a target scale. At 1:100 a three-story building becomes roughly 30 mm tall, which prints in about an hour on a small machine. Require them to state their scale choice in writing, then build a scale reference object next to the model so visitors can check it.
Windows, overhangs, and roofs generate the teachable failures. A window cutout that is 1 mm deep at that scale vanishes; a roof with a 60-degree overhang needs supports and comes out stringy without them. Have students predict which details will survive printing before they set the layer height, then check their predictions against the finished piece.
4. Engineer a Student-Made Replacement Part
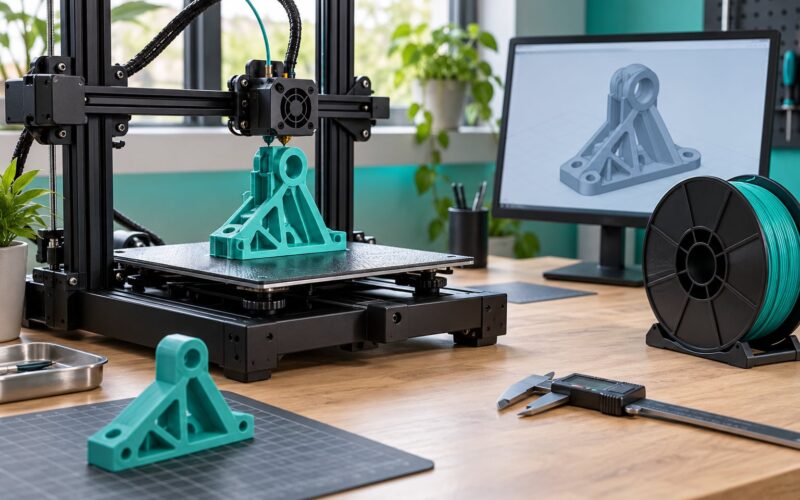
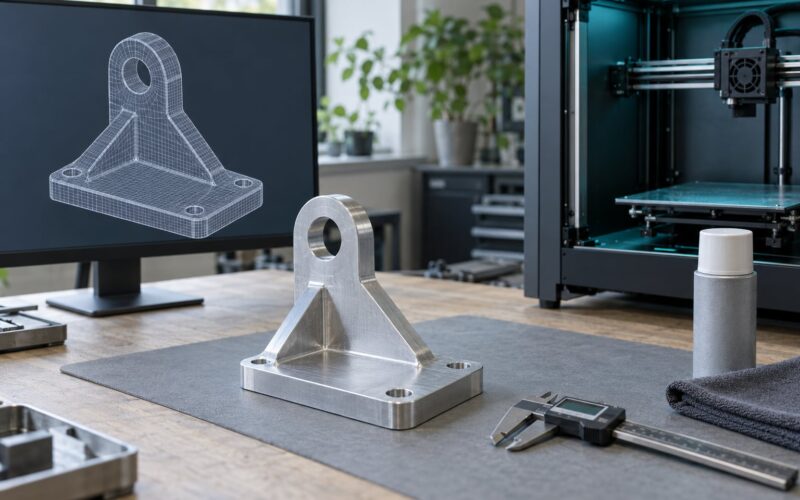
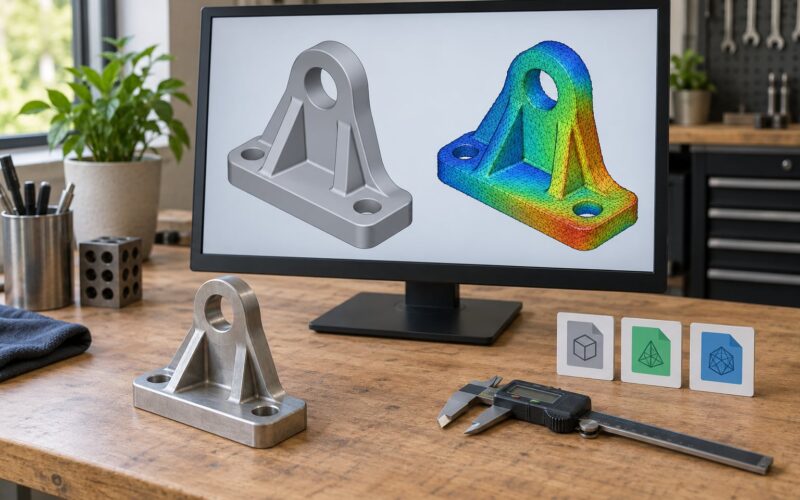
This is the project that teaches the design process end to end, and it is where the strongest engineering classes start. The object being replaced must be nonessential, which means a broken organizer clip, a shelf bracket, a lid handle, or a charging-cable keeper rather than anything that carries load or holds heat.
Objective: Measure an existing object, model a replacement, test it, and revise. Grade band: 6-12. Class time: three to four sessions. Materials: broken parts to measure, calipers, PLA, a way to apply light load during testing.
Teaching the design process out loud
Put the four steps on the board and make students narrate each one in a log: define the problem, generate a solution, test, and iterate. Insist on written failure notes. A student who writes “version two moved the mount 4 mm and stopped cracking” has learned more than a student whose final part merely works.
Safety has to be stated plainly at the start. Students redesign the part to be safer than the original, and they should explain why the printed version fails gracefully rather than snapping. Anything that carries heat, current, or structural load stays off the list, and students producing a medical or safety-critical design present it as a concept model, never as a working device.
5. Make a Topographic Map of a Local Area
A topographic map is the most interdisciplinary project on this list and the one that looks best on display. Elevation data becomes geometry, which becomes a physical landscape students can walk around and read.
Objective: Convert elevation data into a layered physical map and explain the limits of the representation. Grade band: 6-12. Class time: three sessions, because layer count drives print height. Materials: elevation data from a public dataset, contour maps for reference, CAD software, a build volume check before class.
The practical warning first: a 100 mm by 100 mm terrain model with 60 layers at 0.2 mm layer height is roughly 12 mm tall and will print for hours. Check the layer math with students before anyone designs, because it is the single most common reason a terrain project gets abandoned.
Students work out which contour interval to use, how to exaggerate vertical scale so mountains are visible, and how to color or label each layer. Then they write one paragraph on what the model cannot show. Printed terrain has no water, no vegetation, and no sense of north unless you add it, and naming those limits is the geography standard talking point made concrete.
6. Design an Accessible Tool or Aid
This project teaches human-centered design, and it is the one students remember. The design problem comes from a real person with a real difficulty, and the finished object has to be tested by that person.
Objective: Research a user’s need, design an aid, and revise it based on feedback. Grade band: 5-12. Class time: three to four sessions. Materials: interviews with a partner, a large-grip handle or hook object as a starting reference, PLA.
Talking points for inclusive design conversations
Keep the framing about access and independence rather than charity. Students commonly pitch a large-grip handle, a visual guide, an ergonomic hook, or an opening aid for a jar or a zipper. Before they build, each student writes down one assumption they are making about their user, then arranges a short test with someone who will actually try the aid.
The second version is where the marks come from. Ask what broke, what slipped, and what the user had to do with both hands. Printed prototypes bend before they break, which is forgiving, so this project has a high success rate even with a first attempt.
7. Create a Miniature Museum Exhibit
Dioramas and exhibits pull in students who do not identify with STEM, and they give a history or ELA class a reason to care about accuracy of detail. The subject is anything local: a landmark, a scientific discovery, a fictional artifact invented for the project.
Objective: Research a subject, select meaningful visual details, and present them with a written label. Grade band: 4-10. Class time: three sessions. Materials: reference images, a small base plate, PLA, paint or sandpaper for finishing.
Require each student to choose three details and defend them in a paragraph. Why is the roof line accurate but the door simplified? What does the scale bar mean in the corner? That reasoning question is what separates a museum exhibit from a school decoration, and it is straightforward to assess.
Scale needs a hard rule here: something life-size will not fit on a classroom printer. Ask students to pick a scale like 1:24 or 1:32 and check the largest dimension against the build volume before modeling anything.
8. Explore Materials and Print Settings
Almost every other project on this list includes printing quietly in the background. This one makes the printing itself the subject, and it is the best preparation for a makerspace that will eventually run more than one machine.
Objective: Run a controlled comparison and report observations honestly. Grade band: 7-12. Class time: four to five sessions with a week of printing in between. Materials: one simple test shape such as a hook or a bracket, PLA in two colors, optional PETG samples, a caliper and a simple spring scale.
Change one variable at a time. Layer height, infill percentage, wall thickness, print orientation, and material type each produce a different result, and holding everything else steady is the entire lesson in experimental design. If you are still narrowing down 3D printing lesson ideas for students, this is the one to schedule once the class already trusts the software.
What students record in the print settings comparison
Four observations per print: measured strength under a light load, surface quality described in their own words rather than as good or bad, total print time from the slicer estimate, and material used, which you can get from the slicer by weight. Ask each student to predict the strongest orientation before testing. The prediction-versus-result gap is where the real thinking shows up, and a hook printed flat versus printed on its edge is usually enough to convince a whole class.
9. Design a Prosthetic Hand Concept
A prosthetic hand concept is a demanding but manageable high school engineering challenge, and it works well as a capstone. Students build a simplified gripper or hand that holds a pencil, a bottle cap, or a tennis ball using tension, a cam, or a simple linkage.
Objective: Build a mechanism that grips, then explain the forces behind it. Grade band: 9-12. Class time: four to five sessions. Materials: PLA, elastic cord or rubber bands, printed joints or dowels, mixed test objects.
Emphasize the distinction between a concept model and a medical device early and often. This is a classroom mechanism, not a prosthesis, and the difference is a legitimate object of study rather than a disclaimer. Students write about grip force, how the linkage converts finger motion into pressure, and where the design would fail on a real hand with different proportions.
Iteration is unavoidable here, which is the point. Most first attempts grip the bottle cap and drop the pencil, and figuring out why leads directly to cam radius and contact area.
10. Make a Sustainable Packaging Prototype
Packaging gives 3D printing a job that looks obvious once students see it: reduce material while still protecting the thing inside. It works across grades because the reasoning is accessible and the trade-offs are real.
Objective: Redesign packaging to use less material while meeting a protection requirement. Grade band: 7-12. Class time: four sessions. Materials: a small object to package such as a bar of soap or a toy block, a bathroom scale, PLA or cardboard for early mockups, a drop-test setup from a fixed height.
Start with a protection requirement you can measure. The package must survive five drops from 30 cm onto a hard floor without the object moving more than 2 cm. Design iteration from cardboard mockups to printed prototypes is faster and cheaper, and it teaches that a prototype is a question, not a product.
The written component carries the sustainability half: which material the package uses, whether it could be recycled, and what it would cost at volume. Students should be able to defend a design that uses slightly more material if it does a better job protecting the object. That trade-off is the real engineering judgment at the end of the project.
Frequently Asked Questions
What is the easiest 3D printing project for students who are beginners?
A name or initial keychain is the easiest starting project because it works in one class period, prints small, and gives every student a different result. Students only need to type text, set a size, and add a hole. The next step up is a pencil holder, which adds measurement and tolerances without asking beginners to model anything complex.
Do students need their own 3D printer for these lesson ideas?
No. One classroom FDM printer is enough for a whole class if you design projects around asynchronous print time: students design in one session, the machine prints overnight, and the next session starts with a finished object to examine. Ideas one through three also work with no printer at all, since the STL files can go to a local print service or a volunteer with a printer.
What age is appropriate for introductory 3D printing lessons?
Ages eight and up usually manage browser-based CAD with a little guidance, and the keychain project works with younger students as a guided activity. Middle schoolers are ready for projects with real constraints, like tolerances in a pencil holder or scale in an architectural model. High schoolers handle reverse engineering, controlled experiments, and mechanism design with fewer check-ins.
Which 3D printing project is best for teaching engineering and problem-solving?
The replacement part project teaches the most, because it forces a full loop: measure an existing object, model a fix, test it, and revise. Students must write down what failed and why, which turns frustration into documentation. The materials and settings comparison is a close second when your goal is controlled experimentation and data recording.
How can teachers assess student learning in a 3D printing project?
Assess the design process, not the finished object. A short log covering the problem statement, the choices made, the test results, and what changed in the next version tells you far more than a polished print. Add a two-minute explanation from the student, and for research-based projects require a paragraph defending which details they chose and why.
What software and materials should a classroom use for beginner projects?
Browser-based CAD such as Tinkercad or SculptGL handles elementary and middle school work with no installation and no cost, and a full CAD program such as Onshape suits older students who need precise dimensions. Start with PLA filament, which is low temperature, low odor, and easy to sand. Keep colors limited so filament inventory stays simple.
Conclusion
Pick your first project by matching it to three things: the age of the students, the equipment you actually have, and the skill you want them to walk out with. With one printer and no prior experience, start with a name keychain, because it prints fast, fails rarely, and still teaches scale and orientation. Once that is running smoothly, move to the pencil holder for tolerances, then to the replacement part project when you want the full design loop. Whichever you choose, plan the lesson around the fact that printing takes far longer than class time, and treat every failed print as a diagnosis lesson rather than a disappointment. As 2026 moves on, the free browser-based CAD options these lesson ideas depend on keep getting better for classroom use.