To replace a 3D printer build plate, power the printer off, unplug it, and let the bed cool to room temperature. Then release whatever holds the old sheet in place — thumbscrews, carriage bolts, magnets or clips — clean the mount and the new plate with isopropyl alcohol, seat the new plate, and re-level the bed before printing.
The job takes about fifteen minutes on most desktop FDM printers, and the fiddly part is not the plate itself, it is working out which fastener layout your machine uses. Three things cause almost every failure: a plate that is the wrong thickness, a surface you handled with greasy fingers, and skipping the re-level afterwards.
Table of Contents
- What You Need
- Step-by-Step: How to Replace a 3D Printer Build Plate
- Step 1: Check the Printer and Build-Plate Design
- Step 2: Cool the Printer and Prepare the Work Area
- Step 3: How to Remove the Old Build Plate
- Step 4: Clean the Bed Mount and Replacement Plate
- Step 5: Install and Secure the New Build Plate
- Step 6: Set Bed Distance or Complete Bed Leveling
- Step 7: Test the New Build Plate
- Common Mistakes
- Frequently Asked Questions
- Can I replace the build plate on any 3D printer?
- How do I know which replacement build plate is compatible?
- Should I replace a glass bed if it is warped?
- How do I clean a new PEI or spring-steel build plate?
- Do I need to level the printer after changing the build plate?
- Why is my first-layer adhesion still poor after replacing the plate?
- Conclusion
What You Need
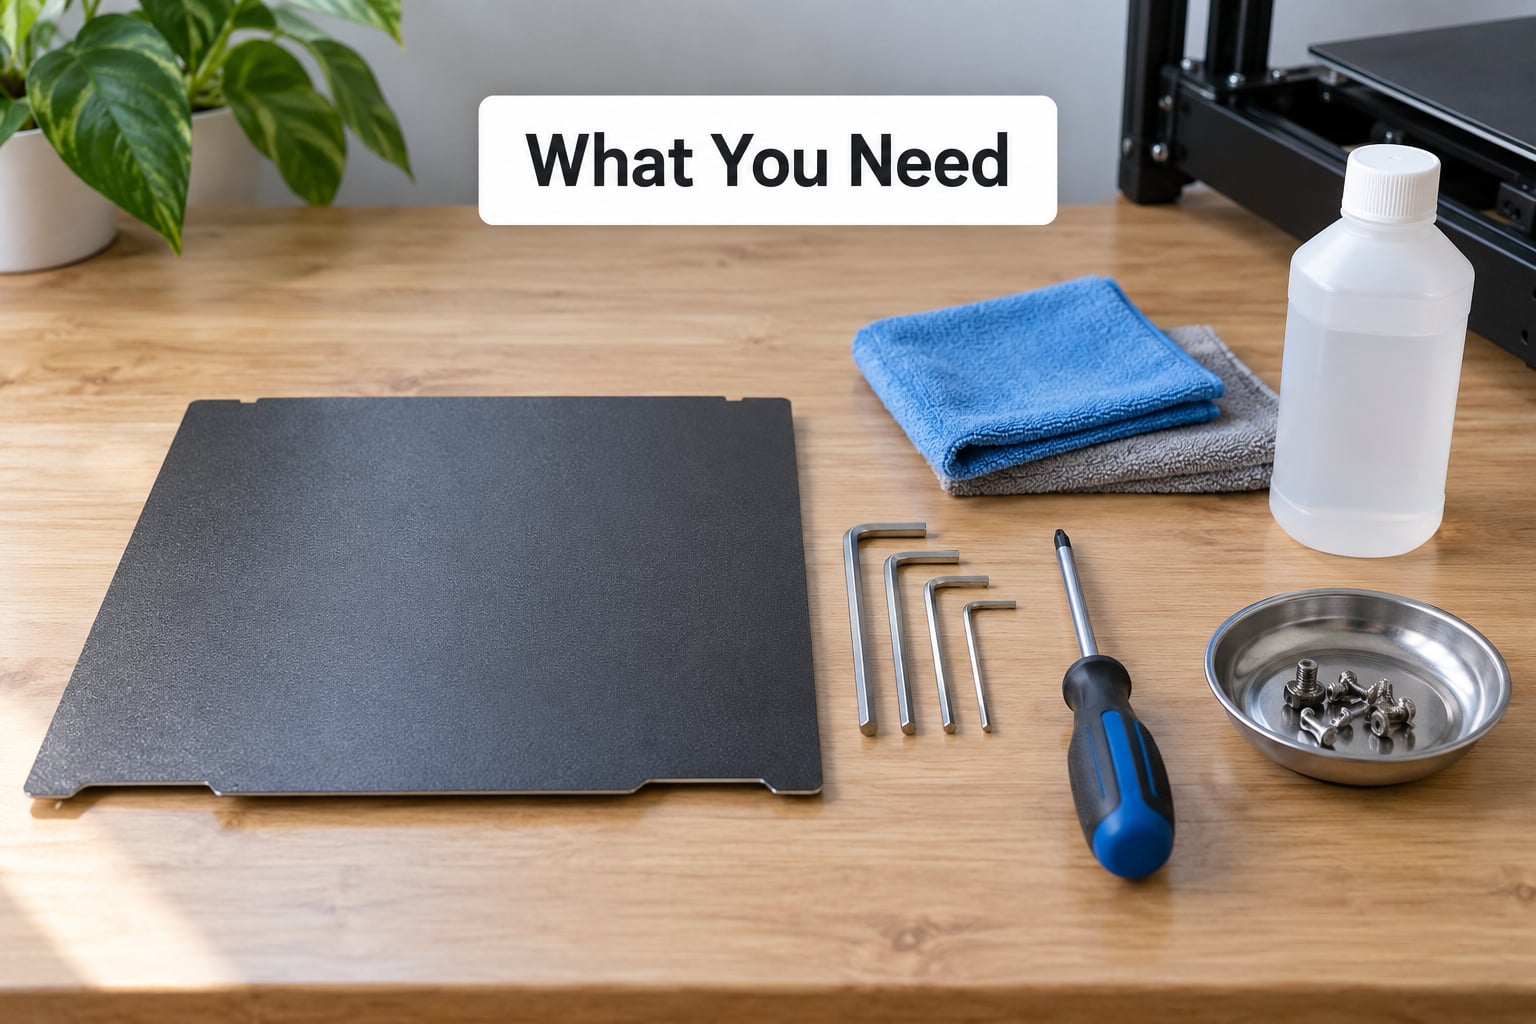
Most of this list is short, and you probably own most of it already. Gather everything before you start so you are not hunting for a hex key with the bed hanging off the printer.
- The replacement plate itself — the correct size, thickness and mounting style for your printer model.
- Hex keys — usually 2 mm and 2.5 mm, depending on the printer.
- A Phillips or flat screwdriver — for thumbscrew and slot-style mounts, and for prying a stuck part free.
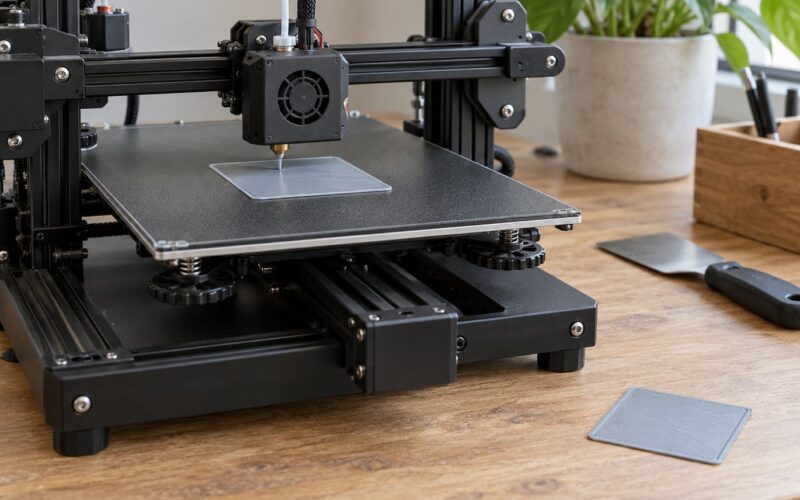
- A soft plastic scraper or a rigid plastic spatula — never metal, which will scratch PEI and glass.
- Isopropyl alcohol at 90% or higher plus microfiber cloths or lint-free wipes.
- A small tray or magnetic parts mat — so screws do not roll into the printer frame.
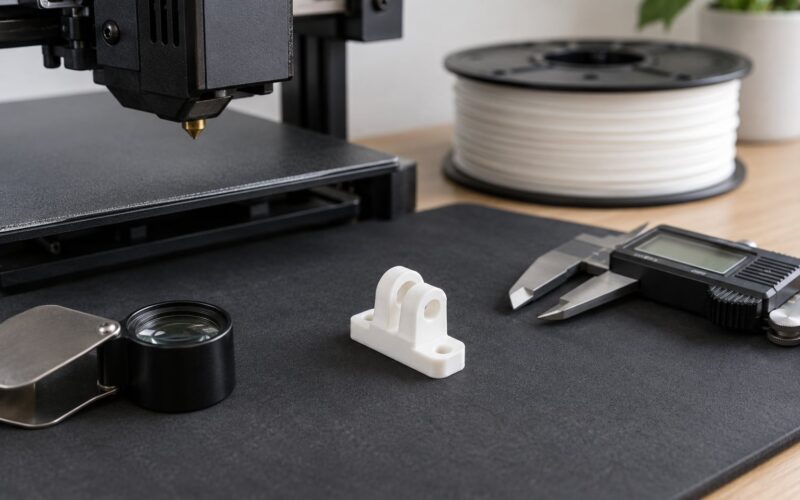
- Digital calipers — optional, but worth it if you are fitting a third-party sheet.
- The printer manual — for the fastener list, the bed temperature limit and the leveling menu path.
A word on the manual. Screw size, thread type and the exact removal sequence vary by model, and the printer documentation is the only reliable source for your machine. If your printer has a heated bed, also note its maximum plate temperature before ordering a replacement — that rating decides which materials you can print afterward.
Step-by-Step: How to Replace a 3D Printer Build Plate
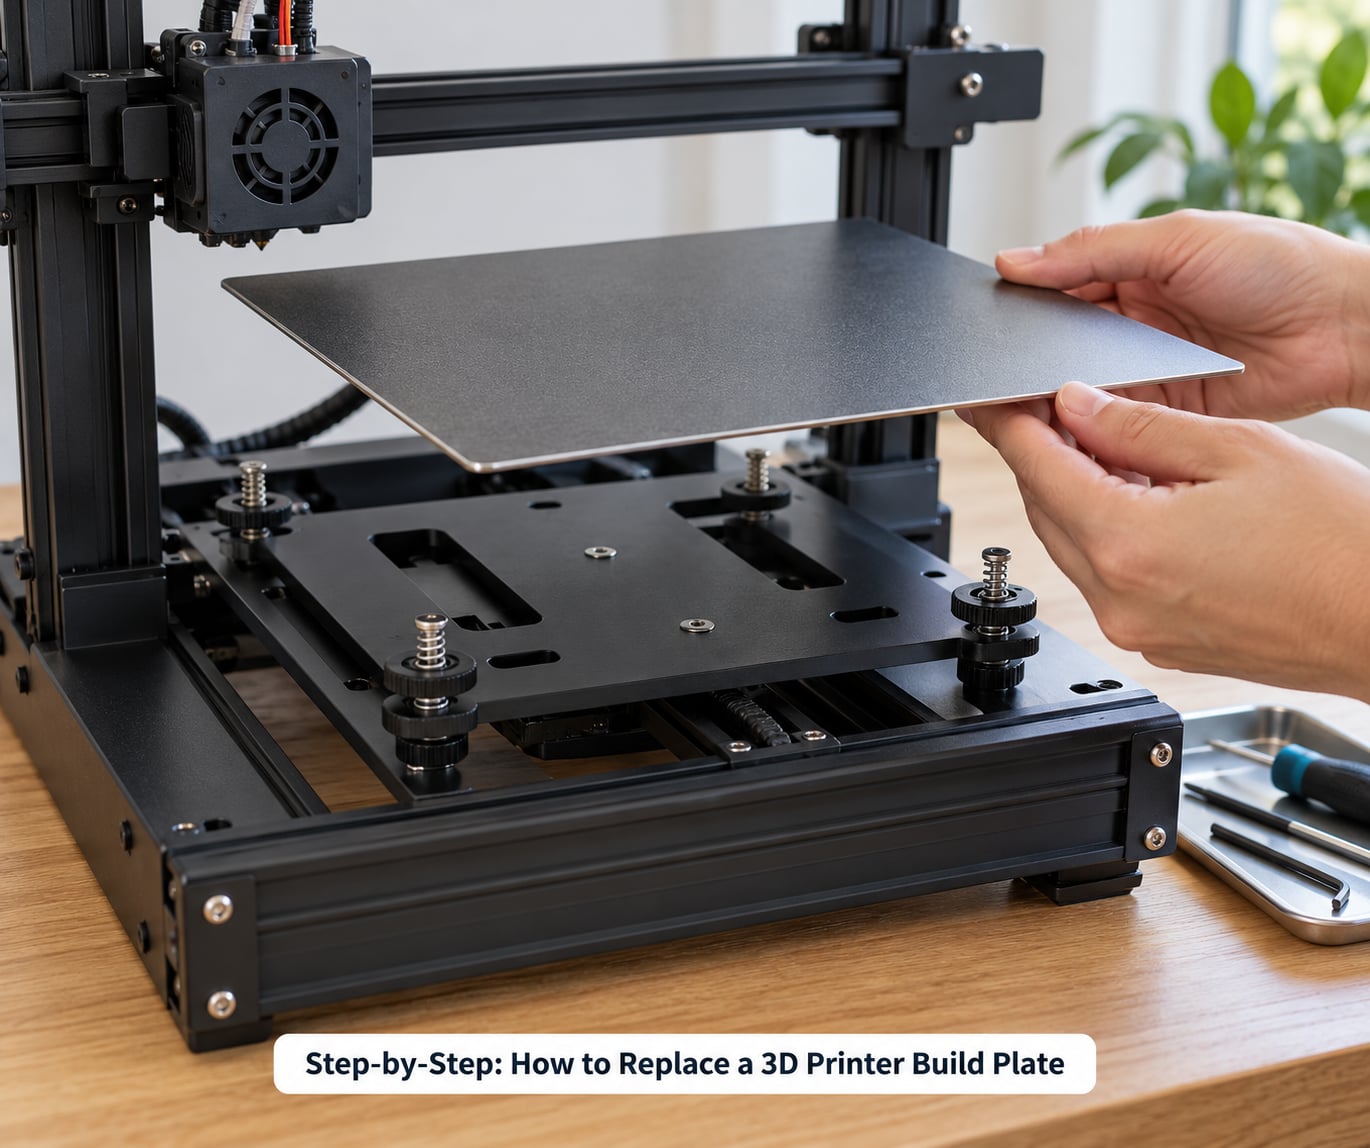
Step 1: Check the Printer and Build-Plate Design
Build plates are held on in four common ways, and the mount type dictates the whole procedure. Get this right before you touch a fastener.
- Screw-mounted — the sheet is bolted or clamped to an aluminum carrier. Screws may sit at the corners or along one edge.
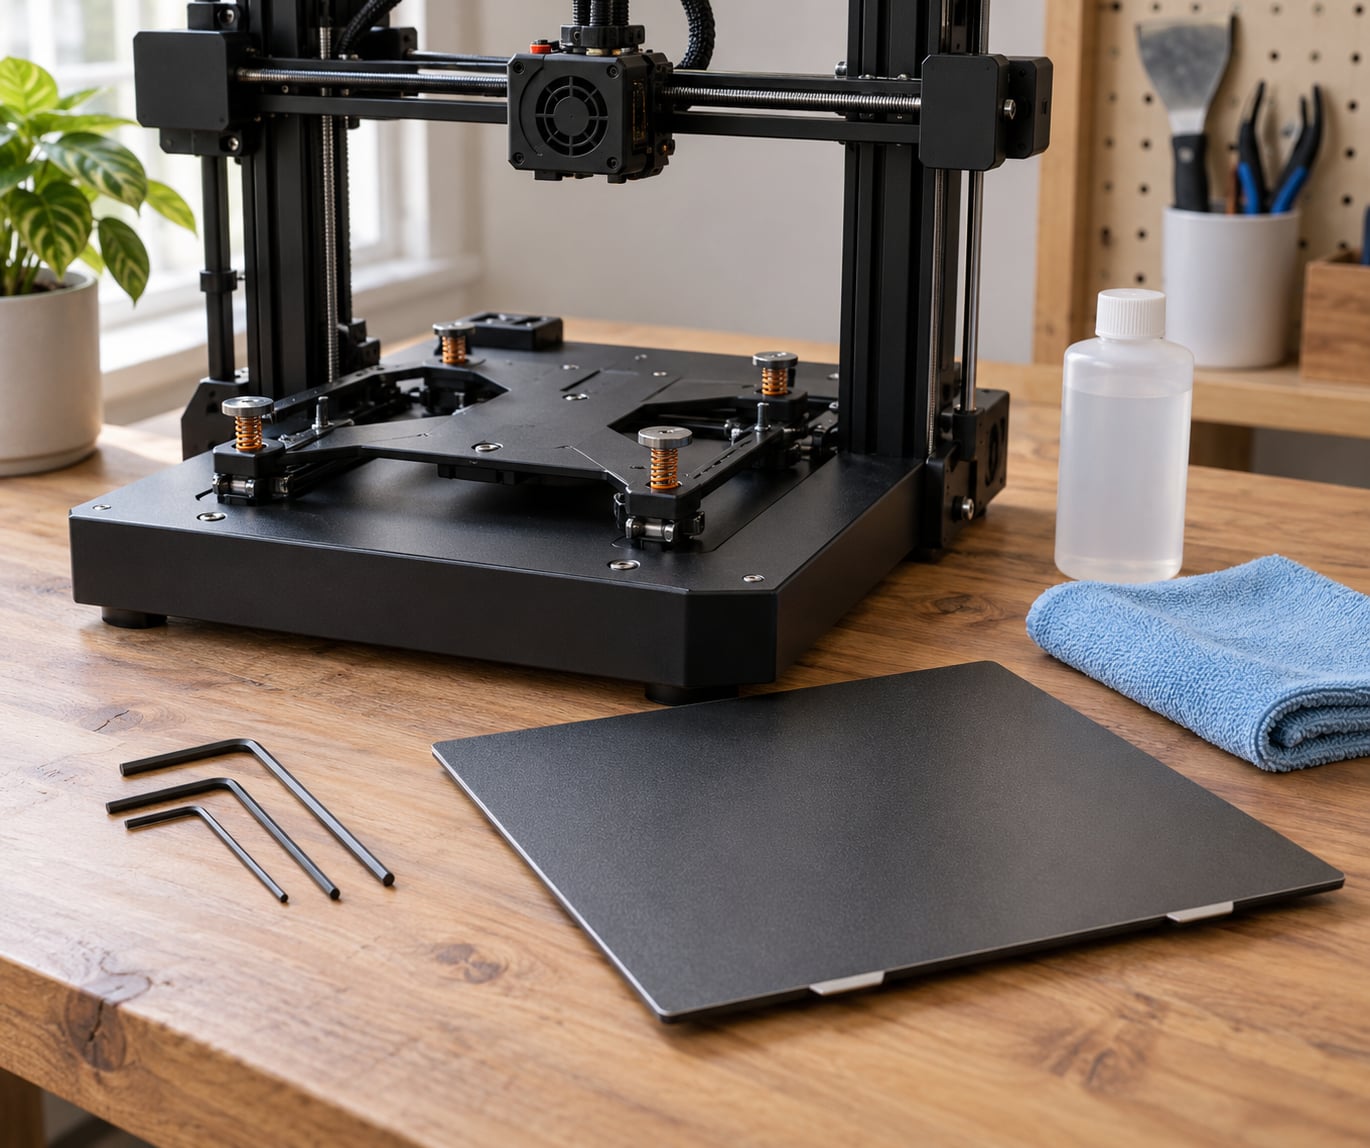
- Thumbscrew and spring — knurled knobs on the carriage or bed frame push against springs to hold a glass or aluminum sheet. Classic Ender-style mounting.
- Magnetic — a flexible steel sheet sticks to a magnetic base. It lifts straight off, and you can flex it to pop a print loose.
- Clip or binder-clip mounted — heavy clips pinch a sheet onto the bed, a method used with Garolite G10 and similar composite plates.
Peel-off surfaces are a fifth option worth knowing about. Several printers use a textured PEI or smooth PEI sticker bonded to an aluminum plate, so you can replace the surface without replacing the plate itself. Check whether the sheet peels at an edge; if it does, that is your cheaper path.
Measure the old plate before you order. Note length, width and thickness, and check whether the replacement has a hole pattern that lines up with your bed. A sheet that is even half a millimetre out changes the height your nozzle sees, which is why so many first prints fail after a swap.
Step 2: Cool the Printer and Prepare the Work Area
Finish or cancel any print, switch the printer off at the mains, and unplug the power cable. Do not work on a bed you just finished a hot PLA or ABS print on — glass stays hot enough to burn well after the print ends.
Let the bed cool all the way to room temperature. Warming a plate and then bolting it in traps stress in the sheet, and a cold-snap or a hot-snap on glass is how you end up with a cracked plate and a wasted afternoon.
Clear the surrounding area and move loose tools away from the frame. A build plate weighs more than people expect, and a spring-loaded knob popping loose onto a hard floor is loud enough to damage a small part. Lay out a mat, put your screws in a tray, and take your time.
Step 3: How to Remove the Old Build Plate
Work from the manual where it has anything to say. The general pattern is the same everywhere: undo the retention, then lift the sheet straight off while supporting it so it does not drop onto the heater or the frame.
On a thumbscrew-and-spring mount, back the knurled knobs out two or three full turns, support the plate with one hand, then lift it free. On a screw mount, remove the corner or edge bolts in a crisscross order so the carrier does not twist. On a magnetic mount, there is nothing to undo — grip a corner and pull the flexible sheet away from the base.
On a clip-mounted bed, open the clips fully before lifting. A clip under tension will pop off the bench and can mark the plate face on its way down.
| Printer family | Mount type | What to release | Re-leveling after swap |
|---|---|---|---|
| Ender 3 V2, V3, KE | Thumbscrew and spring | Four knurled leveling knobs, then lift | Yes, full manual mesh or four-corner level |
| Bambu Lab A1, A1 mini, P1S, X1C | Magnetic | Lift the sheet off the magnetic base | Yes, run the automatic bed leveling routine |
| Prusa MK3S, MK3S+, MK4 | Magnetic with a release lever | Spring-loaded latch releases the front edge, then slide out | Yes, then re-check mesh Z offset |
| Creality CR10 and similar | Corner screws on an aluminum carrier | Four M3 bolts at the corners | Yes, plus Z offset if thickness changed |
| Voron 2.4, Voron 3 | Bolted magnetic base assembly | Machine screws securing the whole bed assembly | Yes, three-point leveling, then nozzle offset |
| Resin printers (Anycubic, Elegoo Mars) | Bolted plate on a tilt frame | Usually two or four screws | No, but re-check tilt and level of the vat |
Do not pull on or unplug the bed heater cable, the thermistor leads or the probe wiring while the sheet is off. Those connectors are small and easy to damage, and they sit right under the plate you are removing. If a cable is in the way, unclip its strain relief rather than yanking it.
Step 4: Clean the Bed Mount and Replacement Plate
Wipe the mount first. Dust, old thermal paste and grit left on the carrier will sit between the mount and the new sheet and make your bed look unlevel when it is simply dirty.
Then clean the new plate by material, because the wrong solvent ruins some surfaces:
- Textured PEI — isopropyl alcohol and a microfiber cloth. Skip the textured powder if the coating is flaking, since alcohol can loosen the remaining powder.
- Smooth PEI — isopropyl alcohol, or warm water with dish soap for greasy residue. Rinse well and dry fully.
- Spring steel — a drop of dish soap and warm water, then alcohol for stubborn marks, then dry.
- Borosilicate or tempered glass — glass cleaner or isopropyl alcohol on a cloth, never sprayed directly.
- G10 Garolite and similar composites — soap and water. Solvents can be aggressive on epoxy-based laminates.
Dry every surface completely before reassembly. Let the plate air-dry for a few minutes after wiping rather than putting it on the mount damp, and handle it by the edges from that point on.
This is the step people skip and then blame the plate for. New sheets arrive with fingerprints and handling grease on them, and those spots are exactly where the first layer lifts. If your very first print on a new plate fails, clean it again before changing any settings.
Step 5: Install and Secure the New Build Plate
Seat the plate on the mount with the coated side facing up, and check that it sits flat with no visible gap under any corner. On magnetic mounts the sheet should draw in evenly with no rocking; if it rocks, clean both surfaces and try again.
Tighten thumbscrews and bolts in a crisscross pattern, working each one a little at a time. Uneven tightening is the single most common cause of a bed that will not level, because one corner carries all the load.
Do not overtighten. You are clamping a sheet, not pressing a dinner plate. Thumbscrews should need roughly the effort of a firm finger turn, and on screw mounts tighten until the carrier is snug against the mount with no side-to-side play.
Before powering on, run your hand under the plate edge and confirm the springs feel even on both sides and nothing is pinched. On printers with an exposed heated bed, also check that no tool, screw or washer has fallen into the frame.
Step 6: Set Bed Distance or Complete Bed Leveling
Always treat a plate swap as a leveling event. Even an identical replacement changes the gap, because plates vary in thickness between manufacturers and sometimes between batches from the same manufacturer.
On printers with mesh bed leveling or a guided routine, the job is straightforward: home the axes, heat the bed to your normal first-layer temperature, and run the bed leveling calibration from the printer menu. Bambu Lab machines do this from the touchscreen, and Prusa firmware can run a mesh and Z-offset calibration sequence from the menu or the host software.
On a manual four-corner printer, heat the bed, place a standard sheet of paper under the nozzle, and lower the nozzle until it is roughly a fingertip above the bed at each corner in turn. Tighten and recheck in a loop until all four points match.
If your printer supports storing per-plate Z offsets, set one up while you are here. Prusa firmware has a Steel Sheet Profiles feature that keeps a separate Z offset for each sheet, so you can swap between a textured and a smooth plate without recalibrating. Check whether your firmware offers something equivalent before assuming you have to redo the offset every time.
One caution about third-party plates. Cheap sheets are often undersized in thickness, which drops the nozzle closer than it should be and chews a hole through the first layer. Measure the new sheet with calipers and compare it with the old one before you recalibrate, so you know whether a Z error is a setting problem or a parts problem.
Step 7: Test the New Build Plate
Do not go straight back to a twelve-hour print. Run a small adhesion and layer test first — a single-layer test pattern or a thin first-layer square with the same material and bed temperature you use for real jobs.
A good first layer is slightly squished, not a thin line of separate dots. If the lines look like a dotted texture, your Z offset is too high. If the lines merge into a glossy puddle, it is too low and the nozzle is dragging.
Watch three things on the test. Adhesion tells you whether the surface is clean and whether the gap is right. Release tells you whether you can remove the part without flexing or gouging the plate. Warping tells you whether this material and this surface combination suits your setup.
If the pattern looks correct but a real print still lifts, raise bed temperature or add a brim or raft before touching anything else. And if the test part takes some effort to remove, that is the plate doing its job, not a problem to solve with a screwdriver.
A second test print is worth it. The first print after a swap often reveals a slightly loose corner that the paper test did not catch, because paper feels different from a real first layer.
Common Mistakes
Tightening one corner at a time. The plate ends up twisted and nothing levels. Crisscross the fasteners and tighten in small increments.
Skipping the re-level. The number one complaint after a swap is a first layer that will not stick. Leveling takes two minutes; redoing a failed print takes hours.
Handling the plate face with bare fingers. Skin oils print spots that never adhere. Grab edges only, and keep microfiber cloths nearby.
Wrong thickness. A plate that is thicker than the original raises your bed, a thinner one drops it. Measure with calipers when the part is not OEM.
Installing the sheet backward. Textured and smooth sides are not interchangeable, and some plates have a heat-resistant face and a sensitive face. Check the arrow or label before seating it.
Cracked or warped glass. Tempered glass with a damaged edge spreads the crack under thermal stress. If you see chips, replace it rather than running it hot.
Damaged clips or bent springs. Binder clips and thumbscrew springs lose tension over time. If the plate will not hold position, replace the clip rather than over-tightening the mount.
A plate rated below your temperature needs. Nylon and polycarbonate printing push well past the rating of a basic PEI sheet. Check the plate temperature limit in the manual and match it to the filament you actually use.
Working on a warm plate. Bolting a warm sheet into a cold mount builds tension that relaxes later and warps the plate. Cool fully first, every time.
Frequently Asked Questions
Can I replace the build plate on any 3D printer?
On most desktop FDM printers, yes, because the plate is designed as a consumable. The exceptions are printers with a permanently bonded glass bed or an integrated heated surface that is not user-swappable. Check the manual for a parts diagram and a spare-parts list before ordering. Resin printers also use removable plates, but there the plate is about release and tilt rather than heat.
How do I know which replacement build plate is compatible?
Match three things: the outer dimensions, the thickness, and the mounting method. Dimensions and thickness are measurable with calipers or a ruler. Mount type you can see — corner screws, thumbscrews and springs, magnets, or clips. Buying a flexible spring steel sheet for a screw-mounted bed is the usual reason a plate swap ends in a return.
Should I replace a glass bed if it is warped?
If the warp is small enough that leveling still works, you can keep printing, though first-layer consistency will suffer at the edges. Replace it if you can see a visible curve from the side, if the glass has a chip on an edge, or if no corner of your level paper test will clear. Warped or chipped glass under repeated heating is a crack waiting to happen, so treat it as a safety issue too.
How do I clean a new PEI or spring-steel build plate?
Wipe textured or smooth PEI with 90% isopropyl alcohol and a microfiber cloth. For spring steel, warm water with a drop of dish soap works well, followed by alcohol for stubborn marks and a full dry. Rinse, dry, and keep your fingers off the print area. New plates often arrive with handling grease, and cleaning before the first print saves an adhesion failure.
Do I need to level the printer after changing the build plate?
Yes, treat every plate swap as a leveling event. Even an identical replacement can differ slightly in thickness, and that difference shows up immediately as a failed first layer. Heat the bed to your usual first-layer temperature, then run the automatic routine or repeat the manual paper test at all four corners. Then re-check your Z offset.
Why is my first-layer adhesion still poor after replacing the plate?
Nine times out of ten it is the surface or the gap, not the plate. Clean it again with isopropyl alcohol, then confirm the Z offset by checking whether the test lines are squished together or printed as separate dots. Also check the bed temperature against the material, and make sure you heated the bed before leveling — cold plastic and cold plate are the hardest to bond to.
Conclusion
Replacing a build plate is one of the easiest repairs on any 3D printer, and most problems come from rushing two specific parts: working out how your plate is held on, and re-leveling afterward.
So here is the safe order of operations. Read the manual for your model and the fastener list. Switch the printer off, unplug it, and let the bed cool to room temperature. Order the plate that matches your dimensions, thickness and mount type. Clean the mount and the new sheet, seat it evenly, and tighten in a crisscross pattern without overdoing it. Then heat the bed, re-level, re-check the Z offset, and run a small adhesion test before you queue up a real print.
If you do that, most plate swaps in 2026 take under a quarter of an hour and the next print comes out better than the last one.