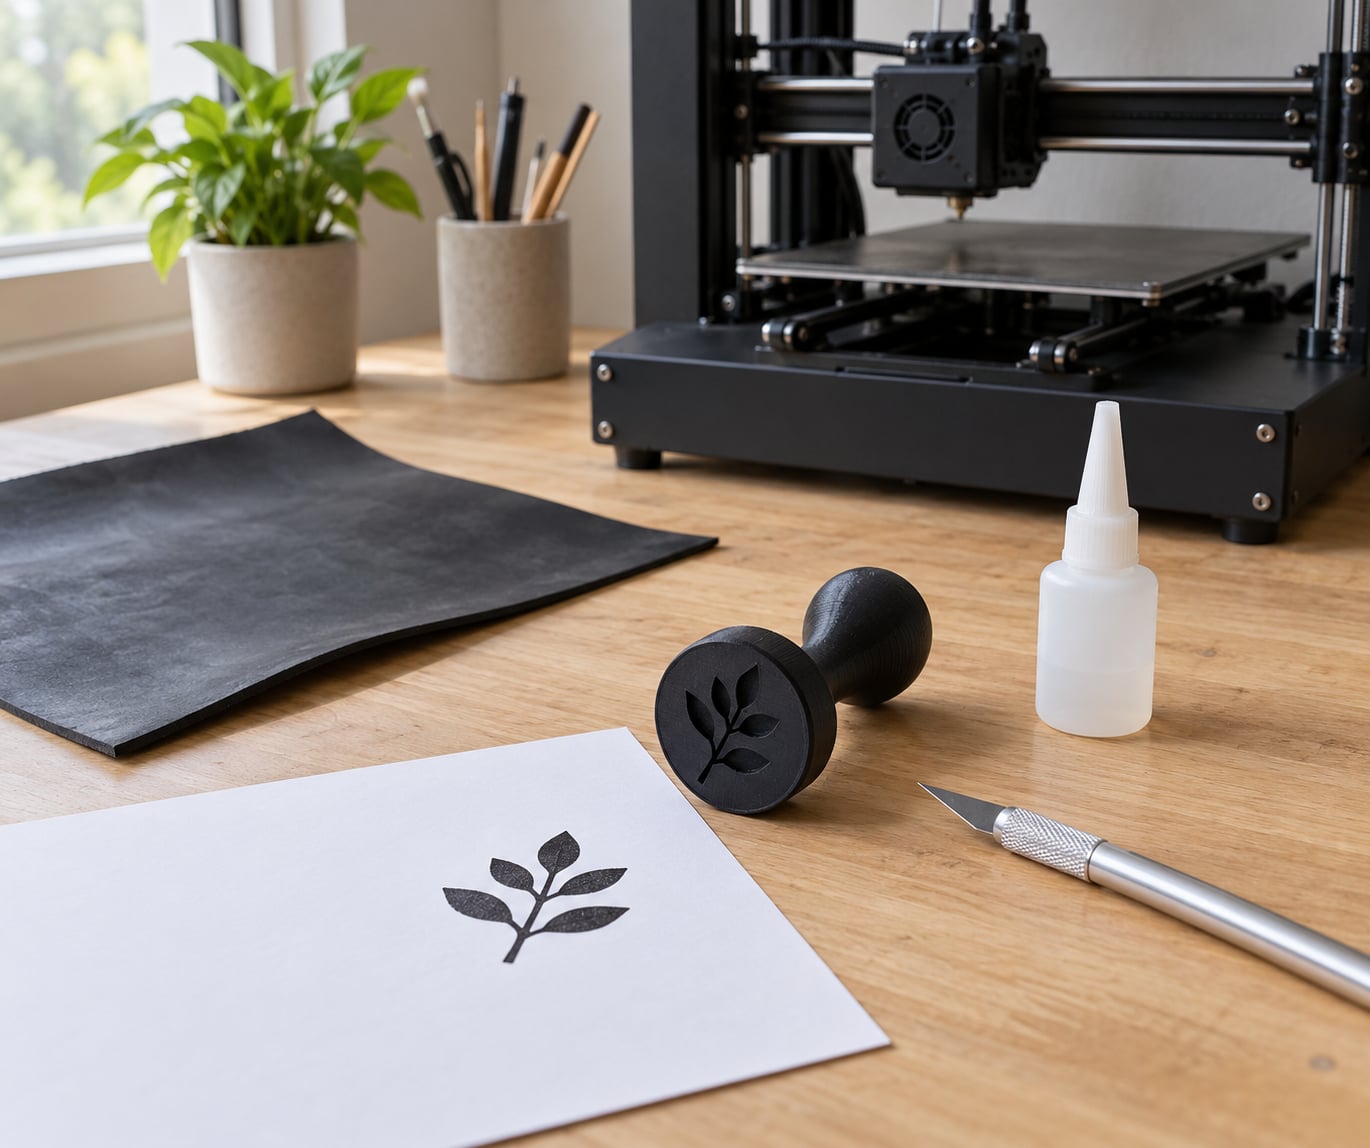
A 3D printed stamp is a printed handle with a rubber or silicone face glued to it, and you make one by mirroring your artwork, printing the handle, cutting the face to match, and testing the impression. The whole job takes an afternoon for a first-timer and an experienced maker can knock one out in under an hour once the workflow is familiar.
Most of the difficulty is not the printing. It is the mirroring, the flatness of the face, and the rubber choice, and those three decide whether the first impression reads cleanly or looks like a smudge. Get them right and the rest is ordinary slicing work.
Updated for 2026. This method assumes a standard FDM printer with a 0.4 mm nozzle, which is where almost every beginner starts.
Table of Contents
- What You Need
- Design and slicing software
- Printer, filament and build surface
- Rubber or silicone for the face
- Mounting hardware and tools
- How to Make a 3D Printed Stamp: Step-by-Step
- How to Make a 3D Printed Stamp That Prints Clearly
- Print the Stamp Handle in the Right Orientation
- Select and Cut the Rubber Face
- Mount the Rubber on the Handle
- Test and Refine the Impression
- Common Mistakes
- Tips for Better Stamping Results
- Frequently Asked Questions
- Can a normal FDM printer make a 3D printed stamp?
- What is the best material for a 3D printed stamp handle?
- Which rubber or silicone should I use for the printing surface?
- Do I need to seal rubber before using it as a stamp?
- How much detail can a handmade 3D printed stamp produce?
- Can I replace the rubber face after it wears out?
- Conclusion
What You Need
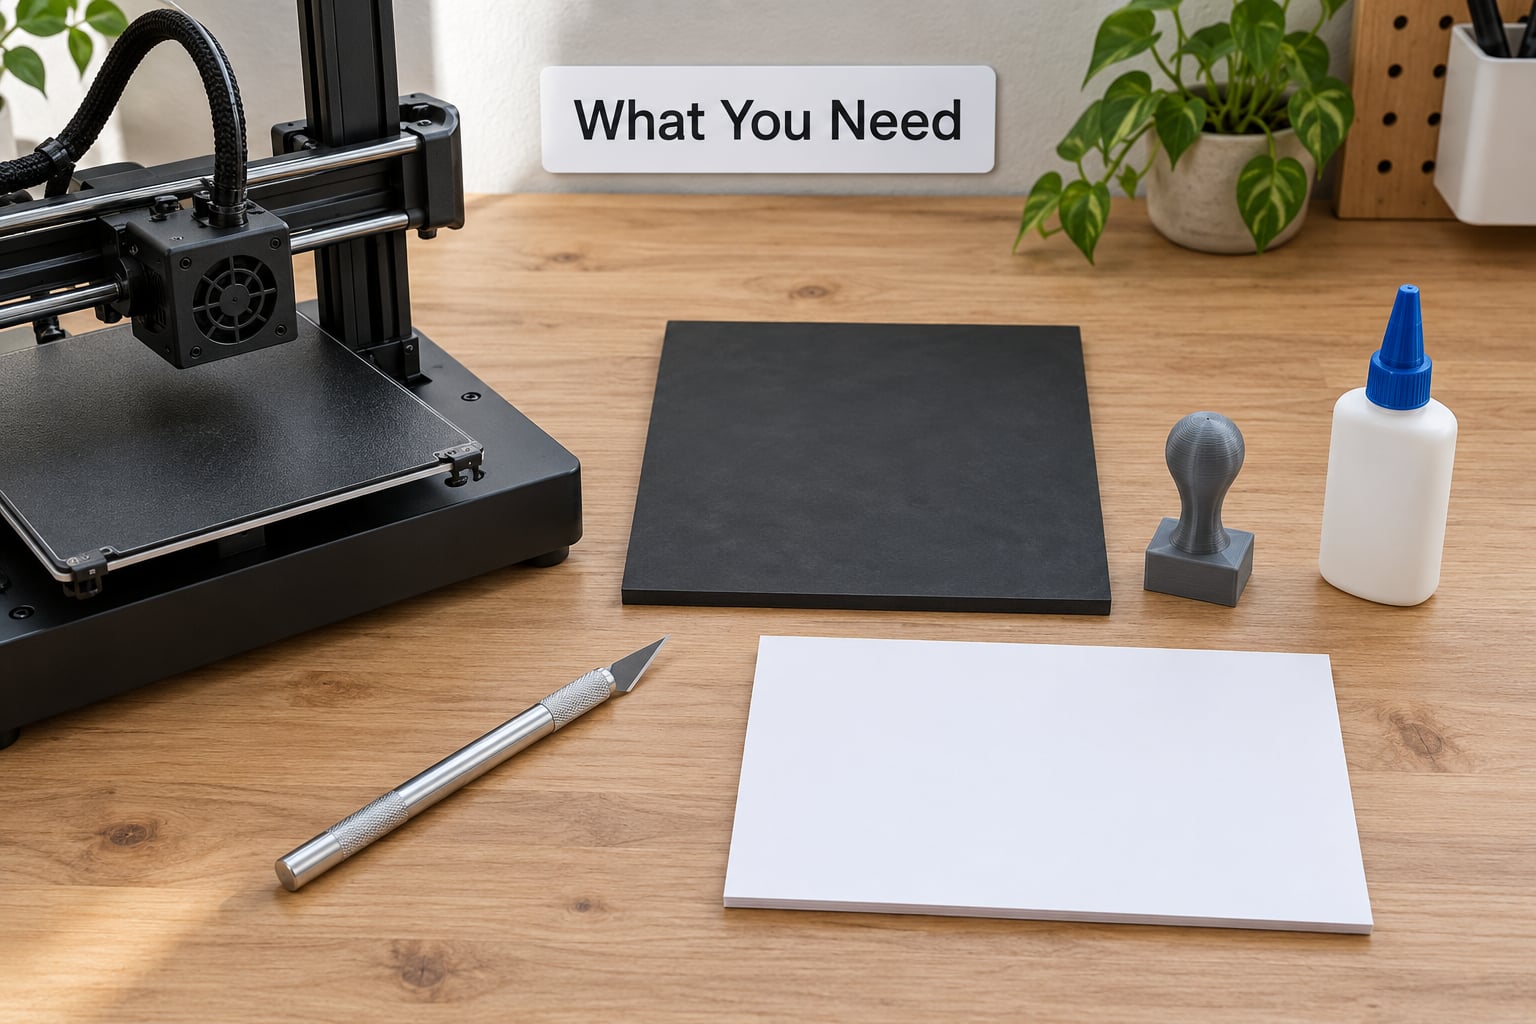
The print only makes up one third of the tool. The other two thirds are the face and the way it is attached, so budget your shopping list accordingly.
Design and slicing software
You need a vector editor to clean up the artwork and a slicer to prepare the handle. Inkscape is free and handles SVG tracing and the mirror flip well. Tinkercad, Fusion 360, SelfCAD and Blender all work if you would rather model the face directly in 3D. PrusaSlicer or OrcaSlicer covers the printing side.
Printer, filament and build surface
Any FDM printer that can hold a 0.2 mm layer height is fine for the handle. PETG or PLA both work, and a smooth or satin PEI sheet gives a mounting face flat enough for rubber to bond to. A textured sheet has a permanent roughness that stops rubber sitting flat, so skip it for this project.
Rubber or silicone for the face
This is the part that surprises newcomers. A craft store stamp rubber sheet is the easy option and it cuts with a knife. Self-healing rubber is the upgrade. Silicone sheet works too but is softer, absorbs more ink and loses crisp edges faster.
How soft the face is changes everything downstream. Firm rubber holds a sharp edge and needs more pressure. Soft rubber grabs ink easily and flexes into the paper, which is forgiving on a first print but blurs fine lines.
| Face material | Typical feel | Ink pickup | Detail | Notes |
|---|---|---|---|---|
| Craft stamp rubber | Firm | Clean and quick | Holds fine edges | Best beginner choice, cuts by hand |
| Self-healing rubber | Firm with flex | Even | Very good | Lasts far longer, pricier |
| Silicone sheet | Soft | Heavy, needs blotting | Softer edges | Great for fabric paint, poor for fine text |
| 3D printed TPU face | Medium | Good, needs re-inking often | Limited by layer height | No cutting, but fussy to print |
Mounting hardware and tools
Rubber needs something to hold it. A printed mounting plate with a recess is the cleanest option, and a countersunk screw or a snap-fit lip keeps it from peeling. Otherwise use a two-part epoxy or a contact adhesive rated for rubber, plus a craft knife, a cutting mat, fine sandpaper, a small clamp or weight, and plain white printer paper for testing. A black dye-based stamp pad is worth buying rather than borrowing office ink, which tends to run.
How to Make a 3D Printed Stamp: Step-by-Step
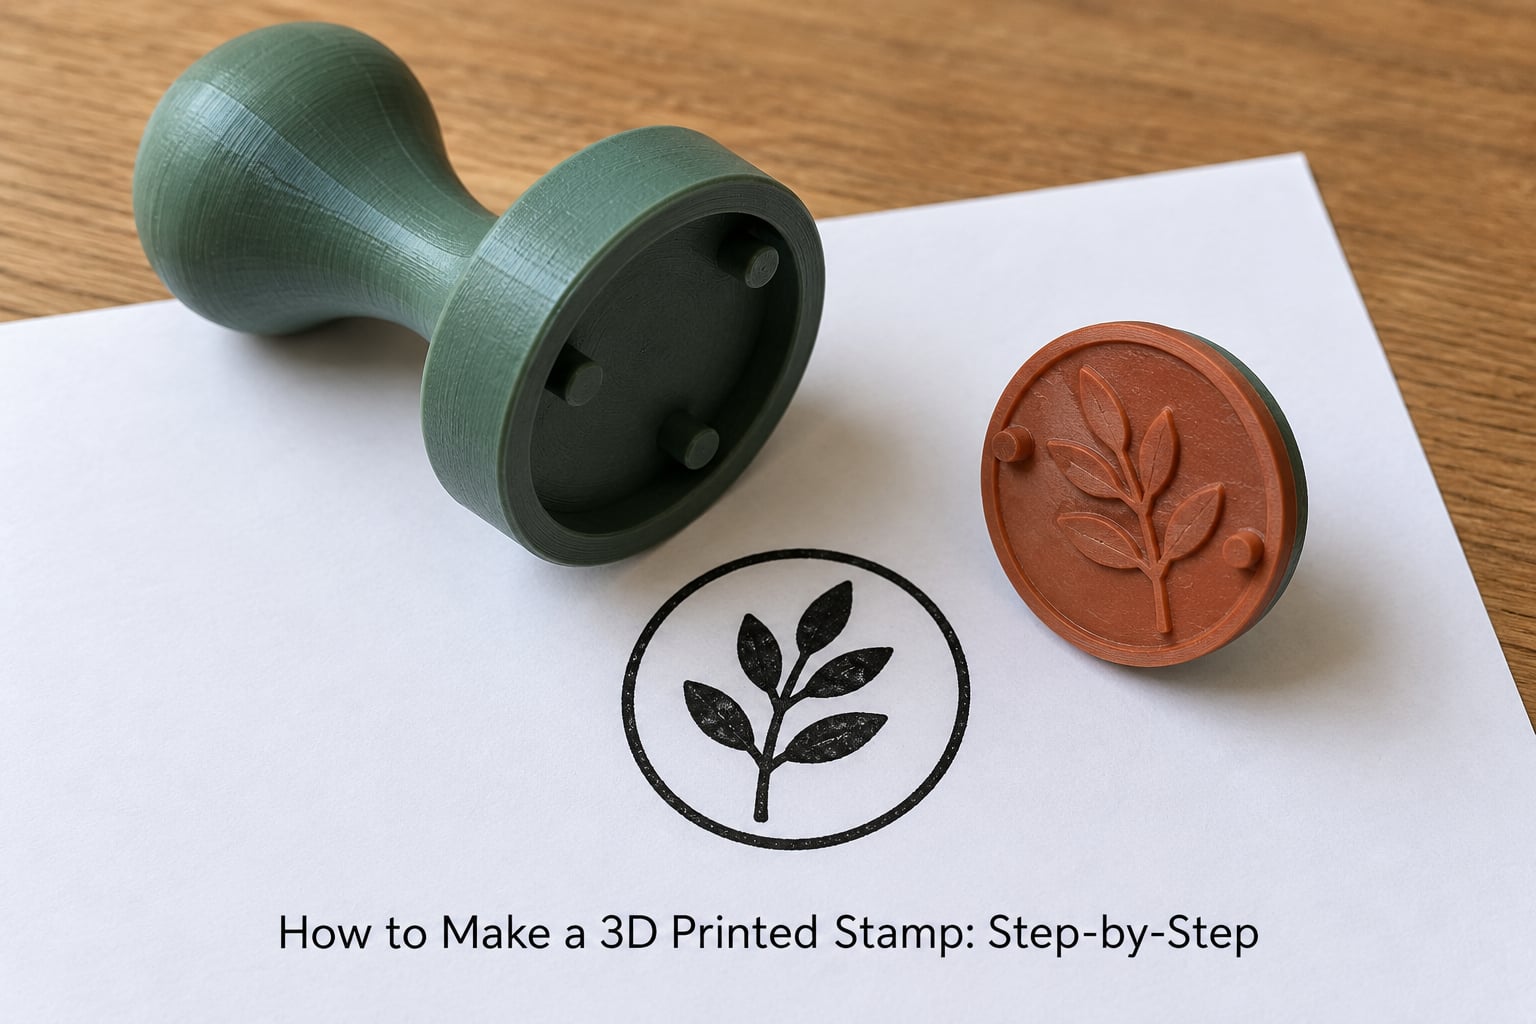
Six steps, in this order. Do not skip the test impression at the end, because it is the only way to know whether the face height is right before you commit to more rubber.
How to Make a 3D Printed Stamp That Prints Clearly
Start with a design that will survive being pressed into paper. Solid black shapes, chunky lettering and generous spacing all work. Hairline strokes and thin serif text do not, at any stage of this process.
- Bring your artwork into a vector editor as an SVG. If you only have a photo, trace it with Inkscape’s auto-trace and clean up the result by hand.
- Convert all text to outlines so the lettering travels with the file and never re-substitutes a font.
- Flip the artwork horizontally. A stamp prints backwards, so a correct-looking file produces a reversed impression.
- Add a 3 mm border of empty space around the design. The rubber needs a margin to grip, and the border gives the cutting knife a straight line to follow.
- Size it. A design under 25 mm across loses the least detail and is the least punishing to print.
- Pair the artwork with a printable handle whose mounting surface is flat and slightly smaller than the rubber piece.
You will know the design is right when you hold the file up to a mirror. If the lettering reads backwards in the mirror and forwards on screen, the file is mirrored correctly for stamping.
If modeling is not something you want to learn, download a printable stamp handle and design your face as a simple raised relief instead. Free models tagged for stamps are common on model-sharing sites, and adapting an existing handle takes a few minutes.
Print the Stamp Handle in the Right Orientation
The handle carries no fine detail, so its job is to be rigid and flat. Print the mounting plate as the first layer, face down on the build plate, so nothing sits on top of it.
These are the starting points that work on a standard 0.4 mm nozzle:
| Setting | Value | Reason |
|---|---|---|
| Layer height | 0.2 mm | Fine enough for a flat bonding surface |
| Perimeters | 3 | Rigidity for repeated pressing |
| Infill | 40 to 60 percent | Stiffness without wasted filament |
| Supports | Only under overhangs above 50 degrees | None needed for a flat-faced block |
| Material | PETG preferred, PLA fine | PETG resists heat and flex better |
Remove the print and check the mounting face under a light. Run a fingernail across it. Any ridge, ripple or lifted corner means the plate is not flat enough, and rubber bonded to it will curl at the edges and print faintly. Sanding fixes a slightly ridged face; a lifted corner means reprinting with better first layer adhesion.
Select and Cut the Rubber Face
Pick the rubber to match your surface, not the other way round. Firm craft rubber for paper and card. Self-healing rubber if you plan to make many impressions in a row. Silicone if the target is fabric paint or clay.
- Tape the mirrored artwork face down onto the unprinted side of the rubber sheet.
- Trace around it with a fine marker, then add your margin line by hand if the printed border is thin.
- Score the line several times with a craft knife, then cut through on the final pass. Scoring first stops the knife from skating off and gouging.
- Keep the raised printing surface perfectly flat. Do not sand or file it at this stage.
- Peel the paper off and check the relief in raking light. The design should stand slightly proud of the surface with clean vertical walls.
The last check matters more than it sounds. If the walls are undercut or torn, ink pools in the tear and prints as a smudge no matter how good the handle is.
Mount the Rubber on the Handle
Two routes work well. Adhesive is faster and forgiving. Mechanical retention lasts longer and lets you swap faces.
For adhesive, roughen the back of the rubber lightly with fine sandpaper, clean both surfaces with isopropyl alcohol, apply a thin coat of two-part epoxy or rubber contact cement to the back of the face only, and press it onto the mounting plate with even pressure. Weight it with something flat and leave it overnight. Handling it early is the number one cause of a face peeling away mid-use.
For a mechanical mount, print a plate with a shallow recess slightly larger than the rubber, drop the face in, and add a retaining ring or two small countersunk screws along the edge. Keep screw heads clear of the printing face so they never touch the paper.
Give it a fair press and check that the face sits flush along all four sides. Rock the handle gently. Any daylight underneath one edge means that corner is printing blank.
Test and Refine the Impression
Ink the stamp with a thin, even layer. Pump the pad a couple of times on scrap paper first, then load the stamp. A thick film of ink fills fine detail and produces a blobby edge.
- Press the stamp straight down with even pressure across the whole face, then lift it without sliding.
- Hold the paper up and look at the impression from a shallow angle. Harsh raking light shows uneven contact better than overhead light.
- Look for faint zones at the edges, which mean the face is not sitting flat, and for filled-in details, which mean too much ink or too much pressure.
- Adjust and retest. More pressure helps a firm face; less ink helps a soft one.
Three test impressions are usually enough to find your settings. When the print reads the right way round with even coverage, the stamp is finished.
Common Mistakes
Almost every failed stamp comes down to one of the issues below. Find your symptom and fix the cause rather than repeating the press.
| Symptom | Cause | Fix |
|---|---|---|
| Impression reads backwards | Design was not mirrored before cutting | Flip the artwork in the vector editor, re-cut the rubber |
| No raised edges at all | Design was traced as outline only, with no fill | Fill the shapes solid in the SVG before cutting |
| Edges weak or broken off | Raised design too shallow, or rubber too hard | Deepen the relief, or switch to softer rubber |
| Crooked or partial impression | Mounting face not flat, rubber bonded to a ridged plate | Sand the plate flat and re-bond the face |
| Faint print, no contact | Too little pressure or too little ink | Press more evenly and re-ink the pad |
| Blobby, filled-in print | Excess ink or too much pressure on soft rubber | Blot the pad, press more lightly, firm up the rubber |
| Detail clogging after a few uses | Old ink drying in the recesses | Wipe the face after each session, store it face-up |
| Face separating from handle | Adhesive not cured, or bonded too thin | Re-bond with a thicker even coat and full cure time |
Tips for Better Stamping Results
A few habits separate a stamp that keeps working from one that fades after a month.
Sealing depends on the material. Craft rubber and self-healing rubber generally need nothing, and some sealers sit on top of the ink and make prints patchy, so test a small area first. Silicone is different. Because it is porous, a thin coat of silicone-compatible sealer keeps it from absorbing ink and going patchy, and it must cure fully before the first impression.
Trim any burrs around the edge of the face with a craft knife. They do not affect the print but they catch on paper. Keep stamps away from heat and direct sun, and store them face-up in a box so the rubber does not take a set from being pressed against something.
Clean between inks. A dedicated soft brush or a lint-free wipe gets most of it, and a little isopropyl alcohol on the cloth works for stubborn residue on rubber that is not silicone.
Print spare handles when the filament is already running. Handles take longer to print than people expect, and a spare costs only a few grams of filament. Keeping one also means you can rebuild a stamp when the face wears out rather than redesigning it.
Frequently Asked Questions
Can a normal FDM printer make a 3D printed stamp?
Yes. A standard FDM printer with a 0.4 mm nozzle is enough for the handle, and a TPU face prints on one too if you are patient with the settings. Resin printers give crisper detail but are messy, expensive to run and rarely needed when the face is a cut rubber sheet. Start with the handle on whatever machine you already own.
What is the best material for a 3D printed stamp handle?
PETG is the best all-round choice because it resists flex and heat better than PLA and prints easily at 0.2 mm layers. PLA works fine for light use and costs less. Avoid ABS unless you already print it well, since warping ruins the flat mounting surface. Nylon is worth skipping for this project entirely.
Which rubber or silicone should I use for the printing surface?
Craft stamp rubber is the easiest to start with: firm, cuts cleanly with a knife and holds a sharp edge. Self-healing rubber lasts much longer and gives more even ink pickup, so it is the better choice if you will make many impressions. Silicone suits fabric paint and clay, but it drinks ink and blurs small lettering.
Do I need to seal rubber before using it as a stamp?
Usually no. Craft rubber and self-healing rubber are dense enough to take ink directly, and a sealer can sit on the surface and cause patchy prints. Silicone is the exception: because it is porous, a thin coat of a silicone-compatible sealer, fully cured, stops it absorbing ink unevenly. Test any sealer on a scrap impression first.
How much detail can a handmade 3D printed stamp produce?
Plan on bold shapes and thick lettering. Keeping a design under about 25 mm across preserves the most detail, and raised elements should be at least 1 mm thick. Hairline strokes and thin serif fonts will not survive, whether the face is printed in TPU or cut from rubber. Simplify the artwork before you start rather than after.
Can I replace the rubber face after it wears out?
Yes, and that is one of the real advantages of a printed handle. Print the handle with a shallow recess or a screw pattern and swap in a new face cut to the same outline. Keep the original artwork file so every replacement matches, and clean the mounting surface before bonding so no old adhesive or ink blocks full contact.
Conclusion
The sequence is short: vectorize the artwork, mirror it, print a flat handle, cut a rubber face to match, bond it, then test and adjust. Mirroring and flatness decide whether the stamp works at all, and everything after that is tuning.
Start with a simple mirrored, high-contrast design and a plain word or shape. Get that impression clean, then add lettering, borders and detail once you know how your rubber responds. Once you have learned how to make a 3D printed stamp that prints clearly, the second one takes a fraction of the time.