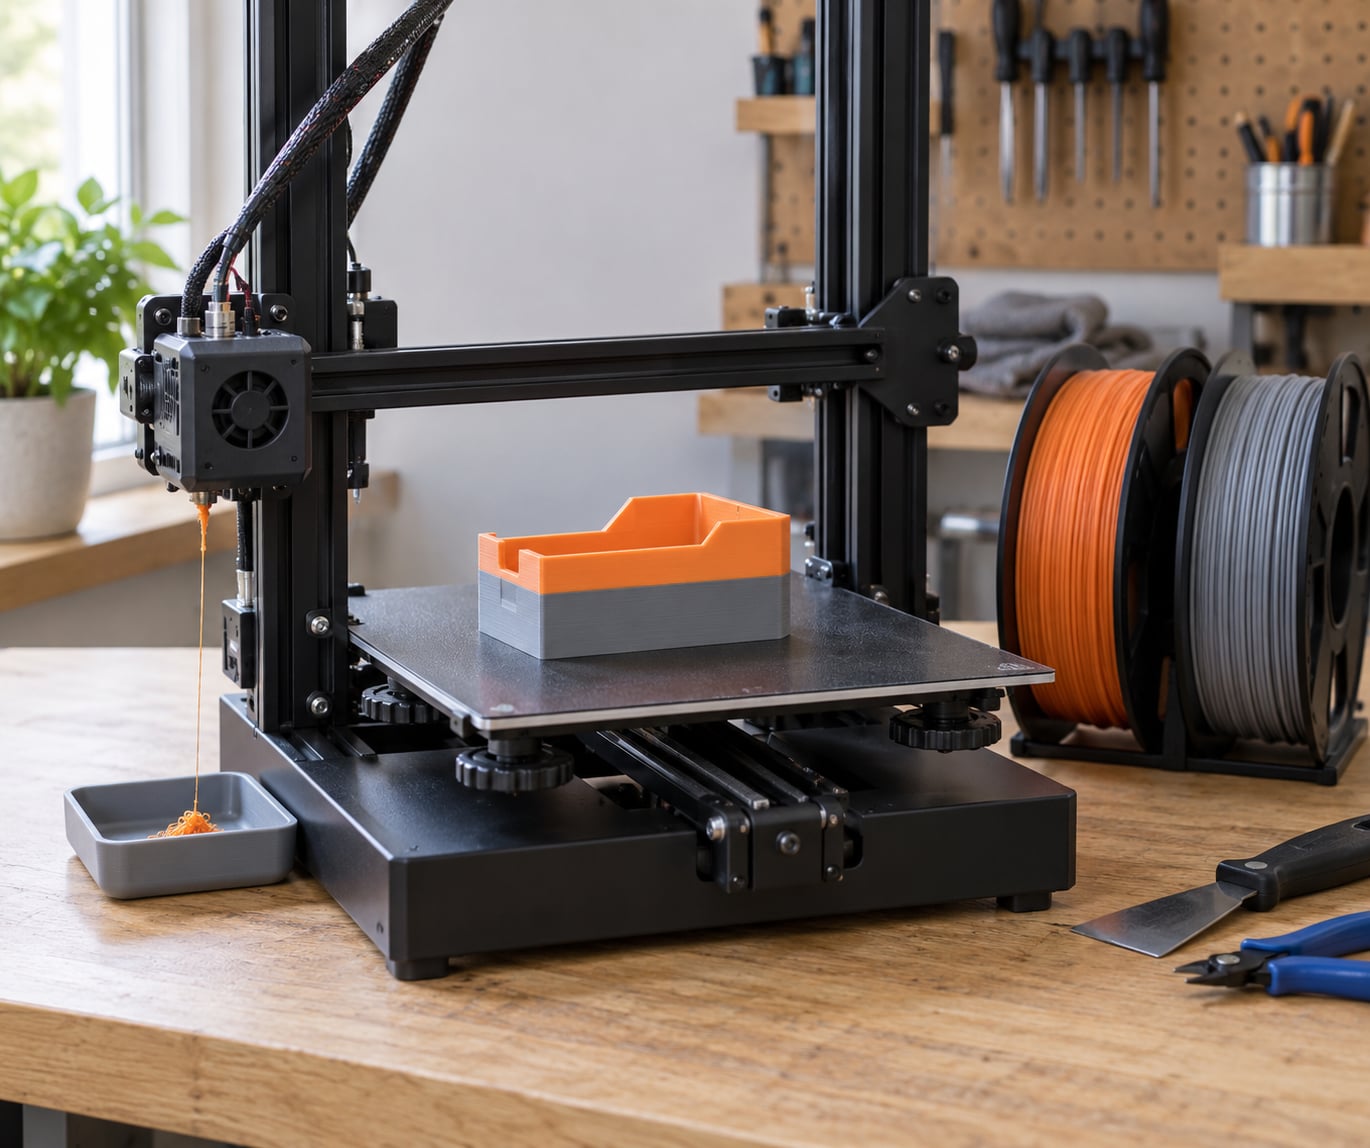
To make color changes mid print on a single-nozzle FDM printer, tell your slicer where to stop, then swap the filament at that layer. Most slicers do this with a pause at a chosen layer height, and the printer then waits while you pull the old filament and push the new one in.
A mid-print color change takes about two minutes of hands-on time per swap, and it costs nothing beyond the filament you purge out. If your printer’s firmware supports it, an M600 command makes the printer pause, park the nozzle and hand control back to you automatically. If it does not, a simple pause command does the same job.
This guide covers what to check before you start, the exact menu paths in PrusaSlicer, Cura and Bambu Studio, what to do physically at the machine, and how to fix the failures that show up most often.
Table of Contents
- What You Need
- Step-by-Step
- Choose an automatic or manual color-change method
- Prepare the filament and printer
- Configure the color change in your slicer
- Start the print and change colors
- Check the color transition and finish the print
- Common Mistakes
- Tips for Cleaner Color Changes
- Frequently Asked Questions
- Can I change filament in the middle of an FDM print?
- What is an M600 command in 3D printing?
- Does changing filament mid print create a weak or leaky layer?
- How much filament is wasted during a color change?
- Can I make color changes mid print with a PLA or ABS printer?
- Why does my printer not pause for a filament change?
- Conclusion
What You Need
Before touching a mid-print color change, confirm your printer can physically park the nozzle somewhere that is not over your part. If the nozzle sits at the centre of the bed during the pause, it will melt a hole in whatever is underneath.
- A printer with a heated nozzle and enough travel to move off the print area. Direct-drive extruders make the swap easier because the filament path is short.
- Firmware that supports a pause or color-change command. Marlin builds with M600 compiled in, and Klipper does the same thing through a pause macro. The firmware Creality ships on an Ender 3 usually does not include M600, which is why Jyers firmware and Klipper come up so often when people hit this wall.
- A slicer that can insert the command for you. PrusaSlicer, Cura, Bambu Studio and OrcaSlicer all support some version of a mid-print color change.
- Two filaments, already prepared. The new spool should be dry and free-flowing, because you will not have time to troubleshoot a brittle spool at the machine.
- A pair of pliers and something to catch drips, such as a small tray or a piece of cardboard.
One more thing worth doing before the first print: run a short test model with two colors so you can measure your own purge length. Purge amounts vary a lot with nozzle size and filament brand, and a number from someone else’s printer is only a rough starting point.
Step-by-Step
Choose an automatic or manual color-change method
There are three ways to make color changes mid print, and they differ in how much the machine does for you. Picking the right one comes down to what your firmware supports.
M600 color change. The slicer inserts an M600 line at a specific layer. When the printer reaches it, the firmware retracts, parks, optionally heats to a purge temperature, pauses, then resumes after you confirm on the screen. Marlin and Klipper setups handle this well.
Slicer-generated pause. Cura, PrusaSlicer and Bambu Studio can all insert an M0 or a firmware pause at a chosen layer. The behaviour is the same from your side of the machine: it stops and waits. M0 is the more universal option because far more firmware understands it.
Fully manual. You watch the layer counter on the printer and pull the filament yourself at the right moment. This works on any printer but it is the least reliable, since you cannot know exactly when the layer ends.
If your printer runs factory firmware with no pause support at all, flash Jyers or Klipper before fighting with G-code. That is usually a two-hour job that solves the problem permanently.
Prepare the filament and printer
Dry both spools. Wet PETG and silk PLA bubble at the nozzle and make a color change look far worse than it is, and you cannot fix that while the machine is paused.
Load the first filament as usual and confirm the nozzle reaches and holds temperature for the material you are about to print. Then set your park position in the slicer so the nozzle moves to the front-left or rear-left corner, well away from the part and clear of the bed clips.
Clear the working area before the print starts, not during it. With the nozzle parked at a corner, you want free access to the extruder and enough room to catch a drip of purge filament without it running onto the bed.
Check that the printer’s motors stay locked during the pause. Printers with two Z motors can drift on a dual lead screw if tension is not right, and that drift shows up as a sudden layer shift the moment you resume.
Configure the color change in your slicer
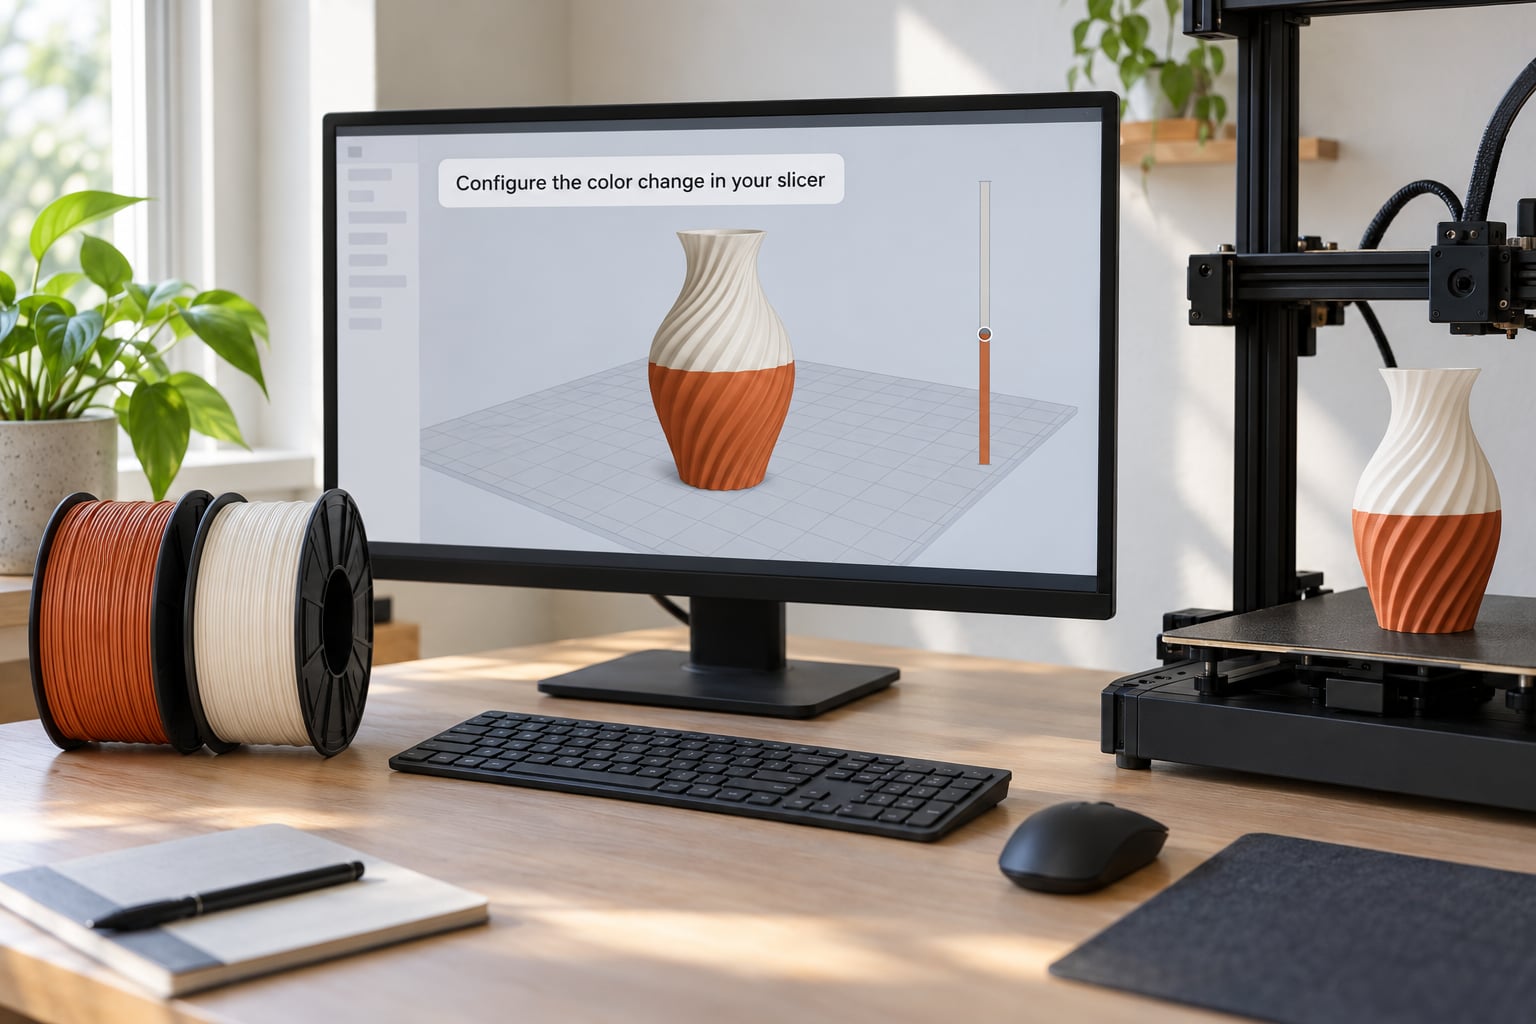
Every slicer needs the same three things: the layer where the change happens, the pause command inserted there, and the retraction and park settings that keep the nozzle clean while you swap. The paths differ, the logic does not.
PrusaSlicer. Slice first, switch to Preview mode, drag the vertical layer slider to the exact layer you want the new color to start on, and right-click the marker in the timeline. Choose to add a color change or a filament change at that layer. In the filament settings panel, add each spool as a separate filament and assign its color so the preview matches what you will get. PrusaSlicer then writes M600 into the file for you.
Cura. Install the Post Processing: Modify G-code script from the built-in script collection if it is not already in your profile. Slice, move the layer slider in the preview to the target layer, open the Post Processing panel and add a Filament Change script. Set the retraction distance, extruder distance and park position there. Cura inserts the pause command at the layer you marked.
Bambu Studio. Add both spools in the filament section on the left panel first; the change-filament option does not appear until they are there. In Preview mode, right-click the layer you want in the layer navigator and select the color change option. Bambu Lab forum users add that the option is greyed out on printers without an AMS until at least two filaments are configured, which trips up a lot of first attempts.
Whichever slicer you use, preview the change before printing. If the new color starts in the middle of a wall instead of at the top of a layer, move it up one layer so the boundary sits on a clean face.
Start the print and change colors
Start the print and stay nearby. When the layer counter reaches your change layer, the printer will retract, move to the park position and hold there with the nozzle still hot.
Here is the physical sequence at the machine:
- Pull the hot end lever or loosen the extruder knob so the grip does not fight you.
- Remove the old filament. Some people pull it straight out and others give it a gentle twist as it comes free; a twist breaks the grip inside the heat break far less often.
- Feed the new filament straight into the extruder until it reaches the hot end, following the printer’s own loading procedure.
- Watch the nozzle. The new color should appear within about 10 mm to 20 mm of extrusion for a 0.4 mm nozzle on most printers. Push a little more until the old color is fully gone.
- Confirm the pause on the printer screen, or press resume. The nozzle reheats if it cooled and the print continues on the same layer.
Purge length is the setting people argue about most. Start around 100 mm of filament at 0.4 mm, then shorten or lengthen it based on what you see. If old color is still showing, purge more. If the transition is clean well before the end, purge less and save material.
For single-layer prints or lettering on the top surface, print a small sacrificial cylinder first so the nozzle purges onto something disposable. A small cylinder printed before the main part absorbs the old color and saves the finish on your actual model, which is a common trick for text overlays.
Check the color transition and finish the print
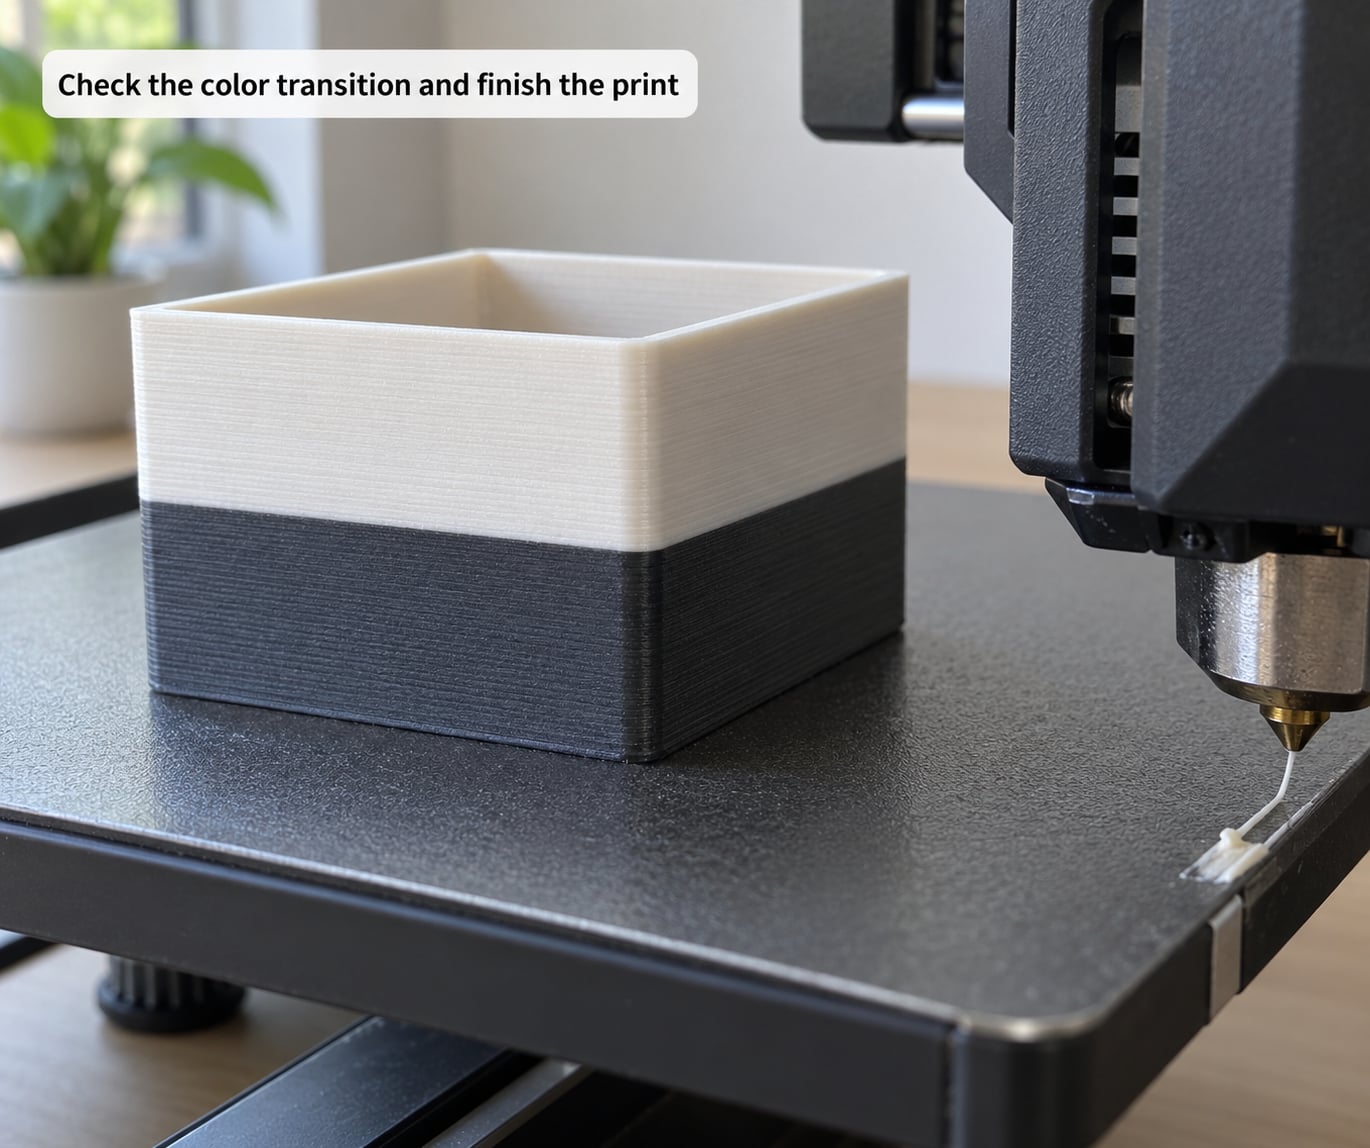
Resume the print and stay close for the first few layers after the change. Underextrusion often shows up as a gap or a visible ridge for 30 mm to 40 mm after the swap, then resolves itself once the new color is fully purged.
Wipe the nozzle clean before you resume. Oozing that happens at the park position will otherwise land as a blob on the first layer of the new color.
Look for three things once the transition has printed: a clean boundary between colors, no gaps in the wall, and no stringing between the part and the purge area. If the boundary is soft and smeared rather than crisp, the nozzle temperature was too high for the transition or the purge volume was too large. Drop the temperature by about 5 degrees and try again.
A weak layer at the change point is normal and mostly cosmetic, because the nozzle returns to the same Z height and finishes the layer. Layer adhesion only suffers if you resume cold.
Common Mistakes
The printer never pauses. The pause command was not inserted, or your firmware ignored it. Check that the sliced G-code file actually contains an M600 or M0 line near your target layer by searching the file in a text editor. If it is there and the printer still runs straight through, the firmware is not interpreting it, and Klipper or Jyers is the fix.
The new filament will not load. The hot end is too cold, the extruder grip is too tight, or the spool is tangled. Confirm the nozzle is at temperature, loosen the lever fully, and check that the filament is not rubbing against a guide or kinked at the spool hub.
The nozzle drips onto the part while paused. The park position is not far enough away. Move it to a corner and raise the Z by a few millimetres so a string cannot reach across.
Filament will not budge after the nozzle cools. Pulling softened plastic from a cold hot end can break the heat break. Keep the nozzle hot during the swap rather than letting it sit.
Color bleed and smeared boundaries. The purge was too long or the temperature too high. Reduce the purge volume and drop the temperature by 5 degrees, then test on a small model.
The layer shifts when you resume. This is usually the Z axis. On a printer with two Z motors, an M84 sent before the pause can leave the motors free, and the fix that comes up repeatedly is to keep the motors locked so both lead screws hold position.
You are burning through filament. Purge towers on AMS-style systems can use more material than the print itself. For manual swaps, purging onto the bed or into an infill layer rather than a tall tower cuts waste sharply.
The Cura script keeps inserting changes. Post-processing scripts in Cura persist until you remove them. Delete the Filament Change script from the post-processing list after slicing, otherwise the next print inherits it.
Tips for Cleaner Color Changes
Change at a visible layer boundary rather than an arbitrary height. The transition reads as intentional when the new color starts at the top of a wall or a step, and messy when it cuts across a curved surface.
Match temperatures before you start. Silk PLA and standard PLA are close enough to swap without a temperature change, but PLA to PETG is a different job: PETG needs a higher nozzle temperature and a slower print speed, so the slicer must have those settings before the print begins. You cannot adjust them mid-layer.
Purge into something useful. Cura has a flush-into-infill option that routes the purge into the inside of the part rather than a separate tower, and it removes most of the waste from a two-color print.
Plan colors before slicing, not during. Every change costs time and roughly 100 mm of filament, so two or three well-placed changes beat eight small ones.
If your printer has a tool changer or a filament changer unit, multi-color prints stop being a chore. The trade is cost and purge volume; for one or two changes a year, manual swapping wins on every count.
Dry filament matters more than almost any other setting here. A damp spool produces bubbles and popping that people blame on the change itself, and it can clog a nozzle while the machine sits paused.
Frequently Asked Questions
Can I change filament in the middle of an FDM print?
Yes, on any FDM printer, as long as the nozzle is still hot and you keep the Z axis from moving. Most slicers can insert a pause command at a chosen layer height, and the printer waits while you swap the filament. Your firmware needs to support M600 or at least M0; if the printer runs the firmware it shipped with, you may need Klipper or a Jyers build first.
What is an M600 command in 3D printing?
M600 is a G-code command that triggers an automatic filament change routine. When the printer reaches an M600 line, the firmware retracts the filament, parks the nozzle, optionally heats to a purge temperature, and pauses so you can load new filament. It resumes after you confirm on the printer. Marlin and Klipper builds support it, which is why so many guides recommend flashing better firmware before color changes.
Does changing filament mid print create a weak or leaky layer?
Usually not. The nozzle returns to the same Z height and finishes the layer, so the geometry stays continuous. The two things that actually weaken a layer are resuming before the nozzle has reheated, and switching between materials with very different shrinkage. Changing color on the same material is mostly a cosmetic event rather than a structural one.
How much filament is wasted during a color change?
With a manual swap on a 0.4 mm nozzle, expect roughly 100 mm of purging per color change, and closer to 20 mm if the new color is similar to the old one. Larger nozzles purge longer. Automated systems waste far more because they build a purge tower beside the model. Flushing into infill instead of a tower can cut the waste from a two-color print by most of its volume.
Can I make color changes mid print with a PLA or ABS printer?
Yes, and color changes work on every common FDM material including PLA, PETG and ABS. The pause behaviour does not change with material. What does change is temperature: ABS needs a heated and enclosed chamber, and switching from PLA to PETG mid-print requires the higher temperature already set in the profile, because you cannot adjust it partway through a layer.
Why does my printer not pause for a filament change?
Check the sliced G-code file first. Search it in a text editor for M600 or M0 near your target layer; if the line is missing, the slicer did not insert the change and you selected the wrong layer or the wrong option. If the line is there but the printer runs straight through, the firmware is ignoring it, and switching to Klipper or a Jyers Marlin build is the usual fix.
Conclusion
Start by confirming your slicer can emit a pause command your firmware understands. Search the sliced G-code for M600 or M0; if the line is not there, fix the slicer setup, and if it is there and the printer ignores it, change the firmware.
Then dry both filaments, set a park position away from the part, and run a short two-color test to find your own purge length. Once that test comes out clean, the same procedure works on any model you like.