When a print fails at the same layer every time, the cause is repeatable and it sits at one specific point: if the failure lands at the same Z height on different models, your machine has a fault there, and if it lands at the same layer number only inside one model, the file or geometry is at fault. Most readers isolate it in under an hour.
Random failures point at filament, moisture or adhesion. Failures that land on the same layer, run after run, mean something mechanical, thermal or geometric is happening at that exact spot. That is good news, because a repeatable fault can be found, fixed and then verified with a short test.
This guide walks the diagnosis in order, cheapest check first, so you change one thing at a time and know which change actually mattered.
Table of Contents
- What You Need
- Step-by-Step: Why Does My Print Fail at the Same Layer?
- 1. Confirm the exact layer, not just the symptom
- 2. Check Z height, gantry motion and tension
- 3. Inspect the nozzle and the extrusion path
- 4. Check temperature, cooling and flow
- 5. Rule out the slicer, filament and model
- 6. Verify the fix with a short test print
- Common Mistakes
- Frequently Asked Questions
- Is the Z-axis the most common cause when a print fails at the same layer?
- Can a repeating layer number be caused by the 3D model?
- Should I restart a failed print at the layer before the problem?
- Why does my print stop at the same height after changing the filament?
- How do I know whether the problem is extrusion or Z-axis movement?
- Does a repeated layer shift always mean the printer needs calibration?
- Conclusion
What You Need
Gather this before you touch anything. Most failed diagnoses start because nobody wrote down the failing layer number, so the printer and the file end up being blamed in the wrong order.
- Printer model and firmware version — note it exactly, since settings and error text differ between machines. Marlin-based printers report some faults in the console; Klipper and Prusa firmware report different ones again.
- The exact failing layer number and Z height in millimetres — both, because they are not the same thing and the difference is the clue.
- The filament that failed — brand, material, spool number, and whether it was dried before the print.
- Slicer and version — PrusaSlicer, OrcaSlicer, Cura and others produce different toolpaths from the same model.
- Current temperatures — nozzle and bed, read from the printer rather than assumed from the slicer profile.
- Nozzle condition — look at the tip for burrs, damage and buildup before removing the hotend.
- Access to the control panel, plus an inspection light, because half of the mechanical checks happen in a dark frame.
- Digital calipers — useful for measuring a lead screw, a PTFE tube or the bed gap rather than guessing.
A notebook matters more than the tools. Write down each change, what you changed it from, and the result. You will be tempted to change two things at once, and then you will not know which one fixed it.
Step-by-Step: Why Does My Print Fail at the Same Layer?
Work through this in order and change one variable per test print. The order runs from free and instant checks to parts you may have to buy.
| What you see | Most likely cause | First check |
|---|---|---|
| Whole layer shifts sideways, then recovery | Z axis mechanical fault, belt or gantry bind | Move the gantry by hand at that height; check coupler and rails |
| Filament gets ground flat, strands appear, print thins out | Extruder grip failure or debris-packed gear | Inspect filament for shiny flat spots; check the drive gear |
| Extrusion stops mid-layer and does not resume | Partial nozzle clog or cold-end fan failure | Heat the nozzle, push filament through cold |
| Print detaches from the bed mid-build | Adhesion loss, warping, too much cooling | Check bed level and the part footprint at that height |
| Walls look thin and stringy from that point on | Under-extrusion or undried filament | Run a flow or extrusion test |
| Print stops with no visible fault, printer reports an interruption | G-code fault, SD card fault, driver thermal protection | Re-slice, re-export, print from a different source |
| Print fails at the same layer across completely different models | Machine fault at that Z height | Confirm the Z height matches, then start at step 2 |
1. Confirm the exact layer, not just the symptom
Read the number your printer or slicer reports. On most FDM machines the screen shows the current Z in millimetres; the layer number is layer height multiplied by Z. At 0.2 mm layer height, 6.0 mm Z is layer 30.
If you print over OctoPrint or another web interface, the same readout sits in the temperature or axis panel, and the print log records the Z value where the job stopped. For the slicer side, open the G-code in preview mode, note the layer where the toolpath last completes normally, and check the print settings summary for the exact layer height.
Then describe what the failure actually looks like. A missing section of wall, a sudden loss of extrusion, a repeated ridge, a poor overhang, a shifted layer or a full stop all point to different causes, and they rarely look alike on the bed.
Write down whether the Z height or the layer number repeats. If a different model fails at 14.2 mm every time, that is a machine fault. If only one model fails, and it fails at layer 143 regardless of height, that is a file or geometry fault.
2. Check Z height, gantry motion and tension
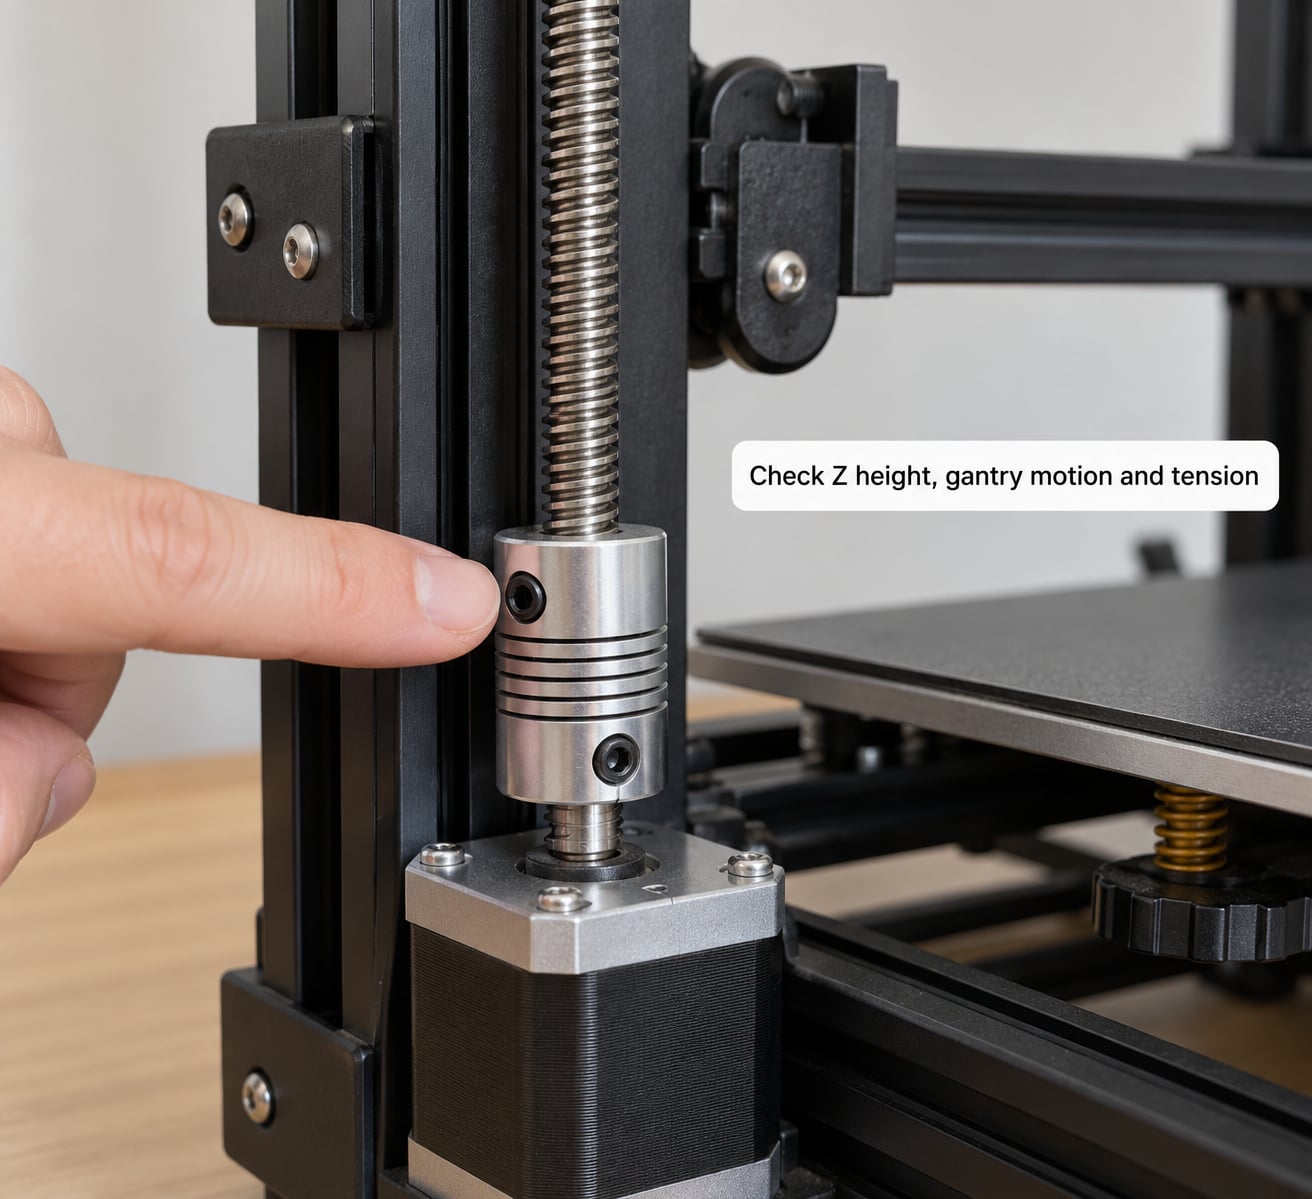
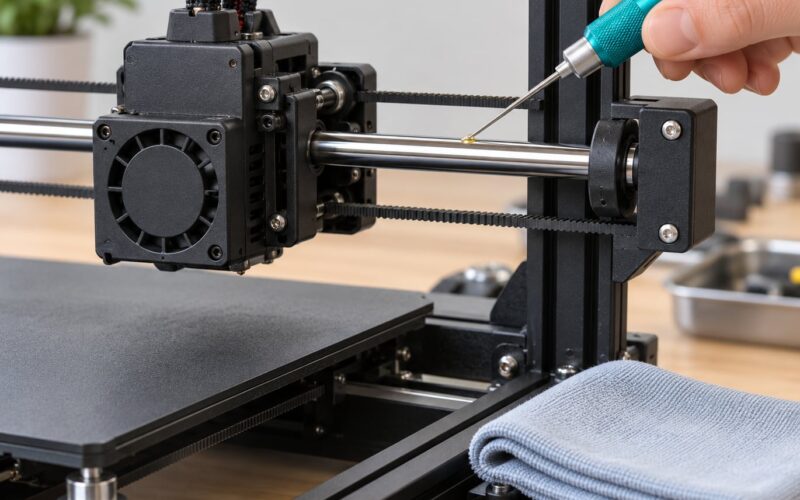
Z hardware problems repeat at one travel position because the fault is at that position. Common culprits are a coupler set screw that has backed off, a leadscrew nut or coupler that binds, a Z belt or wheel that skips, a gantry that catches on a cable tie or a bolt head, and a Z stepper cable pinched or damaged along its route.
With the printer powered off, move the gantry slowly by hand through the failing height and the ranges either side of it. It should feel identical the whole way. Any point where it catches, requires noticeably more force, or feels gritty points straight at the cause.
On a lead screw machine, turn the screw by hand at the failing height. If it resists or jumps, the nut or the screw is worn. Check that the two Z rails are level at the same height, and that every screw joining the frame to the bed is tight, because a mounting screw loosening at one height can let the bed tilt and change the gap under the nozzle.
Then look at the wiring. A ribbon or connector that chafes at a fixed travel position produces a fault at that height and nowhere else. Follow the Z stepper cable and the endstop cable along their full travel, watching for pinch points and for a connector sitting on a sharp edge.
If the printer reports an interruption with no power loss and no visible fault, check the endstop switch and its wiring too. A Z endstop that misfires at one height halts the job exactly there.
3. Inspect the nozzle and the extrusion path
Under-extrusion at a fixed layer often means the filament is being ground instead of fed. Pull the filament out and look at it: a shiny, flattened or oval section is a grind mark, and it usually appears at the same place on the strand each time.
Check the extruder drive gear and idler for flattened or missing teeth, and for a layer of old plastic dust packed around the teeth, which cuts grip dramatically. On a spring-tension extruder, loosen the tension screw, push the filament all the way to the hot end, then retighten until the motor just holds it without slipping.
For the hot end, remove the nozzle and look into it. A partial clog shows as a reduced hole or a torn, uneven blob edge. Push filament through the cold end by hand; it should move with steady resistance. If it barely moves or feels gritty, the path downstream is blocked.
A quick cold pull helps on direct drive extruders: heat the nozzle, soften the filament inside the heat break, then pull hard from the gears. On Bowden machines, unscrew the nozzle from the heat break and pull the filament straight out of the PTFE liner. Either way, re-seat the nozzle and re-tighten it while it is hot, since heat creep and an under-tightened nozzle are a common pair.
On printers with a PTFE liner inside the heat break, check the tube’s position and length. A liner sitting too low in the heat break melts, shrinks around the filament, and narrows it at a fixed distance from the nozzle. Users on the Prusa forum have traced repeat failures at one height on a MINI to an undersized liner, fixed by replacing the tube.
4. Check temperature, cooling and flow
Thermal faults repeat at one layer because something crosses a threshold there: a layer that needs more flow than the hot end can deliver, or a part that has grown large enough to trap its own heat. Confirm the actual nozzle temperature at the bed with a separate thermometer, since a miscalibrated thermistor or a failed heater reads fine on screen and wrong in reality.
Watch the cold-end fan. If it has stopped or is slower than it should be, heat creeps up into the cold side, filament softens above the melt zone and the extruder grinds instead of feeding. That shows up as a repeat-height under-extrusion or a stringy mess, and it happens more on long slow prints than on short ones.
Part cooling matters too. Fan speed set too high, or directed at one side of the part, can stop a wall sticking to the layer below at exactly the height where the geometry changes, such as where an overhang begins or a top surface starts.
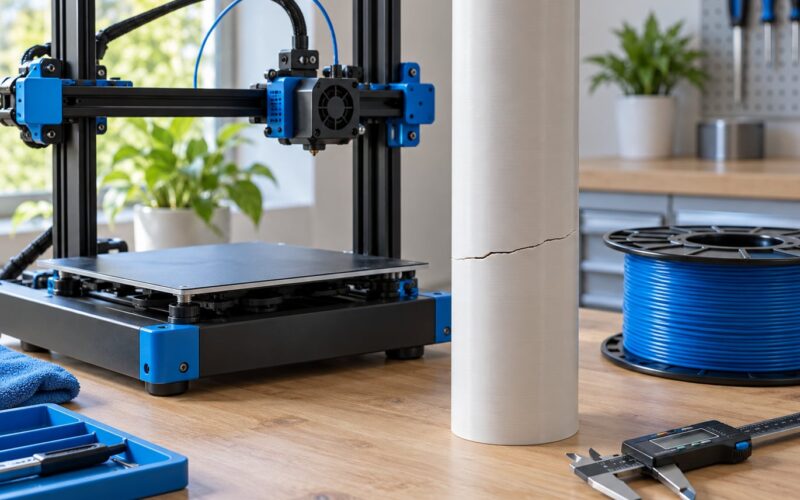
Tell the symptoms apart. Under-extrusion gives thin, rough walls with gaps and heavy stringing. A clog gives one or two missing segments and then continued printing. Delamination gives flat horizontal cracks with the layers visibly separating. A layer shift gives the whole part offset sideways. Stringing on its own usually means excess temperature or a retracted-but-not-wiped nozzle, not a blockage.
Filament is part of this step. Wet filament bubbles and pops through the nozzle, stringing heavily and then reducing flow. Drying usually fixes it, and if the failure moved after you changed spools, the material or the moisture level is a real suspect.
5. Rule out the slicer, filament and model
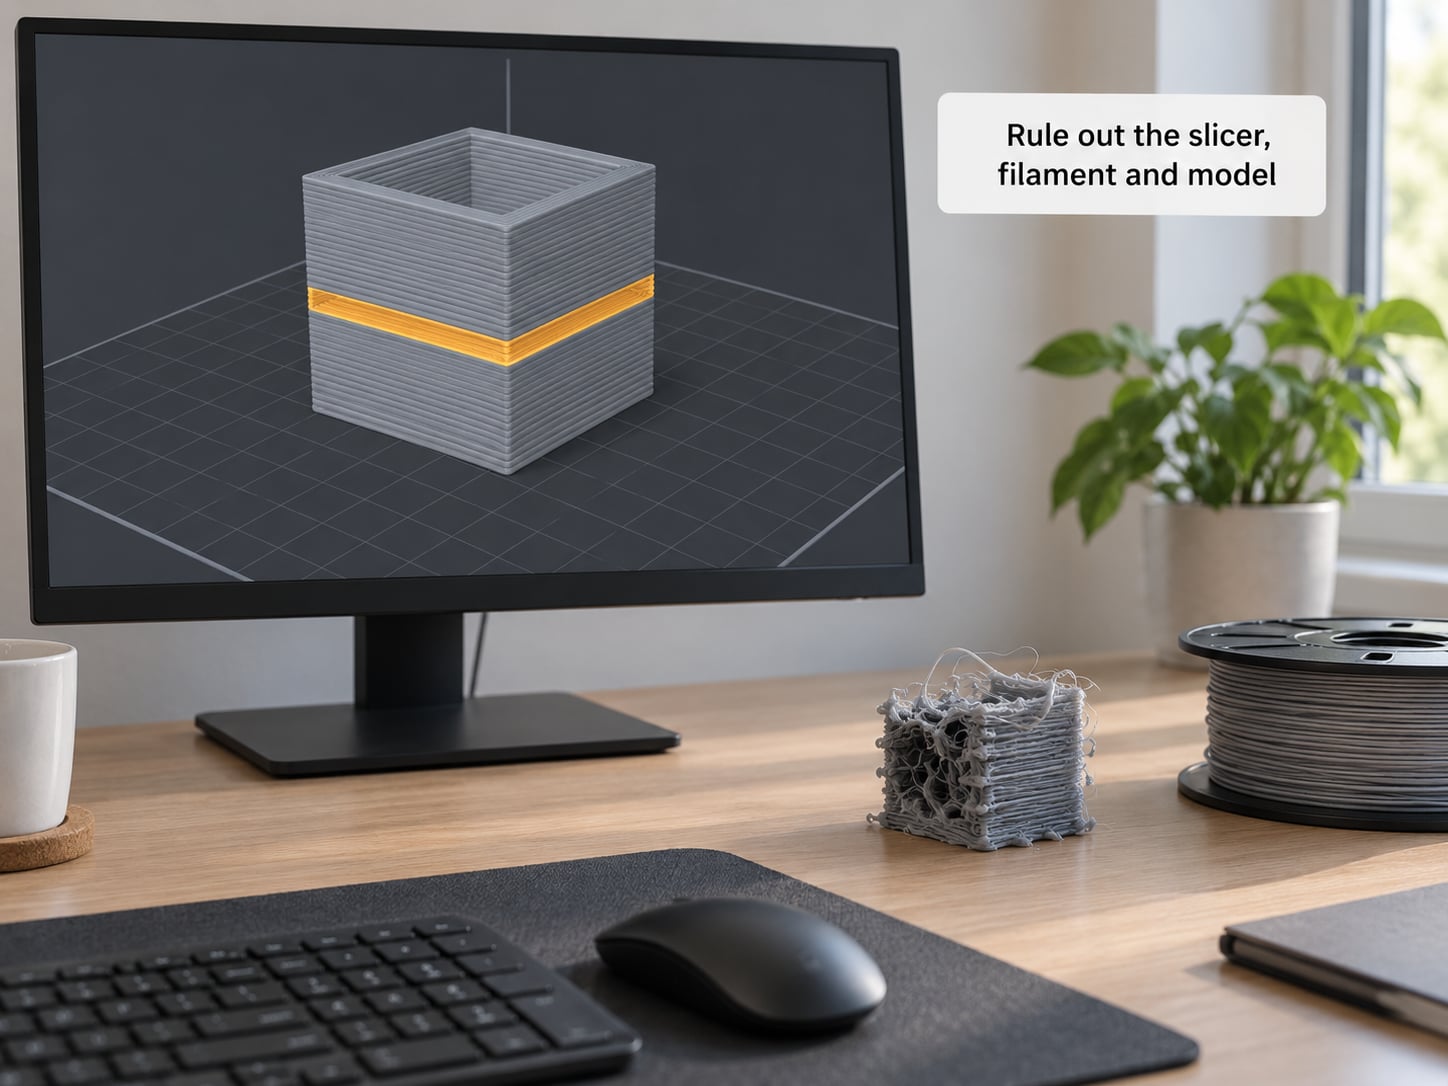
If the failing layer number is specific to one model, the file deserves suspicion before the hardware does. Re-slice it, and export the G-code again from scratch rather than reusing an older file. Then look at the toolpath at the failing layer in preview mode and ask what changes there.
The usual culprits are an unsupported overhang, a thin wall narrower than the nozzle can trace, a bridge or span with no support beneath it, a support structure that separates at one height, a seam crossing a stressed section, an infill transition, or a small feature that the nozzle cannot reach.
Check the mesh too. A non-manifold or self-intersecting model can produce toolpaths that behave oddly at one layer, and repairing it in your modelling software or re-exporting from a different source sometimes removes the failure without changing a single printer setting.
Run one small calibration model rather than the failing print. A cube at the suspect height, a temperature tower trimmed to stop at that height, or a flow test isolates material from machine quickly. If the calibration print clears the height that the original failed at, the machine is probably fine and the model was the problem.
Resin prints fail at the same layer for entirely different reasons. Nothing mechanical stops, so look at the source file and the settings instead: insufficient bottom layers, a light-cure or lift speed that is too aggressive for that geometry, a failed suction at that point in the lift cycle, or a vat level that leaves the part unsupported partway up.
6. Verify the fix with a short test print
A fix is only real if you can prove it. Most printers can resume from a specific layer, so restart at a few layers before the failure instead of printing the whole model again, and confirm your firmware or interface supports layer resume before you rely on it.
Print a small test whose geometry includes the suspect height, so you cover the failure point in minutes rather than hours. Then run the original print past the layer that used to fail. If it survives that layer, the fix held.
For intermittent faults, a short test is not enough. Several forum threads describe identical prints where roughly half succeed and half fail at about the same height, which points at a mechanical or thermal fault that only shows up once the machine has been running for a while. Those need a longer run before you can call the problem solved.
If the test fails again at the same place, go back one step rather than changing something else. Moving forward in the process while the cause is still unknown is what turns a 30-minute diagnosis into a month of failed prints.
Common Mistakes
The most expensive mistake is changing several settings at once. If you lower temperature, raise the flow multiplier and swap filament in the same attempt, a successful print tells you nothing about which change mattered.
Ignoring the reported layer number comes next. Guessing that it is “about 40 percent up” costs you the one piece of information the printer already gave you for free.
Loosening the gantry before checking rails and cables inverts the right order. Extra tension hides a binding point temporarily and pushes the problem to a different height, which looks like a fix and is actually a delay.
Treating stringing as an extrusion problem wastes a lot of time. Stringing usually means excess temperature or retraction and wipe settings, while a blockage looks like one or two dropped segments. They need opposite fixes.
Replacing parts without a controlled test is the last trap. Buy parts one at a time, and only after a test print shows the fault survived the cheaper checks.
A short maintenance routine prevents much of this. Wipe the drive gear and idler, check the extruder tension by hand, confirm the cold-end fan spins, make sure the PTFE liner sits correctly in the heat break, tighten every frame and bed mounting screw, keep the rails clean and lubricated, and check belt tension before a tall print. Add a flow test to the same routine so you know the machine’s baseline before the model changes.
Frequently Asked Questions
Is the Z-axis the most common cause when a print fails at the same layer?
It is one of the most common, but not the only one. Z faults show up as layer shifts, a gantry that binds at one travel height, or an endstop that misfires at a set Z. If the walls stay aligned and the print thins out instead, suspect the extruder or the hot end. Check the symptom in the table above before deciding, because a repeat-height failure also comes from grinding filament, a short PTFE liner, or weak cooling.
Can a repeating layer number be caused by the 3D model?
Yes, and if the same layer number fails only in one model while other prints run past that height, a model or file fault is the leading suspect. Look at the toolpath at that layer for an unsupported overhang, a thin wall, a bridge with no support, or an infill and seam transition. Repairing the mesh or reslicing with different support and overhang settings often removes the failure without touching the printer.
Should I restart a failed print at the layer before the problem?
Yes, when your printer or interface supports resuming at a chosen layer, restarting a few layers before the failure saves hours and is the fastest way to test a fix. Resume a little early rather than exactly at the failing layer so the reprinted region bonds to sound plastic. If your firmware cannot resume mid-print, print a small test object that reaches the suspect height instead of repeating the whole model.
Why does my print stop at the same height after changing the filament?
That does not necessarily mean the new filament is at fault, but it does make material worth testing properly. Filament diameter, moisture and flow differ between spools, and a wet or undersized strand changes how the extruder behaves. Dry the new spool, check its diameter with calipers, and run a flow test before printing the model again. If the failure moves to a different height, the old spool or the moisture was involved.
How do I know whether the problem is extrusion or Z-axis movement?
Watch how the walls look. Layer shifts mean the whole part has moved sideways and the Z system is responsible. Walls that stay aligned but turn thin, rough and stringy, or a section that simply stops extruding, point at the filament path instead. Pull the filament out and look for a shiny flattened grind mark, then check the drive gear teeth and the nozzle opening.
Does a repeated layer shift always mean the printer needs calibration?
No. A repeat layer shift at one height usually comes from a mechanical fault at that position, such as a loose coupler set screw, a binding gantry, a pinched Z cable or a Z stepper that heats up and loses steps. Check those first, because they cost nothing to inspect. Calibration matters when shifts appear at random heights or during fast travel moves, not when they repeat at one spot.
Conclusion
Record the exact failing layer and its Z height, reproduce the failure, then work the Z system and the extrusion path before you touch a single temperature or slicer setting. A repeatable fault at one height is a location problem, and once you know whether the height repeats across models or only inside one file, half the possible causes drop away.
Change one thing per test, note the result, and verify with a short print that reaches the suspect height before you trust the fix. That order is what turns a frustrating mystery into a solved fault.