Ironing in a slicer is a post-layer pass the nozzle makes across a flat top surface, running at reduced flow so the hot plastic refills the grooves between layer lines. You switch it on in the print or quality settings, choose a type and pattern, then set the line spacing, speed and flow percentage. It takes about ten minutes to set up and one small coupon to confirm.
What it actually gives you is a smoother, glossier top face and a wider bonding area for glue or heat inserts. What it costs you is print time, a slightly thicker part, and a hotend that has to keep moving sideways without cooling. Ironing is worth it on nameplates, box lids and flat mating faces. It is not worth it on curved shells or on a part that only needs to hold together.
The steps below work in any current slicer. I use PrusaSlicer and Cura most, and the same settings carry over to OrcaSlicer, Bambu Studio, Creality Print and Elegoo Slicer with only the menu path changing.
Table of Contents
- What You Need
- Step-by-Step
- How to Use Ironing in a Slicer for Cleaner Top Layers
- PrusaSlicer: enable Ironing under Print Settings
- Cura: enable Ironing in the Print Settings profile
- Preview the Ironing Moves Before Printing
- Run a Small Test Print
- Verify the Result and Export the G-code
- Common Mistakes
- Frequently Asked Questions
- What does ironing do in a 3D printing slicer?
- Is slicer ironing the same as a heated ironing bed?
- Why are there still visible lines after I enable ironing?
- Which filaments benefit most from slicer ironing?
- Can I use ironing G-code with every printer and slicer?
- When is ironing not worth the extra print time?
- Conclusion
What You Need
Three things. A model you have already sliced successfully without ironing, an FDM printer that holds temperature for long passes, and a current build of your slicer.
That last point matters more than it sounds. Ironing controls moved between menus and were renamed in several slicers over the past few years, so a tutorial written for an old version can send you hunting for a panel that no longer exists. Prusa moved ironing under Print Settings, Cura keeps it inside the Print Settings profile, and the Orca-family slicers place it in the Quality group. I will name the path for each one and flag where labels shift between versions.
It also helps to know the three different things people call ironing, because only the first is what you want:
- Built-in ironing. A checkbox plus a handful of values that the slicer translates into extra toolpath moves after the top layer finishes. This is the method described here.
- Hand-written G-code macros. Hand-tuned post-processing macros people copy between profiles. They work, but they break silently when your nozzle or filament changes, and you cannot preview them as settings.
- Preview or analysis tooling. Add-ons and viewer modes that visualise a model for you. Useful for judging a surface, not the same as turning the feature on.
Start with the built-in option. You can see every value, preview every move, and change one thing at a time.
Step-by-Step
How to Use Ironing in a Slicer for Cleaner Top Layers
This is the whole procedure, whatever slicer you are in.
- Pick a filament profile first. Load the profile you actually print with, including its real layer height and nozzle size. Ironing values only make sense relative to the filament, and copying values between a 0.2 mm layer and a 0.32 mm layer is the single most common reason ironing looks wrong.
- Inspect the model. Flat horizontal faces are what get ironed. Sloped faces and any surface more than roughly 10 degrees off horizontal will not be touched, so do not expect a curved dome to smooth out.
- Enable ironing in the print or quality settings and pick the type. Top surfaces is the sane default. Topmost surface only restricts it to the final layer of the model. All solid layers irons every horizontal face inside the part and adds a lot of time.
- Set line spacing and speed. Spacing close to half your nozzle diameter is the widely used starting point, which means 0.10 mm for a 0.2 mm nozzle, 0.15 mm for a 0.4 mm nozzle and 0.20 mm for a 0.6 mm nozzle. Keep the speed moderate; 20 to 40 mm/s on a 0.4 mm nozzle is a reasonable band.
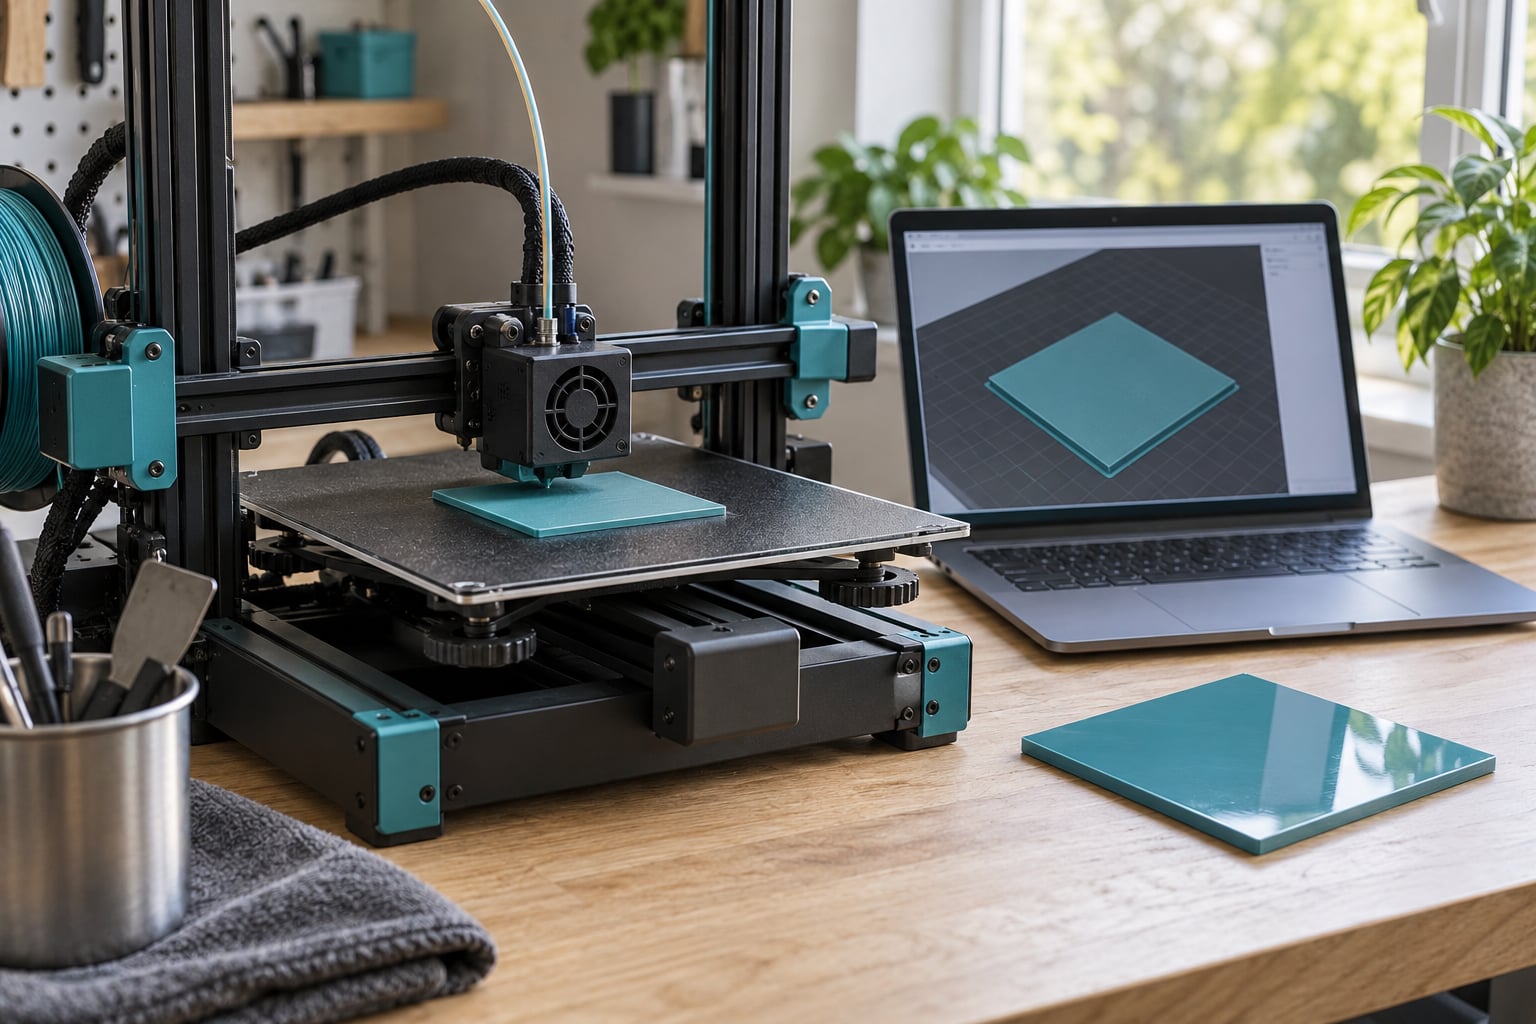
- Slice a small coupon with the same profile, not the full model. A 50 mm square plate with four sharp corners tells you everything in about fifteen minutes.
- Judge the result against a control. Print the same coupon without ironing and compare the two under the same light. Look at the corners, the shine, and whether the layer lines still read as grooves.
Change one setting per run. Flow, spacing and speed interact, and a coupon printed with all three changed tells you nothing about which one mattered.
PrusaSlicer: enable Ironing under Print Settings
In PrusaSlicer, ironing lives under Print Settings rather than in the filament or printer profile, so switching filaments does not silently disable it. Open the Print Settings panel, scroll to the Ironing group and tick Enable ironing. Leave Type on Top surfaces unless you have a reason not to.
Prusa exposes Ironing height, which controls how close those passes run to the finished surface, plus speed and flow. Height is the one to watch. Set it too high and the nozzle parks above the plastic without melting it; too low and the tip can scrape the surface and dig a channel.
The controls differ slightly between PrusaSlicer 2.8, 2.9 and later builds, where some values moved into a Quality sub-panel. If a field you read about is missing, use the search box in the settings sidebar and look under Print Settings for the ironing prefix.
Cura: enable Ironing in the Print Settings profile
Cura goes through the profile switcher. Click the profile dropdown at the top of the window, choose the custom or full settings entry for your printer, and press the gear icon. In the search box on the right, type ironing.
Four values matter. Ironing Line Spacing sets the distance between passes, Ironing Speed controls how fast the nozzle travels, Ironing Inset pulls the passes slightly away from the outer wall, and Ironing Flow is the percentage of normal extrusion. Cura derives the speed from your top and bottom speed unless you set it by hand, which is why the same checkbox produces different results on two machines.
Below those sits Monotonic Ironing Order. With it off, the nozzle alternates direction on each pass, which cuts down on heating and cooling problems. With it on, every pass runs the same way across the surface and the finish comes out noticeably more even. Turn it on, then raise flow if the surface still reads as a faint grid of shallow pockets.
Make the change in the profile, not in a one-off slice, so it survives the next print you forget about.
Preview the Ironing Moves Before Printing
Every major slicer has a preview mode. Load the G-code view and step to the very end of the file, where the ironing passes sit after the final layer.
What you want to see is a set of closely spaced parallel lines travelling across the whole flat top face, stopping short of the outer wall if an inset is set. What you do not want is a handful of lines in one corner, which means the feature is only catching a fraction of the surface.
Previewing also catches geometry problems before they cost you an hour. If the passes disappear halfway across the face, the model probably has a small step or an overhang the slicer treats as unprintable. Watching the moves is faster than watching the print fail.
Run a Small Test Print
A coupon is enough. Make it flat, roughly 50 mm square, with sharp corners and no supports, and print it with your normal settings otherwise.
Watch the first layer for the first minute. Ironing itself cannot break bed adhesion, but a full coupon tells you whether the plate is still clean and whether the nozzle is starting clear.
After the print, check three things. Corners are where ironing fails first: they lift or wrinkle when flow is too high or spacing is too wide. Shine is the quickest way to judge surface quality, since an ironed face reflects light in a way an unironed one does not. Seams are the visible joins where the path reverses, and a faint join line usually means flow is a little low.
Keep the unironed coupon next to it. Without that comparison it is very hard to tell whether a setting change helped.
Verify the Result and Export the G-code
Good results look like a continuous glossy plane with no visible toolpath texture, corners that stay flat, and no raised rim around the edge. If you see all three, the values are close enough to keep.
Export the G-code and search it for the ironing section near the end of the file. A slicer that produced no passes will produce no moves there, which saves you from discovering the problem at the end of a long print.
Then save the profile under a name that says what it is, something like PLA 0.4 nozzle ironed, so the next model inherits known-good values instead of defaults. If the coupon came out worse than the control, turn ironing off and leave it off for that filament.
Common Mistakes
Lines are still visible as a grid. The spacing is too wide for the nozzle. Halve it and slice again. If the grid persists at tight spacing, raise flow in steps of five percent. Default values often under-extrude, and some filament makers advise staying above a 10 percent increase for clogging reasons.
Ironing added far more time than expected. All solid layers irons every interior horizontal face in the model. Switching to Top surfaces, or Topmost surface only on a tall part, usually removes most of that overhead.
The nozzle scraped the surface or the tip was damaged. Height or inset is wrong, or the model has a thin wall the passes cross. Check the preview first, then pull the inset out by 0.2 mm so the passes stay clear of edges.
The part lifted or stopped adhering. Ironing keeps the nozzle hot and moving for a long stretch at the end of the print, so a part that was marginal becomes a part that fails. Fix adhesion first, then add ironing back.
A raised rim appeared around the edge. That is an inset problem, not a flow problem, and it looks like a mild version of elephant foot where extra material is pushed outward. Increase the inset so passes stop further from the wall.
Rippled texture across the surface. That is salmon skin, caused by speed rather than by ironing settings. Drop the ironing speed before touching flow.
Alternating light and dark bands that move with the viewing angle. That is tiger striping from layer shifts, and ironing cannot fix it. Fix flow and temperature first.
The settings looked right, then changed on the next print. In Cura and Creality Print the values live in the profile, so switching profiles discards them. PrusaSlicer keeps ironing under Print Settings, which is why it behaves differently.
It clogs the hotend. Long slow passes mean material sitting in the melt zone. Keep flow at or above 10 percent, avoid flex materials entirely, and be cautious with PETG on anything other than a hard PTFE-lined tube, since Prusa’s own documentation notes PETG sticks to the nozzle more readily than ASA.
Nothing happened at all. The surface is probably not horizontal, or the model sits on a raft or a brim that changed its height. Confirm in the preview.
Frequently Asked Questions
What does ironing do in a 3D printing slicer?
Ironing adds a second pass over a finished horizontal surface. The nozzle re-travels that face in a straight or concentric pattern, extruding a reduced percentage of normal flow, so hot plastic melts and spreads into the grooves between layer lines. The result is a flatter, glossier top face and better surface contact for glue or fittings, at the cost of extra print time and a slightly thicker surface.
Is slicer ironing the same as a heated ironing bed?
No, and the names confuse a lot of people. Slicer ironing is a toolpath the software generates inside the print, and no heated plate is involved at any point. A heated ironing bed, sometimes called a heated build plate, is a separate hardware accessory that raises the plate temperature near the end of a job. Some printers also mark one bed section as the ironing zone for filaments that benefit from it.
Why are there still visible lines after I enable ironing?
Usually the line spacing is wider than the nozzle can cover, so a groove survives between passes. Set spacing to roughly half your nozzle diameter, which is 0.15 mm for a 0.4 mm nozzle. If the lines persist, raise flow in steps of five percent. Monotonic ironing order also helps, since it stops the nozzle reversing direction and leaving a seam at each turn.
Which filaments benefit most from slicer ironing?
Rigid filaments respond best. Prusa’s documentation points to ASA as the strongest candidate, with ABS also taking an ironed finish well. PLA irons nicely but stays soft, and PETG is more likely to stick to the nozzle during the long passes. Flexible filament is a poor fit because the constant sideways motion causes feed problems. Community recipes commonly land between 15 and 30 percent flow for PLA and PETG.
Can I use ironing G-code with every printer and slicer?
Only hand-written macros, and even then carefully. Built-in ironing is portable across machines because each slicer recalculates the toolpath for your nozzle, layer height and filament settings. Copied macros carry fixed values that assume somebody else’s nozzle and geometry, so they tend to scrape the surface or underextrude. If you keep macros, re-test them on a coupon after any hardware change.
When is ironing not worth the extra print time?
Skip it on curved or sloped surfaces, since the feature only targets flat horizontal faces. It is wasted on hidden internal shelves with All solid layers enabled, and on functional parts where print time matters more than finish. It is also a poor trade for a draft or fit check, where the only goal is to confirm the geometry before committing filament to a final part.
Conclusion
Slice a small flat coupon first, with ironing enabled and nothing else changed. Set line spacing to about half your nozzle diameter, keep speed between 20 and 40 mm/s on a 0.4 mm nozzle, and turn monotonic ordering on if your slicer offers it. Watch the toolpath preview to confirm the passes cover the whole face, then print the coupon next to one without ironing so you can see the difference honestly. Adjust one setting at a time, and when the surface comes out even and the corners stay flat, save that profile and use it for the nameplates, lids and mating faces that were rough before.