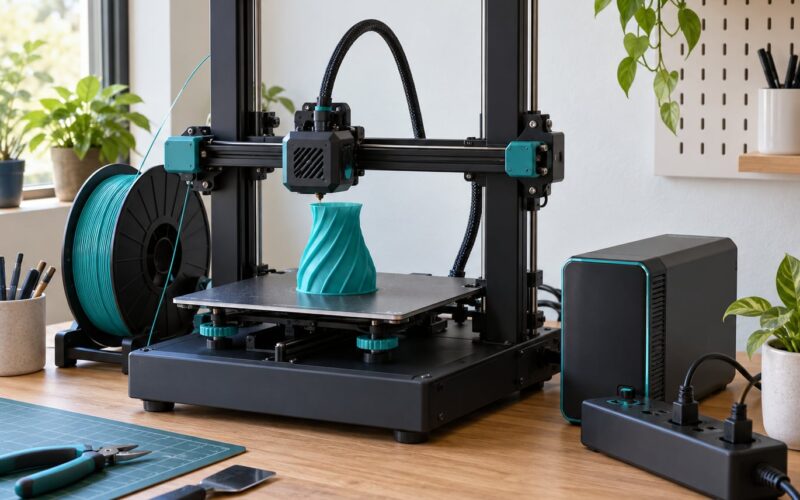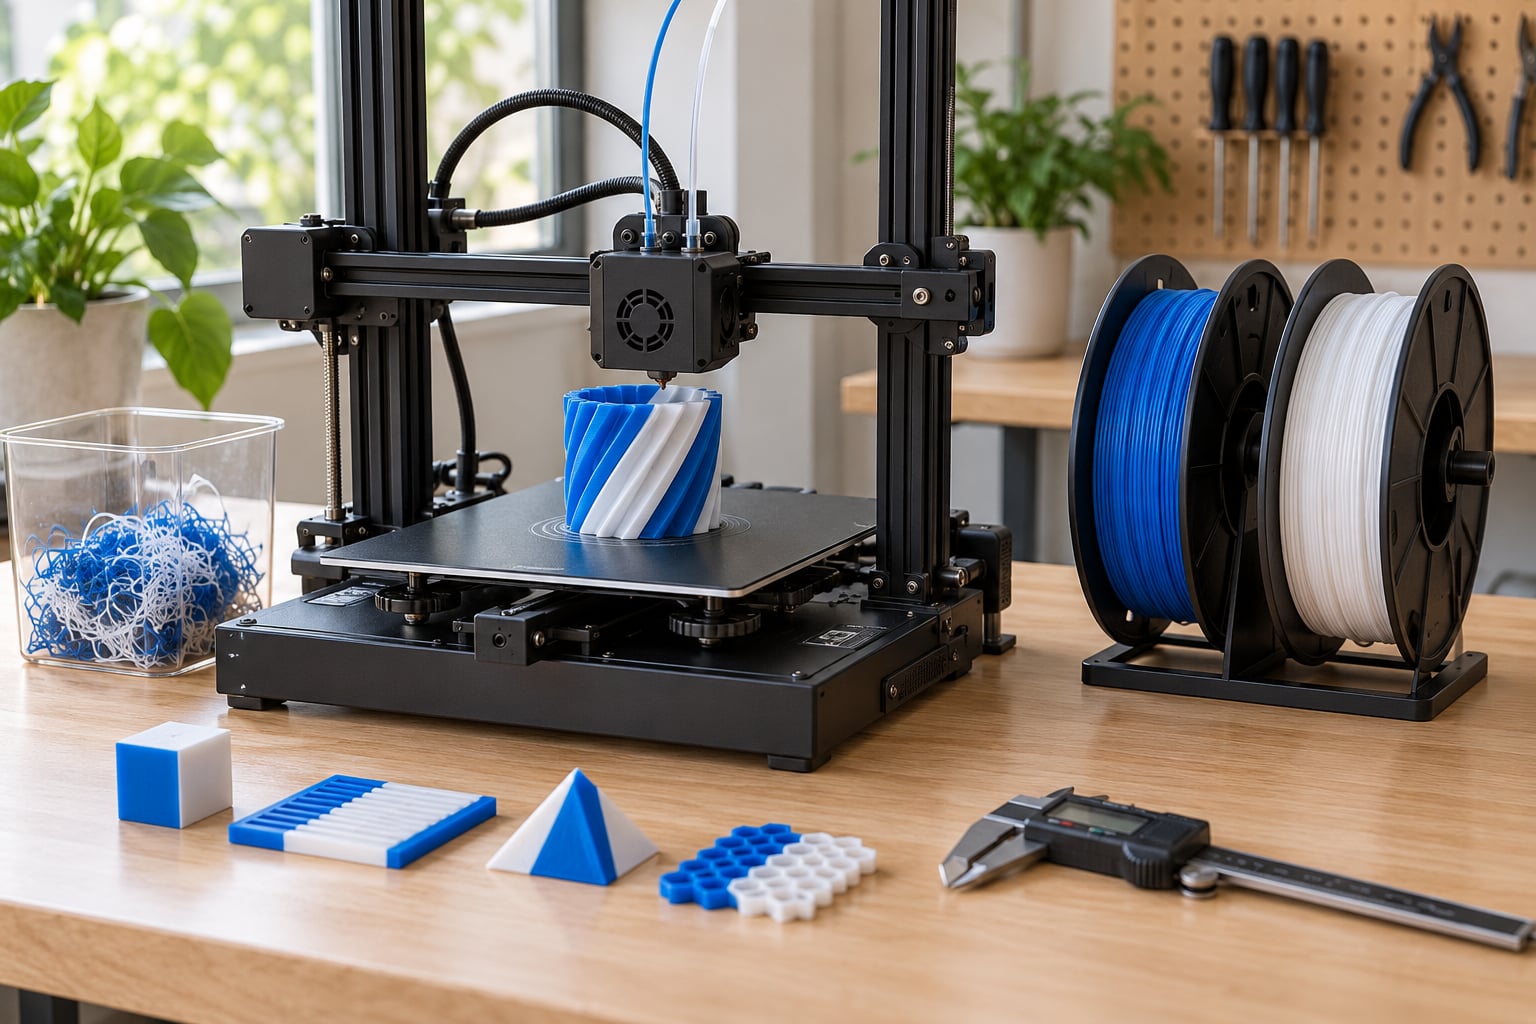
Yes, you can print in two colors on one printer. On a single-extruder FDM machine you either swap filament mid-print at a layer you pick, add a multi-material unit (AMS, CFS, MMU) that feeds a second color into the same hot end, or split the model and print each color as its own job. A manual swap costs about 30 seconds of your attention per change plus a few minutes of prep, and most people get a clean result on the second or third attempt.
One note before we start. This guide is about 3D printing. Two-sided printing on a paper printer and screen printing on an inkjet are completely different processes, and no filament change gets you there.
Table of Contents
- What You Need to Print in Two Colors on One Printer
- Hardware to have on the bench
- Filament pairing that actually works
- Prep before you print
- Step-by-Step: How to Print in Two Colors on One Printer
- 1. Confirm Printer and Filament Compatibility
- 2. Prepare and Load the Filament
- 3. Set Up the Slicer and Color-Change Profile
- 4. Perform a Two-Color Test Print
- 5. Start the Final Two-Color Print
- 6. Remove, Inspect, and Tune the Print
- Common Two-Color Printing Mistakes
- Frequently Asked Questions
- Can you print in two colors on one 3D printer?
- Is an MMU necessary to print in two colors?
- What is the easiest way to print in two colors?
- Can PLA and PETG be used for two-color printing?
- Why does my two-color 3D print have gaps or rough color changes?
- How much filament waste is normal during a two-color print?
- Conclusion
What You Need to Print in Two Colors on One Printer
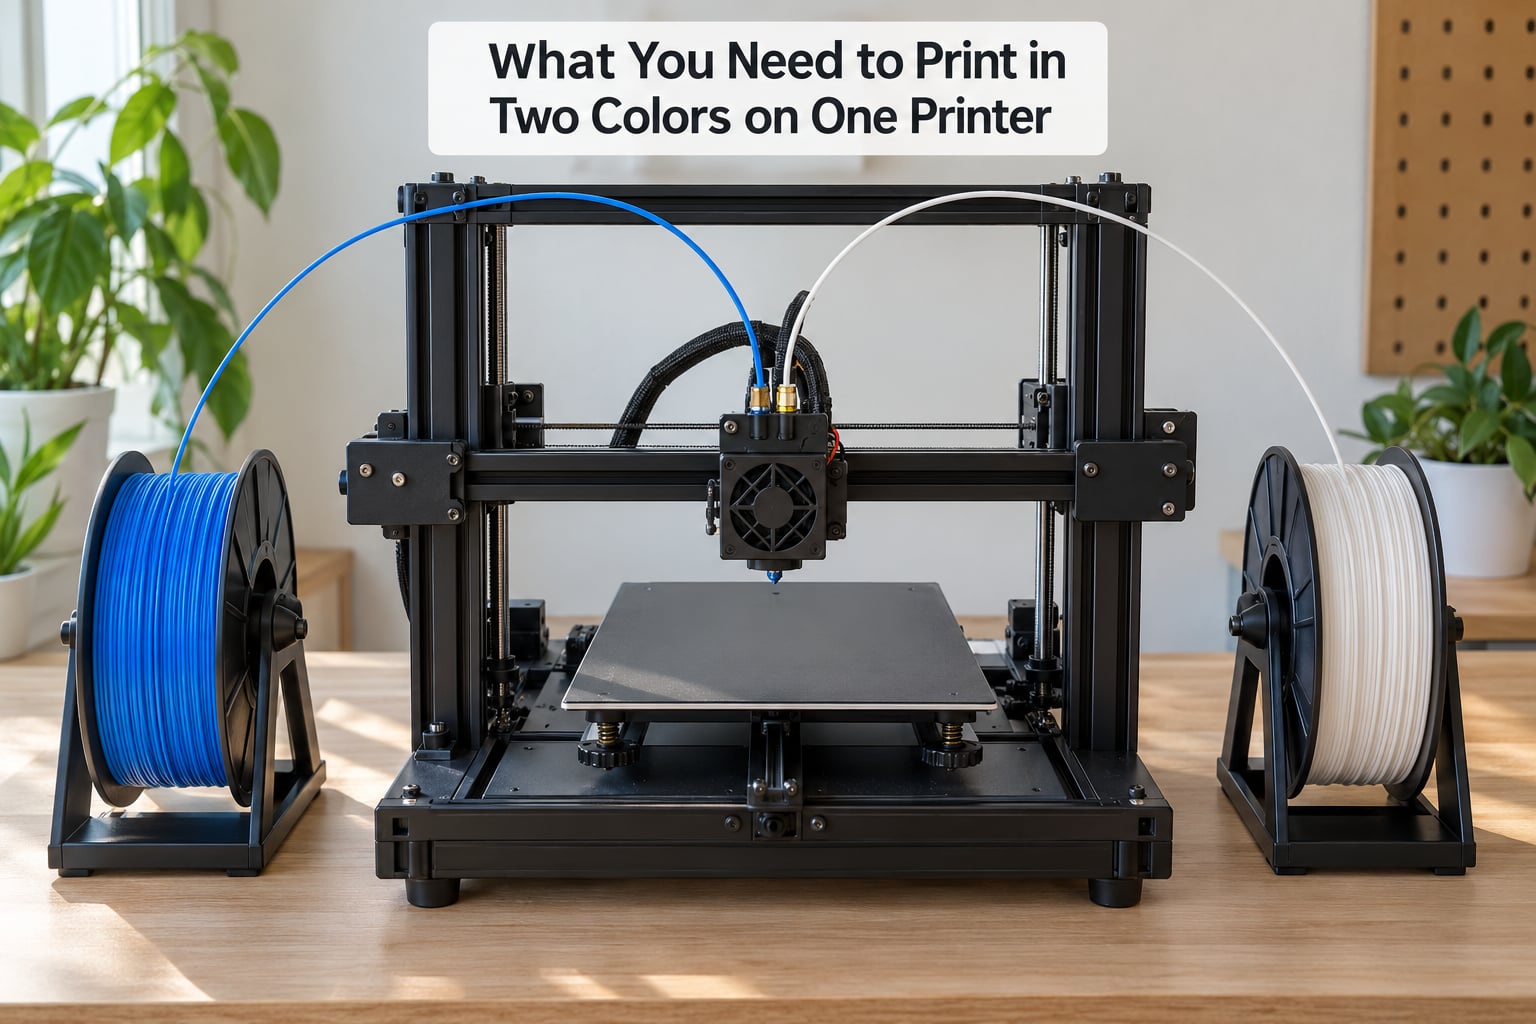
Three routes get you two colors from a single print head, and they differ mostly in how much hardware and fuss you want.
Route 1, the manual filament swap. Nothing to buy but a second spool and a small container for purging. Your slicer pauses the print at a layer you chose, you pull the old filament, push the new one in, purge, and resume. It works on every printer that can pause, which is nearly all of them. The catch is that a single nozzle can only change color between layers, so the color boundary has to run horizontally across the part.
Route 2, a multi-material unit. An MMU, AMS, CFS or similar automatic feeder changer box sits beside the printer and pushes whichever filament you request into the same extruder. PrusaSlicer and OrcaSlicer drive these units natively, and Bambu Studio drives the AMS. Because the unit feeds a new color mid-layer, the color boundary no longer has to be flat. The cost is a wipe tower on every print and a fair amount of purge waste.
Route 3, a second toolhead or a true dual extruder. Gemini-style machines carry two complete extruders on one carriage, and toolchanger builds swap the whole nozzle assembly. Each side has its own filament, so the transition is cleaner and purge waste is smaller. This is the best result and the biggest spend, and it is the route most single-extruder owners end up on only after they outgrow the manual swap.
Hardware to have on the bench
- A second spool of filament in the same diameter as your first (1.75 mm on almost every consumer machine)
- A purge container or a bucket you can purge into. Cheap plastic tubs work; you will discard a lot of them
- Scissors, and a pair of flush cutters for the bowden tube if you have one
- Digital calipers, useful for checking registration between color layers
- A nozzle wipe such as a silicone sock or a brass brush for cleaning the tip at the swap
Filament pairing that actually works
Use the same base material for both colors. PLA on both sides, or PETG on both sides. Mixing types at the swap point is the single biggest cause of weak, separating layers because the two materials cool at different rates and bond poorly to each other.
If you must mix, PLA over PETG on the top layer is survivable, and TPU is a bad choice for a first attempt because most color-change profiles retract and wipe hard enough to jam it. ABS and ASA want an enclosure and a heated chamber; on an open frame the temperature swing at a color change is where warping starts.
Prep before you print
- Update your printer firmware. Pausing behaviour changes between versions and fixes are usually released here first
- Confirm your printer supports a pause command at all, and which firmware family it runs (see step 1)
- Bed level and a clean first layer. A color change in the middle of a bad first layer is a wasted evening
- Dry your filament. Moist PETG pops and strings badly, and those strings land exactly on your clean color boundary
- Keep the first two spools matte rather than shiny. Translucent and glitter filaments hide contamination, and you will not see the blob until the part is finished
On safety, the nozzle sits between 200 and 250 C during all of this. Let it cool before you reach for it, keep your hands clear of the hot end when the print resumes, and do not leave a paused print running unattended while you walk away from the house.
Step-by-Step: How to Print in Two Colors on One Printer
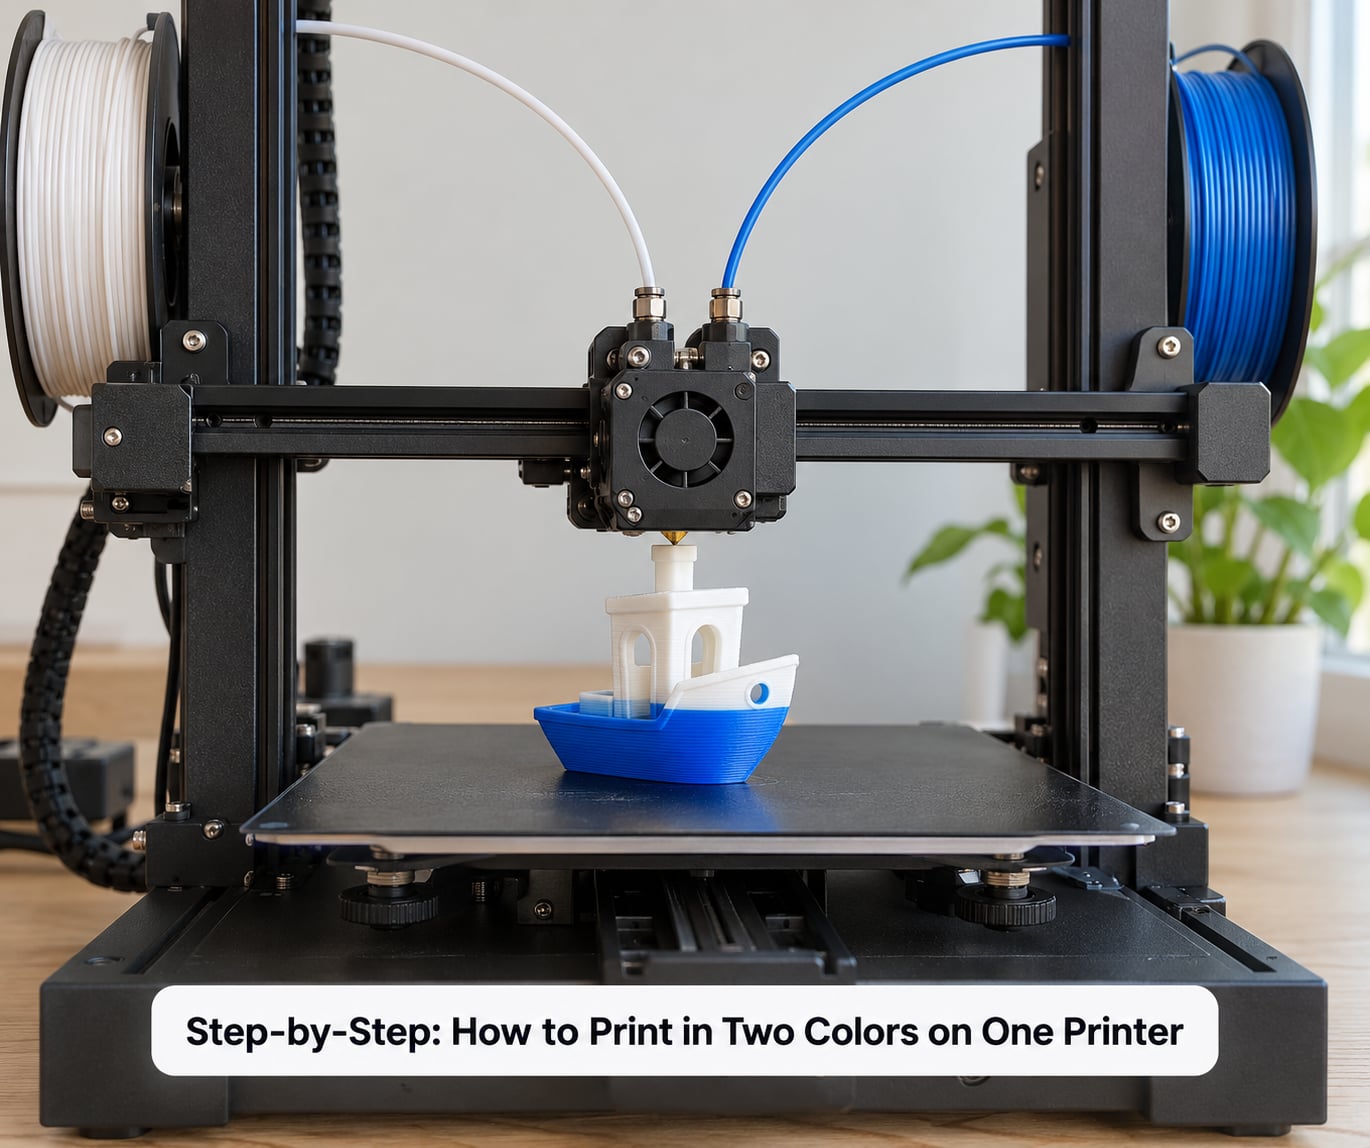
The workflow below covers the manual swap, which is the route most single-extruder owners use and the one that teaches you the rest. Set aside about 40 minutes for the first run, most of it watching a test print you should have run anyway.
1. Confirm Printer and Filament Compatibility
Check three things before anything else: does your firmware handle a pause command, can your hot end handle both filaments at one temperature, and does the color change fall between layers?
Firmware support is the part that surprises people. M600 is the standard RepRep-family command for a filament change, and it is what slicers insert when you tell them to pause for a color change. Marlin-based boards generally handle it once pause is enabled in the firmware configuration. Duet and RepRap firmware handle it. Klipper has no default handler for M600, so on a Klipper machine the command is skipped and the print sails straight through the color change, printing old filament over the layers you meant to change. The Klipper fix is to map M600 to a pause macro in your config.
OctoPrint users hit a different version of the same problem. Because OctoPrint drives its own pause and resume logic, people commonly replace M600 with OctoPrint’s @pause command so the pause behaves properly and so an intro line can be added after you resume.
Temperature. Both filaments need to sit inside one hot end’s range. Two PLA grades at 205 and 215 C are trivial. PLA at 210 next to PETG that wants 240 is fine at 235 for both. PLA next to ABS needs a hot end that will hold 250 C all print, plus an enclosure.
Geometry. A single nozzle can only change filament at a layer boundary. That means the color boundary has to run along the Z axis, flat across the part. A vertical boundary on the side of a cube, like a red stripe running up a blue wall, cannot be done this way. For those you need route 2, route 3, or the split-and-print method covered in the FAQ below.
2. Prepare and Load the Filament
Identify your material before you load anything, because it changes the temperature, the drying step and the wipe behaviour.
- PLA prints around 190 to 215 C. Stiff, clean, the easiest pairing for a first two-color print.
- PETG prints around 230 to 250 C. Tougher and stringier, so expect more purge and a hotter nozzle.
- ABS and ASA need 240 to 260 C and an enclosure. Warping is the normal failure mode.
- TPU is flexible and hates retraction and fast wipes. Skip it on your first swap.
Dry the spool before you load it, following the filament maker’s own time. Fresh-from-the-box PETG that has been open for a week is the usual reason people get a rough, hairy color boundary.
Heat the nozzle to the temperature the new filament needs, then load it. Push it slowly by hand until you feel it reach the melt zone inside the hot end, and keep pushing for another 10 to 15 mm. Overfeeding here is why first swaps ooze: the old filament gets pushed out of the nozzle as a blob and lands on your new layer.
Purge into your container until the color coming out matches the color going in. Two full extrusions, roughly 400 mm of filament, is a normal amount to flush. Then watch the nozzle for 30 seconds and wipe any ooze with a silicone sock or a wipe so nothing drips during the change.
3. Set Up the Slicer and Color-Change Profile
The slicer does three jobs for a two-color print: it decides which filament is loaded at the start, it drops a pause into the G-code at the layer you choose, and it tells the printer how much to purge before the new color prints.
Choosing the change layer. Pick a layer that starts a new feature rather than one that cuts a face in half. If your part has a base that should be black and a top that should be red, change at the first layer of the red section. Open the G-code preview, scroll to that height, and check what the layer looks like before you commit.
Colour order. Print order runs from the bed upward, so the filament loaded at the start is the bottom colour and every later change is above it. In Bambu Studio the print order follows the order the colours first appear in the model, which is a common source of confusion when the palette looks reversed. Decide which colour you want on the bottom before you load anything, because that is the one you thread first.
Here is where each major slicer keeps the tool:
| Slicer | Where the colour change lives | Note |
|---|---|---|
| PrusaSlicer | Right-click a feature in the 3D view and choose Add color change, or click the filament markers in the per-extruder layer sidebar | Multi-material setups with an MMU use the same control and assign a filament index to each marker |
| OrcaSlicer | Right-click a feature and choose Filament change, or use the plus marker next to a filament in the filament column | Also drives AMS and CFS units, with a wipe tower on the print plate |
| Cura | Add a second extruder under Printer Settings, then right-click the model and choose Add color change | Older Cura builds need a change-in-material script or M600 added to the start G-code instead |
| Bambu Studio | Pick filaments from the palette on the left, then use the Paint tool to colour faces of the model | Print order follows paint order; without an AMS the pause is manual |
| Creality Print | Colour painting is under the model right-click menu and paints faces for multi-filament printers | The tool stays greyed out unless the selected printer profile supports multiple filaments, such as a CFS-equipped model |
| Lychee for Orca | Filament change markers in the filament column, same as OrcaSlicer | Profile-specific settings live under Printer, then Filament |
If your colour painting tool is greyed out, it is almost always because the selected printer profile declares only one filament, not because the tool is broken. Switch to a multi-filament profile or add a second filament entry.
Retraction. Leave it as your normal single-material value. Direct drive extruders usually run 3 to 5 mm, bowden setups 6 to 8 mm, at 25 to 45 mm/s.
Purge volume. This is the number to tune. Start at 400 to 600 mm cubed for a 0.4 mm nozzle between two colours, drop to around 200 to 300 mm cubed for a 0.6 mm nozzle, and expect to raise it for dark-to-light changes where a little old colour hides in the nozzle. PrusaSlicer calls it flushing volume, OrcaSlicer calls it purge volume, Bambu Studio calls it purge volume in the filament settings, and the values mean the same thing.
Wipe behaviour. Nozzle wipe after the retract helps because a wiped nozzle carries less old plastic into the new colour. A silicone sock or a hardened steel nozzle does more for the same money.
Nozzle temperature at the swap. Setting a pause temperature around 80 to 100 C keeps the filament from oozing while you swap. Leave it at full temperature and you will get a blob on the first layer of the new colour.
4. Perform a Two-Color Test Print
Always test before the real part. Learning how to print in two colors on one printer goes wrong fastest on a full-size model, so run a two-colour calibration cube or any small model with one clean colour boundary first. It shows you everything you need in about 25 minutes.
Look for four things once it finishes. First, layer registration: run a caliper across the colour boundary and check the width has not changed, which means the nozzle was not knocked out of alignment during the pause. Second, extrusion consistency: any under-extruded gap in the first layers of the new colour means you under-purged or pushed the filament in too far. Third, the transition itself: a clean, flat line with no raised lip is what you want. Fourth, stringing, which shows up as thin hairs between the purge lines or between the change and the part.
If the test is bad, fix it on the test. You get much faster feedback from a 30-minute cube than from a nine-hour part.
5. Start the Final Two-Color Print
Send the file the way you normally send files, and stay near the machine for the whole first colour change. That is the one moment where a mistake costs you the print.
When the pause fires, the hot end should cool and stop. Unload the old filament by pushing the extruder button and pulling it out, then load the new filament the same way you loaded it before. Push it through the melt zone, purge into your container until the colour looks right, and give the nozzle a wipe before you resume.
If your printer keeps extruding after the pause command, that is a firmware issue rather than a filament issue. Go back to step 1 and check how M600 is handled on your board. If the nozzle is sitting in the finished layers during the pause, enable a park position so the carriage moves off the part first.
If a spool runs out mid-print, a runout sensor will usually pause the machine where it stands. Refill and resume from the same layer. If your filament has no sensor, a good habit is watching the remaining filament on the spool through any colour change.
Watch the first three layers after the swap. That is where a blob, a gap or a lost Z-height shows up, and it is much cheaper to stop than to finish an eight-hour print with a fault.
6. Remove, Inspect, and Tune the Print
Let the part cool before you touch it. Pulling a warm two-colour print off the bed flexes the layers and can snap a thin detail that took an hour to print.
Then judge the result honestly, because each fault has a specific cause. A raised lip along the colour line means the nozzle was still carrying old material, so lower the purge volume or add a wipe. A gap means under-extrusion right after the change, so raise purge volume or check that the new filament actually reached the melt zone. A lumpy or jarred seam across the whole part means the nozzle was disturbed during the pause, so enable a park position and check your Z-offset. A faint see-through line where the colours meet means the two materials are not bonding, so match the filament types.
Write down what you changed and re-run the same test. Two-colour printing becomes predictable fast, because there are only about six variables and the print tells you which one is off.
Common Two-Color Printing Mistakes
Almost every problem with learning how to print in two colors on one printer lands in one of these ten buckets, and each one has a diagnostic before it has a fix.
1. The print does not pause at all. The slicer inserted the command and the firmware ignored it. On Klipper, map M600 to a pause macro in your config. On Marlin, confirm pause is enabled in the firmware build. If you print through OctoPrint, replace M600 with @pause.
2. The print pauses with the nozzle sitting on the part. The machine stops but never parks. Turn on the park position or a nozzle lift in your firmware or slicer settings, so the carriage moves off the finished layers before it stops. This is the version of the problem that leaves a melted crater on top of your print.
3. A blob of the old colour appears on the first new layer. The nozzle oozed while it sat hot. Set a pause temperature around 80 to 100 C, or wipe the nozzle before resuming.
4. Old colour keeps coming out after the swap. You loaded the filament but did not purge far enough, or you pushed it in so far that the old plastic was pushed to the tip. Purge until the colour matches and let the extruder stop extruding before you clean the nozzle.
5. Gaps or thin layers right after the change. Under-extrusion. Confirm the new filament fully reached the melt zone, raise the hot end temperature for the new material, and increase purge volume a little.
6. Stringing at the swap. Heat creep or a wet spool. Dry the filament, check the heatsink fan is actually spinning, and make sure the nozzle is not too close to the filament guide. A nozzle wipe helps more than any slicer setting here.
7. The colour seam looks jarred or lumpy across the whole part. The pause knocked the nozzle out of alignment. Enable a park position, then re-check Z-offset with a single-layer test. This one shows up on printers with a loose gantry or a warped bed frame.
8. Layers separate or crack at the colour boundary. Different materials cool at different rates and do not bond well. Use the same base polymer for both colours, and if you cannot, put the stronger material on the side that takes the load.
9. Filament tangles or twists as it feeds. Multi-colour and gradient spools are notorious for this. Keep the spool mounted high and tight so it cannot unwind, and check the runout sensor for a false jam before you start pulling filament off the extruder.
10. You cannot finish the swap in time. Longer pause timeouts exist in most printer and OctoPrint settings. Raise the timeout rather than rushing, because a half-finished swap with old filament still in the hot end gives you the blob problem in item 4.
Two habits prevent most of that list. Purge until the colour matches rather than counting seconds, and set a pause temperature instead of leaving the nozzle at full heat.
Frequently Asked Questions
Can you print in two colors on one 3D printer?
Yes. A single-extruder printer can produce two colors in three ways: pause at a chosen layer and swap filament by hand, run a multi-material unit like an AMS, CFS or MMU into the same hot end, or split the model and print each color as a separate job. A manual swap needs no hardware beyond a second spool and a purge container. The color boundary can only change between layers on a manual swap, so it has to run flat across the part.
Is an MMU necessary to print in two colors?
No. An MMU, AMS or CFS is only needed when you want automatic changes, more than two colors at once, or a colour boundary that does not run flat across the part. A manual filament swap gives you two colours on any printer that can pause, and for occasional signage, nameplates and toys that is usually enough. Add a feeder when you start printing multi-colour jobs often enough that the 30-second swap becomes annoying.
What is the easiest way to print in two colors?
Split the model into separate parts and print each colour as its own job. There is no pause to miss, no purge to tune and no risk of a colour change landing on the wrong layer. It costs you model preparation in your slicing software and some assembly work afterwards. If you need the colours to be part of one continuous object, the manual swap at a chosen layer is the next easiest step up.
Can PLA and PETG be used for two-color printing?
You can, but they do not bond to each other well, and the line where they meet becomes the weakest part of the print. Print both at a temperature that suits the higher of the two, around 235 C, and make sure the PETG layer is loaded with a proper wipe so the PLA does not smear into it. For strength, use the same base polymer for both colours and keep PLA on top of PETG rather than the reverse.
Why does my two-color 3D print have gaps or rough color changes?
Rough transitions almost always mean the nozzle carried old colour into the new layer. Raise purge volume in 50 mm cubed steps, add a nozzle wipe after the retract, and confirm the new filament was pushed past the melt zone before you resumed. Gaps right after the change usually mean under-extrusion, so check the hot end reached the temperature your new filament needs. A raised lip instead of a rough line means you should lower purge volume.
How much filament waste is normal during a two-color print?
For a manual swap, waste is modest: roughly 0.5 to 1 m of filament as the hot end cools and re-heats, plus the purge line, which at typical 200 to 600 mm cubed settings is under a gram of material. Multi-material units waste much more, often several grams per change, because they flush the nozzle fully for every colour. Printing each colour as a separate job wastes nothing at all beyond the purge you do while loading.
Conclusion
Printing two colors on one printer comes down to one honest constraint: a single nozzle changes colour between layers, so the boundary has to run flat across the part. Everything else is a choice of route.
Start with the split-and-print method on a model that genuinely has separate parts, because it needs no hardware and cannot fail at the change point. When you need the colours in one continuous object, run a manual swap on a small two-colour test cube, tune purge volume until the transition line is clean, and only then consider a multi-material unit or a second toolhead.