PrusaSlicer and Cura are both free slicers that turn a 3D model into printer-ready G-code, and both will drive almost any printer you own. The real difference is where each one puts its defaults: PrusaSlicer ships tight, opinionated profiles and cleaner layout, while Cura exposes more settings, a bigger printer library and native tree supports.
This guide maps those differences to actual decisions — which slicer suits your printer, how long a switch takes to calibrate, and where the two engines actually diverge. It was refreshed for October 2026 so version notes reflect the current builds.
For the record: PrusaSlicer is a free, open-source slicer developed by Prusa Research, forked from Slic3r. Cura is a free, open-source slicer built by Ultimaker around its own slicing engine, with a much larger plugin and profile ecosystem around it.
Table of Contents
- PrusaSlicer vs Cura Differences Explained at a Glance
- Interface, Workflow and Ease of Use
- Which interface gets a beginner to a decent print sooner?
- Which interface grows better with a large library?
- Printer Support and Configuration
- Adding a printer that isn’t in the list
- Profiles, Settings and Customization
- What to recalibrate when you switch slicers
- Supports, Modifiers and Printability Features
- Placing supports by hand
- What else changes for overhangs and surface quality
- File Formats, Plugins and Automation
- Automation and print hosts
- Print Quality, Speed and Real-World Control
- What actually changes print time
- Which Should You Choose?
- A quick chooser
- Frequently Asked Questions
- Is PrusaSlicer better than Cura?
- Can I use any slicer with any 3D printer?
- Why do my prints look different after switching slicers?
- Does Cura have tree supports?
- Which is faster, PrusaSlicer or Cura?
- Which slicing software is better, Cura, Orca, or PrusaSlicer?
- Start With the Right Slicer for Your Printer
PrusaSlicer vs Cura Differences Explained at a Glance
| Criterion | PrusaSlicer | Cura |
|---|---|---|
| Developed by | Prusa Research | Ultimaker |
| Cost | Free, open source | Free, open source, with paid business tiers |
| Interface style | Icon-driven toolbar, settings grouped by tab | Drop-down menu bar, one long scroll of settings |
| Default profiles | Tuned, tested profiles that print well out of the box | Generic starting values you refine yourself |
| Printer library | Strong Prusa coverage plus community bundles | The largest built-in printer list |
| Tree supports | Organic supports instead of true branching trees | Native tree supports, optional and off by default |
| Manual supports | Painted and dragged directly in the 3D view | Dragged shapes, plus Marketplace tools for painting |
| Layer height | Variable layer height across a print | Adaptive layer thickness and fuzzy skin options |
| Per-object control | Modifier meshes, custom G-code per object, sequential printing | Model settings per object, multi-material painting |
| File formats | STL, 3MF, STEP, OBJ, AMF plus 3MF project export | STL, 3MF, OBJ, PLY, AMF, COLLADA, STEP |
| Extensibility | Configuration bundles, scripts, G-code post-processing | Cura Marketplace, plugins, post-processing scripts |
| Best fit | Prusa owners, print farms, users who want few decisions | Ultimaker owners, tree support users, tinkerers |
Interface, Workflow and Ease of Use
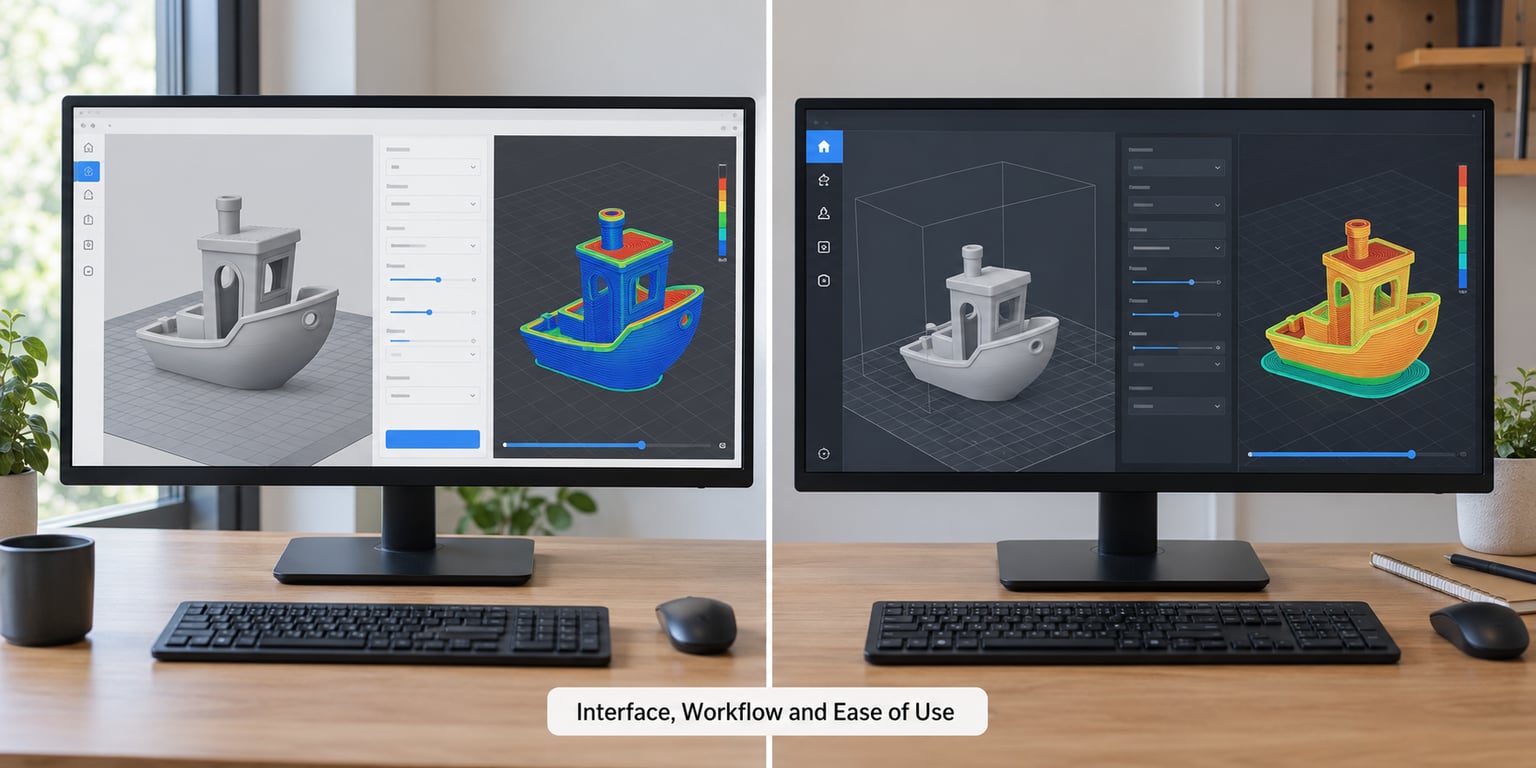
Cura presents its settings as one long vertical list under a menu bar, grouped loosely by section but never more than one click deep. Everything is technically reachable, which is exactly why new users get lost: there is no signal telling you which of several hundred options actually matter on a first print.
PrusaSlicer splits the same territory across labeled tabs and a top toolbar, so quality, speed, infill, supports and filament each have a fixed address. A user on r/FixMyPrint put the reason simply, liking that the profiles are divided into sections and that it runs quicker than Cura.
Both follow the same basic loop: load a model, choose a printer and material, set parameters, slice, preview, export. Neither is harder to start, and neither will hand you a good first print without any input at all.
Which interface gets a beginner to a decent print sooner?
PrusaSlicer, most of the time. A new user who picks PLA, 0.2 mm layer height and 20% gyroid infill will usually get a clean part from PrusaSlicer’s defaults because those defaults were tested on real machines. In Cura the same first print usually works, but the user has more choices to accidentally make in the process.
Which interface grows better with a large library?
Cura. Once you are juggling five printers, several filaments and per-object overrides, having everything in one continuous list with a search box is genuinely faster than hopping between tabs. Shops running mixed fleets tend to settle here for that reason.
Printer Support and Configuration
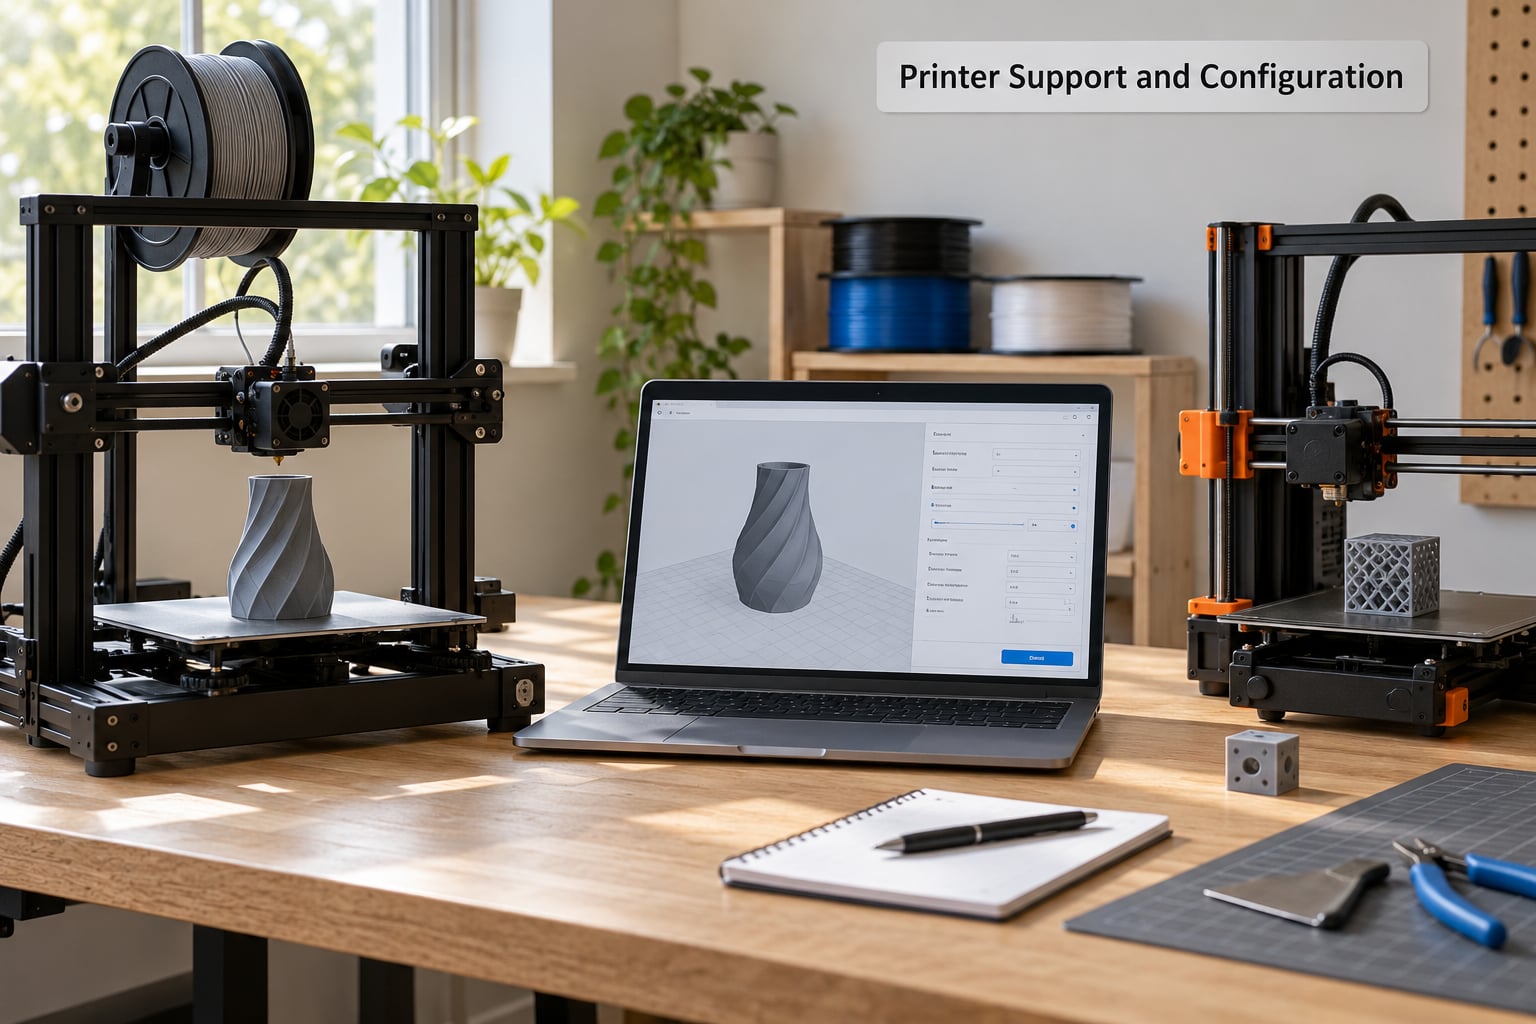
The most common misunderstanding about this comparison is that each slicer only works with its own brand’s printers. Both drive third-party machines. Cura ships profiles for an enormous range of Ultimaker, Creality, Elegoo, Anycubic and Bambu Lab hardware, and PrusaSlicer covers Prusa machines plus a wide community bundle for Ender and other clones.
Where they part company is depth. PrusaSlicer’s bundled profiles for Prusa hardware carry machine-specific detail — input shaper settings, nozzle offsets, purge volumes and bed temperature curves that Prusa has validated on its own machines. Cura’s profiles tend to be closer to generic, tuned for a machine class rather than a specific unit.
Adding a printer that isn’t in the list
Both accept custom G-code start and end scripts, and both let you define a new machine by copying an existing profile. PrusaSlicer’s community configuration bundles are the faster route for unusual printers, while Cura’s larger built-in list means you often find a starting point already there.
Users moving from a Creality Ender or an Ultimaker to a Prusa printer and back again report no drama either way. The printer is the printer; the slicer only changes how the toolpaths get planned.
Profiles, Settings and Customization
Cura organizes printable materials as selectable profiles from the top bar, each carrying temperatures, flow and mechanical settings. PrusaSlicer separates the same ideas into filament profiles you save once and then apply, plus a configuration preset that holds the machine and quality choices. The result is that PrusaSlicer remembers a working combination more thoroughly between sessions.
The other structural difference is per-object control. PrusaSlicer’s modifier meshes let you attach a second set of settings to a selected region of a model — a different layer height on the visible top, or a different infill inside a shell. Cura handles this with per-object model settings and, for multi-material work, a painting tool that assigns features to extruders by color.
What to recalibrate when you switch slicers
Almost nothing, if you map the names carefully. The parameters mean the same thing in both programs; only the labels differ, which is where most bad first prints after a switch come from.
| What it controls | Cura | PrusaSlicer |
|---|---|---|
| Amount of plastic extruded | Flow | Extrusion multiplier |
| Nozzle diameter | Nozzle size | Nozzle diameter |
| Start of a print | Skirt or brim | Skirt or brim |
| Seam placement | Seam position | Seam position |
| Filament change | Change filament | Filament change G-code |
Copy the flow percentage into extrusion multiplier unchanged, then leave retraction, temperatures and speeds alone for the first test print. If the surface looks identical, your calibration transferred perfectly and you never had a Cura problem in the first place.
Supports, Modifiers and Printability Features
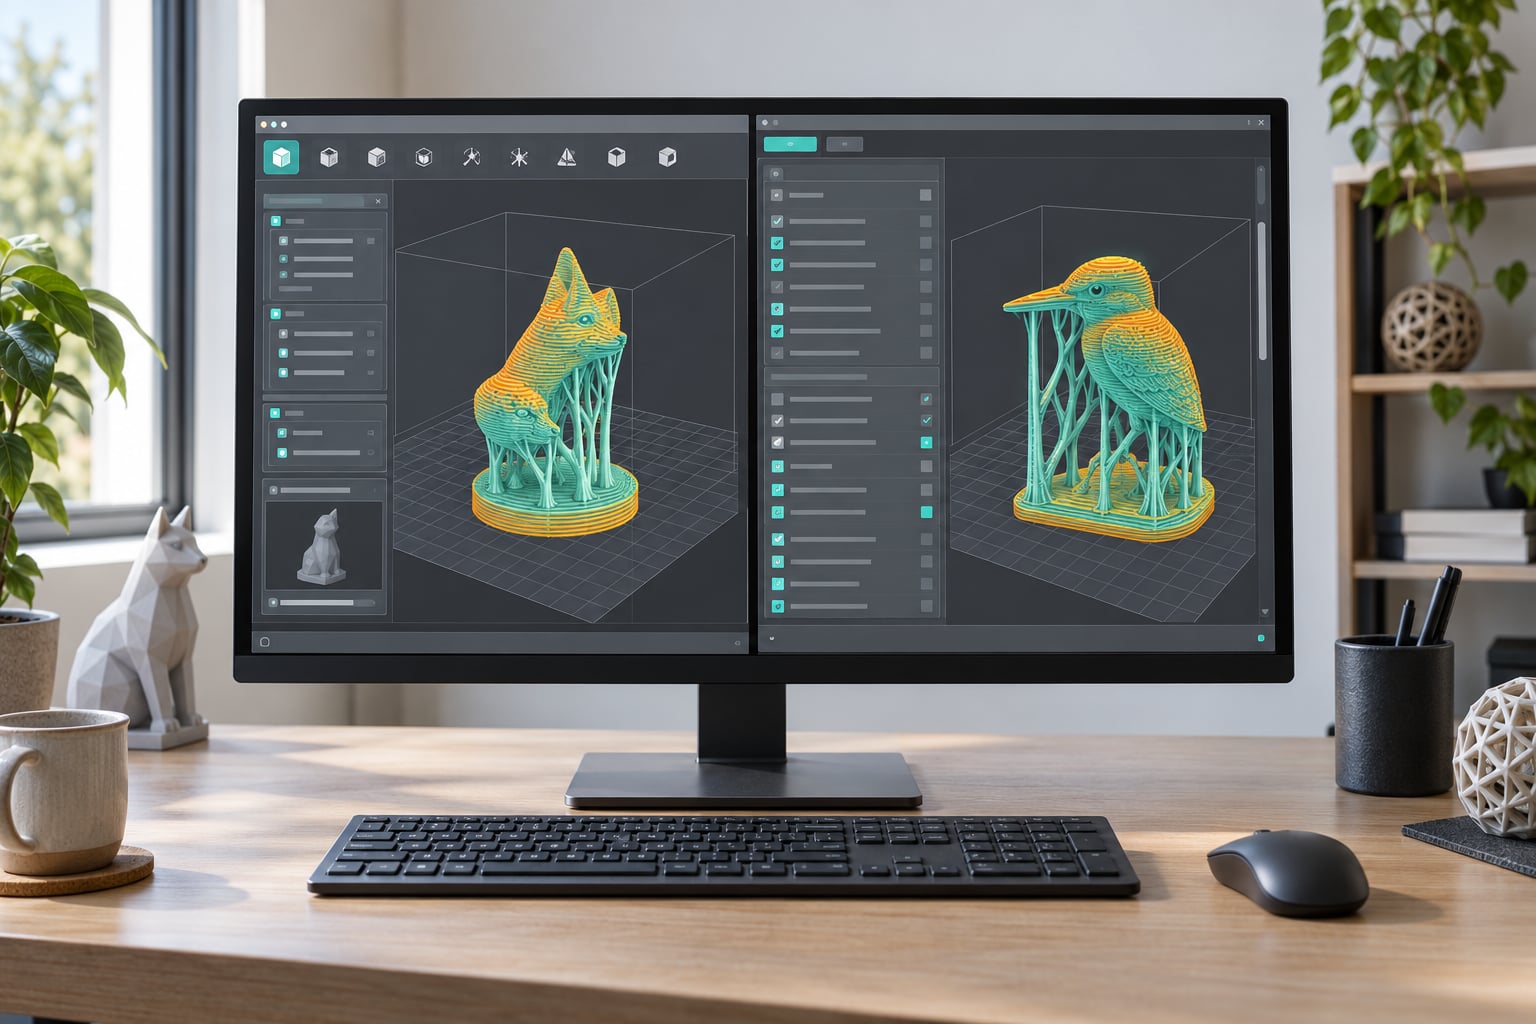
This is the sharpest technical difference between the two. Cura can generate tree supports — branching structures that grow like roots from the build plate, touch the model at a handful of points and remove far more cleanly than a dense grid. PrusaSlicer instead offers organic supports, which vary their thickness with distance from the anchor so they also peel away easily, but they still branch from a base rather than hanging from above.
Users switching from Cura to PrusaSlicer most often name the missing tree supports as the thing they miss. In the other direction, a rocketryforum.com user found PrusaSlicer’s supports harder to remove than Cura’s, which is a configuration difference more than an engine difference — support Z distance, XY distance and support density decide how much contact the support leaves behind.
Placing supports by hand
PrusaSlicer is the easier of the two here. You paint a support directly onto the model with the paint tools, or drag existing supports into position and rotate them. In Cura, supports are dragged shapes, and painting them on requires a plugin from the Marketplace rather than a built-in tool.
What else changes for overhangs and surface quality
Both handle brim and raft, per-layer infill density, wall loops, ironing, spiral vase mode and seam placement. PrusaSlicer adds variable layer height, thinning each layer to fit the previous one, which trims time and staircase artifacts on curved surfaces. Cura counters with adaptive layers, fuzzy skin for a matte skin texture, and larger infill pattern counts in some builds.
File Formats, Plugins and Automation
Both open the formats you actually use: STL, OBJ, 3MF and AMF, and both save 3MF project files that carry the model and settings together. PrusaSlicer reads STEP files directly, which matters if your models come out of CAD rather than sculpting software. Cura’s import list is wider in the other direction, adding PLY and COLLADA.
Extensibility is the clearer split. Cura has a Marketplace with a large catalog of plugins that add printers, materials, post-processing and preview tools. PrusaSlicer leans on configuration bundles, its own scripting options, and the ability to run post-processing scripts against exported G-code, which is how its print-farm tooling works.
Automation and print hosts
Cura writes files, prints over a network with OctoPrint or Duet, and connects to Ultimaker’s own cloud service for managed machines. PrusaSlicer exports straight to PrusaLink on a networked Prusa printer, queues and sends jobs to a farm of machines, and posts to host software such as OctoPrint, Duet and AstroBox.
If your workflow is a single desktop printer, the difference is academic. If you run batch jobs, sequential printing and direct camera-and-status integration are strong reasons to pick PrusaSlicer.
Print Quality, Speed and Real-World Control
Neither slicer produces better prints by default. Two people loading the same model, same filament and same layer height will get different results, and the difference comes down to travel moves, seam placement, retraction tuning and path planning rather than the name on the app. The honest answer to “which prints better” is that the one you have tuned properly prints better.
What differs is how much control sits in front of you and how fast the software gets out of the way. Community reports commonly describe PrusaSlicer slicing large or complex models faster, and long-time Cura users have reported crashes on repeated slices over the years. In the other direction, Cura users frequently praise its spiral vase mode, and Cura’s extra support options reduce post-processing time on models that need them.
What actually changes print time
Layer height, infill density, wall count, acceleration and support volume. Both slicers expose all of these, both estimate print time before you commit, and both let you change any one of them without touching the rest of the profile.
Which Should You Choose?
Pick PrusaSlicer if you own a Prusa printer, want settings that work well without a long tuning session, print large models or tall cosplay pieces, need sequential printing and multi-machine queues, or prefer a flat settings layout where every option has one obvious home.
Pick Cura if you need tree supports for organic surfaces, run an Ultimaker or want the broadest built-in printer and material library, rely on Marketplace plugins, want multi-material painting without a plugin, or simply prefer having every knob visible in one place.
Where does OrcaSlicer fit? It grew out of the K1 slicer lineage, keeps Cura-style full-feature configuration while adding advanced tree supports and tighter control over print flow, and it has become the common third option in print-farm and quality-focused threads. If you are weighing all three at once, treat it as a serious candidate rather than an experiment.
A quick chooser
Prusa hardware or batch printing: PrusaSlicer. Tree supports, plugins or a giant printer list: Cura. Tree supports plus a cleaner settings layout plus print-farm tools: OrcaSlicer. Whichever you land on, the first print is the real test.
Frequently Asked Questions
Is PrusaSlicer better than Cura?
It depends on your printer and habits. PrusaSlicer gives better out-of-the-box results on Prusa machines, slices complex models faster, and handles print farms and sequential printing well. Cura wins on tree supports, plugin depth and the size of its built-in printer library. For most Prusa owners, PrusaSlicer is the better fit; for everyone else the choice comes down to features.
Can I use any slicer with any 3D printer?
Yes. Both slicers work with third-party printers, not just the machines their developers sell. Cura has the larger built-in profile list across brands, and PrusaSlicer covers Prusa hardware plus community bundles for Ender and similar machines. You may need to enter the printer’s start and end G-code and set the right nozzle and bed temperature before the profile behaves.
Why do my prints look different after switching slicers?
Same settings, different path planning. Seam position, travel moves, retraction distances and the order of features in the G-code all differ between the two engines, so corners, seams and surface texture change even when the numbers match. Copy your flow percentage into extrusion multiplier unchanged, keep temperatures and retraction as they were, then compare seam position first.
Does Cura have tree supports?
Yes, and that is the main technical reason to stay with it. Tree supports branch from the build plate like roots, touch the model at a few points and come away much more easily than a dense grid. PrusaSlicer offers organic supports instead, which vary in thickness and also remove cleanly, but they rise from a base rather than hanging from above.
Which is faster, PrusaSlicer or Cura?
PrusaSlicer usually slices larger, more complex models faster, and users on community forums commonly report quicker slice times on the same file. Print time itself is decided by layer height, infill density, wall count, acceleration and support volume, not by the slicer. Long-time Cura users have also reported crashes on repeated slices, which is its own kind of speed problem.
Which slicing software is better, Cura, Orca, or PrusaSlicer?
PrusaSlicer suits Prusa hardware and print farms. Cura suits tree supports, plugin users and the widest printer library. OrcaSlicer combines Cura-style configuration with advanced tree supports and tighter flow control, and it has become the common third choice. The best slicer is the one whose defaults already match your printer and material, so start from the manufacturer’s recommended profile.
Start With the Right Slicer for Your Printer
Install the printer profile or configuration your manufacturer recommends before touching any advanced setting. Load the same model in both slicers, set identical layer height, walls, infill and temperatures, slice both, and compare the previews before you spend an evening printing the same part twice.
Most people settle their PrusaSlicer vs Cura question in about fifteen minutes of that side-by-side test. If the two previews look close, pick the interface you enjoy using, because you will be adjusting it on every job from here.