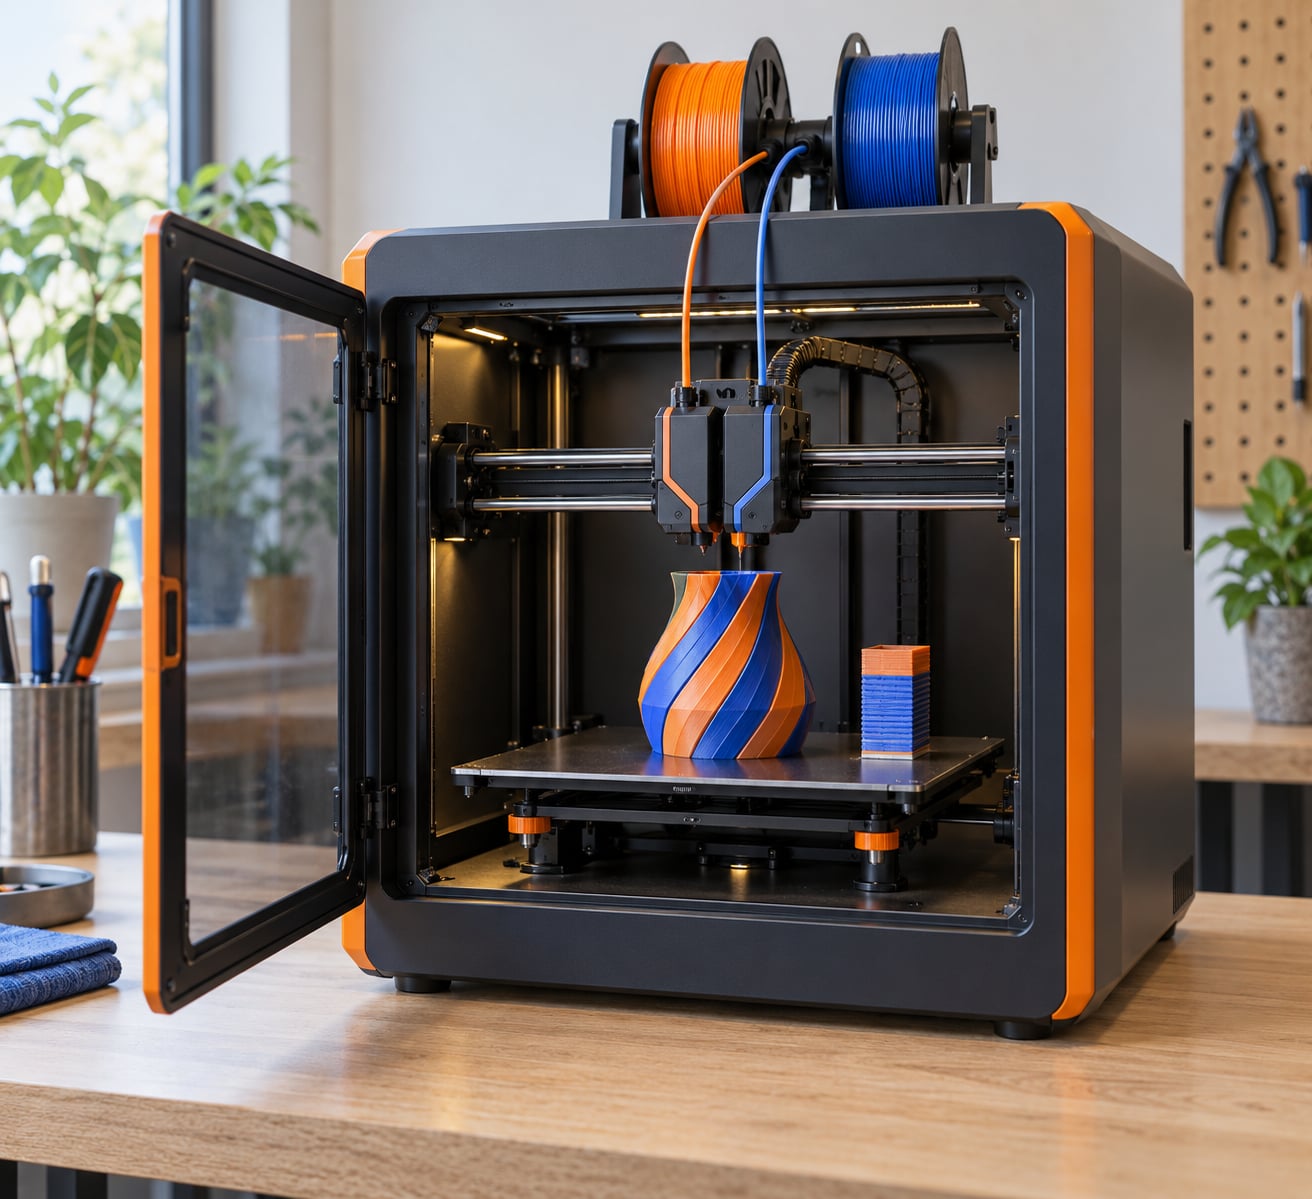
Multi material 3D printing is additive manufacturing that deposits two or more different materials, with different stiffness, flexibility, colours or thermal properties, inside a single print job instead of printing the whole part in one material. That simple idea covers everything from a rigid tool handle with a soft grip to a colour-coded prototype you never have to paint.
Getting there is less automatic than the marketing suggests. Materials have to share a melt zone or get their own nozzle, temperature ranges have to overlap, and every switch can leave residue behind. This guide walks through how the technology works, which hardware approaches exist, which pairings actually hold together, and where prints usually go wrong.
Table of Contents
- What Is Multi Material 3D Printing?
- How Does Multi Material 3D Printing Work?
- What Are the Main Multi Material Printing Methods?
- Which Materials Can Be Printed Together?
- What Can Multi Material 3D Printing Make?
- What multi material 3D printing makes that one material cannot
- Supports that manual removal cannot reach
- Colour-coded prototypes and models
- Consolidated assemblies
- Things that need embedded components
- Why Use More Than One Material?
- What Are the Main Limitations and Failure Risks?
- How to Plan a Reliable Multi Material Print
- How to Choose a Printer for Multi Material Printing
- Frequently Asked Questions
- Are multi material 3D prints weaker than single material prints?
- Can PLA and ABS be used in the same multi material print?
- How many colors can a multi material 3D printer print?
- Do different colors always need different nozzles?
- Is multi material 3D printing better than painting a single color print?
- Can you print flexible and rigid parts together?
What Is Multi Material 3D Printing?
Two or more printable materials go into one part, and the printer has to change between them without stopping. A prototype with an orange shell and a black base is multi-material. A phone case printed in three colours from three identical spools of PLA is not, which is the distinction most searchers get wrong.
The difference matters because multi-material changes physical behaviour. Painting a grey part black changes how it looks. Printing the same handle in PLA and TPU changes how it feels and how far it bends.
A manual filament swap also multiplies materials in one part, but a human loads the second spool and the machine sits idle. True multi-material means the machine makes the switch on its own, mid-layer, without you standing over it.
| Aspect | Multi color | Multi material |
|---|---|---|
| What changes | Pigment only | Chemistry, stiffness, density, flexibility |
| Typical pairing | PLA, PLA, PLA | PLA with TPU, PETG or PVA |
| Example | Three-colour logo plaque | Rigid housing with a flexible grip overmold |
| Layer adhesion | Identical, so strong | Varies with the pair and the interface |
| Print time cost | Switch plus purge on every change | Switch plus purge, sometimes plus slower cooling |
| Complexity | Low once set up | Medium to high, profiles must match |
The useful test: if you can swap one spool for another without changing any temperature or speed setting, you are doing multi color. If each material needs its own temperature profile, drying routine and retraction distance, you are doing real multi material 3D printing.
How Does Multi Material 3D Printing Work?
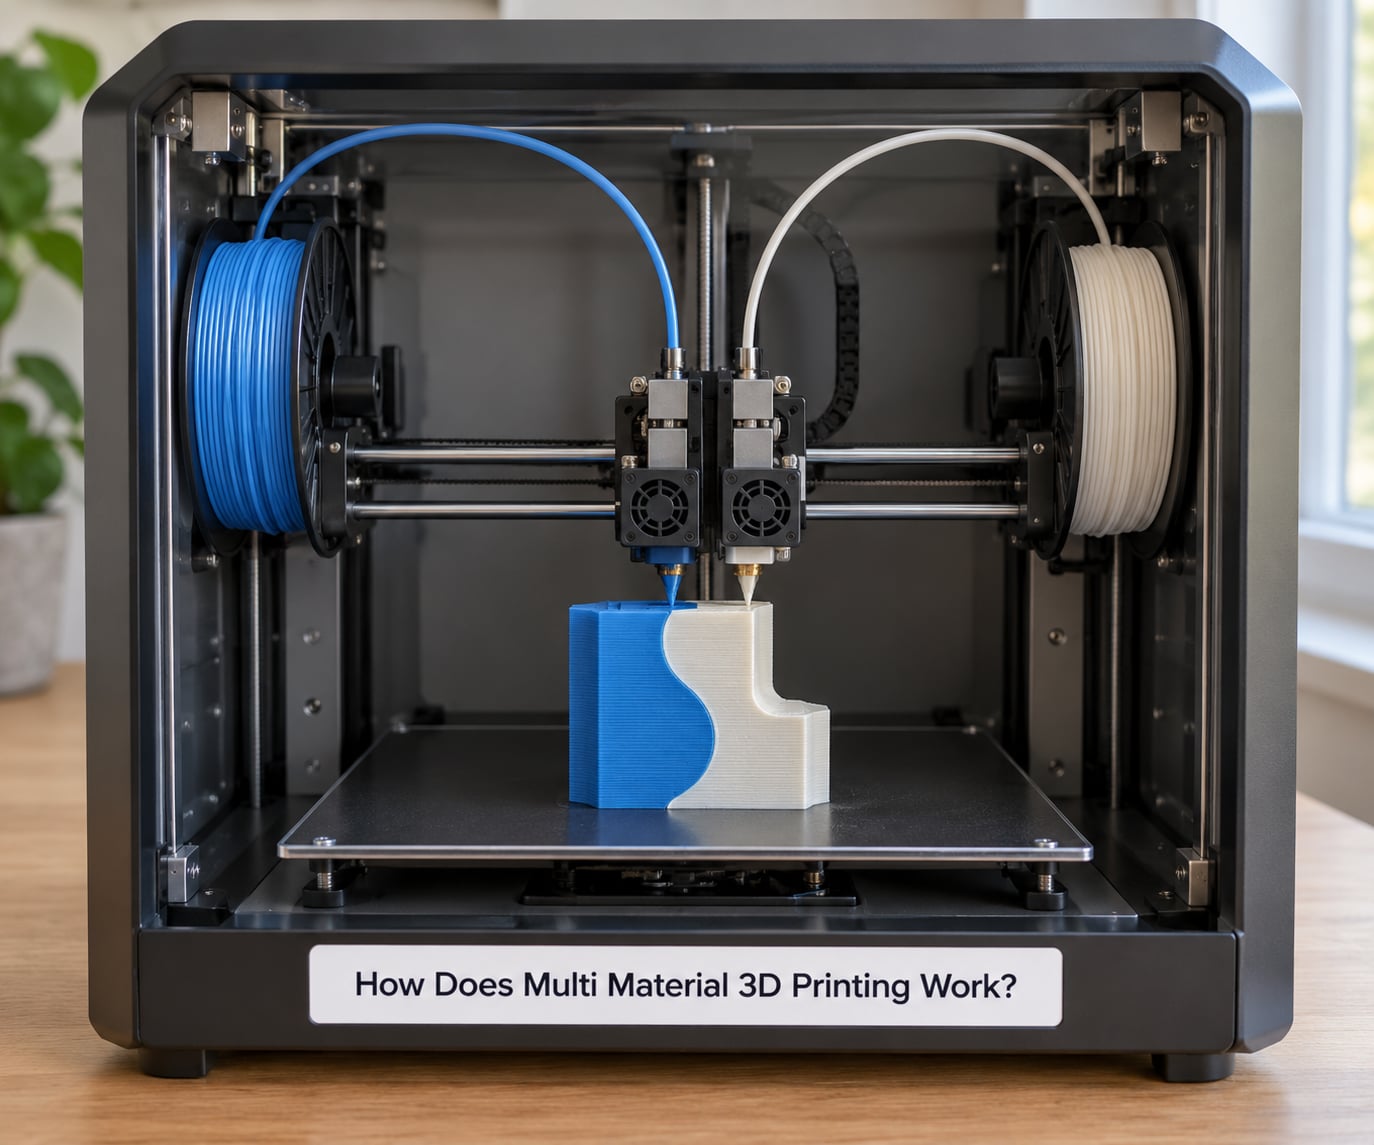
The workflow starts before the printer moves. In your CAD tool or slicer, each material region is a separate body, and every body is assigned to a specific extruder or tool. Export a 3MF project file rather than separate STLs, so the assignments survive the trip to the slicer.
The slicer then generates tool change commands. When a layer needs the second material, the machine pauses, purges the shared nozzle, advances the new filament and resumes at the correct Z height and X position for that layer.
Purge waste is the part nobody mentions up front. That extruded blob of old material goes into a purge tower, a wiper, or an off-the-bed container, and users on r/3Dprinting report one owner cutting waste from around 110 g to roughly 11 g by switching systems and adding custom purge objects. Treat the number of changes times purge volume as part of your material budget.
Sequential printing changes material between layers or regions. Simultaneous printing deposits two or more materials at once, which happens on jetting heads and multi-syringe systems where the materials sit side by side rather than passing through the same melt zone.
That shared melt zone is the hard part of the whole technique. Any residue, colour or gas from material A is still in the hot end when material B arrives, which is why tool change temperature, retraction and wipe settings consume so much of the setup time.
What Are the Main Multi Material Printing Methods?
There are five common FDM architectures, and each one buys you something different. Sequential systems keep one nozzle and add hardware to feed different filaments. Simultaneous systems give each material its own path to the bed.
| Method | Materials at once | Switch time | Purge waste | Where it fits |
|---|---|---|---|---|
| Manual swap with M600 pause | 2 | Minutes, you do it | One nozzle wipe | Occasional colour changes on a single printer |
| Single-nozzle filament changer | 2 to 8 spools | 30 to 45 seconds | Moderate, tower dependent | Colour-heavy work and mixed PLA and PVA |
| Multi-nozzle or IDEX | 2 to 4 | Under 5 seconds | Minimal | Production, no colour contamination tolerated |
| Tool changer | 4 to 8 tools | Under 10 seconds | Low, per-tool lines | True material mixing on a desktop machine |
| Material assist unit | 3 to 16 spools | 30 to 60 seconds | Moderate to high | Enclosed multi-material at a budget price point |
Manual swap. The printer pauses at a scripted layer, you swap the spool, it resumes. Cheap and honest, but the print sits cooling while you work.
Single-nozzle filament changer. A Y-shaped junction behind the hot end sends one of several spools into the shared extruder. Bambu Lab’s AMS is the familiar example. It handles colour changes well and handles genuinely different materials only when they share a temperature window.
Multi-nozzle and IDEX. Each material has its own extruder, gear and retraction path, and the print head parks one nozzle while the other works. Owners on r/3Dprinting point out that this almost eliminates layer contamination, since residue stays in its own channel. It is also the most expensive architecture.
Tool changer. The whole toolhead docks and swaps for another one, nozzle, heater block and all. Prusa’s XL can hold several tools at once, and each tool keeps its own nozzle temperature, so PLA and ASA can share a print without compromise.
Material assist. A multi-spool feeder with a dedicated drive unit per filament, feeding a single-nozzle printer. Convenient when the printer itself has one extruder.
Beyond FDM, dual-resin vat printing swaps resins between layers for a rigid and a tough clear part. Material jetting deposits and UV-cures photopolymer droplets, letting one part grade from soft to rigid across its surface.
Which Materials Can Be Printed Together?
Temperature compatibility is the deciding factor, and the rule is simple. Materials whose nozzle temperatures sit within about 30 to 40 degrees of each other usually share a nozzle. A gap of 90 degrees or more is effectively incompatible on a single hot end, no matter how good the filament is.
| Material | Nozzle temperature | Drying needed | Notes for multi-material use |
|---|---|---|---|
| PLA | 190 to 220 C | Not usually | The default partner, pairs widely |
| PETG | 225 to 250 C | Worth it | Hygroscopic, stringy, keep a little retraction |
| TPU | 220 to 250 C | Worth it | Soft, needs a firm feed path |
| ABS or ASA | 240 to 270 C | Not usually | Needs an enclosure, warps without one |
| PA or nylon | 250 to 290 C | Essential | Very dry or brittle, dries hardest |
| PVA | 190 to 230 C | Keep sealed | Soluble support for trapped volumes |
| PLA and PETG blend | 225 to 240 C | Varies | Dual nozzle lets you print the blend |
PLA with PETG. Comfortable on one nozzle, and both bond well to a shared layer. PETG sticks to itself poorly, so design the interface as a mechanical lock rather than relying on adhesion alone.
PLA with TPU. Tempting for grips and bumpers, but TPU compresses and bends in a narrow feed path, which is why it buckles on single-nozzle machines. A direct-drive extruder and a firm PTFE-lined or all-metal path make the difference.
Rigid with soluble support. PLA with PVA is the classic pairing for channels, internal cavities and snap-fit features nobody can reach by hand. PVA only dissolves in water, so the part must not sit in liquid for long.
Nylon with support. Use a breakaway support material that releases mechanically, or a low-temperature support, because nylon needs a hot chamber and a dissolvable support needs water.
PLA with ABS or ASA. Popular on paper, messy in practice. ABS shrinks as it cools, PLA barely moves, so the two pull apart at the interface and the ABS edge lifts. Print them on separate extruders or model a dovetail so the fit is mechanical.
Polypropylene and similar. PP is famously hard to print on anything, doubly so when it has to follow another material through the same nozzle. Plan around it.
What Can Multi Material 3D Printing Make?
The real wins are parts where one material cannot do the whole job. Everything else is decoration with extra steps.
What multi material 3D printing makes that one material cannot
A tool handle printed as a PLA core with a TPU overmold grips better and uses fewer fasteners. Gaskets, bumpers and phone cases follow the same pattern, and the seal fits better because it was printed in place rather than pressed in later.
Living hinges work in reverse, letting a stiff PLA body fold without a hinge pin. Soft robotics and compliant mechanisms push the idea further, with rigid skeletons carrying actuators that need to flex.
Supports that manual removal cannot reach
Soluble support in PVA solves trapped volumes, overhangs under bridges and channels inside a part. One user on r/3Dprinting described a job that would have been unprintable without it.
Colour-coded prototypes and models
Anatomical models with tissue colour-coded by type, a prototype with the moving parts in a contrasting colour, a board game mini with a translucent base and opaque figures. Fast, and far cheaper than sending it to a paint booth.
Consolidated assemblies
A housing, its lid, a set of standoffs and an insert printed as one job removes assembly from the workflow. On a prototype where the parts fit by design, that saves more time than it costs in purge waste.
Things that need embedded components
Conductive traces, magnets and threaded inserts can be captured mid-print by printing over them. Traditional print-in-place threads are fragile, so treat them as visual cues and use a real insert where strength matters.
Why Use More Than One Material?
Five benefits come up repeatedly. Visual differentiation, where a hard surface and a soft surface are visible and tactile in one part. Combined properties, where no single polymer is stiff enough, soft enough and light enough on its own. Embedded components, which disappear inside the part during the print. Sacrificial supports, which give geometry that single-material printing simply cannot reach. And part consolidation, which turns a six-piece assembly into one job.
Each one comes with a bill. Purge waste is real filament you never use, print time stretches with every switch, and setup complexity climbs fast enough that a first multi-material print usually takes longer to configure than to run.
What Are the Main Limitations and Failure Risks?
Most failures are mechanical and predictable. Knowing which one you are looking at saves hours.
Colour bleed between materials. Leftover filament gets deposited after a change and smears into the next colour. High-contrast pairs, dark to light, are the worst. Fixes: increase purge volume, add wipe elements, drop the temperature slightly before purging so the ooze thins, and route the purge so the cold blob falls away from the part.
Oozing after a tool change. The nozzle sits at temperature during the change and the melt inside creeps out, then drops as a blob when printing resumes. Raising wipe or lowering retraction travel too far can make it worse. Adding a wipe at the start of the first layer after the change is the usual fix.
TPU buckling. Soft filament compresses in the feed path and jams. This is a feed geometry problem, not a temperature one. Direct drive with an all-metal path resolves most cases.
The false clog. Owners on r/3Dprinting report TPU layers failing shortly after a change and blaming a clogged nozzle when the real cause was purge residue sitting in the melt zone. Before you strip a hot end, run a manual extrude and look at what actually comes out.
Poor layer adhesion at the interface. When two materials meet, the first layer of the new material bonds to the previous one under different conditions. Printed-in-place models where a material starts mid-layer bond best, because the part is still hot.
Retraction mismatches. Each material wants its own retraction distance and speed. One global setting means the softer or stickier material gets the wrong value, and you get stringing or under-extrusion.
Print time and waste. A 40 second switch multiplied across hundreds of layers adds real hours. Model this before you commit.
In a fair number of cases, two separate prints and a screw or a snap fit are stronger and cheaper. If the joint carries load and both materials are difficult, print them separately.
How to Plan a Reliable Multi Material Print
A repeatable order of operations saves more time than any single trick.
1. Check the machine first. Confirm the extruder count, whether tools swap automatically, and whether there is a purge tower. A single-nozzle printer without a wiper can do multi material, slowly and wastefully.
2. Dry every material. PETG, TPU and nylon absorb moisture quickly, and wet filament foams, strings and blocks small nozzles. Dry before the print, not during.
3. Build one profile per material. Temperature, bed temperature, flow, cooling and retraction live in the material profile, not the print settings. Bambu Studio, OrcaSlicer and PrusaSlicer all support this.
4. Test the pair on a small two-material calibration part. Look at the interface, not the colours. Change purge volume until the interface is clean, then note the value.
5. Assign the harder material first. Print the stiff, high-temperature material before the soft one so the softer material lands on a fresh, hot surface.
6. Purge with intent. Start from your slicer’s default purge volume and adjust it per colour pair. High contrast needs more purge, not less.
7. Design the interface. Interlocking fingers, dovetails and beam interleaving hold far better than a flat butt joint between mismatched materials. This is the single biggest lever you have.
8. Orient so the flexible material prints on top where you can, and keep the bed levelled for every material in the job.
9. Inspect the first colour change before walking away. The purge tower and the interface both tell you early whether the settings are right.
How to Choose a Printer for Multi Material Printing
Match the hardware to the job rather than to the material count on the box. Number of extruders or tools comes first, then automatic tool switching, purge and wipe systems, an enclosed heated chamber for ABS, ASA and nylon, direct-drive reliability for TPU, slicer support for your chosen files, open materials so you are not locked to branded spools, and expansion if you expect to add spools later.
Owners on r/BambuLab and r/prusa3d broadly agree on the nuance vendors skip: hardware that handles colour trivially can fail at genuine multi-material entirely. The AMS is praised for multi-material and criticised for colour, because the purge objects consume a large share of the bed and a small model’s purge can outweigh the model.
If your work is mostly one material in two colours, buy the colour capability. If you print a rigid body with a soft grip every week, prioritise a second hot end or a tool changer, and an enclosure if either material runs hot. If you cannot accept any colour contamination on a customer part, IDEX is the only architecture that solves it properly.
Frequently Asked Questions
Are multi material 3D prints weaker than single material prints?
It depends entirely on the interface. Where a flexible material butts against a rigid one, the joint is usually weaker than either material alone, because adhesion depends on shrinkage and temperature match rather than chemistry. Parts printed in place, where the second material starts mid-layer on a hot surface, bond much better. Model interlocking fingers or a dovetail and the joint often ends up stronger than a bolted equivalent.
Can PLA and ABS be used in the same multi material print?
On one nozzle it is possible but not recommended. ABS needs a hotter nozzle than PLA and shrinks noticeably as it cools, so the ABS edge tends to lift away from the PLA underneath. If your setup can print both, use a separate extruder or tool per material, print the ABS first, and keep the enclosure closed. On a single hot end, print them separately instead.
How many colors can a multi material 3D printer print?
That depends on how many filaments the machine feeds, not on how many colours exist. A manual swap gives you as many colours as you are willing to sit through. Single-nozzle filament changers commonly reach four to eight spools, material assist units go further, and a tool changer is limited by the number of tools it can hold at once. Each added colour costs purge filament and time per change.
Do different colors always need different nozzles?
No. With identical filament chemistry, one nozzle handles any number of colours, since only pigment changes. Different nozzles only become necessary when materials need different nozzle temperatures, retraction or feed behaviour. That is the line between multi color and multi material: same chemistry, many colours, or different chemistry, separate tools.
Is multi material 3D printing better than painting a single color print?
For appearance on a flat surface, painting is cheaper and often faster, since it needs no purge waste and no extra print time. Multi material wins where colour sits inside geometry, on a moving part, or where the interface has to flex, grip or seal. It also beats paint for anything with a wear surface, since a rubbed coating exposes bare plastic underneath.
Can you print flexible and rigid parts together?
Yes, and this is the most common real use for the technique. A rigid PLA or PETG body with TPU bumpers or grips works well on a printer with direct drive and an all-metal feed path. TPU is soft enough to buckle in a narrow Bowden path, which is why those setups jam. Keep the flexible material printing last, on top, so it bonds to a hot surface.
Start small. Print one two-material calibration part on your intended setup, watch the first purge and the first interface, and record the purge volume that works. Once that number is dialled in, multi material 3D printing stops being a research project and turns into a setting you reuse.