Short answer: raw filament runs about 0.02 to 0.30 USD per gram depending on material, while a finished part from a print service typically costs 0.10 to 0.25 USD per gram once electricity, machine wear, labor and failed prints are counted. Most people who ask how much does 3d printing cost per gram are trying to close that gap, because filament is usually the smallest line on the bill.
For standard PLA, one gram of filament is roughly two to three cents. One hundred grams is about 2 to 3 USD. Twenty grams, a typical small prototype, is well under a dollar in material. The same part printed by a service can cost 4 to 8 USD, and the difference is not a scam, it is overhead doing what the raw number hides.
Everything below is a typical US range. Prices vary by region and change over time, so treat them as planning figures rather than quotes. I use the same table to sanity-check quotes from shops and libraries.
Table of Contents
- How Much Does 3D Printing Cost per Gram by Material?
- What about resin and metal powder?
- What Does One Finished Part Actually Cost?
- A worked example: a 350 g print
- Three part sizes, priced the same way
- How to get the gram estimate before you print
- The electricity line item, in full
- How Do FDM and Resin Service Prices Compare?
- What Affects the Price
- Ways to Save on 3D Printing
- Frequently Asked Questions
- Is the cost per gram enough to price a 3D-printed part?
- What is the average cost of a small 3D-printed part?
- Why do 3D printing services charge more than the material cost?
- Does a heavier 3D print always cost more?
- Is owning a home 3D printer cheaper than using a service?
- Conclusion: Start With Material and Part Weight
How Much Does 3D Printing Cost per Gram by Material?
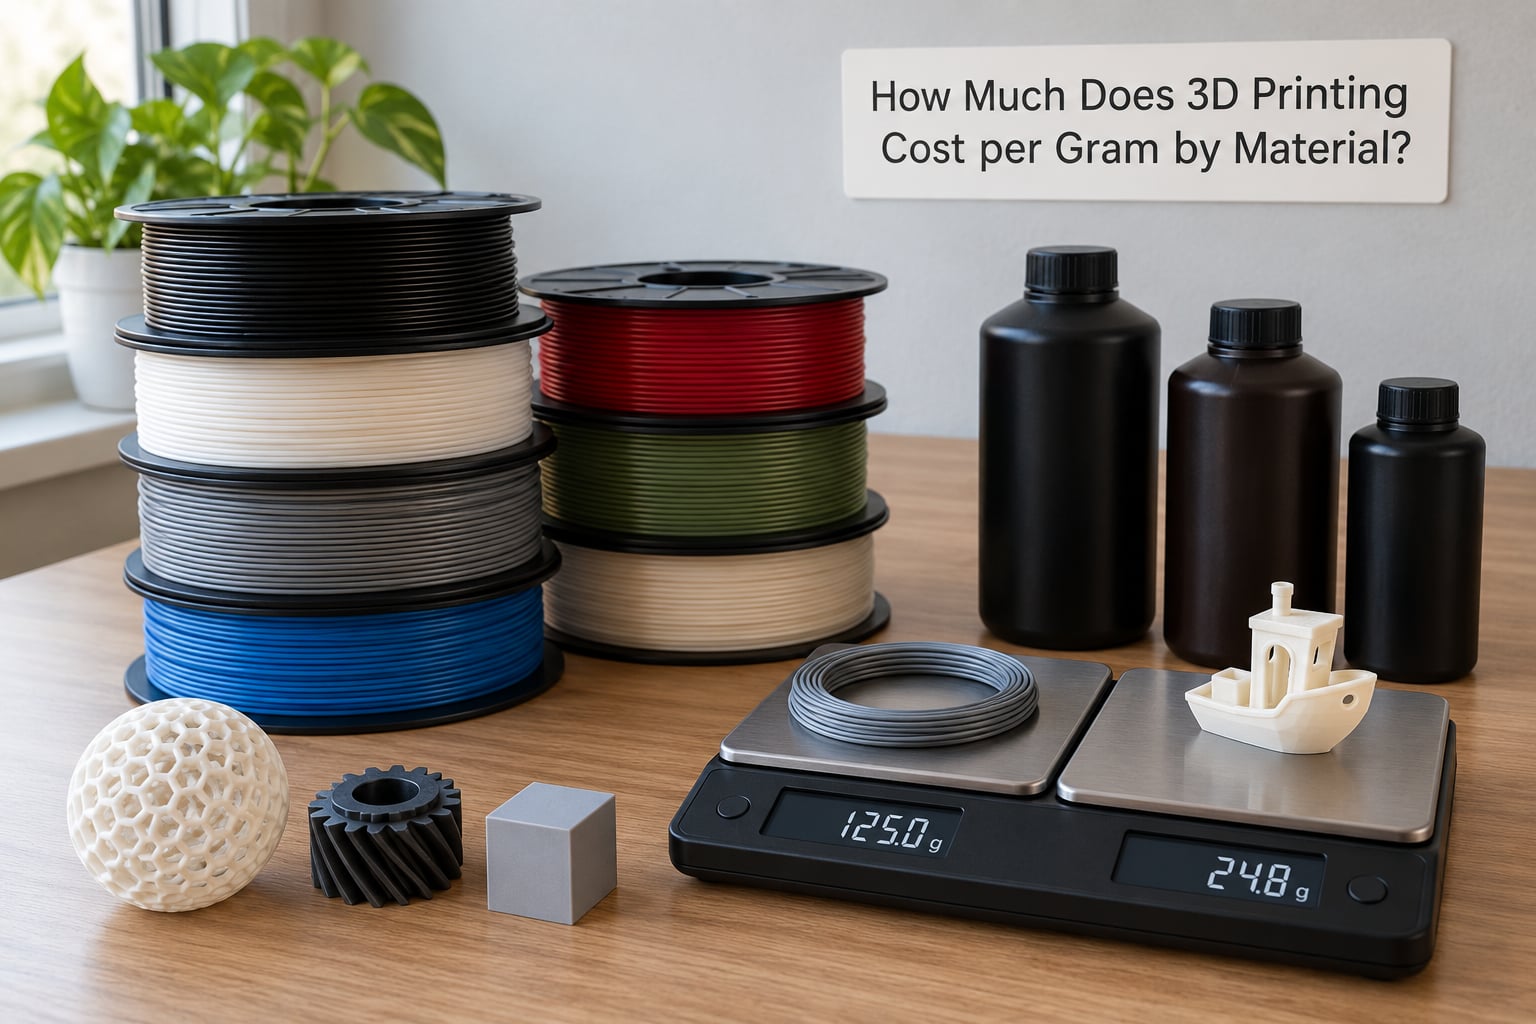
Filament cost per gram is just the spool price divided by the spool weight. A 22 USD spool of 1 kg PLA works out to 0.022 per gram. A 26.99 USD spool comes to 0.027. Once a print drops below a few hundred grams, most makers switch to specialty or imported filament and the per-gram number jumps fast.
| Material | Typical US price per kg | Cost per gram | Density (g/cm3) | Common use |
|---|---|---|---|---|
| PLA | 20 to 27 USD | 0.02 to 0.03 USD | 1.24 | Models, prototypes, planters, cosplay parts |
| PETG | 22 to 30 USD | 0.02 to 0.03 USD | 1.27 | Functional parts, brackets, enclosures |
| ABS | 25 to 35 USD | 0.03 to 0.04 USD | 1.04 | Enclosures, automotive mockups |
| ASA | 30 to 40 USD | 0.03 to 0.04 USD | 1.07 | Outdoor parts that need UV stability |
| TPU | 40 to 60 USD | 0.04 to 0.06 USD | 1.21 | Gaskets, phone cases, flexible fixtures |
| Polycarbonate | 50 to 70 USD | 0.05 to 0.07 USD | 1.20 | High-temp, high-strength parts |
| Nylon (PA12, PA6) | 90 to 180 USD | 0.09 to 0.18 USD | 1.01 to 1.14 | Gears, bushings, high-wear mechanisms |
| Specialty (carbon, glass-filled) | 90 to 400 USD | 0.10 to 0.40 USD | Varies | Stiff, light, heat-resistant parts |
| Standard photopolymer resin | 30 to 55 USD | 0.03 to 0.06 USD | 1.10 to 1.15 | Miniatures, jewelry, dental models |
| Metal powder (SLS/SLM) | 70 to 250 USD | 0.08 to 0.30 USD before machine time | Varies | Production-grade end-use parts |
What about resin and metal powder?
Resin looks cheap by the gram and rarely is once supports, washing, curing and cleanup are counted. Support-heavy resin prints can use three to five times the mass of the finished piece, and every one of those grams has to be scrubbed off afterward under a ventilation hood.
Metal powder sits an order of magnitude above filament on material cost alone, and that is before the sintering or melting furnace time. Shops rarely quote metal per gram for a reason: they quote per part.
One more trap when comparing filaments by price. Cheap spools with inconsistent diameter feed badly, and a jam that ruins a 30-hour print costs far more than the spool saved. Threads on r/3Dprinting keep circling this, and the Bambu Lab community threads report the same pattern: inconsistent cheap filament quietly raises the cost per successful gram.
What Does One Finished Part Actually Cost?
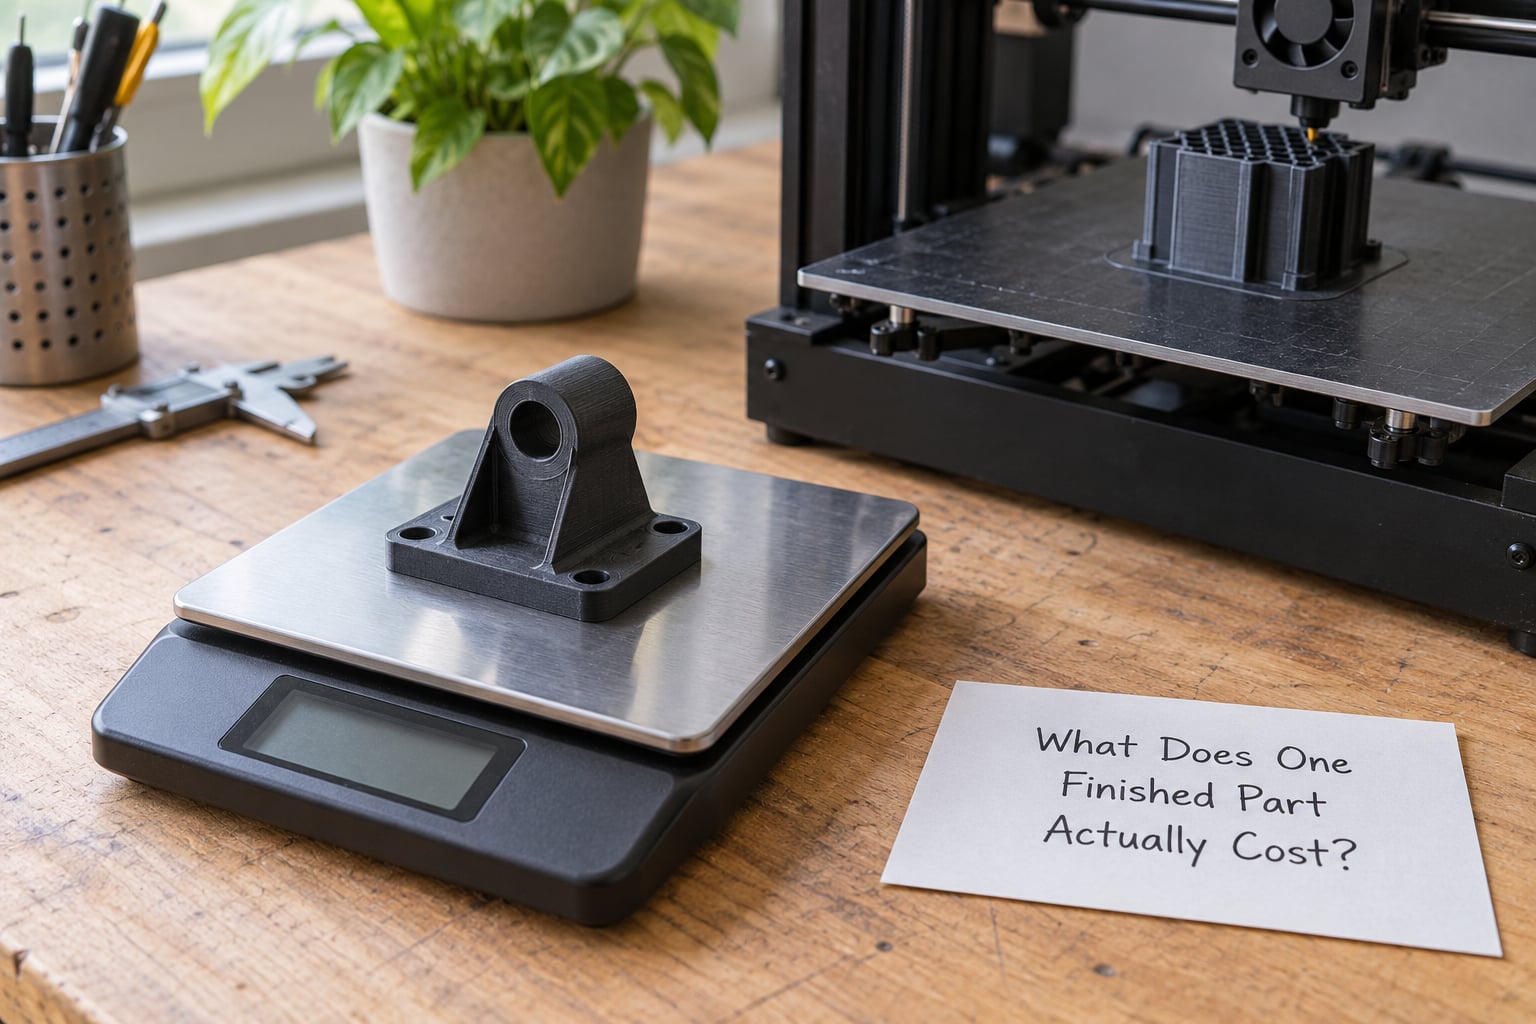
Material is one of five components. Miss any of the others and your per-gram number will be wrong by a factor of three to five, which is exactly the mistake new service operators make.
| Component | How to calculate it | Typical share of total |
|---|---|---|
| Material | Slicer gram estimate multiplied by cost per gram of that filament | 15% to 30% |
| Electricity | (watts x print hours / 1000) x local rate per kWh | 5% to 10% |
| Machine wear and depreciation | Printer cost spread over its useful print hours, plus nozzles and plates | 10% to 20% |
| Labor | Model prep, machine tending, support removal, finishing, at an hourly rate | 25% to 50% |
| Failure buffer | 10% added by default, more if the material or geometry is difficult | 5% to 15% |
A worked example: a 350 g print
Take a 350 g PLA part. At 0.022 per gram the material is 7.70 USD. Now add the rest. On a 250 W machine running 28 hours at 0.14 per kWh, electricity is about 0.98 USD. Depreciation on a 450 USD printer amortized over 2,500 print hours, plus consumables, lands near 4.00 USD. Support removal and finishing take 90 minutes, which at 35 USD per hour is 52.50 USD. That pushes the realistic total to 37.25 USD once a failure buffer and packaging are included, roughly 4.8 times the material figure.
That gap surprises people every time, and it is the single most useful thing to understand about per-gram pricing.
Three part sizes, priced the same way
Small prototype, 20 g, 2 hours. Material is 0.44 USD, electricity 0.07 USD, wear 0.29 USD. Labor dominates at 30 minutes of setup and cleanup, 17.50 USD at 35 USD per hour. Total roughly 18 USD. Labor is 90 percent of this print, which is why services have minimum order charges.
Medium machine part, 180 g, 16 hours. Material 3.96 USD, electricity 0.56 USD, wear 2.29 USD, labor one hour including cleanup at 35 USD. Total lands near 10 USD after the failure buffer. Now material is a meaningful share and per-gram pricing starts to look fair.
Large enclosure, 1.4 kg, 96 hours. Material 30.80 USD on PLA, electricity 3.36 USD, wear 17.28 USD, labor about two hours at 70 USD. Total near 135 USD, or about 0.10 per gram. Volume is where material pricing finally dominates, because labor stops scaling with weight.
How to get the gram estimate before you print
Cura, PrusaSlicer and OrcaSlicer all show the filament weight before you commit. In PrusaSlicer and OrcaSlicer the figure sits under the preview when the model is sliced, next to the filament used line in the side panel. In Cura it appears in the top status bar once the model is sliced, shown in grams.
Add 10 to 15 percent for supports and the purge line, then check the estimate against a real print once. Slicers are accurate on solid models and drift upward on steep overhangs and thin walls, so a 20 g estimate that produces a 27 g part is normal, not a slicer bug.
The electricity line item, in full
Electricity rarely changes a quote by much, but people want the formula, so here it is: (watts x print hours / 1000) x rate per kWh. At the US average of about 0.14 per kWh, a small 80 W printer running 3 hours costs roughly 0.03 USD. A 250 W printer running 28 hours costs 0.98 USD. A heated-chamber machine pulling 450 W for 40 hours costs about 2.52 USD.
Machines idle draw between 10 and 25 W for the heated bed alone, so a bed left on overnight adds up. Switching the bed off after a layer saves a few dollars a month on a busy machine.
How Do FDM and Resin Service Prices Compare?
Service prices sit far above raw material for the same reason a machined aluminum part costs more than its metal: somebody has to run the machine, watch it, clean it, and absorb the failures. Published rate cards make the gap easy to see.
| Service type | Typical rate per gram | Minimum charge | Notes |
|---|---|---|---|
| Public library or makerspace | 0.10 to 0.15 USD | About 1 to 1.50 USD | Example rate cards: SCPLS charges 10 cents per gram including supports, the City of Denton, Texas charges 15 cents per gram of plastic with a 1.50 USD minimum |
| Private print bureau or online service | 0.10 to 0.25 USD | Often 10 to 50 USD | Higher minimums because they absorb setup, finishing and queue time |
| Local print shop (FDM) | 0.15 to 0.30 USD | Varies | Often billed per hour instead of per gram, roughly 30 to 60 USD per hour |
| Resin and miniature service | 0.20 to 0.60 USD | Per-piece pricing | Support removal, washing and curing dominate the cost |
| Metal SLS or SLM service | Quoted per part | Setup fees common | Material is a small share of the quote; machine time and finishing dominate |
| Your own printer, DIY cost | 0.06 to 0.20 USD | None | Excludes your unpaid hours; add your own rate to see the true figure |
There is a naming trap here. A quoted per-gram rate usually means the shop is billing material plus machine time by weight, with labor hidden inside that multiple. A finished-part quote means they have looked at the file, seen the supports, and priced the actual job. Ask which one you are looking at before you compare two numbers against each other.
On the pricing-method question that dominates the forums, practitioners in r/3Dprinting converge on a mixed model: around 35 USD per hour for labor billed in 15-minute increments with a one-hour minimum, plus a print-only charge near 10 cents per gram of filament used. Pure per-gram pricing rewards inefficiency and punishes fast, well-tuned printers. Pure per-hour pricing punishes small, quick jobs that need a lot of handling. Most profitable shops blend both.
What Affects the Price
Material type is first. Nylon and carbon-filled filament run several times the per-gram price of PLA, and the harder-to-print behavior adds time as well as material.
Print volume is second, and it works in the other direction. Bigger parts spread fixed labor over more material, so per-gram cost drops as parts get larger.
Infill percentage is the biggest lever most people never touch. A solid model at 100 percent infill uses several times the material of the same model at 20 percent with three walls, and it also prints longer, which raises electricity and wear. Interior geometry that does not need strength, brackets with hidden cavities, cosplay props, planters.
Wall thickness matters more than infill for strength in most parts. Three or four perimeters at normal wall thickness outperform a solid print with two walls, at a fraction of the material.
Layer height shifts time, not mass. A 0.2 mm layer that takes 20 hours drops to 8 hours at 0.3 mm with the same gram count, cutting electricity and wear. Surface finish suffers, so use coarse layers on hidden faces and fine ones where the part is handled.
Support structures are invisible mass. An overhang-heavy part can consume 30 to 50 percent more filament than the solid estimate suggests. Reorienting a part to print without supports often saves more material than any infill setting.
Print speed is cheaper than it looks. Running a proven profile at 1.2x its usual speed with no visible artifacts saves hours per job with no quality penalty. If quality drops, you are just moving the cost to scrap parts.
Machine condition feeds back into every number. A clogged or worn nozzle produces stringy, dimensionally wrong parts and more failures. Nozzles, belts, fans and build plates are consumables that belong in the wear line, not hidden.
Labor and finishing are the components people forget. Removing dense supports, sanding, heat-staking inserts or priming a cosplay prop takes real time, and support removal labor is often larger than the print itself.
Order quantity shifts labor hardest. One prototype pays all its setup on a single part. Fifty copies pay setup once, and the per-part cost collapses toward material plus machine time. Ask any service about a batch rate before ordering individually.
Geography matters at the edges. Electricity rates and wage levels both vary, so a shop in a high-wage region quotes higher without being unreasonable. Delivery is charged on the finished part, not the gram estimate.
Ways to Save on 3D Printing
Pick the process the part actually needs. A living-room draft, a garden marker or a shop jig has no reason to be resin. Going from resin to FDM on a display piece can cut the bill by more than half.
Reorient before you thin out. A part that prints flat without supports often drops 40 percent off the material and all the cleanup labor with it. Try rotating the model before touching infill.
Drop infill to 20 or 30 percent and add a wall. The part feels nearly identical and the spool lasts noticeably longer.
Raise layer height where nobody sees it. Print the hidden body at 0.28 mm and the visible face at 0.12 mm, if your machine and slicer allow it.
Nest parts into one plate. Ten small brackets printed together share one heat-up, one purge, one leveling and one night, and each one gets a few minutes off the bill.
Keep nozzles and drive gears in good shape. A monthly wipe of the nozzle and a check for consistent extrusion costs nothing and prevents the ruined long prints that quietly dominate a hobbyist’s real per-gram cost.
Batch orders rather than drip-feeding them. Group everything you need into one print run and one order so setup is billed once.
Compare quotes by delivered cost, not per gram. Ask what the finished part costs in your hand, including finishing and minimums. Two quotes that differ per gram can land within a few percent of each other once minimums are applied.
Dry your filament. Wet PLA pops, strings and looks rough, which pushes people into more failed prints and coarser layers. A dryer box costs less than one wasted spool and pays back over a year.
Buy filament in 1 kg spools and buy in bulk once you know what prints well. The per-gram saving on a multi-pack is real, and reviewers on r/3Dprinting consistently report the multi-pack as the cheapest route per kilogram, provided the diameter is consistent.
Frequently Asked Questions
Is the cost per gram enough to price a 3D-printed part?
No. Cost per gram of filament covers only the material line, typically 15 to 30 percent of what a part really costs. Machine time, electricity, support removal, finishing and failed prints all sit outside that number. Use per-gram pricing as an input to a cost model, never as the price itself.
What is the average cost of a small 3D-printed part?
A small part weighing about 20 grams usually runs 12 to 25 USD through a service, because setup and cleanup labor outweigh the material. The filament in it is worth well under a dollar. The same part costs less when ordered in a batch or when the design needs no supports.
Why do 3D printing services charge more than the material cost?
Because a printed part is a made object, not a weighed quantity. The shop pays for machine time, wear, labor, finishing and a buffer for failures, then adds a margin to stay open. Published library rate cards of 10 to 15 cents per gram reflect the same structure at a nonprofit rate.
Does a heavier 3D print always cost more?
Not proportionally. Weight drives material cost, but two parts of the same weight can differ sharply because supports, infill, print time and post-processing vary. A heavier, simpler part can cost less than a lighter one with dense supports and heavy sanding. Estimate from the sliced file, not from weight alone.
Is owning a home 3D printer cheaper than using a service?
For occasional parts, almost always. For production and functional parts, a printer plus filament, electricity, wear and maintenance runs 0.06 to 0.20 USD per gram before your time. Once you count your own hours at a normal rate, the gap narrows quickly, and services win on queue time, finishing and capacity.
Conclusion: Start With Material and Part Weight
Estimate the finished part’s weight from your slicer, pick the material from the table above, and price the material at your actual per-gram rate. Then add electricity, wear, labor and a 10 percent failure buffer before you compare that number with a service quote. That four-step check tells you whether you are looking at a fair price or just a cheap spool of filament.