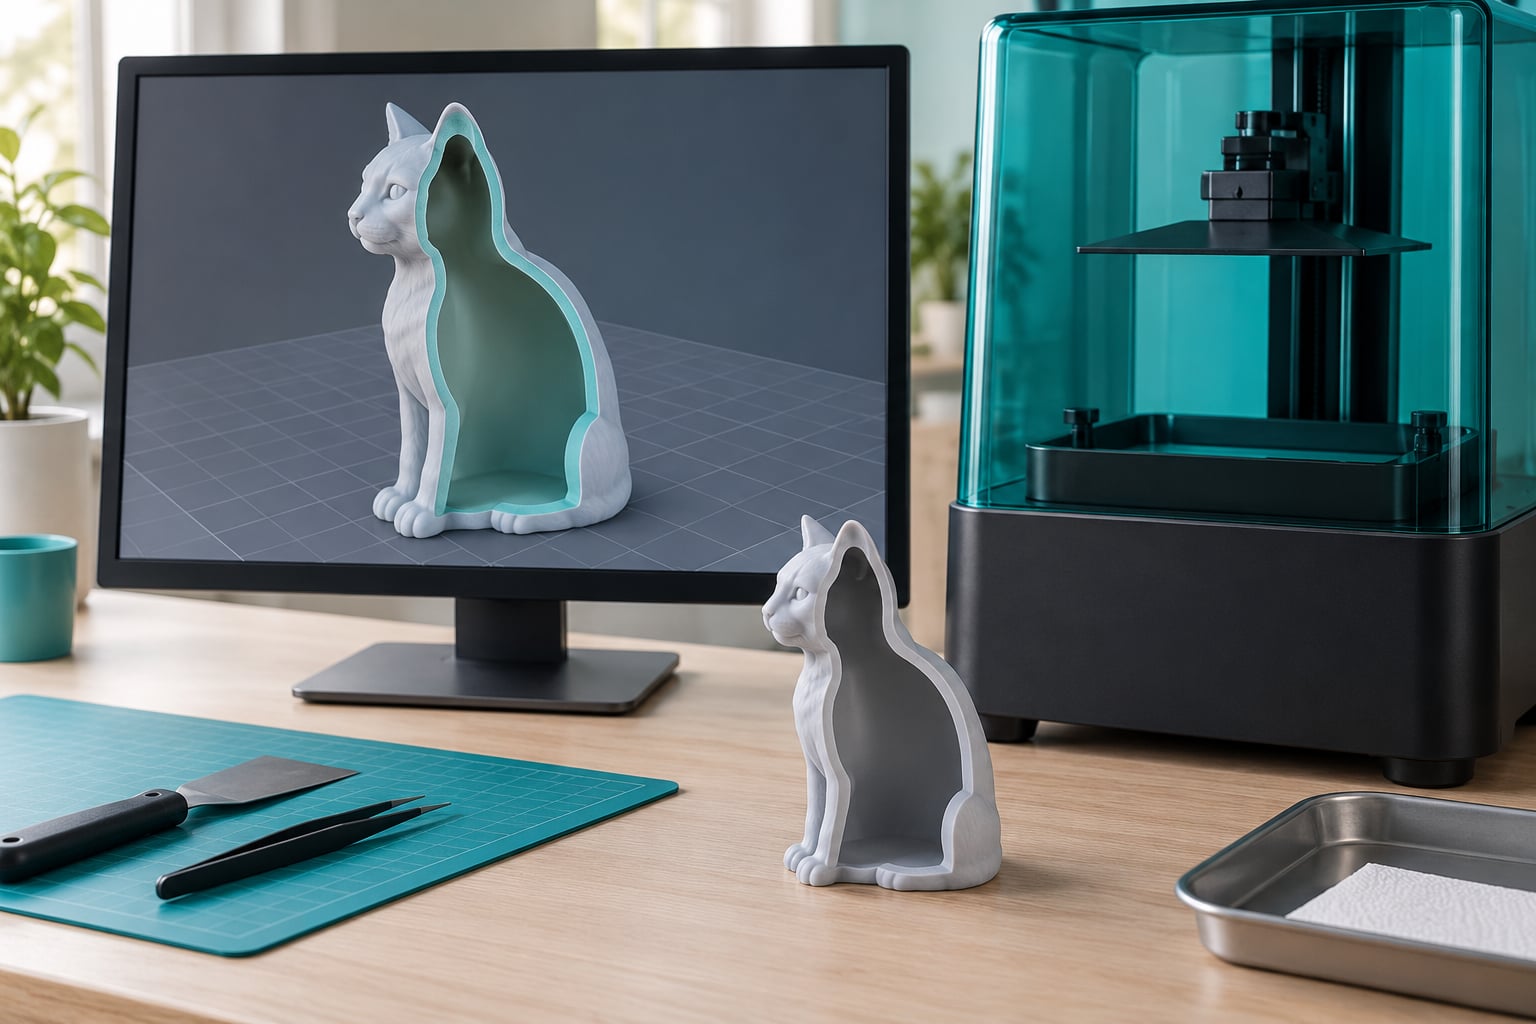
Hollowing a model for resin printing means removing its solid interior so the slicer prints only a thin outer shell, then punching openings so uncured resin can drain before the part cures. Hollow anything roughly 30 mm or larger in its smallest dimension, set walls to 2-3 mm, and add an uncapped drain hole at the lowest point of the cavity plus a vent hole at the highest. It takes about ten minutes of setup and cuts resin use dramatically.
Most beginners learn this the expensive way, printing a solid bust and watching a third of a bottle go into one job. Hollowing is the fix, and once you know where the two tools live in your slicer it becomes routine.
Table of Contents
- What You Need
- Step-by-Step: How to Hollow a Model for Resin Printing
- Check the Model and Choose Wall Thickness
- Use the Slicer’s Hollowing or Shell Function to Hollow a Model for Resin Printing
- Add Drainage and Ventilation Holes
- Add Supports and Check the Print Preview
- Choose Safe Resin Printing Settings
- Common Mistakes and How to Fix Them
- Quick Checklist Before You Print
- Frequently Asked Questions
- What wall thickness should I use when hollowing a model for resin printing?
- Where should I put drainage holes in a hollow resin model?
- Do hollow resin prints still need supports?
- Can I hollow a model that contains thin or fragile parts?
- How much resin can hollowing save?
- Should I hollow every model before resin printing?
- Conclusion
What You Need
You need four things, and only the first two are mandatory.
A resin slicer with a hollowing function. CHITUBOX is the most widely used and calls the feature the Hollow tool. Lychee from Mango 3D does the same job with a similar panel. Either one is enough for every step in this guide.
A prepared 3D model. The mesh must be watertight before you hollow it, because the hollow tool offsets the outer surface inward and any gap in that surface becomes a hole in your shell.
Resin printing workflow knowledge. You should already know how to level the build plate, set exposure, and run a test print. Hollowing changes how a model behaves during those steps, so the basics need to be solid first.
Optional tools. A digital syringe and a blower for draining after the print. Autodesk Meshmixer if you prefer to hollow before importing anything into a slicer, which is useful when the same model goes to several machines.
Two terms get confused constantly, so define them now. A drain hole sits at the lowest point of the cavity and lets uncured resin flow out. A vent hole sits at the highest point and lets air in as the resin leaves, so drainage does not create a partial vacuum that pulls the walls inward.
Step-by-Step: How to Hollow a Model for Resin Printing
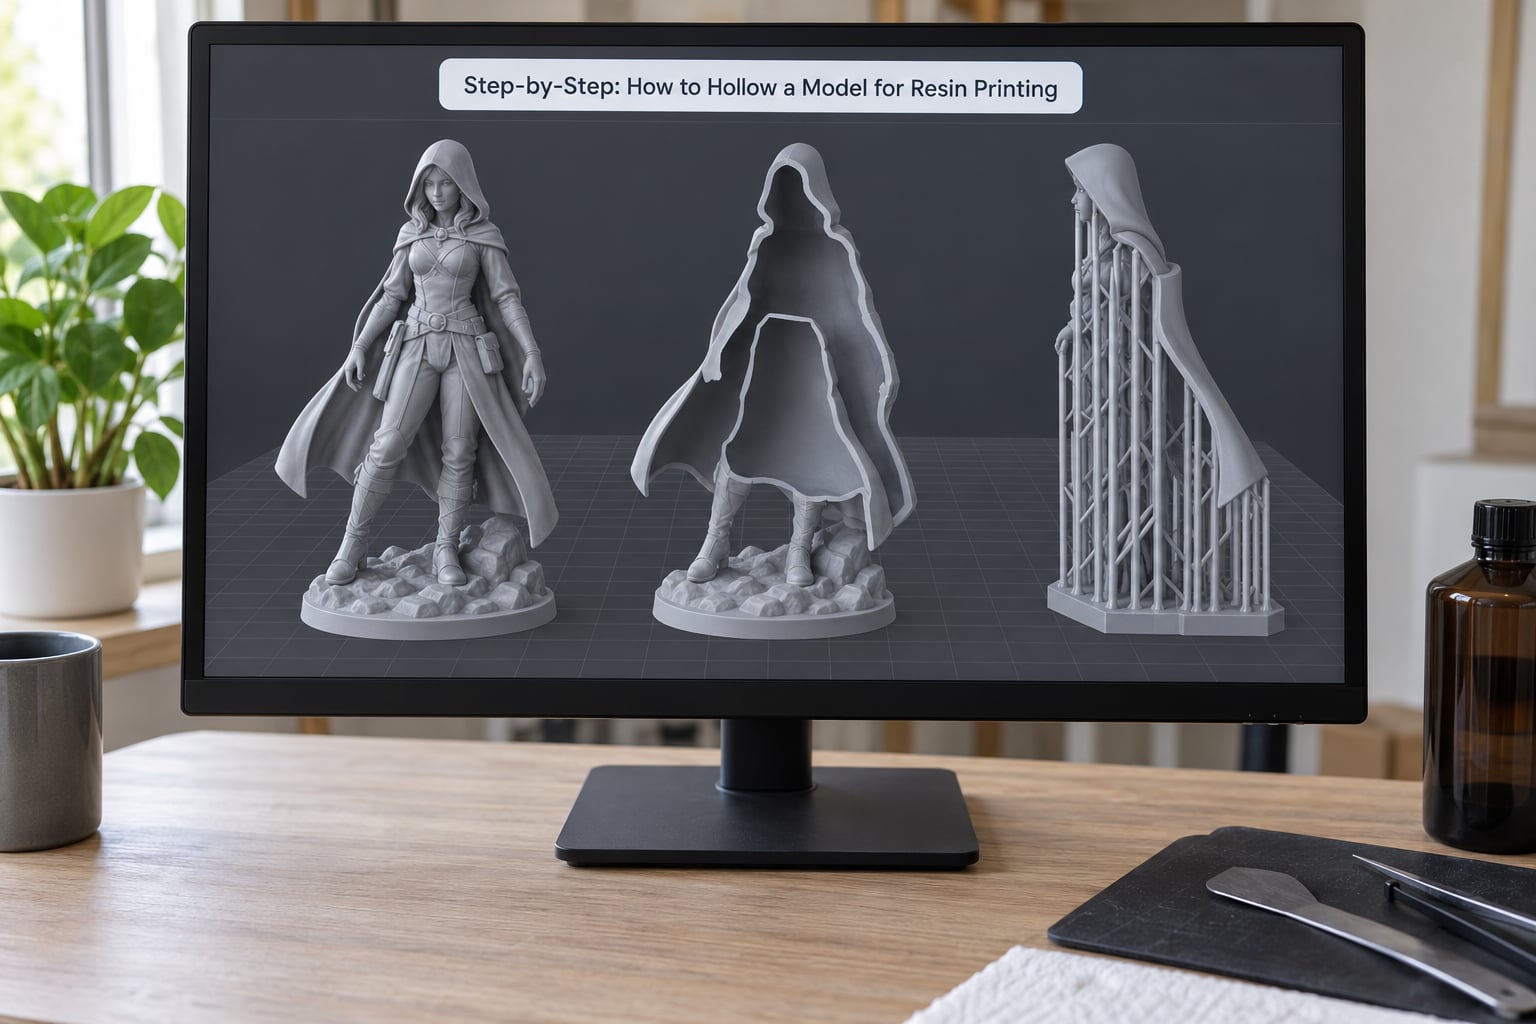
The order matters more than the numbers. Repair the mesh, orient the model, hollow it, then add holes, then place supports and read the preview.
Check the Model and Choose Wall Thickness
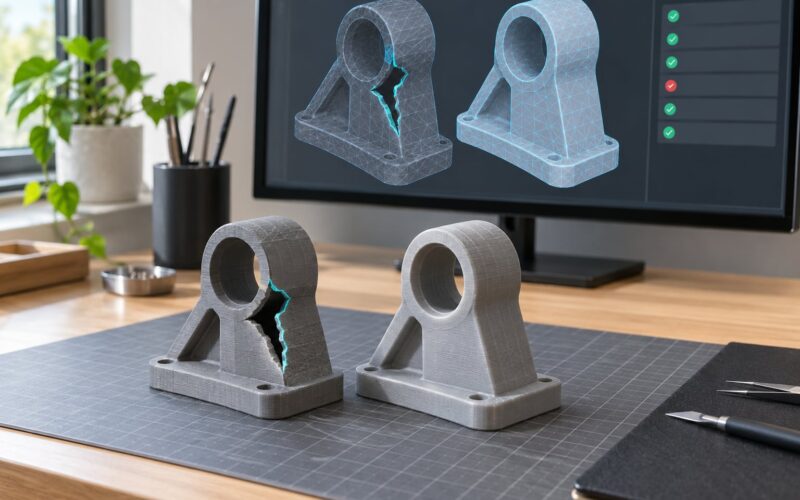
Check the model before the slicer touches it, because a broken mesh produces missing layers that look like an under-cured print and send you chasing the wrong problem.
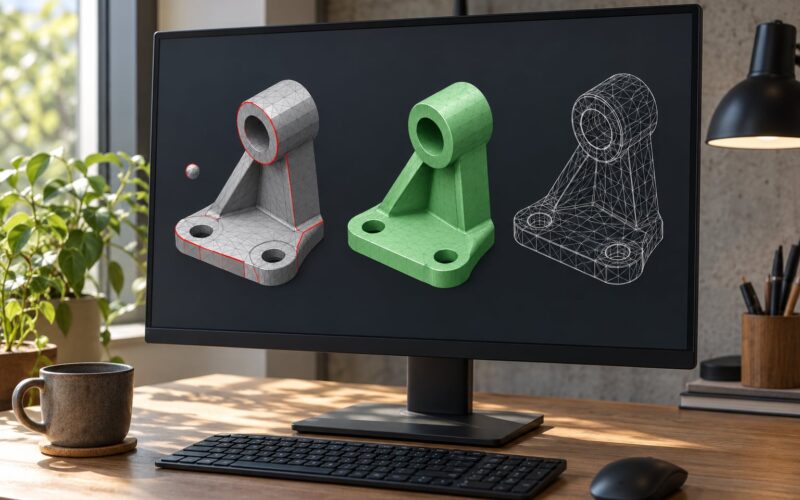
Open the model and run the repair check. In CHITUBOX that sits in the repair section, where you look for non-manifold edges and flipped normals and apply auto repair. Meshmixer does the same job under Analysis, then Voxel Remesh if the surface is noisy. Printers on the Formlabs forum describe the same sequence, and a mesh that will not close cleanly is a good reason to fix the source model rather than push on.
Decide wall thickness next. Most makers print 2-3 mm walls, and anything under 2 mm is a floor you should not cross because the shell becomes brittle and the peel force during lifting can snap it. Parts under 30 mm in any dimension are usually better left solid, since the cavity would be smaller than the holes you need to drain it.
Orientation comes before hollowing, not after. The lowest point of the cavity only makes sense once you know how the model sits on the build plate, and r/resinprinting regulars point out the same trap repeatedly: automatic hole placement assumes the orientation you gave the model, so rotate first and hollow second.
Use the Slicer’s Hollowing or Shell Function to Hollow a Model for Resin Printing
Most slicers split this into two separate operations, and mixing them up is the single most common beginner mistake. In CHITUBOX the Hollow tool builds the cavity, and a completely different tool called Dig Hole punches the openings. People hollow successfully, never see a hole, and then wonder why resin is still inside.
In CHITUBOX, load the oriented model and select it, then open the Hollow tool from the left panel. Set wall thickness to 2-3 mm, set the hole parameters to zero for now, and confirm. The model preview fills in solid where the shell is and a lighter color where the cavity was removed.
Then check the result. Look for thin features where the inward offset may have crossed through, such as fingers, blades, or antennae. If a feature has become a hole, either thicken that feature in your modeling software or print that model solid.
Lychee from Mango 3D runs the same sequence from the left toolbar, with wall thickness and hollowing options grouped on the same screen. It is the free alternative most people move to when they want a cleaner interface, and its hole control is comparable.
Meshmixer takes a different route. You select the model, use Shrinkwrap with a negative offset and a solid target, then apply a solidify-style thickening to restore the shell. Rhino 8 users mention the new Shrinkwrap command, which does the same job for CAD models. Hollowing at the modeling stage pays off when you send one part to multiple printers, since the hollowed mesh is reusable.
One extra option is worth knowing. CHITUBOX can generate FDM-style infill inside the shell, such as a gyroid or lattice, which braces a tall thin wall against snapping. Leave it off for small parts and turn it on for large hollow volumes.
Add Drainage and Ventilation Holes
Add drainage and ventilation holes last, and never cap them. Capping a hole with a thin membrane defeats the entire exercise, because the resin has nowhere to go.
Place one drain hole at the lowest point of the cavity in the finished orientation, which usually means a point facing the build plate or a downward-facing surface. Place one vent hole at the highest point so air replaces the resin as it leaves rather than trapping pressure inside.
A third opening facing the build plate helps on models with a complex internal shape, and community advice on r/resinprinting is consistent about needing at least two holes so air can escape while resin drains.
Size follows cavity volume, not preference.
| Parameter | Recommended value | What happens if you ignore it |
|---|---|---|
| Wall thickness | 2-3 mm, never below 2 mm | Shell snaps during lifting or cracks after cure |
| Drain hole diameter | 4-6 mm for small models | Resin drains too slowly and cures inside |
| Drain hole for large cavities | 5 mm minimum up to 50 ml; two 8 mm holes or one 10 mm for 100-200 ml | Suction forms, walls pull inward, part blows off the plate |
| Number of holes | Two minimum, one low and one high | Air cannot enter, so the cavity stays full |
| Vent hole | One at the highest point of the cavity | Partial vacuum inside, raised peel force, torn FEP film |
| Minimum model size to hollow | 30 mm in every dimension | Cavity is smaller than the holes that drain it |
| Chamfer on hole edges | 45 degree flare, uncapped | Resin clings to the rim and the opening blocks partway |
In CHITUBOX, open the Dig Hole tool after hollowing and let it place holes, or switch to manual placement and click the exact points you identified on the model. Pro versions add edge count, angle between adjacent edges, hole rotation, and drilling angle, which are worth setting if you print the same model repeatedly.
Add Supports and Check the Print Preview
Supports come after hollowing, since the shell changes where a surface needs contact with the plate. A support that lands on a solid outer wall behaves differently from one that lands on an overhang inside a cavity.
Generate supports as normal, biasing them toward the build plate, and make sure every island touches something solid. Island detection in the slicer highlights floating sections in the preview, and those are the parts that break off mid-print and land in the vat.
Then read the preview layer by layer. Look at the lowest layers to confirm nothing rests on a single stray point, look through the cavity to confirm the holes actually pass through the wall, and look for thin shell sections the offset may have left unsupported.
One physics note matters here. Lifting the build plate creates a partial vacuum inside the cavity, which raises the effective peel force on the walls and can tear the FEP film. Bigger cavities with more open holes suffer less, which is another reason the drain and vent pair belongs together.
Choose Safe Resin Printing Settings
Print settings do not change because a model is hollow, with one exception: lift speed.
Keep the settings your resin manufacturer specifies for exposure time, bottom layer count, and light-off delay, because those are chemistry decisions rather than geometry decisions. Use your existing profile for a given resin and layer height without changes.
Slow the lift speed down a little for large hollow volumes, since the walls are thin and the suction effect is strongest on big cavities. Raise lift distance as usual so the model clears the plate.
Orientation still matters more than any of these numbers. A model with a large flat foot needs fewer supports and drains more predictably than one printed on a point, and the cavity low point is easier to hit when the model sits flat.
After the print, before you cure anything, drain and clean. Siphon out the cavity with a digital syringe of isopropyl alcohol, blow it out with compressed air, flip the part and repeat, then give it about ten minutes to drain fully before the final cure. If resin has already cured inside, a pointed dental pick can break up the blob so it comes out.
Common Mistakes and How to Fix Them
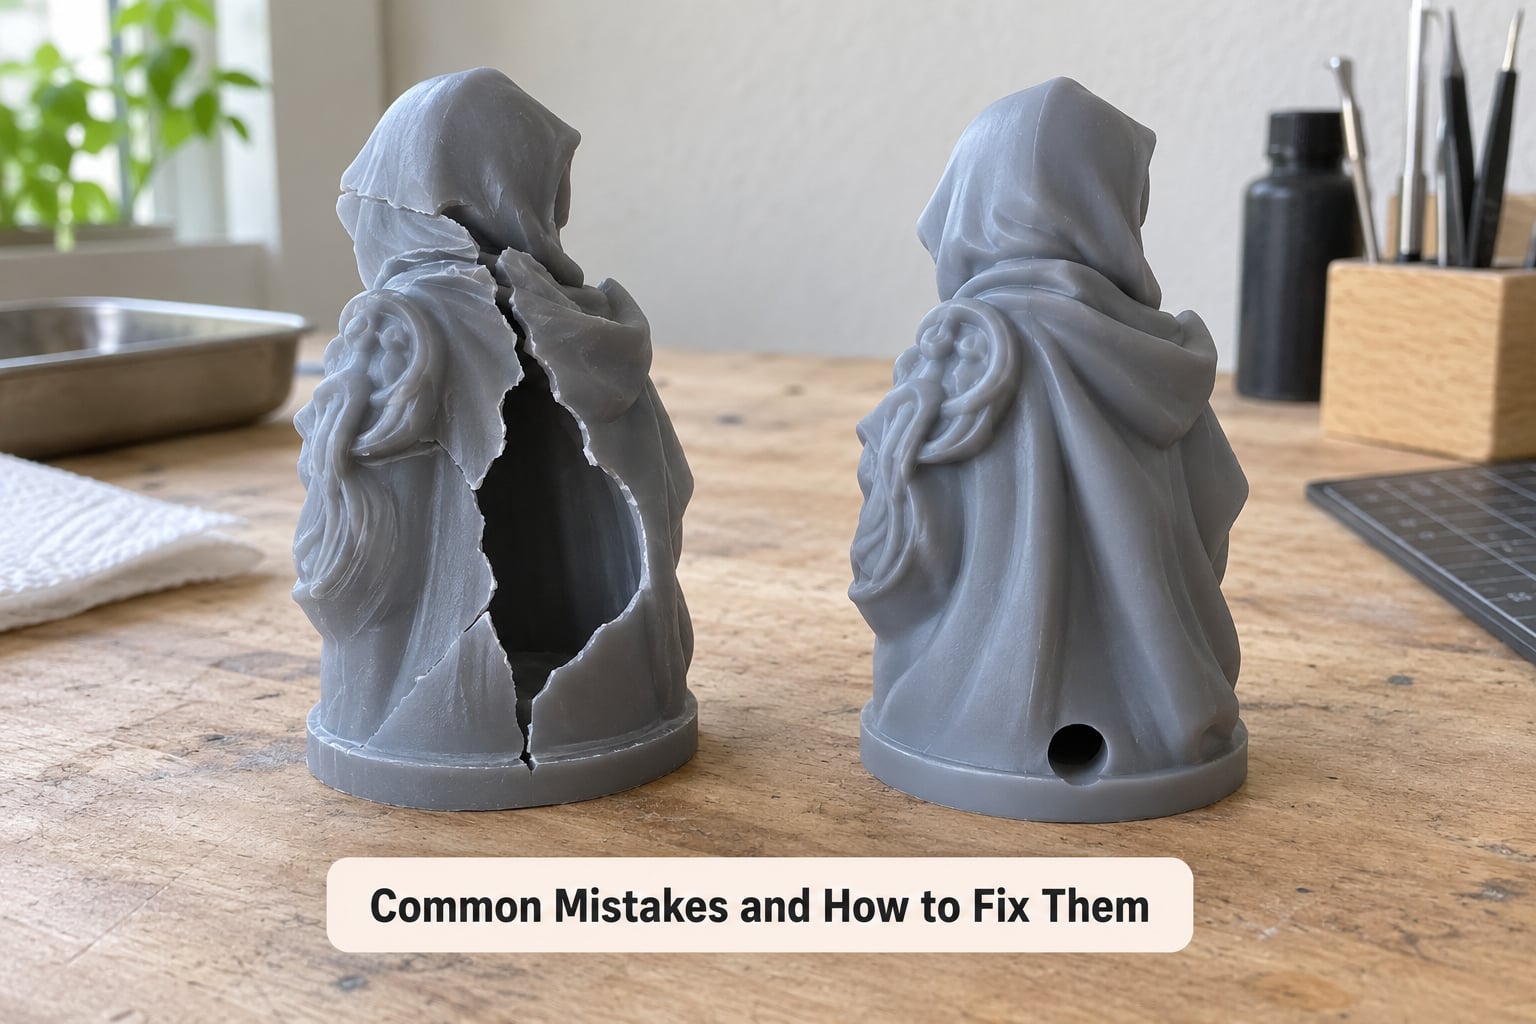
Nearly every hollowing failure traces back to a missing hole, a thin wall, or a mesh problem that went unchecked.
Resin still inside, or a sloshing sound when you move the part. The cavity had no hole, only one hole, or the holes were capped by the supports. Add a second opening at the highest point and make sure support points are not bridging an opening. This is the most reported problem on printing forums, and the fix takes minutes.
Cracks or delamination weeks after curing. Trapped resin off-gasses and expands inside the shell, pushing the walls apart. Drain more thoroughly before curing, allow the full ten minutes, and consider a slightly thinner shell next time.
The shell snapped during lifting or removal. Walls were under 2 mm, or a tall hollow section had no internal bracing. Raise wall thickness to 2-3 mm and turn on lattice or gyroid infill inside the shell for large volumes.
The part pulled away from the build plate mid-print. Suction built inside the cavity and the effective peel force rose. Add larger openings, add the high vent hole, and lower the lift speed for that job.
The cavity vanished or the model came out solid. You hollowed before orienting, or auto repair changed the wall offset, or the inward offset crossed through thin features. Re-orient first, then hollow, then inspect the preview.
You burned through far more resin than expected. Auto placement put the hole at what it thought was the low point, which is not always the true low point after you rotated the model. Place holes manually on large prints.
Supports failed or left blobs on the surface. You generated supports before hollowing. Regenerate them afterward so they anchor to the shell and the plate, and re-check island detection in the preview.
Quick Checklist Before You Print
Run through this list before you hit start on any hollow print.
Mesh check passed, with no non-manifold edges and no flipped normals. Model oriented first, and every part is 30 mm or larger in each dimension. Walls set between 2 and 3 mm, with internal infill on for large volumes. Drain hole at the lowest point of the cavity, sized 4-6 mm or larger for big cavities. Vent hole at the highest point, and no opening capped by a support or a thin membrane.
Supports generated after hollowing, with island detection showing nothing floating. Preview read at the bottom layers and through the cavity. Exposure, bottom layers, and lift settings unchanged from the profile your resin maker recommends. A syringe and blower ready at the printer for draining before cure.
Frequently Asked Questions
What wall thickness should I use when hollowing a model for resin printing?
Where should I put drainage holes in a hollow resin model?
Do hollow resin prints still need supports?
Can I hollow a model that contains thin or fragile parts?
How much resin can hollowing save?
Should I hollow every model before resin printing?
Conclusion
Start with the model, not the settings. Repair the mesh, orient the part, set walls between 2 and 3 mm, hollow it, then add an uncapped drain hole at the lowest point of the cavity and a vent hole at the highest. Read the whole print preview before you start, and have a syringe and blower ready to drain the cavity before anything cures.
Get those five things right and hollowing stops being the risky part of the print and starts being the part that saves you resin on every job.