The reliable way to work out how to calculate 3D printing costs for clients is to add up five real numbers: material, machine time, labor, overhead and a margin. Your slicer hands you two of them, filament weight and print hours, in under a minute, and everything else comes from your own hourly rates. Get this right and your quotes hold up when a client asks why a part costs what it costs.
Most print businesses lose money quietly. They price the filament, forget the eleven hours of hand-finishing, and discover the gap after the job is already shipped. This guide walks the whole calculation in the order that works, then shows a finished quote you can hand a client.
All figures below are per-unit rates for a single item, before any margin. Swap in your supplier’s numbers, keep the arithmetic visible, and your quotes become repeatable instead of a guess.
Table of Contents
- What You Need
- Step-by-Step: How to Calculate 3D Printing Costs for Clients
- 1. Define the Project and Client Requirements
- 2. Estimate Material Usage Accurately
- 3. Calculate Machine and Labor Time
- 4. Add Setup, Failure, and Overhead Costs
- 5. Add Post-Processing, Packaging, and Delivery
- 6. Apply Overhead and a Profit Margin
- 7. Turning the Estimate into a Client-Friendly Quote
- Common Mistakes
- Frequently Asked Questions
- What is the formula for calculating printing costs?
- What is a good rate to charge for 3D printing?
- What is the best app for calculating 3D print costs?
- Should I price per gram, per hour, or per part?
- How much should I charge for 3D printing services?
- Conclusion
What You Need
Before slicing anything, gather six inputs. Without them, any total you produce is a feeling rather than a price.
- Slicer estimate — filament weight in grams, print time in hours, and support material, straight out of Cura, PrusaSlicer, Bambu Studio or OrcaSlicer.
- Material rate — what you pay per kilogram or per litre of resin, delivered to your door.
- Machine hourly rate — a single number that folds in electricity, wear and depreciation. I show the derivation below.
- Labor rates — separate rates for skilled work (modeling, tuning, finishing) and production work (loading, removal, packaging).
- Overhead and failure allowance — a percentage for shop costs, plus a realistic failure rate for the part you’re about to make.
- A tracking sheet — one spreadsheet with a tab for rates and a tab for each job. If you build the job sheet once, every quote after that is a copy-paste.
Two things are worth writing down as policy before you quote anything: your minimum order value and your revision limit. Both save an argument later.
Step-by-Step: How to Calculate 3D Printing Costs for Clients
Here is the whole method in one line:
Price = (Material + Machine Time + Labor + Failed Print Allowance + Overhead) + Design + Fees + Margin
Now build it one step at a time.
1. Define the Project and Client Requirements
Before the slicer touches the file, get six answers from the client in writing: quantity, material, finish, tolerance, deadline and packaging.
Quantity changes everything. One prototype carries your full setup and finishing time across a single part. A run of 50 spreads that same setup across 50 parts, and the per-part price can drop by more than half. Always price the batch and the prototype separately, never one rule for both.
Finish is the quiet cost driver. A raw print takes 10 minutes to strip and bag. A primed, sanded and painted part takes closer to 40, and the primer, sandpaper and spray booth are real consumables. Multi-color and resin prints add purge volumes or wash-and-cure cycles you have to price as their own line.
Ask one more question early: did the client send a print-ready model? If the file needs repairing, orientation changes, support redesign or tolerance checks, that is design labor, and you bill it at a design rate rather than absorbing it into the print price.
2. Estimate Material Usage Accurately
Read the filament weight out of the slicer rather than guessing from the model. In Cura the number sits under the preview; Bambu Studio and PrusaSlicer show it in the filament consumption panel.
Then multiply by a material multiplier. The slicer reports what goes into the part, not what you buy. Supports, purge tower, brim and skirt, the skirt of a failed print, and the filament left in the tube at the end of a colour change all land in your bin and never in the client’s hand.
Most shops price material at 2.5 times the slicer weight. A new part often needs more, because a first print is a test print with a new profile.
| Material | Typical cost per kilogram | When clients ask for it |
|---|---|---|
| PLA | 20 to 30 | Prototypes, models, decorative parts |
| PETG | 22 to 34 | Functional parts, clips, brackets, outdoor items |
| ABS or ASA | 24 to 38 | Enclosures, heat-exposed parts, UV exposure |
| TPU | 40 to 70 | Gaskets, feet, flexible grips |
| Carbon-filled nylon | 70 to 120 | Load-bearing or stiff functional parts |
| Resin | 35 to 60 per litre | Fine detail, miniatures, dental and display models |
For resin, the same logic applies in millilitres instead of grams, and you add alcohol for washing plus the wash and cure cycle time. Resin also has a shorter shelf life, so a spoilage allowance belongs in the waste line rather than being quietly absorbed.
One number to remember: filament is usually under 15 percent of the final price. If a quote looks like material plus a small fee, it is wrong.
3. Calculate Machine and Labor Time
Machine time is the slicer’s estimated hours multiplied by your machine-hour rate, and the rate is the part people get wrong.
Derive it instead of picking it. Take the printer’s total cost, divide by the productive hours you expect to get out of it, and add electricity and consumables.
A printer costing 750, run 8 hours a day for 250 days a year across three productive years, gives 6,000 machine hours. That is roughly 0.125 per hour before anything else runs. Add electricity and you land near 0.35 per hour, which is a realistic number for a well-used machine.
| Printer class | Typical all-in machine hour rate | Notes |
|---|---|---|
| Entry FDM, lightly used | 0.20 to 0.40 | Home build volume, mostly a hobby asset |
| Mainstream enclosed FDM | 0.35 to 0.75 | Shop rates, wear parts and power included |
| Large-format or multi-material FDM | 0.60 to 1.20 | Higher power draw, purge waste, more setup |
| Resin | 0.50 to 1.00 | Add wash, cure and ventilation time |
| Industrial SLS or MJF | 4 to 12 | Recoat, powder refresh, operator supervision |
Electricity is small enough that guessing is fine. Multiply average power draw in kilowatts by hours, then by your kWh rate. A 120-watt average draw over 9.5 hours is 1.14 kWh.
Labor is where quotes quietly fall apart. Track minutes per task, not a flat “handling” fee.
| Task | Typical minutes | Rate to charge at |
|---|---|---|
| File check, orientation, slicing | 5 to 15 | Skilled rate |
| Machine prep and print start | 3 to 8 | Production rate |
| Removal and inspection | 3 to 10 | Production rate |
| Support removal, sanding, filling | 15 to 45 | Production rate |
| Priming and painting | 15 to 40 | Skilled rate |
| Curing, assembly, QC | 5 to 20 | Production rate |
| Packaging and label | 3 to 8 | Production rate |
Two rates, not one. A client will happily pay a design rate for parametric modeling and a production rate for sanding, and using one rate for both either overcharges them or underpays you.
4. Add Setup, Failure, and Overhead Costs
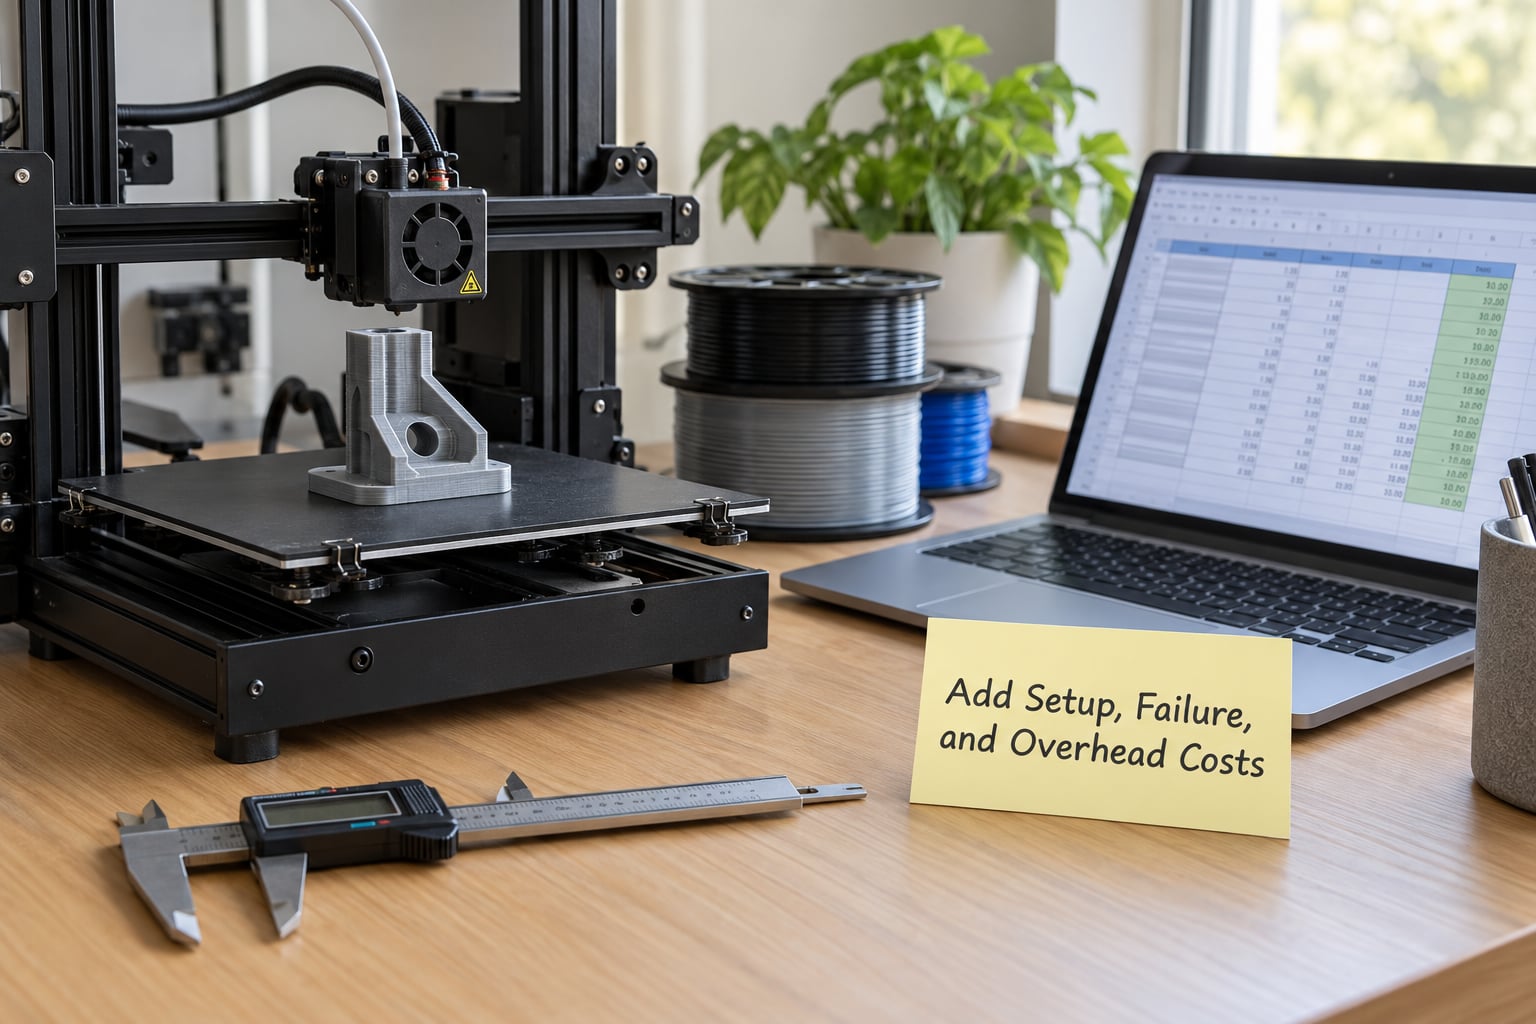
Setup is the work you do once per order, not once per part. First-off sample prints, test sections, calibration, the extra attempt at a new material and the time spent fixing the client’s file all belong here. A flat setup fee recovers it.
Failed prints deserve their own line rather than a vague multiplier. Estimate a failure rate you can defend: a proven profile on a simple part might sit near 5 percent, while a first attempt at tall, thin, unsupported geometry can realistically be one attempt in three. Multiply your direct machine and material cost by that rate and add it.
Overhead is everything the business pays that is not a job: shop rent share, insurance, software subscriptions, marketing, accounting, and the replacement of consumables like nozzles, beds, hotends and gloves. Running a part-time business, 15 to 20 percent of direct cost is a reasonable allocation. Under that, you are subsidizing the shop with your own unpaid hours.
Depreciation is the line people argue about most. Treat the printer as a short-lived asset, not a permanent one, and the argument ends. Printers get replaced far more often than owners expect, and even swapping a machine every year works out to a few cents an hour, so machine cost is real but small. Include it, then stop worrying about it.
5. Add Post-Processing, Packaging, and Delivery
Post-processing is labor you have already measured in minutes, plus the consumables themselves: sanding paper, filler primer, spray, masking, brushes, and the electricity or air for a curing booth.
Decide what is per part and what is per order. Removing supports is per part. Building a paint booth or buying a sprayer is per order, so recover it in a setup fee. Packaging is per part but scales with size: a small part in a padded mailer, a large part in a foam-lined box with a pallet layer.
Delivery is a line item too, and it is often the one the client cares about most. Charge shipping at cost inside the total, or quote freight separately so a client who wants to pick up is not subsidizing the courier. If turnaround is the reason they chose you, treat a rush lead time as a priced premium rather than a favor.
And decide where the part goes next. Makerspace operators regularly benchmark in-house printing against online bureaus, and past a couple of parts outsourcing is often cheaper than your own machine time. That comparison is worth running once a year so you know which jobs to decline.
6. Apply Overhead and a Profit Margin
Three numbers, three different meanings. Direct costs are material, machine time, labor and the failure allowance. Overhead is the business running regardless of whether a print is on the bed. Profit is what remains, and it is the only part that pays you.
Cost-plus pricing takes the full cost, adds overhead, then multiplies by your margin. Value-based pricing starts from what the outcome is worth to the client and works backwards. Both are valid, and most working shops blend them: cost-plus sets your floor, the market sets the ceiling.
| Business type | Typical margin target | Reasoning |
|---|---|---|
| Hobbyist selling occasionally | 15 to 25 percent | Covers consumables, no overhead recovery |
| Part-time side business | 25 to 40 percent | Partially recovers shop overhead |
| Full print service | 30 to 50 percent | Covers rent, insurance, salary draw |
| Print farm running volume | 20 to 35 percent | Thin margin, high throughput, automation pays |
| Design plus print, bespoke | 40 to 70 percent | Engineering time dominates the cost base |
Margin on cost is not the same as markup on price, and mixing them up is a common error. A 40 percent margin means the price is 1.67 times the cost. A 40 percent markup means the margin is only 29 percent. Pick one, label it clearly on your sheet, and stay with it.
Adjust the margin by risk rather than by hope: a repeat order from a client who pays on time can sit at the low end, while a one-off with no comparable market reference and an aggressive deadline belongs at the high end.
7. Turning the Estimate into a Client-Friendly Quote
Here is a full worked example of how to calculate 3D printing costs for clients. A functional bracket in PETG, one-off, primed and painted, client-supplied model, standard lead time.
| Line item | How it was calculated | Cost |
|---|---|---|
| Material | 186 g sliced, at 2.5x for supports and waste | 12.10 |
| Machine time | 9.5 hours at a 0.35 machine hour rate | 3.33 |
| Labor | 63 minutes across slicing, removal, finishing and packing at a production rate | 23.10 |
| Failure allowance | 12.5 percent of material and machine time | 1.93 |
| Overhead | 15 percent of direct cost | 6.07 |
| Total cost | Sum of the above | 46.53 |
| Margin | 30 percent on cost | 13.96 |
| Print price | Rounded to a clean figure | 61.00 |
| Setup fee | Test print, profile tuning, bench time | 45.00 |
| Design, if needed | 90 minutes at a design rate, billed separately | 52.50 |
Now the part that matters. Round the final number, add the fees, and write the quote so the client can see what they are paying for. Six lines, in this order: the deliverable and specification, the line-item price, the setup fee, the exclusions, the terms, and the validity date.
Exclusions do the heavy lifting. State that quotes assume the supplied model is manifold and correctly oriented, that tolerance-critical features are verified at first article, that one revision round is included, and that a reprint caused by a client-supplied file error is billed at the same rate.
Terms decide whether the job is worth taking. A 50 percent deposit before the machine starts, balance on delivery, a stated lead time in working days, a revision limit, and a quote valid for 14 days. Freelance design and prototype work usually runs on 50 percent up front; repeat production orders can move to 30 percent or net terms once a client has paid twice.
Set a minimum order value. Below roughly the cost of an hour of setup and finishing, the job cannot carry a sensible margin no matter how you shade the percentages.
Common Mistakes
Pricing material alone. Filament is under 15 percent of a real job. If your quote is material plus a token fee, the labor is coming out of your pocket.
Ignoring failed prints. Quote the retry as if it is free and the average job loses money. Use a failure rate you can name, and add it as its own line so the client can see it is not padding.
Underestimating post-processing. Support removal, sanding, filling and painting routinely exceed the print time in minutes. Time the first three of a new part class and write the number down.
Using one labor rate for everything. Slicing and modeling are skilled work. Box packing is not. One rate for both either inflates the simple jobs or underprices the difficult ones.
Applying the markup twice. Once on materials, again on the finished part, then a margin on top. That is three markups, and the client can tell. Mark up once, at the end.
Hiding setup inside the unit price. The first client pays for your profile tuning forever. A separate setup fee makes repeat orders cheaper for the client and safer for you.
Quoting from a low-density test print. A quick 10 percent infill test tells you the shape fits the bed, not what the real part will cost. Slice at the production settings before you send a number.
Leaving quantity and revisions undefined. Undefined quantity means open-ended. Write the quantity, the revision count, and what happens at a third round.
Printing models you have no right to sell. Most models on Thingiverse, MakerWorld and Printables carry a non-commercial license unless the author says otherwise. It is raised constantly in community threads and settled by almost nobody, and it is the one error that can end a client relationship and a marketplace account. If a client’s model is unclear, say so in the quote and ask them to confirm the license, or model the part yourself.
Two finishing habits keep your price list honest. Review your machine-hour rate every quarter against what printers actually cost, and re-check the material rate each time you reorder, since filament prices move with resin and energy markets. And track actual job cost against quoted cost for your first ten orders, because the gap between them is the only honest measure of your overhead.
Frequently Asked Questions
What is the formula for calculating printing costs?
Add every direct cost, then overhead, then margin. Direct cost is material (slicer grams times your per-gram rate times a waste multiplier), machine time (print hours times your machine hour rate), and labor (task minutes times a labor rate). Add a failed print allowance, add overhead as a percentage, then multiply the total by one plus your margin percentage. Design work and setup fees are quoted as separate lines.
What is a good rate to charge for 3D printing?
A defensible machine rate for a mainstream enclosed FDM printer sits between 0.35 and 0.75 per print hour, all in, with electricity, wear and depreciation included. Large-format, multi-material and resin machines justify more. Charge material at roughly 2.5 times the slicer gram cost to absorb supports, purge and failures, then add labor and margin on top.
What is the best app for calculating 3D print costs?
A spreadsheet built from your own rates wins for client work, because it can hold your machine hour rate, labor rates, overhead percentage and margin as editable inputs. Phone apps and web calculators are useful for quick checks and market benchmarking. Whichever tool you use, it must be able to read gram weight and print time straight out of your slicer rather than making you re-enter them by hand.
Should I price per gram, per hour, or per part?
Price per part for the client, but build it from per hour and per gram underneath. Per gram alone ignores machine time and labor, per hour alone ignores the fact that a small dense part earns you less than a big hollow one. Per part is the only presentation clients understand, and the per hour and per gram layers are what let you defend the number when a client pushes back.
How much should I charge for 3D printing services?
Work from your full cost plus a margin that matches your business type, then sanity-check the result against what comparable parts sell for online print bureaus. A part-time seller typically targets 25 to 40 percent on cost, a full print service 30 to 50 percent, and bespoke design plus print work 40 to 70 percent. If the cost-based price is far above the market rate, change the process rather than guess.
Conclusion
To calculate 3D printing costs for clients, slice the model, read the grams and hours, convert both to money, add labor at two rates, add a failure allowance and overhead, then apply your margin. That total is your floor, and the market tells you where the price should sit above it.
Start with the next real job. Write down the slicer estimate, the material rate, the machine hour rate, the labor minutes, the overhead percentage and the margin, then build the reusable worksheet so job two takes half the time of job one. Re-check the rates each quarter and you will never guess at a price again.