Pricing 3D printing services works like this: add up the material, the machine time and its wear, the electricity, and your labor, then apply a markup. Most underchargers stop at filament cost, which is why a print that uses 30 cents of plastic can quietly cost eight dollars to deliver. This guide walks through the same method professional print shops use, with a worked example you can copy line for line.
Some context on who this is for. If you are quoting hobby jobs, running a small print farm, or freelancing CAD alongside printing, the difference between a hobby rate and a business rate is usually the markup, not the filament. The math below assumes US rates and typical shop conditions in 2026; rates change with region, machine, material, and order volume, so treat every figure here as a starting point rather than a quote.
Table of Contents
- 3D Printing Service Costs by Type and Size
- What Affects the Price? The Six Cost Factors to Calculate
- Material cost, read straight from the slicer
- Electricity, which is smaller than most people assume
- Machine wear and depreciation
- Labor: design, slicing, and finishing
- The failure fund
- Markup, which is where the profit lives
- How to Calculate a 3D Printing Service Price
- How to price 3D printing services step by step
- Worked example: a printed bracket, quoted end to end
- Markup is not margin, and confusing the two is expensive
- Compare the four pricing models before you pick one
- Volume tiers, minimum orders, and setup fees
- Ways to Save on 3D Printing Service Costs
- Frequently Asked Questions
- How much should I charge for 3D printing services?
- How much should you charge per hour for 3D printing?
- Should I charge for design time?
- How do I account for failed prints?
- How much do 3D printing services usually cost?
- Should I ask for a fixed quote or an estimate?
3D Printing Service Costs by Type and Size
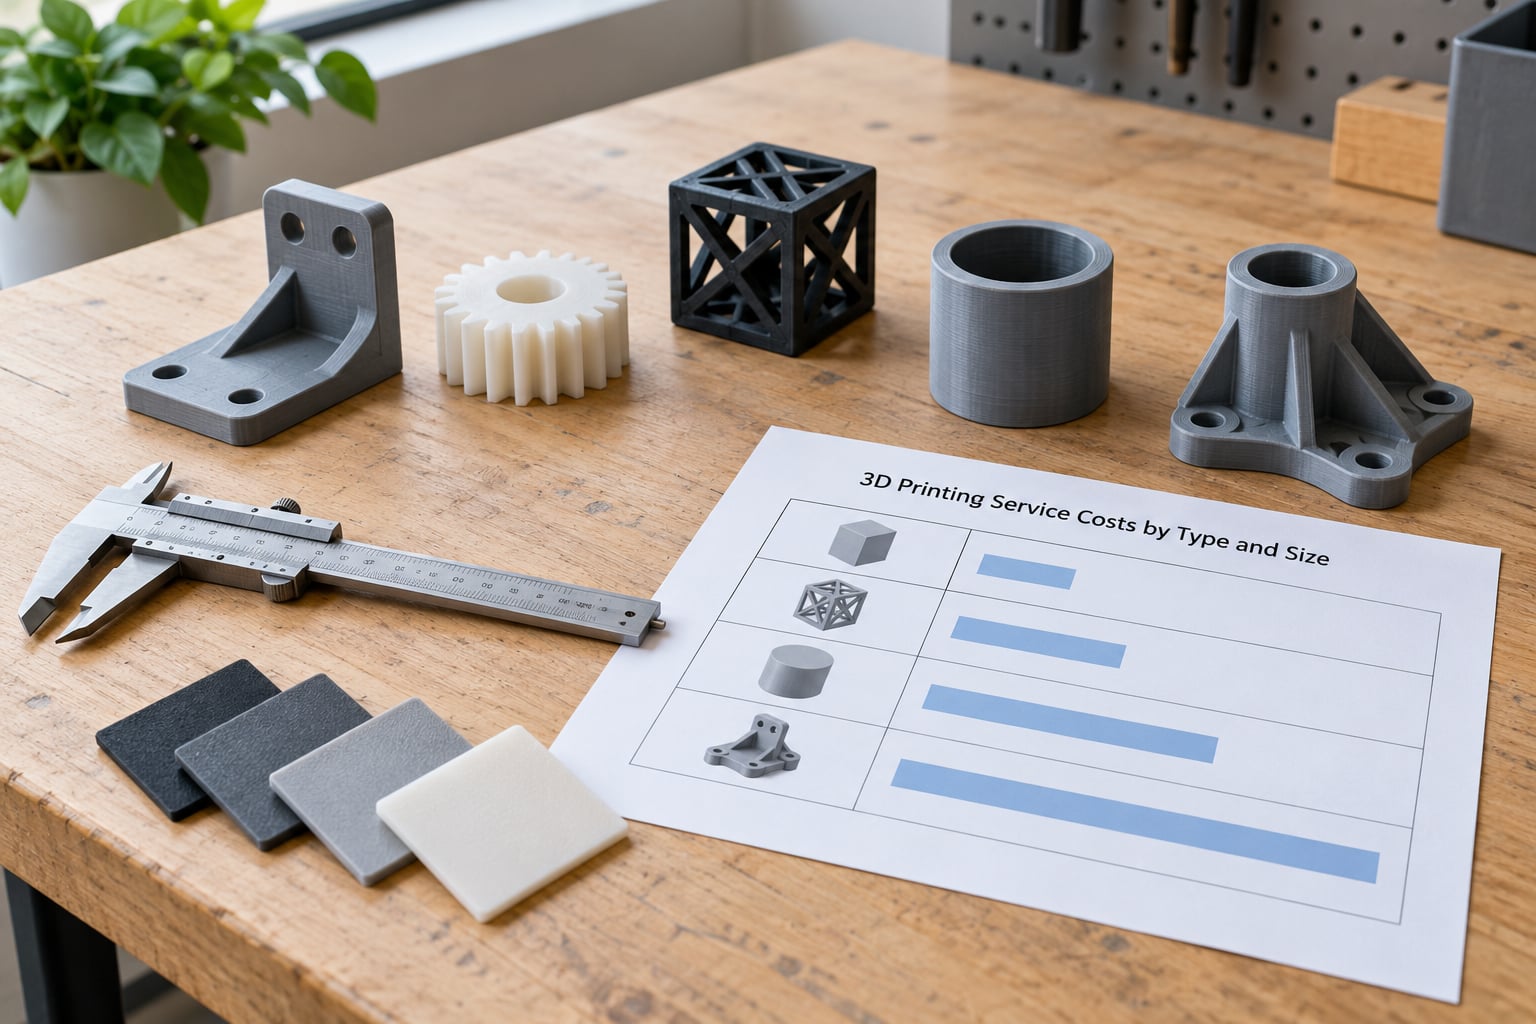
Here is what 3D printing services typically cost across the common job categories. These are typical US ranges gathered from operator-reported rates and published service guides, and they vary by region, material, machine, complexity, and order volume, and they change over time.
| Service or job type | Typical US range | What drives the number |
|---|---|---|
| FDM print time, hobbyist machine | 1 to 3 dollars per print hour | Machine condition, whether labor is billed separately |
| FDM print time, high-speed or industrial machine | 5 to 20+ dollars per print hour | Build volume, unattended running, machine rate |
| CAD or part design | 20 to 100+ dollars per design hour | Complexity, whether the customer supplies the model |
| Slicing and print preparation | 10 to 25 dollars per hour | Support strategy, orientation tuning |
| Support removal, sanding, priming, paint | 15 to 60 dollars per hour | Surface finish the customer expects |
| SLA resin print, small part | 25 to 150 dollars per part | Resin cost, washing and curing, labor |
| SLS or metal printed part | 150 to 2,000+ dollars per part | Machine hour, powder or feedstock, finishing, tolerance |
| 3D scanning | 75 to 400+ dollars per item | Scanner type, accuracy, cleanup and mesh prep |
| Small production run, 5 to 24 pieces | 10 to 40 percent below single-piece price | Shared setup, batch machine time, no repeat design work |
| Prototype enclosure, roughly 1 to 2 kg | 120 to 400+ dollars per part | Weight, wall thickness, support volume, finish |
Read that table as a shape, not a quote. The spread inside each row is wider than the gap between rows, because a fast, simple FDM part and a slow, support-heavy one can differ by an order of magnitude even in the same material.
What Affects the Price? The Six Cost Factors to Calculate
Every quote comes down to six buckets. If you can price each one, you can price anything, and the list below covers the numbers that go into each line.
Material cost, read straight from the slicer
Your slicer reports the filament weight in grams for the sliced file. Cura, PrusaSlicer, Bambu Studio, and OrcaSlicer all show it in the print estimate panel, and that number is more accurate than estimating from the STL by eye.
Convert it to money with one division: spool price divided by spool weight in grams. A 1 kg spool of PLA at roughly 25 dollars works out to about 2 cents per gram, so a 100 g part carries about 2 dollars of material. Specialty filaments, carbon-fiber blends, and resin change that number a lot, so price the actual spool you loaded rather than a generic average.
Electricity, which is smaller than most people assume
Multiply average machine wattage by print hours and your kilowatt-hour rate, then divide by 1,000. A 150 W average draw over a six-hour print at 17 cents per kilowatt-hour is about 15 cents of power. Across most FDM jobs this lands under 5 cents per print hour, so treat it as an accurate line item but not a profit driver.
Machine wear and depreciation
Divide what the machine cost by the print hours you expect out of it. A 2,000 dollar printer with a 5,000 hour working life is 40 cents per print hour; the same machine over a 2,000 hour life is a dollar per print hour. On most FDM setups this works out somewhere between 10 and 50 cents per print hour, and it climbs fast on resin or industrial machines.
Labor: design, slicing, and finishing
This is the factor that turns a cheap print into an expensive part. Three different hours live here, and they are not priced the same.
Design time is professional CAD or modeling work, and operators commonly report rates from 20 to over 100 dollars an hour. Slicing and print preparation is setup work, often billed at 10 to 25 dollars an hour. Post-processing is support removal, sanding, priming, and paint, typically 15 to 60 dollars an hour depending on the finish. Ten minutes of sanding on fifty parts is over eight hours of labor, and it does not care how little filament the job used.
The failure fund
Build a 10 to 20 percent buffer into every job. Warping, clogs, adhesion failures, and a bed that needs a level mid-batch are normal operating events, not bad luck. If your real failure rate on a given material and machine is under 5 percent, you can tighten the buffer later, but start at 15 percent and track what actually fails.
Markup, which is where the profit lives
Markup is the multiplier you apply to your total cost, and a 1.5x to 3x range is the common working range for small shops. Two dollars of markup on a 50 dollar cost is the same percentage as 40 dollars on a 1,000 dollar cost, which is why big jobs tolerate more room for negotiation than small ones.
Two more costs sit outside the six factors and quietly eat margins: packaging and shipping on one side, and payment processing fees on the other. Charge them as line items rather than absorbing them, because a flat-rate shipping job with a 3 percent processing fee can undo a thin markup in one transaction.
How to Calculate a 3D Printing Service Price
Here is the method in a single line, then in six steps you can repeat for any job. The formula is: (Material + Machine + Electricity + Labor + Overhead + Failure buffer) multiplied by your markup.
How to price 3D printing services step by step
Step 1: slice the file and read the estimate. Note the filament weight in grams, the estimated print time in hours, and the number of plates. If the model has not been sliced yet, you cannot quote it, and trying costs you the job.
Step 2: price the material. Divide your spool price by spool grams and multiply by the slicer weight. Add 10 percent for purge waste, brim, and support material the slicer undercounts.
Step 3: price the machine. Multiply print time by your hourly machine rate, covering depreciation, wear parts, and electricity in one number. This is the cleanest way to bill, because most clients understand paying for machine time.
Step 4: price the labor. Add design, slicing, and post-processing hours at their own rates. Write down each one separately, because “labor” without a breakdown is how arguments start.
Step 5: add overhead and the failure buffer. Allocate a share of rent, insurance, and consumables such as nozzles, belts, fans, heat-set inserts, glue, and primer. Then add 10 to 20 percent for failures.
Step 6: apply markup and round to a clean number. Multiply the total by 1.5x to 3x, then round to something quotable. A price of 114 dollars becomes 115; a price of 96 becomes 95 when volume makes that work.
Worked example: a printed bracket, quoted end to end
Here is the same six steps on a real job: a functional bracket for a small workshop, 100 g of PLA, 6 hours of print time, no customer-supplied model.
| Line item | How it is calculated | Cost |
|---|---|---|
| Material | 100 g at 2 cents per gram, plus 10 percent for purge | 2.20 |
| Machine time | 6 print hours at 40 cents per hour | 2.40 |
| Electricity | 150 W for 6 hours at 17 cents per kWh | 0.15 |
| Design | 1.5 hours at 60 dollars per hour | 90.00 |
| Slicing and setup | 0.75 hours at 20 dollars per hour | 15.00 |
| Post-processing | 1 hour of support removal and sanding at 40 dollars per hour | 40.00 |
| Overhead allocation | Consumables and share of fixed costs | 12.00 |
| Failure buffer | 10 percent of the direct subtotal | 16.18 |
| Direct subtotal | Sum of the lines above, including buffer | 177.93 |
| Markup at 2x | Subtotal multiplied by 2 | 355.86 |
| Quoted price | Rounded for the customer | 355.00 |
Notice what happened. The material was 2.20 dollars, roughly one percent of the quote. If you had priced this job by filament weight, you would have charged about 5 dollars and lost 350 dollars of work. That ratio is why cost-plus pricing is not optional for anyone selling prints.
Now change one variable and the quote moves fast. If the customer supplies a ready-to-print STL, the 90 dollars of design drops out of the direct cost, the subtotal falls to about 78.93, and the quoted price lands near 158 instead of 355. If the same part needs a sacrificial support structure and 2.5 extra hours of cleanup, that is roughly 100 dollars of added cost, which a 2x markup turns into about 200 dollars on the quote. A 12-hour overnight print on a higher machine rate does not change the labor much, but the machine line grows from 2.40 to nearly 8 dollars, and the overnight turnaround usually justifies a 10 to 20 percent premium on the whole job.
Markup is not margin, and confusing the two is expensive
A 2x markup on a 100 dollar cost gives you a 200 dollar price, of which 100 dollars is profit: a 50 percent margin. A 33 percent markup gives the same 50 percent margin. Shops that think in margins instead of markups routinely undercharge, because a “50 percent margin” target quietly means marking up by 100 percent. Pick one, write it down in your spreadsheet, and use it every time.
Compare the four pricing models before you pick one
Cost-plus is how you calculate. What you charge the customer is a separate decision, and the four common models behave very differently.
| Model | How it works | Best for | Main risk |
|---|---|---|---|
| Per gram | Customer pays a set price per gram of filament | Simple, fast parts and marketplaces | Loses money on slow or support-heavy prints; ignores machine time entirely |
| Per print hour | Customer pays an hourly machine rate plus material | Simple FDM work, repeat customers | Underprices post-processing unless labor is a separate line |
| Per piece | One flat price per part | Repeat orders, batches, easy comparisons | You absorb all variance, so you must estimate cost first |
| Value-based | Priced against the alternative the customer faces | Repeat parts, jigs that save hours, cosplay pieces, scan-to-part work | Needs a real conversation about what the part saves them |
Per hour is the sanest default for a new shop, with a minimum order attached. Per gram is fine when the part is fast and simple, and it is a trap when a part takes 30 hours. Per piece is what customers want to hear, so quote the cost internally and then give them the per-piece number. One widely used heuristic among operators is 5 dollars an hour of print time plus 10x material cost for slow prints around 50 mm/s, and 20x material for fast prints around 100 mm/s, which is a useful sanity check when your first estimate feels too low.
Volume tiers, minimum orders, and setup fees
Volume pricing is where a service starts making real money, because setup cost is spread across more pieces. A simple structure: 1 to 4 pieces at full price, 5 to 24 at 10 percent off, 25 or more at 20 percent off. Do not discount below your cost floor, and make the tiers part of your published pricing so customers plan around them instead of asking every time.
A minimum order matters for anything under two hours of print time, because a 30-minute job with an hour of conversation and shipping attached is not worth the queue slot it takes. Many shops set the floor at 50 to 75 dollars or at a one-hour minimum. A separate setup or design fee also protects you on repeat orders: charge the design and CAD work once, then quote repeat pieces at a lower per-piece price without eroding the original job.
Ways to Save on 3D Printing Service Costs
Whether you are the customer or the shop, these are the levers that actually change the number. Each one works through a different mechanism, so combining them stacks.
- Simplify the geometry. Fewer overhangs mean less support material, fewer support structures to remove, and less cleanup labor. That cuts three line items at once.
- Pick the layer height for the job. A larger layer height prints faster and uses less material, and for a functional bracket nobody sees the layer lines anyway. Save the fine layers for display pieces.
- Use draft or vase mode where it is acceptable. Printing one or two perimeters instead of four is a large material and time saving on a hollow part.
- Right-size the infill. 15 to 20 percent infill handles most non-critical parts. Solid infill on a large shell is the most common waste in hobby print farms.
- Orient the part well. Good orientation cuts supports, shortens the print, and improves surface finish, which shortens sanding. A twenty-minute reorientation test can save an hour of post-processing.
- Consolidate parts into one plate. Several small parts in a single print share the same warm-up, purge, and queue slot. The saving is mostly in setup time, not filament.
- Batch production on repeat orders. Once a job has printed cleanly, queue the next run while the current one is going, and quote the batch tier rather than the single-piece price.
- Send a print-ready STL. For the customer, this is the single biggest saving available. It removes design and revision time from the quote entirely.
- Ask about draft material where function allows it. A recycled or non-branded PLA is fine for jigs and fixtures, and the same price applies to a functional part as to a display piece.
Frequently Asked Questions
How much should I charge for 3D printing services?
Charge the sum of material, machine time, electricity, labor, overhead, and a 10 to 20 percent failure buffer, then multiply by a 1.5x to 3x markup. On a hobbyist FDM machine, print time alone often lands at 1 to 3 dollars an hour, while design and post-processing can outweigh the print itself. Quote from your own slicer numbers, never from a generic per-gram rate.
How much should you charge per hour for 3D printing?
Most small shops bill 1 to 3 dollars per print hour on a hobbyist FDM machine, and 5 to 20 or more on high-speed or industrial equipment. Design time is priced separately at 20 to 100+ dollars an hour, and post-processing commonly runs 15 to 60 dollars an hour. Print time alone is rarely the line that makes or breaks the job.
Should I charge for design time?
Yes, always, and always separately. CAD work at 20 to 100+ dollars an hour is the highest-value thing you sell, and folding it into the piece price hides your real margin from both you and the customer. A setup or design fee also lets you quote repeat pieces of the same part at a lower rate without losing money on the original job.
How do I account for failed prints?
Add a 10 to 20 percent buffer to every quote and track the real failure rate by machine and material. A clogged nozzle, a warped first layer, or a failed plate during a batch is ordinary operating cost, not an exception. If your measured failure rate drops below 5 percent over several months, you can reduce the buffer and keep the difference as margin.
How much do 3D printing services usually cost?
Small FDM parts often fall between 10 and 60 dollars, functional prototypes run 100 to 400 dollars, and resin or SLS work commonly starts in the hundreds. Typical US rates are 1 to 3 dollars per print hour for hobbyist machines and 5 to 20 or more for industrial ones, with design billed at 20 to 100+ dollars an hour. Ranges shift by region, material, and order volume.
Should I ask for a fixed quote or an estimate?
Ask for a fixed quote once the file is sliced and the finish is agreed, and ask for an estimate only before that point. An estimate protects you while assumptions are still open; a fixed quote protects the customer once you both know the filament weight, print time, and finish. Send the estimate in writing with the assumptions listed, so a change in scope is visible to both sides.
Do one thing tomorrow: take the last three jobs you quoted and rebuild each one with the six factors above. Most people find the material line was never the problem, and the labor they never wrote down was covering the whole bill.