3D printing for small batch production works because there is no mold to buy before the first part comes off the machine. You send a CAD file, an operator nests your parts inside the build volume, and the machine prints them layer by layer, so the second part costs nearly the same as the hundredth. That single fact is why additive manufacturing beats injection molding, CNC machining and die casting below a few hundred units — and why it stops winning somewhere in the 500 to 5,000 part range, depending on part size and material.
I have watched enough small batches come through print rooms to know where the surprises hide. They are almost never in the printing. They are in the geometry that was never checked for printability, the finish nobody budgeted for, and the part that failed at part 34 of a 60-piece run. This guide walks the whole path so you can see those traps before you commit.
Key Takeaways
- Small batch means roughly 1 to 1,000 parts, and below about 50 units no conventional tooling can compete.
- Per-part cost drops as the batch grows, mostly because the build volume fills up rather than because material gets cheaper.
- Process choice follows geometry and quantity: FDM for drafty plastic parts, SLS or MJF for production-grade nylon, metal AM for high-strength short runs.
- Break-even against injection molding typically lands between 500 and 5,000 parts, and the band moves with part size, material and tolerance.
- Batch consistency comes from documented settings, first-article approval and per-part inspection, not from the printer brand.
Table of Contents
- What Is Small Batch Production?
- How Does 3D Printing for Small Batch Production Work?
- Which 3D Printing Technology Should You Use?
- Choosing a 3D Printing Process for Small Batch Production
- When Is 3D Printing the Better Production Method?
- How Much Does Small Batch 3D Printing Cost?
- How Do You Keep Quality Consistent Across the Batch?
- How Do You Move from Prototype to Production?
- Frequently Asked Questions
- What is the minimum batch size for 3D printing?
- Is CNC machining or 3D printing cheaper for small batches?
- Which 3D printer is best for small batch production?
- Can 3D printed parts be repeatable and production-ready?
- When does 3D printing become more expensive than injection molding?
- Conclusion
What Is Small Batch Production?
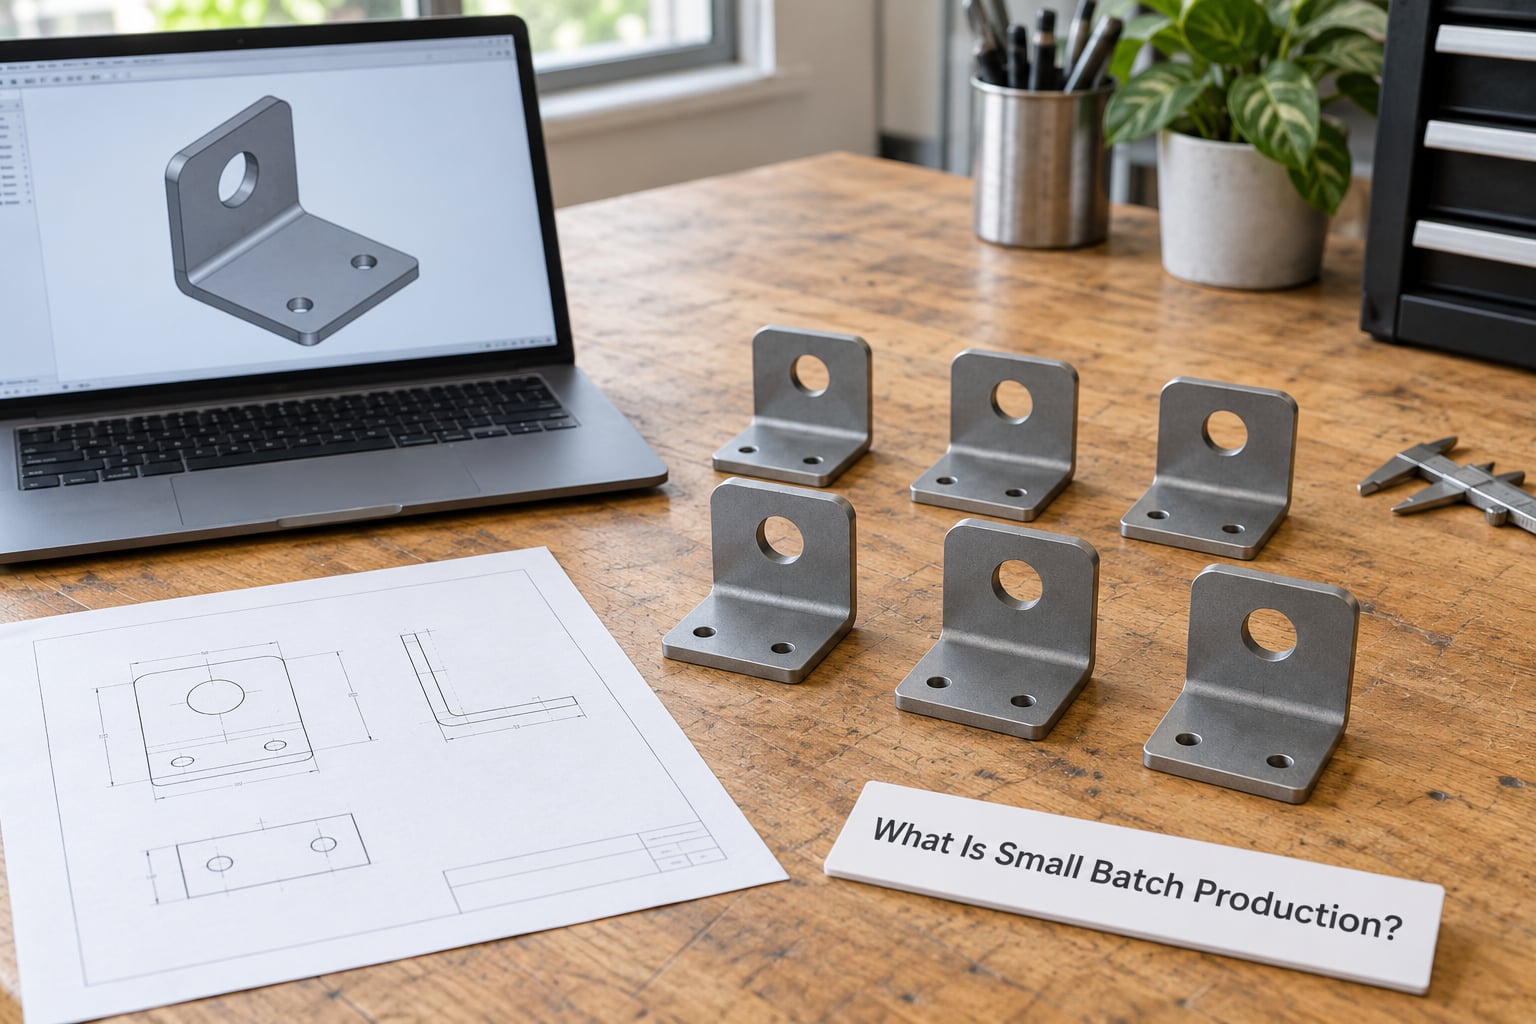
3D printing for small batch production means making a limited number of parts — usually somewhere between one and a few thousand — additively, without buying a mold, die or fixture first. Because there is no tooling cost sitting in front of the first unit, per-part cost stays low enough to be sensible at quantities where subtractive and molding processes are still recovering their setup spend.
It helps to separate three things that people blur together. Prototyping means one part, made to check a design, and nobody is measuring the cost per unit. Small batch production means parts that get used, assembled, shipped or installed, made in a repeatable quantity with consistent specifications. Mass production means thousands to millions of identical units, where a mold paid for itself and the process is chosen on seconds-per-part.
Concretely, in the shop I have worked with, under 25 units is a prototype-plus run, 25 to 250 is a classic pilot or aftermarket batch, 250 to 1,000 is where production starts to feel real, and anything past a few thousand is a conversation about molds or about running multiple machines in parallel. Those boundaries are conventions, not laws, but they line up closely with how the money behaves.
How Does 3D Printing for Small Batch Production Work?
The workflow has nine steps, and knowing which ones repeat is what tells you whether a batch is cheap to scale or expensive to scale.
- Define the demand. A quantity, a material, a tolerance, a finish expectation and a date. Vague briefs produce expensive batches because the part is redesigned mid-run.
- Supply the CAD file. STEP if the shop needs geometry it can modify, STL if you just want the surface mesh. A defective mesh is the most common reason a quote comes back with a revision request.
- Design-for-additive review. The engineer checks wall thickness, unsupported overhangs, trapped powder volumes, sharp internal corners and tolerance stack-up. Most printability problems are cheaper to fix on screen than in the build chamber.
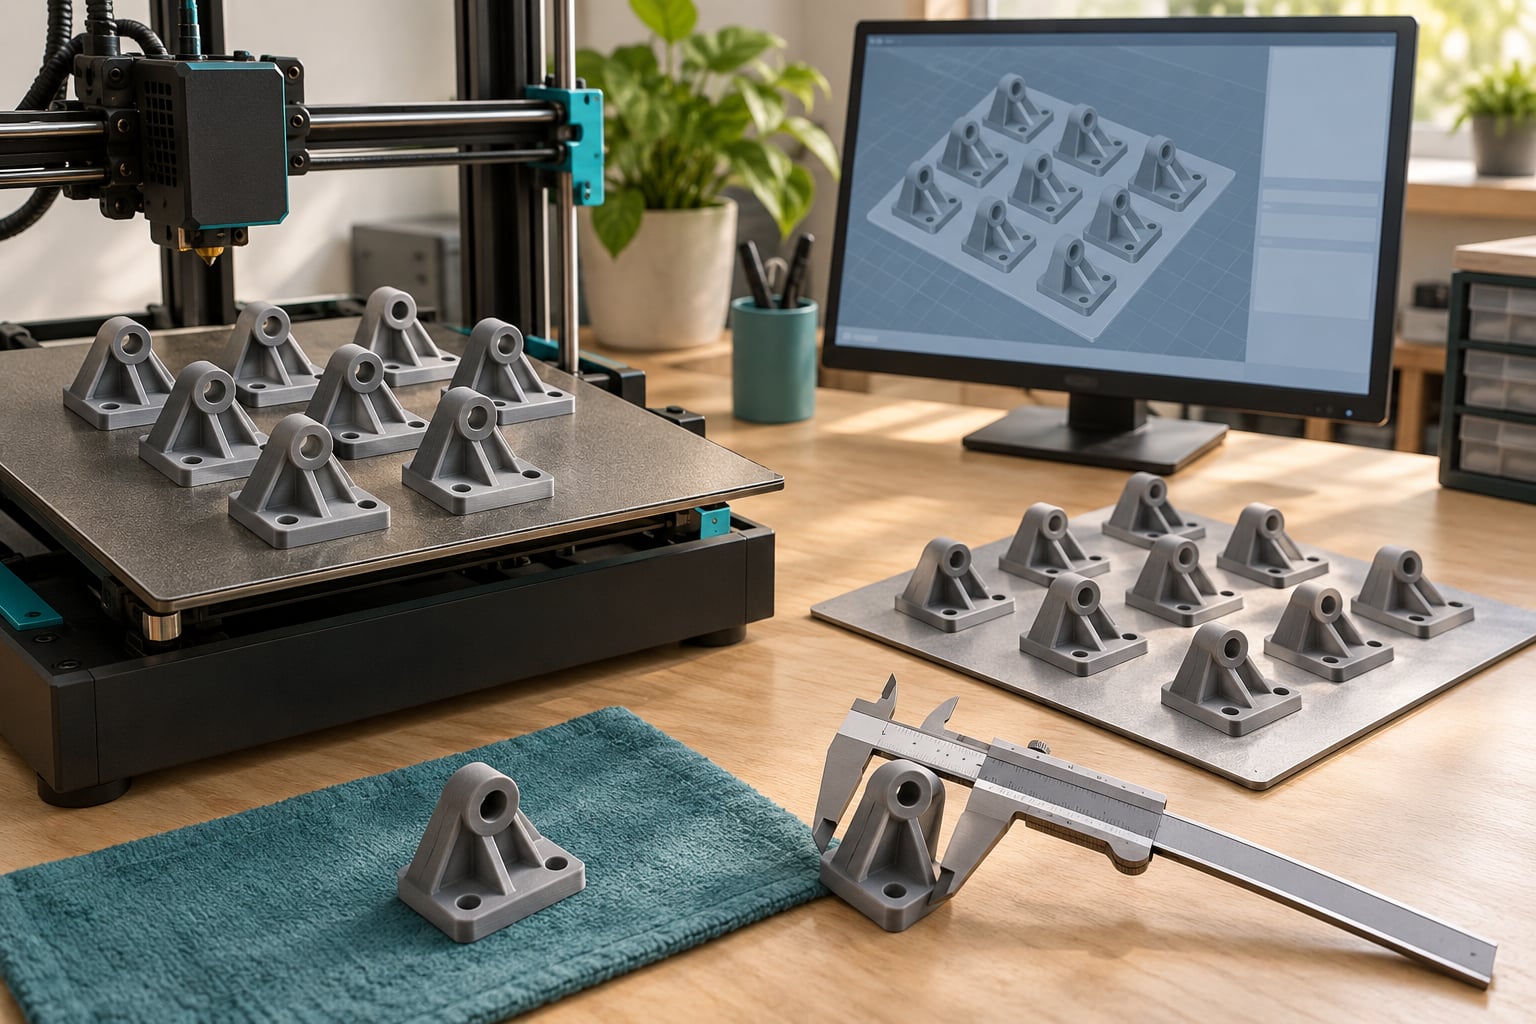
- Nest the parts. Orientation is chosen and every part is packed into the build volume. This step decides the machine time per part, and machine time is usually the biggest line on the invoice.
- Approve a first article. One or a few parts run first. You check them against the drawing and the drawing is corrected while it still costs one part to fix.
- Print the batch. Material is loaded, the build runs, and multiple parts come off the same plate at once.
- Post-process. Support removal, de-burring, bead blasting, vapour smoothing, shot peening or hand finishing, depending on the finish you specified in step one.
- Inspect and document. Dimensional checks against the approved sample, plus a record of machine, material lot, orientation and operator for the batch.
- Pack and ship. Parts are counted, protected and shipped, ideally as a complete set rather than piecemeal.
Steps one to three happen once per design. Steps four, six and seven repeat for every additional plate, but the cost per part drops as you fill the plate. Step five is the one people skip and regret — it is the only chance to catch a wrong dimension before the whole batch is printed.
Which 3D Printing Technology Should You Use?
Match the process to the part’s geometry, material demands and finish tolerance, not to whatever the shop owns most of.
| Process | Materials | Best batch fit | Tolerance and finish | Watch out for |
|---|---|---|---|---|
| FDM | PLA, PETG, ASA, nylon, TPU, PC | 1 to several hundred | Rough; visible layer lines, hand finishing common | Anisotropy, stringing, warped large flat parts |
| SLA / DLP | Resins, castable patterns | 1 to around 100 | Fine detail, smooth as-printed surfaces | Brittle if untreated, limited build volume |
| SLS | PA 12 nylon, TPU, PA 11 | 50 to several thousand | Good and repeatable; slightly grainy, no supports needed | Powder refresh cycle, rough surface needing blasting |
| MJF | PA 12, TPU, PP, higher-performance polymers | 50 to several thousand | Smoother than SLS, more color options, strong repeatability | Machine availability and minimum spool commitments |
| Polyjet / material jet | Photopolymers, rubber-like | 1 to a few hundred | Excellent surface, tight fit, clear internal channels | Highest per-part cost, sensitive handling |
| SLM / DMLS | Aluminum, stainless steel, titanium, Inconel | 1 to a few hundred | Metal-grade strength, machining after for tight fits | Long lead time, post-machining, inspection needs |
Choosing a 3D Printing Process for Small Batch Production
Run through these seven questions in order and the process usually picks itself.
Geometry. Internal channels, lattice infill and organic curves point to SLS, MJF or metal AM, because those processes build overhangs and enclosed volumes that FDM struggles with. A flat plate with four bolt holes prints fine on any desktop machine.
Quantity. Under about 25 parts, machine cost barely matters and turnaround does. Past a few hundred, nesting efficiency and unattended machine hours start to dominate, which favors powder bed processes that run a full plate and need no support removal.
Tolerance. Printed features hold roughly plus or minus a few tenths of a millimeter on a well-calibrated machine, and FDM is looser than SLS. If a dimension has to be exact, plan to machine that feature afterward rather than hoping the print lands inside it.
Material. Heat, impact and chemical exposure rule out PLA and many resins. PA 12 nylon handles oil, fuel and abrasion; TPU absorbs shock; polycarbonate and PEI take heat. For load-bearing or safety-critical work, metal AM with post-machining is the honest answer.
Finish. Decide this at quote time, not after the parts arrive. A printed part that will be painted or plated needs different draft and surface prep than one that ships as finished product.
Cost. Compare processes on total delivered cost for your quantity, including the finishing you need, not on material cost per kilogram.
Equipment. If you already own a well-maintained FDM machine and the parts are small, printing in-house can beat outsourcing. Otherwise, a service bureau with a powder bed fleet will usually deliver a more consistent batch and a shorter lead time for the same money.
When Is 3D Printing the Better Production Method?
3D printing wins on short runs when geometry is complex, the part is customized, the design is still moving, or the old supplier is gone.
Complex internal geometry is the clearest case. Manifolded channels, lightweight lattices, cooling passages and undercuts are expensive or impossible to machine and trivial to print. If a part would normally be assembled from six machined pieces, printing it as one piece removes the assembly entirely.
Customization is the second case, and it is where additive quietly beats molding. On a printed batch, part 41 can carry a serial number, a different bore, or a customer name at no extra tooling step. A mold would need a variant per option, so a printed batch is the only sane way to offer it. Inventors on r/inventors describe exactly this pattern, using printed template parts and functional inserts for their own products rather than hunting down off-the-shelf components.
Obsolescence is the third. When a machine built in 2009 needs a bracket that no one sells any more, you need 12 of them, not 12,000. Nobody stocks parts for that. A digital file plus a printer is the whole supply chain.
Tooling is the fourth. Jigs, fixtures, assembly aids and short-run molds are the classic first use of additive, because the fixture is needed before the production process is even settled. It also lets you find design problems on the real assembly rather than in a spreadsheet.
Now the honest part. Additive is the wrong tool for a flat sheet, a thin bracket with a known size, or a quantity in the thousands of a simple part, because machining and blanking get cheaper per unit faster than printing does. It is also wrong when the part is large and nestable badly — buyers assume big parts are efficient, but a 300 mm shell wastes most of the plate and can cost more than twenty small parts.
There is a real case where even a modest batch belongs in another process. A user on r/3Dprinting asking for help with 25 to 100 prints was steered toward waterjet, laser or die cutting, and they were right: a raised feature on a flat panel is a two-axis operation, and subtractive methods handle it faster and flatter. The lesson generalizes. If your part has no third dimension worth speaking of, do not put a printer on it.
How Much Does Small Batch 3D Printing Cost?
Per-part price is not a material number. It is a stack, and every vendor who gives you one clean price without showing the stack is asking you to trust the part that matters least.
- Machine time. The largest line for polymer work and the reason nesting matters. Two well-nested identical parts can cost barely more than one.
- Build volume utilization. The same mechanism, viewed differently. Cost per part is really machine hours divided by usable parts per plate, so filling the plate is the single biggest lever you control.
- Material. Real, and often the smallest share. Powder is cheaper per kilogram than quality filament, but the powder itself is not the cost — the machine hours around it are.
- Labor. File preparation, support strategy, unload, clean and inspect. This stays flat per batch rather than per part, which is why it hurts most on tiny orders.
- Post-processing. Blasting, smoothing, tumbling, hand finishing, painting. Frequently larger than people expect, and entirely predictable if you ask for it in writing.
- Design and first article. One-time, and the part that pays for itself by preventing a reprinted batch.
- Inspection and documentation. Nominal on a bracket, mandatory on a medical guide or an aerospace bracket.
- Packaging and freight. Real on small orders, and the reason many shops quote delivery as a separate line.
The table below shows how per-part cost behaves as the batch grows, using a one-off part as an index of 100. Treat it as a shape, not a quote — your part size, material and finish move the level, but the curve holds.
| Batch size | What drives the price | Relative per-part cost | Comparison to injection molding |
|---|---|---|---|
| 1 | All setup in a single part | 100 (index) | Printing wins by a wide margin |
| 10 | Setup spread thin, plate barely filled | 35 to 50 | Printing wins comfortably |
| 50 | First nesting gains appear | 18 to 28 | Printing wins comfortably |
| 100 | Good plate fill on small parts | 12 to 20 | Printing usually still ahead |
| 500 | Unattended runs, labor amortized | 7 to 12 | Near the line, depends on part and material |
| 1,000 | Full plates, batch documentation amortized | 5 to 9 | Contested zone, usually close |
| 5,000 and up | Machine hours dominate, molding amortizes tooling | 3 to 7 | Molding usually wins on simple parts |
Practitioners on r/3Dprintingbusiness and r/AdditiveManufacturing put a 100-part batch in the same neighborhood, with printed per-part cost in the mid single digits to low double digits against molded parts in the low single digits once tooling is amortized. The gap closes fast as quantity climbs, which is exactly what the table shows.
How Do You Keep Quality Consistent Across the Batch?
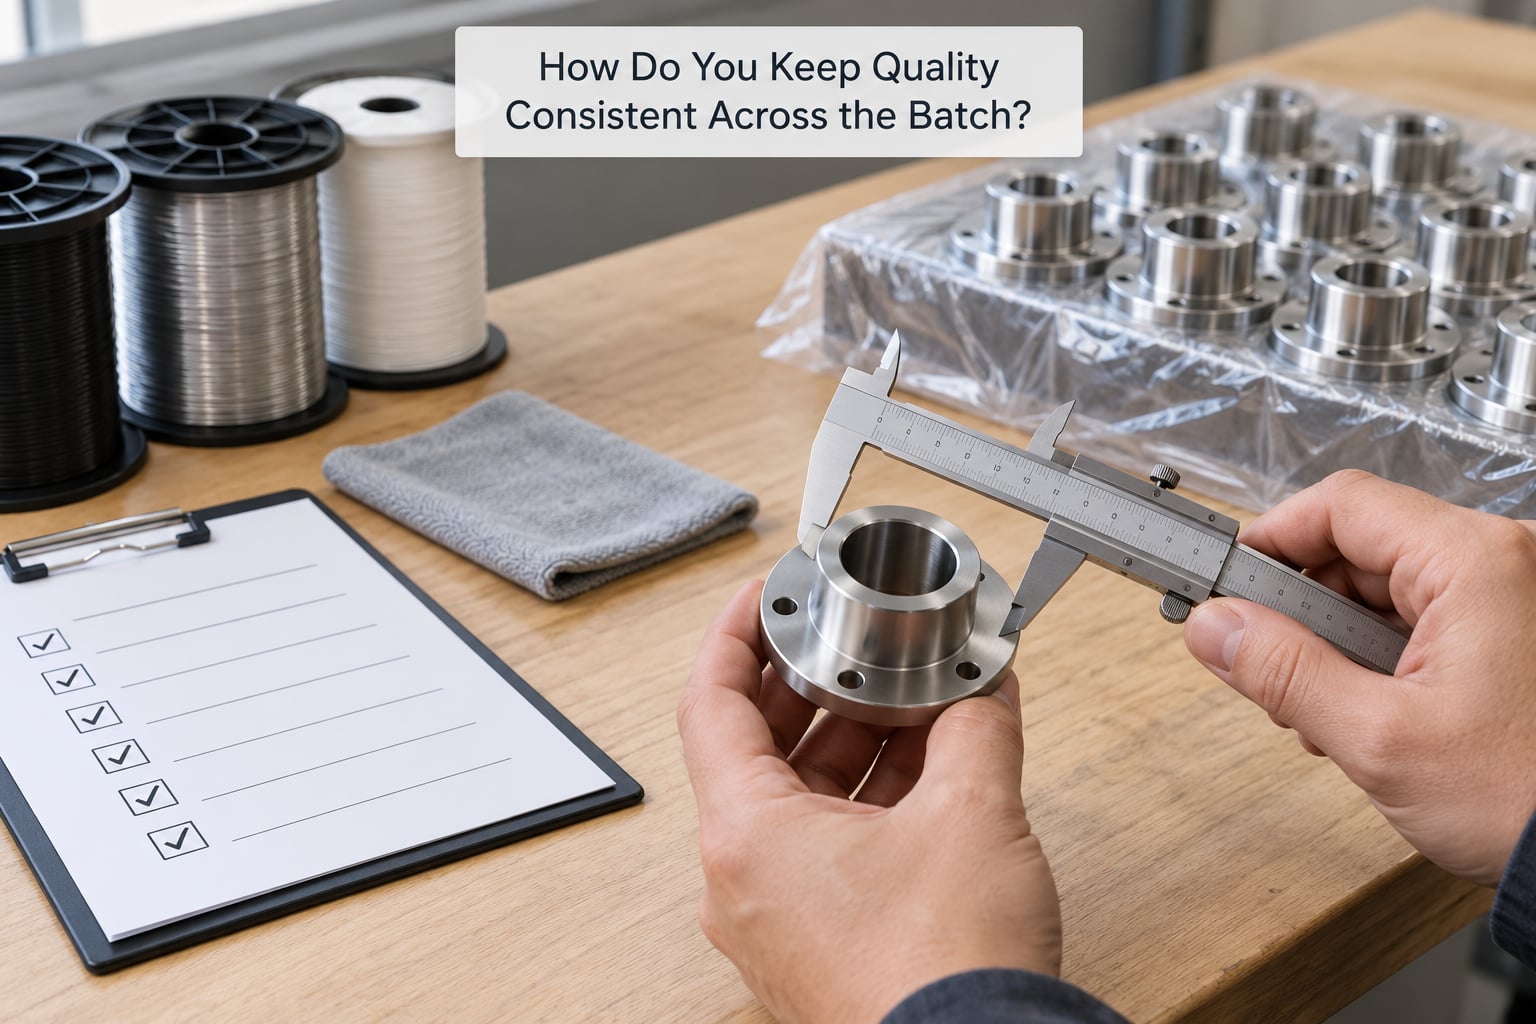
Consistency comes from controlling inputs and documenting them, because additive manufacturing adds material rather than removing it, so small variations compound instead of averaging out.
Start with material. Use one spool or one powder lot for the whole batch if you can, because color and mechanical properties shift between lots, and that is the single most common reason parts in one shipment look mismatched in a finished assembly. Keep filament dry, and note the lot number on the batch record.
Then control the machine. A first-layer calibration and a nozzle or powder-level check before every production run catches most of what would otherwise become a failed plate. Record the layer height, print or sinter temperature, and the machine itself in the batch sheet so a repeat order lands on identical settings.
Orientation matters more than people expect. It sets the layer direction that carries the most load, decides where support scars appear, and controls how much of the surface is stair-stepped. Lock the orientation into your documentation rather than letting it vary with whoever loads the plate.
Set tolerances realistically and stack them. A printed feature plus a mating hole plus a fastener clearance can drift further than either number suggests, and a hole printed undersize is the most common end-use failure I hear about. If a fit matters, either design clearance into the print or machine that feature afterward.
Inspect per part, not per batch. Calipers or a CMM on a defined sample, or on every part where the cost is cheap relative to the risk. For regulated work, ask whether the shop holds ISO 9001, ISO 13485 or AS9100D and can supply material certificates with the delivery — those certificates are the difference between a part and evidence of a part.
Finally, plan for failure. Insist that failed parts be reprinted rather than shipped, and know your replacement capacity before you start. A well-run shop will tell you its reprint rate rather than quietly absorbing it, and users on r/smallbusinessuk are explicit that a vendor willing to recommend a different process for an unsuitable part is a vendor worth keeping.
How Do You Move from Prototype to Production?
Move in stages, and let each stage earn the next one.
Stage one is design verification. Get the model checked for printability before any machine time is spent, and decide at this point whether the process you prototyped on is the process you will produce on.
Stage two is the first article. Print one part, or a small handful, and approve it physically. This is where finish, fit and color are judged, and where a design change costs one part instead of a hundred.
Stage three is the pilot batch. Run a small production batch, deliberately spread across the intended quantity range, and measure what actually happens: cycle time, post-processing minutes per part, scrap rate. Those numbers beat every estimate you made at the quote stage.
Stage four is tolerance testing. Measure the critical dimensions across the pilot batch, not just from one lucky part. If the spread is wider than your application tolerates, fix the design or add a machining operation now rather than at the hundredth part.
Stage five is documentation. Freeze the model, the material, the orientation, the settings and the inspection method into a process sheet. Without it, batch four is not the same part as batch one, and you will find out in the field.
Stage six is planning. For ongoing 3D printing for small batch production, think in plate equivalents rather than pieces, and schedule so the machine runs unattended through as much of it as possible. That is where the per-part savings actually come from.
Stage seven is fulfillment. Ship the batch as a complete, counted, protected set with the batch documentation attached, so the next order can start from a known state.
Frequently Asked Questions
What is the minimum batch size for 3D printing?
There is no formal minimum. Additive manufacturing can produce a single functional part, and many shops quote from one piece upward. Below about 10 units, per-part cost is dominated by setup and labor rather than material, so quotes look high. Ask for the batch price at your real quantity plus the cost of a first-article sample, and you will see where the curve actually flattens.
Is CNC machining or 3D printing cheaper for small batches?
For small batches of simple prismatic parts, CNC machining is often cheaper per unit and holds tighter tolerances, because setup is a couple of hours rather than a full design and nesting cycle. 3D printing wins on complex geometry, thin walls, internal channels and custom variants, where machining needs many operations or expensive fixturing. Compare total delivered cost, not machine rate.
Which 3D printer is best for small batch production?
For polymer production runs of roughly 50 to a few thousand parts, an SLS or MJF machine in PA 12 nylon is the usual answer: no supports, full-plate nesting, repeatable results and far less hand finishing. FDM suits smaller batches, simple geometry and tight budgets. Metal SLM or DMLS is the choice when the part has to carry load in service.
Can 3D printed parts be repeatable and production-ready?
Yes, if the process is documented. Printed parts vary far less part to part than most buyers expect because each part is built the same way from the same digital model. Approve a first article, freeze material lot, orientation and settings, then inspect production parts against that approved sample. That combination is what buyers mean by batch consistency.
When does 3D printing become more expensive than injection molding?
Typically somewhere between 500 and 5,000 parts, though the band shifts a lot with part size, material and tolerance. Injection molding carries a large one-time tooling cost but a very low per-unit cost once that mold is paid off. Additive keeps winning for complex shapes, custom variants and simple parts with no minimum order, so the crossover rarely arrives as a single clean number.
Conclusion
3D printing for small batch production is the right call when the quantity is modest, the geometry is awkward, or the part needs to vary. It is the wrong call for flat, simple parts in the thousands, and a printed mold is often the sensible bridge for the middle ground.
Match the technology to quantity, material, geometry and tolerance. FDM for simple plastic parts under a hundred, SLS or MJF for repeatable nylon production from tens to thousands, metal AM when the part has to carry real loads.
Start by taking one representative part to two or three service bureaus and asking for an itemized quote that shows machine time, nesting, material, labor, post-processing and delivery. The quote that explains its numbers is the one that will deliver the batch you specified, and comparing two of those tells you more than a list of ten headline prices ever will.