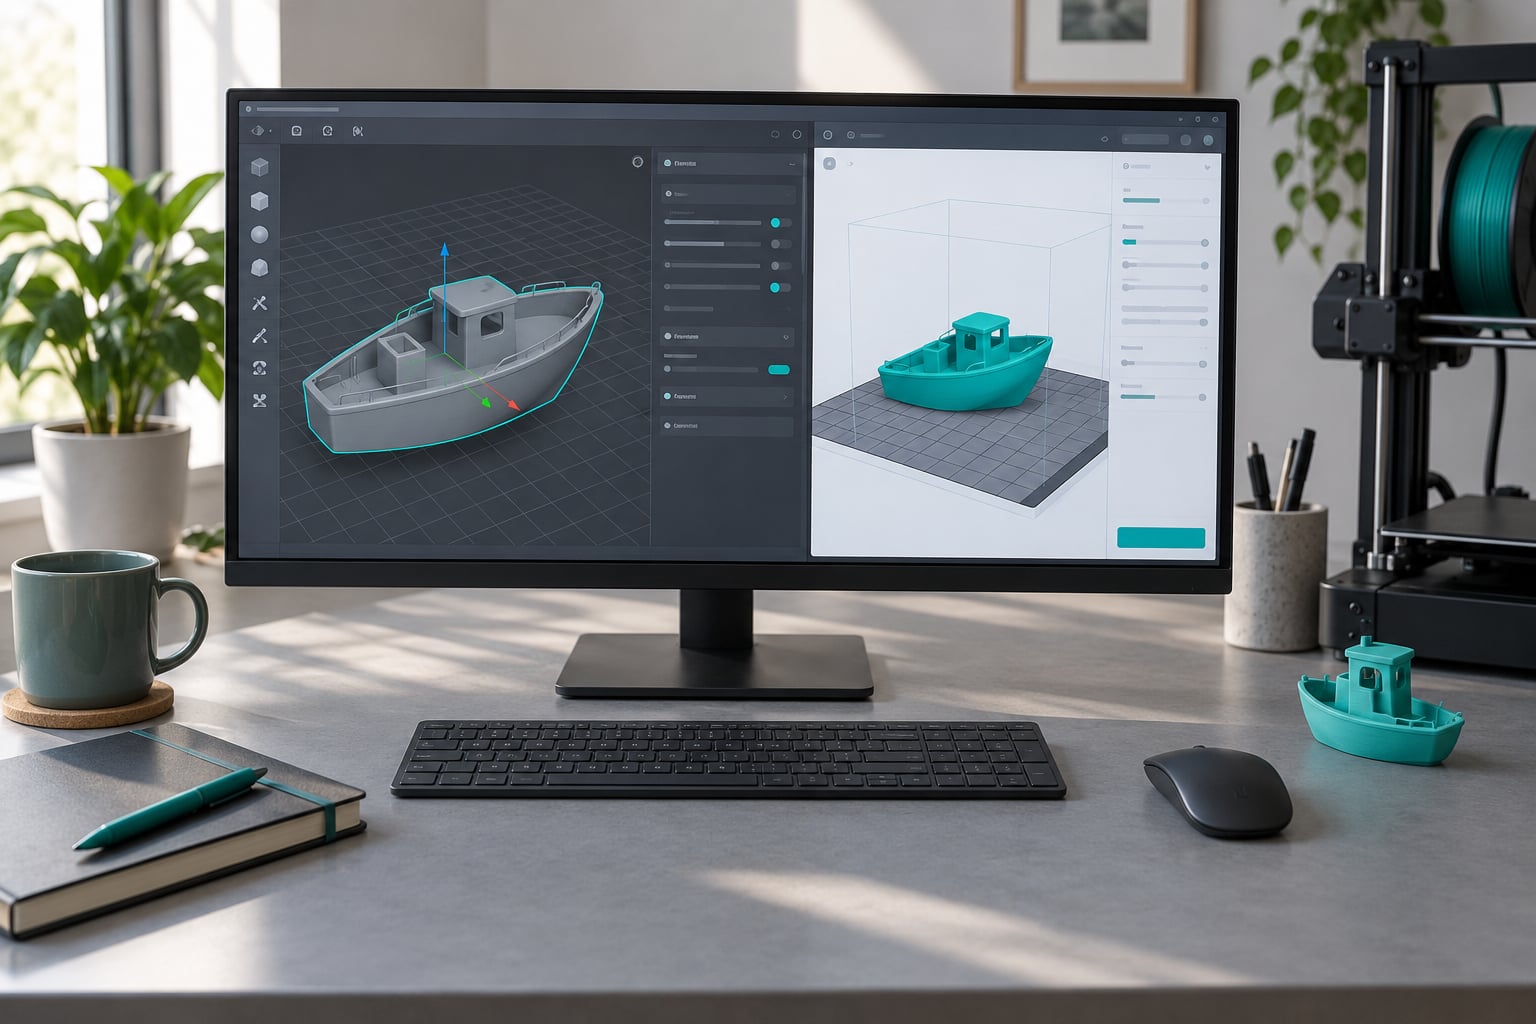
Exporting STL from Blender takes one menu path — select the object, choose File > Export > Stl (.stl), pick a folder, click Export — but the file that comes out is only as good as the scale and geometry behind it. Knowing how to export STL from Blender correctly means choosing the right format, baking your modifiers, locking the real-world size and confirming the mesh before it reaches your slicer.
Blender’s STL exporter is built into current versions, so the old add-on tutorials you find online are obsolete. The whole job is about five minutes for a finished model, longer only if the mesh needs repair. Below is the exact panel, then the failures people actually hit.
I’m working with Blender 4.x and 5.x on desktop, and a slicer such as PrusaSlicer, Cura, Bambu Studio or Creality Print at the other end. Menu names differ slightly between 2.9 and 4.x, so I note where that matters.
Table of Contents
- What You Need
- Step-by-Step: How to Export STL from Blender Correctly
- Check and Fix the Model Before Exporting
- Set Scale, Units, and Orientation
- Choose the STL Export Settings
- Verify the STL in Your Slicer
- Common Mistakes and Quick Fixes
- Frequently Asked Questions
- Can Blender export STL files?
- Why is my exported STL the wrong size in my slicer?
- Should I export ASCII or binary STL from Blender?
- How do I fix an STL file that my slicer calls invalid?
- Why does my print time estimate change after exporting from Blender?
- Can I export multiple Blender objects as separate STL files?
What You Need
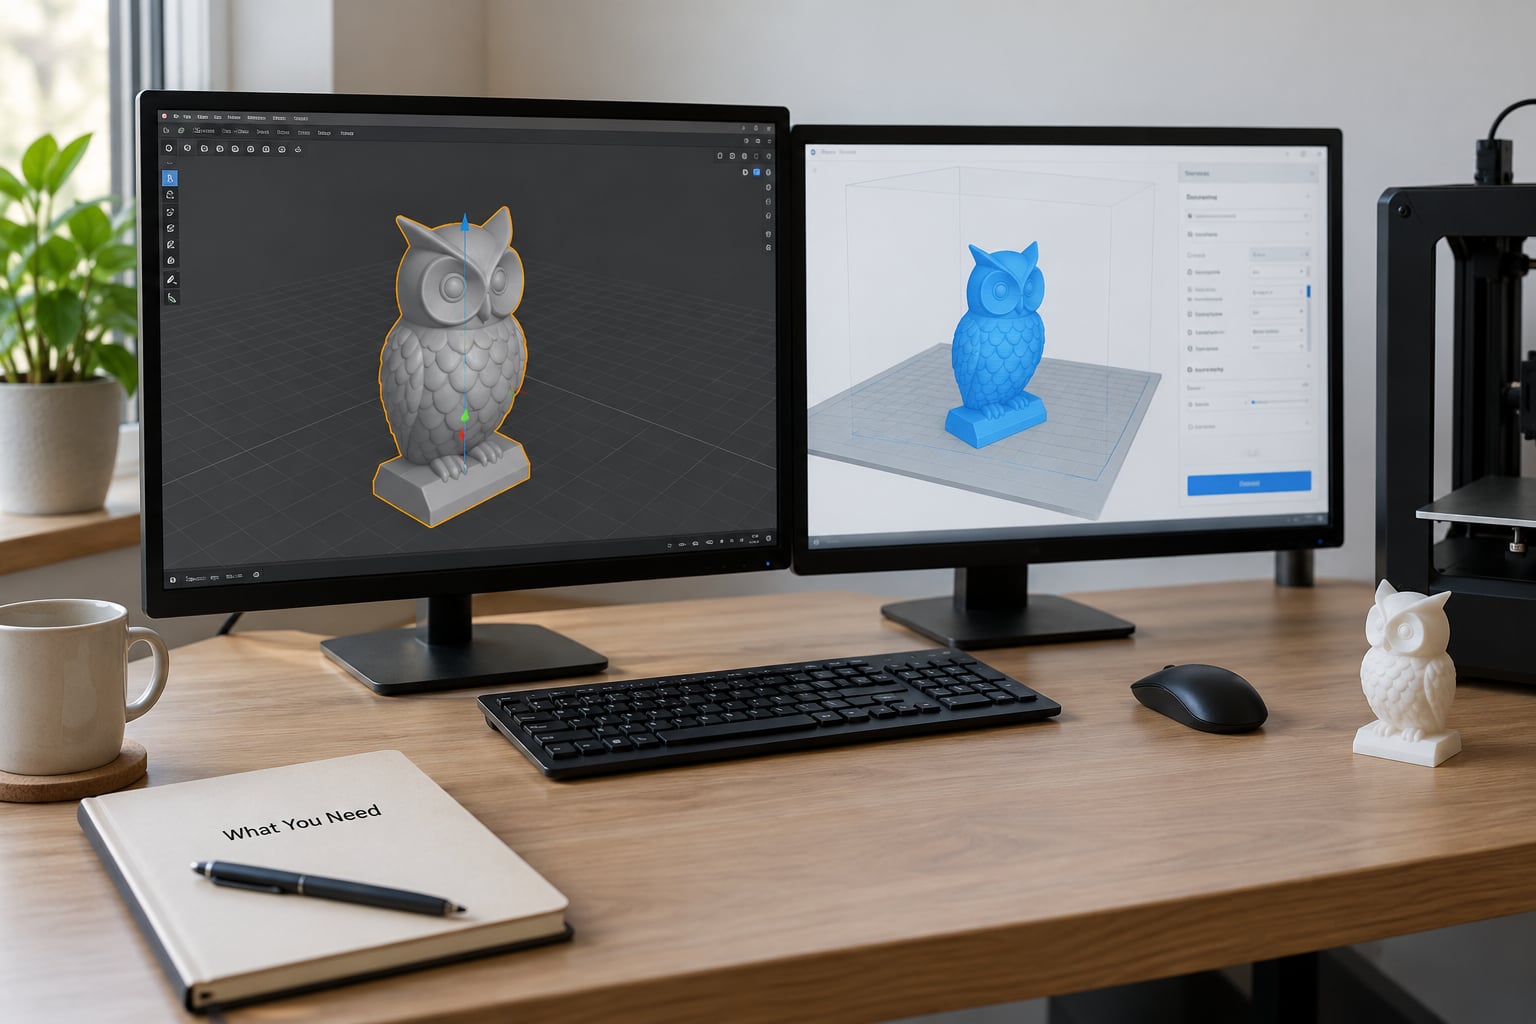
You need four things, and only one of them is Blender.
- A finished mesh model that is a closed solid. A watertight mesh, sometimes called manifold, has every edge shared by exactly two faces and no holes. If your object is a shell with a gap in it, no export setting will fix that.
- Blender itself. The STL exporter ships with Blender. If a tutorial tells you to enable an STL add-on in Preferences, it was written for Blender 2.7x and earlier — that step no longer exists.
- A slicer for verification. You cannot confirm scale or watertightness from Blender’s export panel alone. The slicer is where dimensions and the print estimate appear.
- A scale decision. Either model at real-world millimetres, or model in convenient units and correct the size at export. Pick one deliberately, because STL stores no unit information at all.
That last point causes more broken prints than any other. An STL file is a bare list of triangle coordinates. It carries no colour, no texture, no units, and no record of whether those numbers were centimetres or millimetres.
Slicers assume the numbers are millimetres. That single assumption is the root of the “my model is 1000 times too small” problem that shows up again and again in Blender help forums.
Step-by-Step: How to Export STL from Blender Correctly
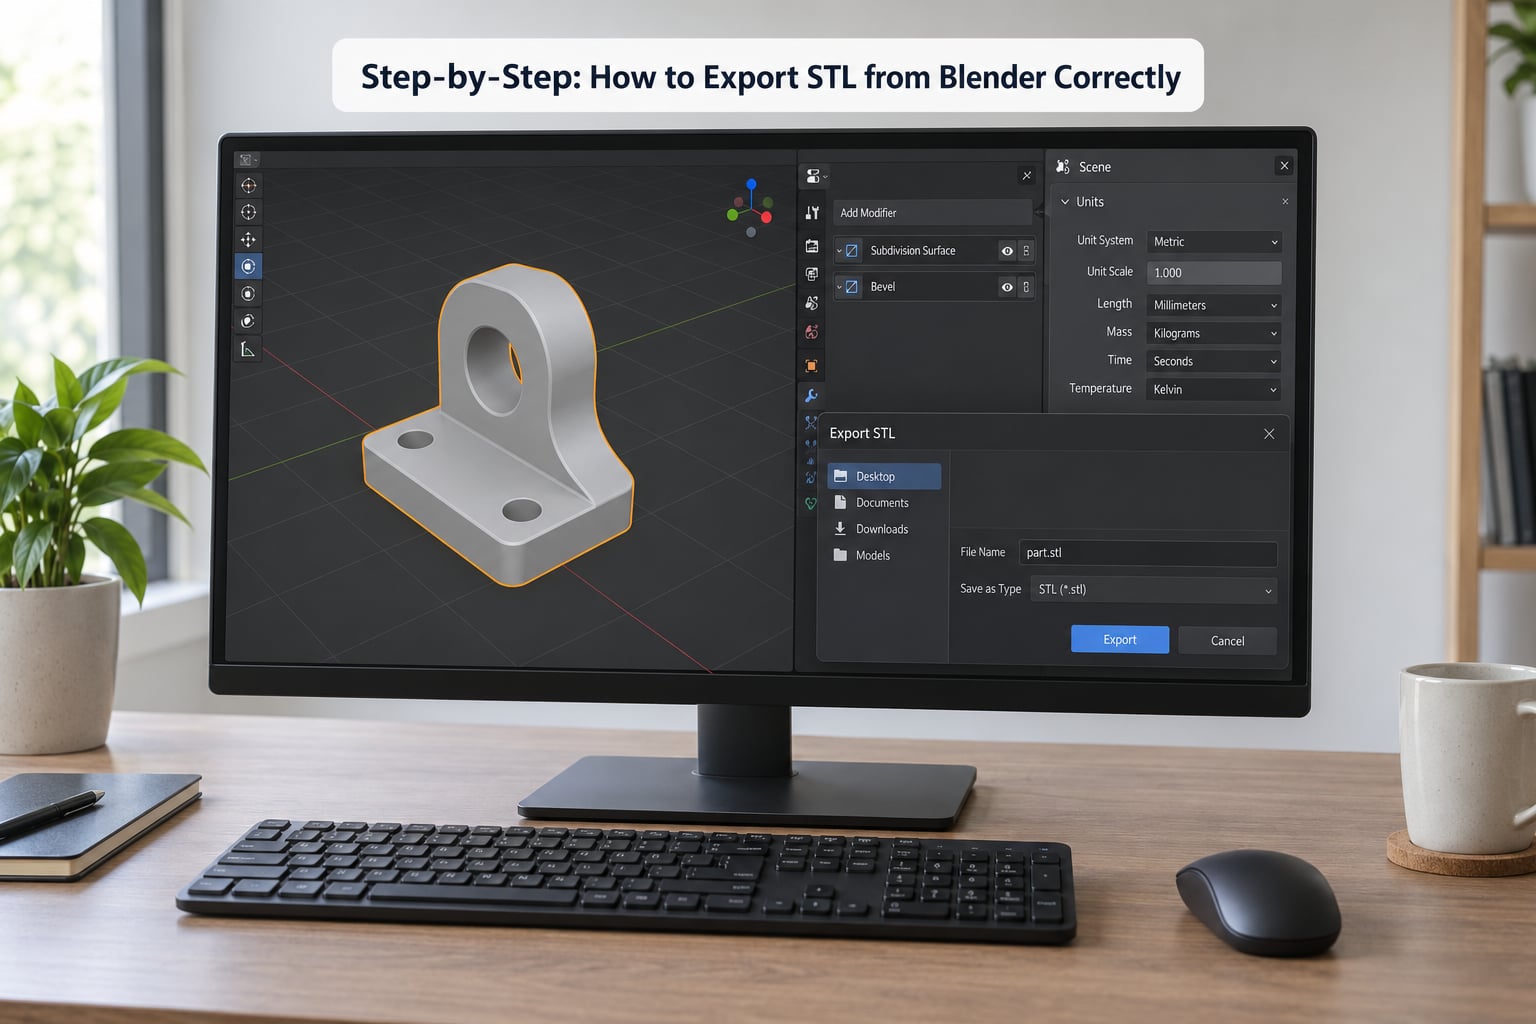
The full process is four stages: validate the mesh, set scale and orientation, export with the right options, then confirm the result. Skipping straight from modelling to the export panel is what produces the frustrating files.
Check and Fix the Model Before Exporting
Run Blender’s built-in checks first. Open Edit > Preferences > Add-ons, search for 3D Print, and enable the 3D Print Toolbox add-on. It appears as a tab in the 3D Viewport’s workspace sidebar.
Select the object, then click Check All in the toolbox. You are looking for zero non-manifold edges, zero faces with an area of zero, and a sensible intersection count.
- Non-manifold edges — a hole, a stray edge or an edge shared by more than two faces. Select > All by Trait > Geometry > Non Manifold isolates them so you can see what is broken.
- Intersections — hundreds of self-intersections usually means separate shells sitting inside one another, or duplicated geometry left behind by a modifier.
- Zero-area faces — triangles with no area. These break slicers for no good reason.
Two things people misread constantly. First, STL is always triangles — that is the format, not a fault. Second, visible facets on what should be a flat face usually mean the vertices are not exactly coplanar, a modelling problem upstream of the export. A thread on Blender Artists traced distorted triangle markings on an exported cube back to non-coplanar vertices and hundreds of intersecting faces, not to the exporter.
Disconnected parts are worth fixing too. The accepted answer in that same thread was to join the meshes, because separate shells printed together cause nozzle travel, weak joins and odd slicer estimates. Select every piece and press Ctrl+J, or apply a Boolean union if they are meant to be one solid.
For flat objects, add thickness first. A plane or single-sided sheet has zero volume and exports as something no printer can slice. A Solidify modifier with an offset of 1 or 2 mm is the standard fix; a Boolean overlap against a thick base mesh also works, followed by a join.
Set Scale, Units, and Orientation
Blender’s internal unit is one Blender unit equalling one metre. Your scene unit settings decide what that means on screen, and the export panel’s Scale field decides what gets written into the file.
Here is the mapping. Slicers read millimetres, so any row that ends up writing millimetres will print at the size you see in Blender.
| Scene unit setting | Length unit | Unit Scale | STL export Scale |
|---|---|---|---|
| Metric | Millimetres | 0.001 | 1.0 |
| Metric | Metres | 1.0 | 1000.0 |
| Imperial | Inches | 0.0254 | 25.4 |
Millimetres with Unit Scale 0.001 and export Scale 1.0 is the safest configuration, because then the numbers in the viewport are the numbers in the file. There is no conversion step to forget.
If you model in metres or inches instead, the export Scale field compensates — 1000 for metres, 25.4 for inches — as long as the Scene Unit checkbox in the export panel is ticked so the exporter knows your unit scale. That checkbox is also a known trouble spot: a bug report on the Blender issue tracker documents STLs coming out 1000 times too small with the Scene Unit option both on and off, under otherwise normal Metric settings. If your file is off by a factor of 1000, check this box before you touch anything else.
Orientation is simpler. Apply rotation and scale so the object has no leftover scale values: select it, press Ctrl+A, then Rotation and Scale. Sit the model on the build plate with Z pointing up, the way you want it to print. Blender’s default export axis mapping is Y forward, Z up, which most slicers expect; only change Forward and Up if your slicer consistently prints the part on its side.
Choose the STL Export Settings
Once you pick File > Export > Stl (.stl), Blender saves the file and opens the options panel in the bottom-left corner. These are the settings that matter for printing.
| Option | What it does | Recommended value |
|---|---|---|
| Format | Writes the file as readable text or compact binary | Binary |
| Batch | Writes one file per object, appending the object name | Off unless you want separate parts |
| Selection Only | Exports only selected objects instead of the whole scene | On once you have selected what you want |
| Scale | Multiplier applied to every exported coordinate | 1.0 with millimetres; 1000 for metres |
| Scene Unit | Lets the exporter read your Unit Scale value | On if you are not in plain millimetres |
| Forward / Up | Axis conversion for apps that expect a different orientation | Leave at Y forward, Z up |
| Apply Modifiers | Exports the evaluated mesh after every modifier is calculated | On, always |
| Properties | Which modifier level gets exported: Viewport or Render | Viewport unless you need Render-level detail |
ASCII versus binary matters more than most guides admit. ASCII writes each triangle as six lines of plain numbers, so you can open the file in a text editor to read the coordinates and confirm the scale yourself. Binary packs the same data into a compact 80-byte header plus 50 bytes per triangle. An ASCII STL of 3DBenchy lands around 8 MB; the binary version of the identical model is closer to 700 KB. Use binary for anything you actually print, and ASCII only when you need to inspect or hand-edit the numbers.
Apply Modifiers is where Subdivision Surface bites people. With it off, you get the raw cage and your rounded model prints as a low-poly blob. With it on, Blender exports the evaluated mesh, and the Properties setting decides which level: Viewport uses the Levels value shown in the viewport, Render uses the higher Render Levels number. Set your viewport level to 2 for printing and leave the export on Viewport, or your file will carry tens of thousands of unnecessary triangles.
Selection Only trips up almost everyone once. If only part of your model appears in the slicer, either the option is on with a partial selection, or you expected a merged mesh. Select all your parts, then join them with Ctrl+J before exporting if you want one file. If you would rather have one STL per object, tick Batch instead and Blender names each file after the object.
Verify the STL in Your Slicer
Open the exported file in PrusaSlicer, Cura, Bambu Studio or Creality Print and check three things in this order: the X, Y and Z dimensions, the part sitting flat on the build plate, and whether the triangle overlay shows one continuous shell rather than several overlapping ones.
The dimensions are the real test. If Blender showed a 60 mm part and the slicer shows 6 mm, your export Scale or unit handling is wrong. Fix it in Blender and export again rather than resizing inside the slicer, because the fix belongs in the source file.
The print time estimate is a rough sanity check, not gospel. A 3DBenchy built in Blender once estimated a full hour in Creality Print for a model that normally takes about 15 minutes, and the thread went unresolved. Oversized estimates usually point back at duplicated or interior geometry, stray thin shells, or a modifier applied twice — all model problems, not slicer problems.
You can also bring the file back into Blender for a second opinion. File > Import > Stl (.stl) offers the mirror of the export options: Scale, Scene Unit, Forward/Up Axis, Facet Normals and Validate Mesh. Tick Validate Mesh and Blender reports broken edges, duplicate faces and loose geometry on import. If your file passes that and still fails in the slicer, the problem is scale or orientation rather than topology.
Common Mistakes and Quick Fixes
Almost every Blender STL problem falls into one of these six buckets, and the symptom tells you which one you have.
| Symptom | Likely cause | Fix in Blender |
|---|---|---|
| Part is 1000 times too small or too large in the slicer | Unit scale mismatch between Blender and the millimetres the slicer assumes | Set Unit Scale 0.001 for millimetres, export Scale 1.0, tick Scene Unit, and check the Scale field against the table above |
| Slicer reports the STL as invalid | Non-manifold edges, zero-area faces, or duplicate overlapping shells | Run Check All in the 3D Print Toolbox, select > All by Trait > Geometry > Non Manifold, then merge or delete the offending geometry |
| Only part of the model exported | Selection Only is on with a partial selection | Select every part, join with Ctrl+J, or untick Selection Only to export the whole scene |
| Faceted or distorted triangle markings on flat faces | Non-coplanar vertices and intersecting faces, not the exporter | Select those faces, snap vertices to the nearest plane, and remove duplicate geometry |
| Print time estimate is wildly off | Interior or duplicated geometry and thin shells inside the model | Inspect the exported file from outside, delete hidden shells, re-check manifold status |
| Nothing or an empty file exports for a flat sheet | Zero-thickness geometry has no volume | Add a Solidify modifier at 1 to 2 mm thickness before exporting |
Two more that do not fit the table. A model that passed every 3D Print Toolbox check and still gets flagged as invalid by two different slicers usually needs the file re-saved through an intermediate tool rather than any further Blender setting. A FreeCAD forum user resolved a similar scale problem by importing the Blender STL into FreeCAD and re-exporting it at normal scale. And if the file is just too heavy for your slicer to load smoothly, decimating before export does more good than switching to ASCII — the format is not what makes a file heavy.
Before every export, run this short checklist:
- 3D Print Toolbox Check All returns no errors.
- Modifiers are applied or Apply Modifiers is on, with Properties set to Viewport.
- Unit Scale and export Scale match the millimetres row of the table.
- Rotation is applied and the model sits flat on the plate.
- Disconnected shells are joined, or Batch is used deliberately.
- Format is Binary.
- The file has been opened in your slicer and the dimensions look right.
Frequently Asked Questions
Can Blender export STL files?
Yes. Blender exports STL natively with no add-on needed, and has done so since the 2.8 series replaced the old exporter. Pick File u0026gt; Export u0026gt; Stl (.stl), choose a location, click Export, and the options panel opens where you set Format, Apply Modifiers, Selection Only, Scale and axis mapping. Tutorials that tell you to enable an STL add-on in Preferences are written for Blender 2.7x and earlier.
Why is my exported STL the wrong size in my slicer?
STL files store no unit metadata, and slicers read the coordinates as millimetres. If you modelled in metres, Blender writes metres and the slicer reads millimetres, making the part 1000 times smaller. Fix it by setting the scene Unit Scale to 0.001 for millimetres and exporting at Scale 1.0, or by leaving metres and exporting at Scale 1000 with Scene Unit enabled.
Should I export ASCII or binary STL from Blender?
Binary for anything you plan to print. It stores the same triangles in roughly a tenth of the space, so slicers load it faster: a 3DBenchy is about 8 MB as ASCII and about 700 KB as binary. ASCII is worth choosing only when you need to open the file in a text editor and read the raw coordinates, such as when you are debugging a scale problem.
How do I fix an STL file that my slicer calls invalid?
Import the file back into Blender with File u0026gt; Import u0026gt; Stl (.stl) and tick Validate Mesh. Blender then reports broken edges, loose geometry and duplicate faces. Fix them in edit mode, or better, return to the original .blend file where the modifiers still exist and re-export with Apply Modifiers enabled. Slicers are strict about zero-area faces and edges shared by more than two faces.
Why does my print time estimate change after exporting from Blender?
An estimate that jumps upwards usually means the exported mesh carries more material than you expect: duplicated geometry, interior shells that should have been deleted, or a thin wall added by a solidify modifier. Open the exported file in a slicer and view it from outside to spot stray parts. A 3DBenchy built in Blender once estimated a one-hour print in Creality Print when it should have taken about 15 minutes.
Can I export multiple Blender objects as separate STL files?
Yes. In the STL export panel, tick Batch and Blender writes one file per object, using each object name in the filename. Leave Selection Only unticked so every visible object is included. If you would rather print the parts as one solid object, join them with Ctrl+J first and export a single file instead.
Start with the scale line in the units table and set it before you model anything else, then run Check All and export at Binary with Apply Modifiers on. That combination covers almost every failed print that traces back to Blender.